
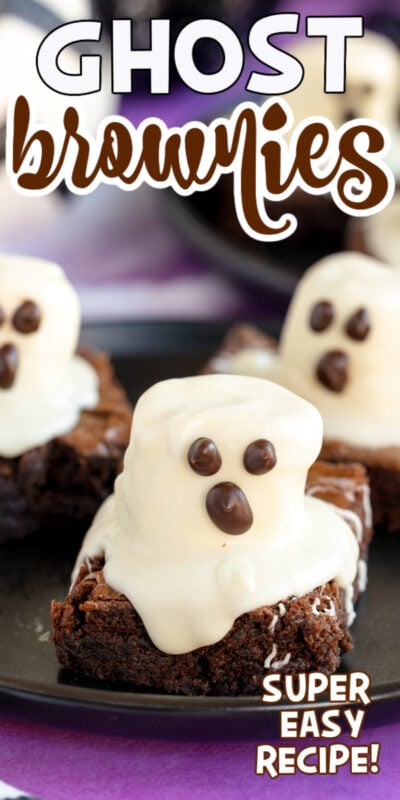
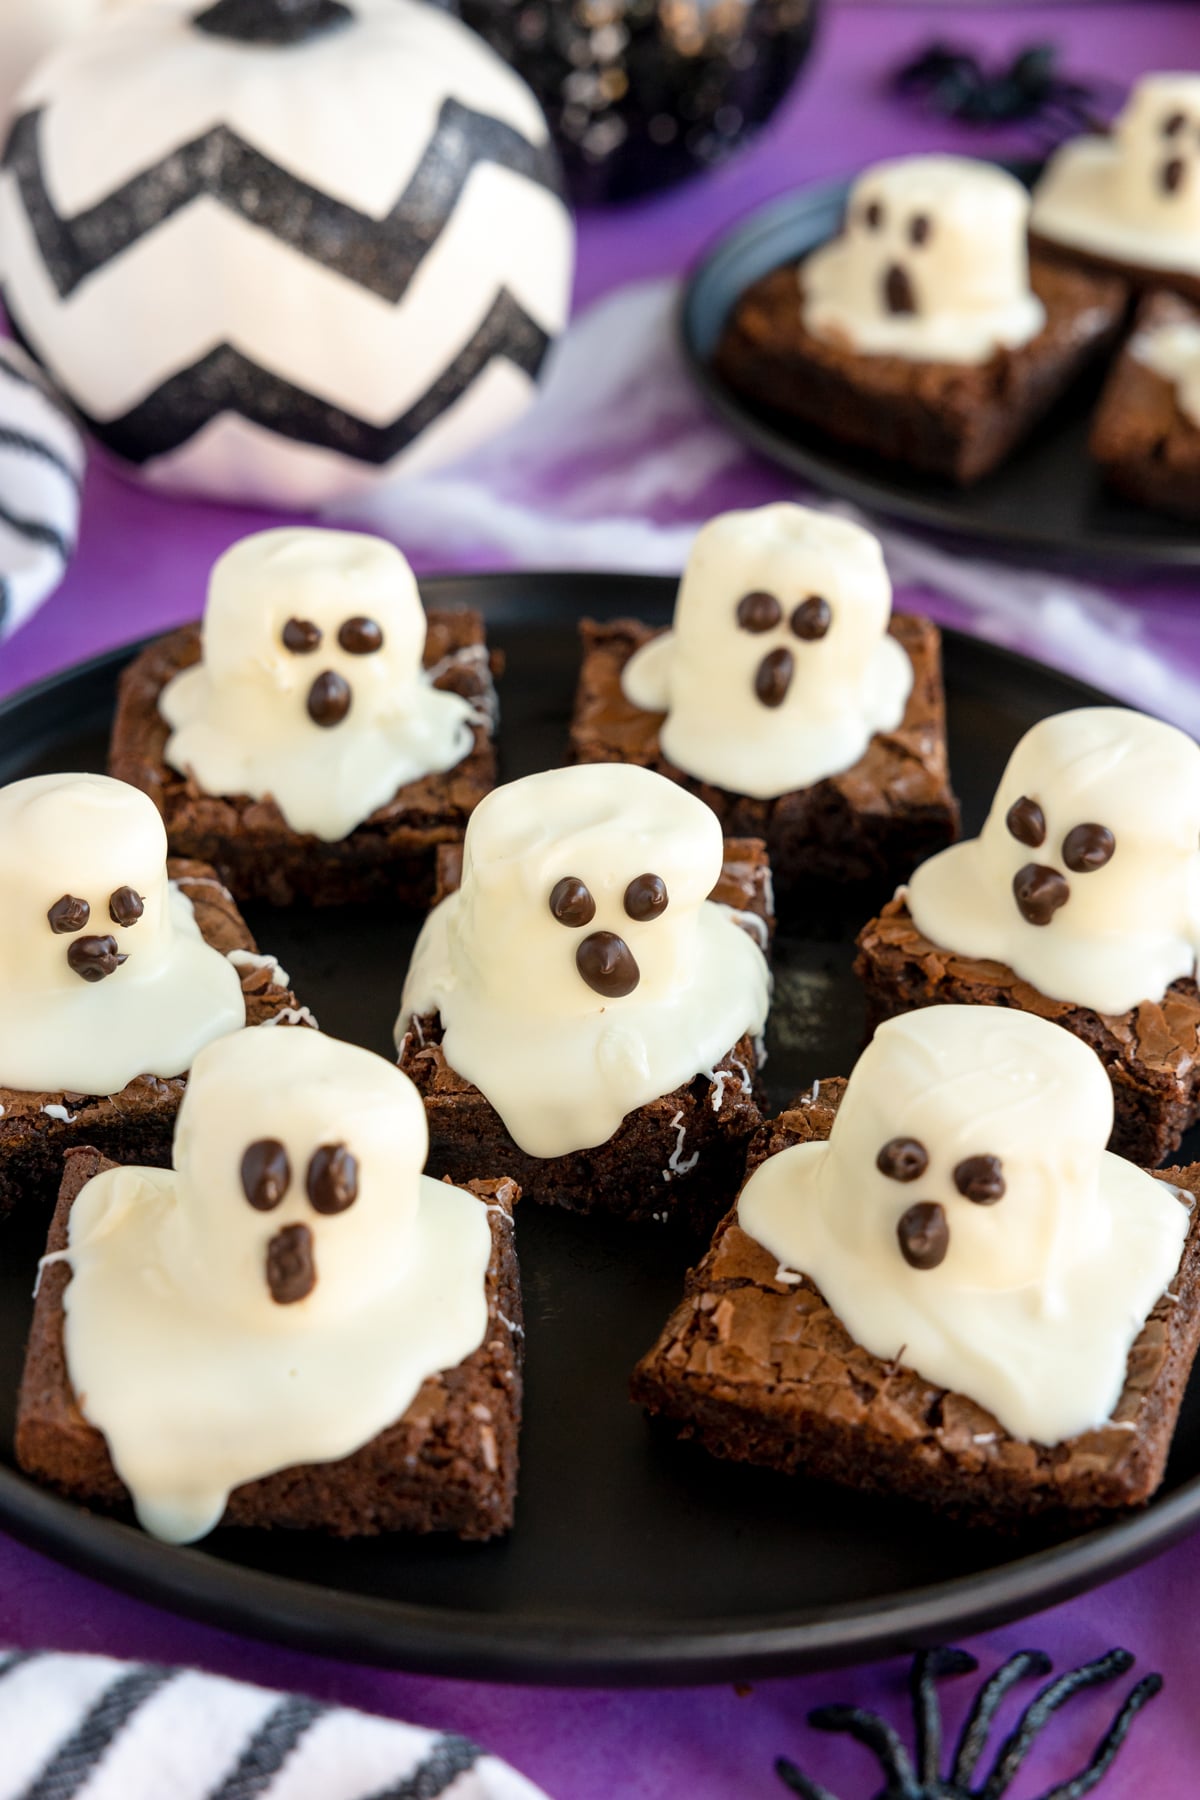
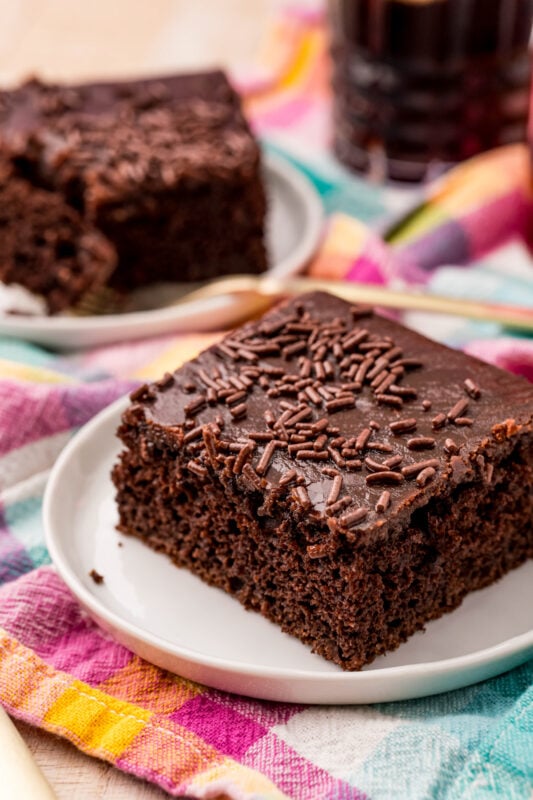
These darling ghost brownies will have everyone around you saying anything but boo! Fudgy brownies get topped with marshmallow ghosts covered with white chocolate for a Halloween snack that both kids and adults will love! But don’t just take our word for it!

Want to save this recipe?
Enter your email below and we’ll send this idea straight to your inbox (plus you’ll receive fun weekly ideas from us too!)
I’m all about cute Halloween food these days. From witch rice krispy treats to pumpkin pizzas, there’s just something fun about making fun Halloween treats!
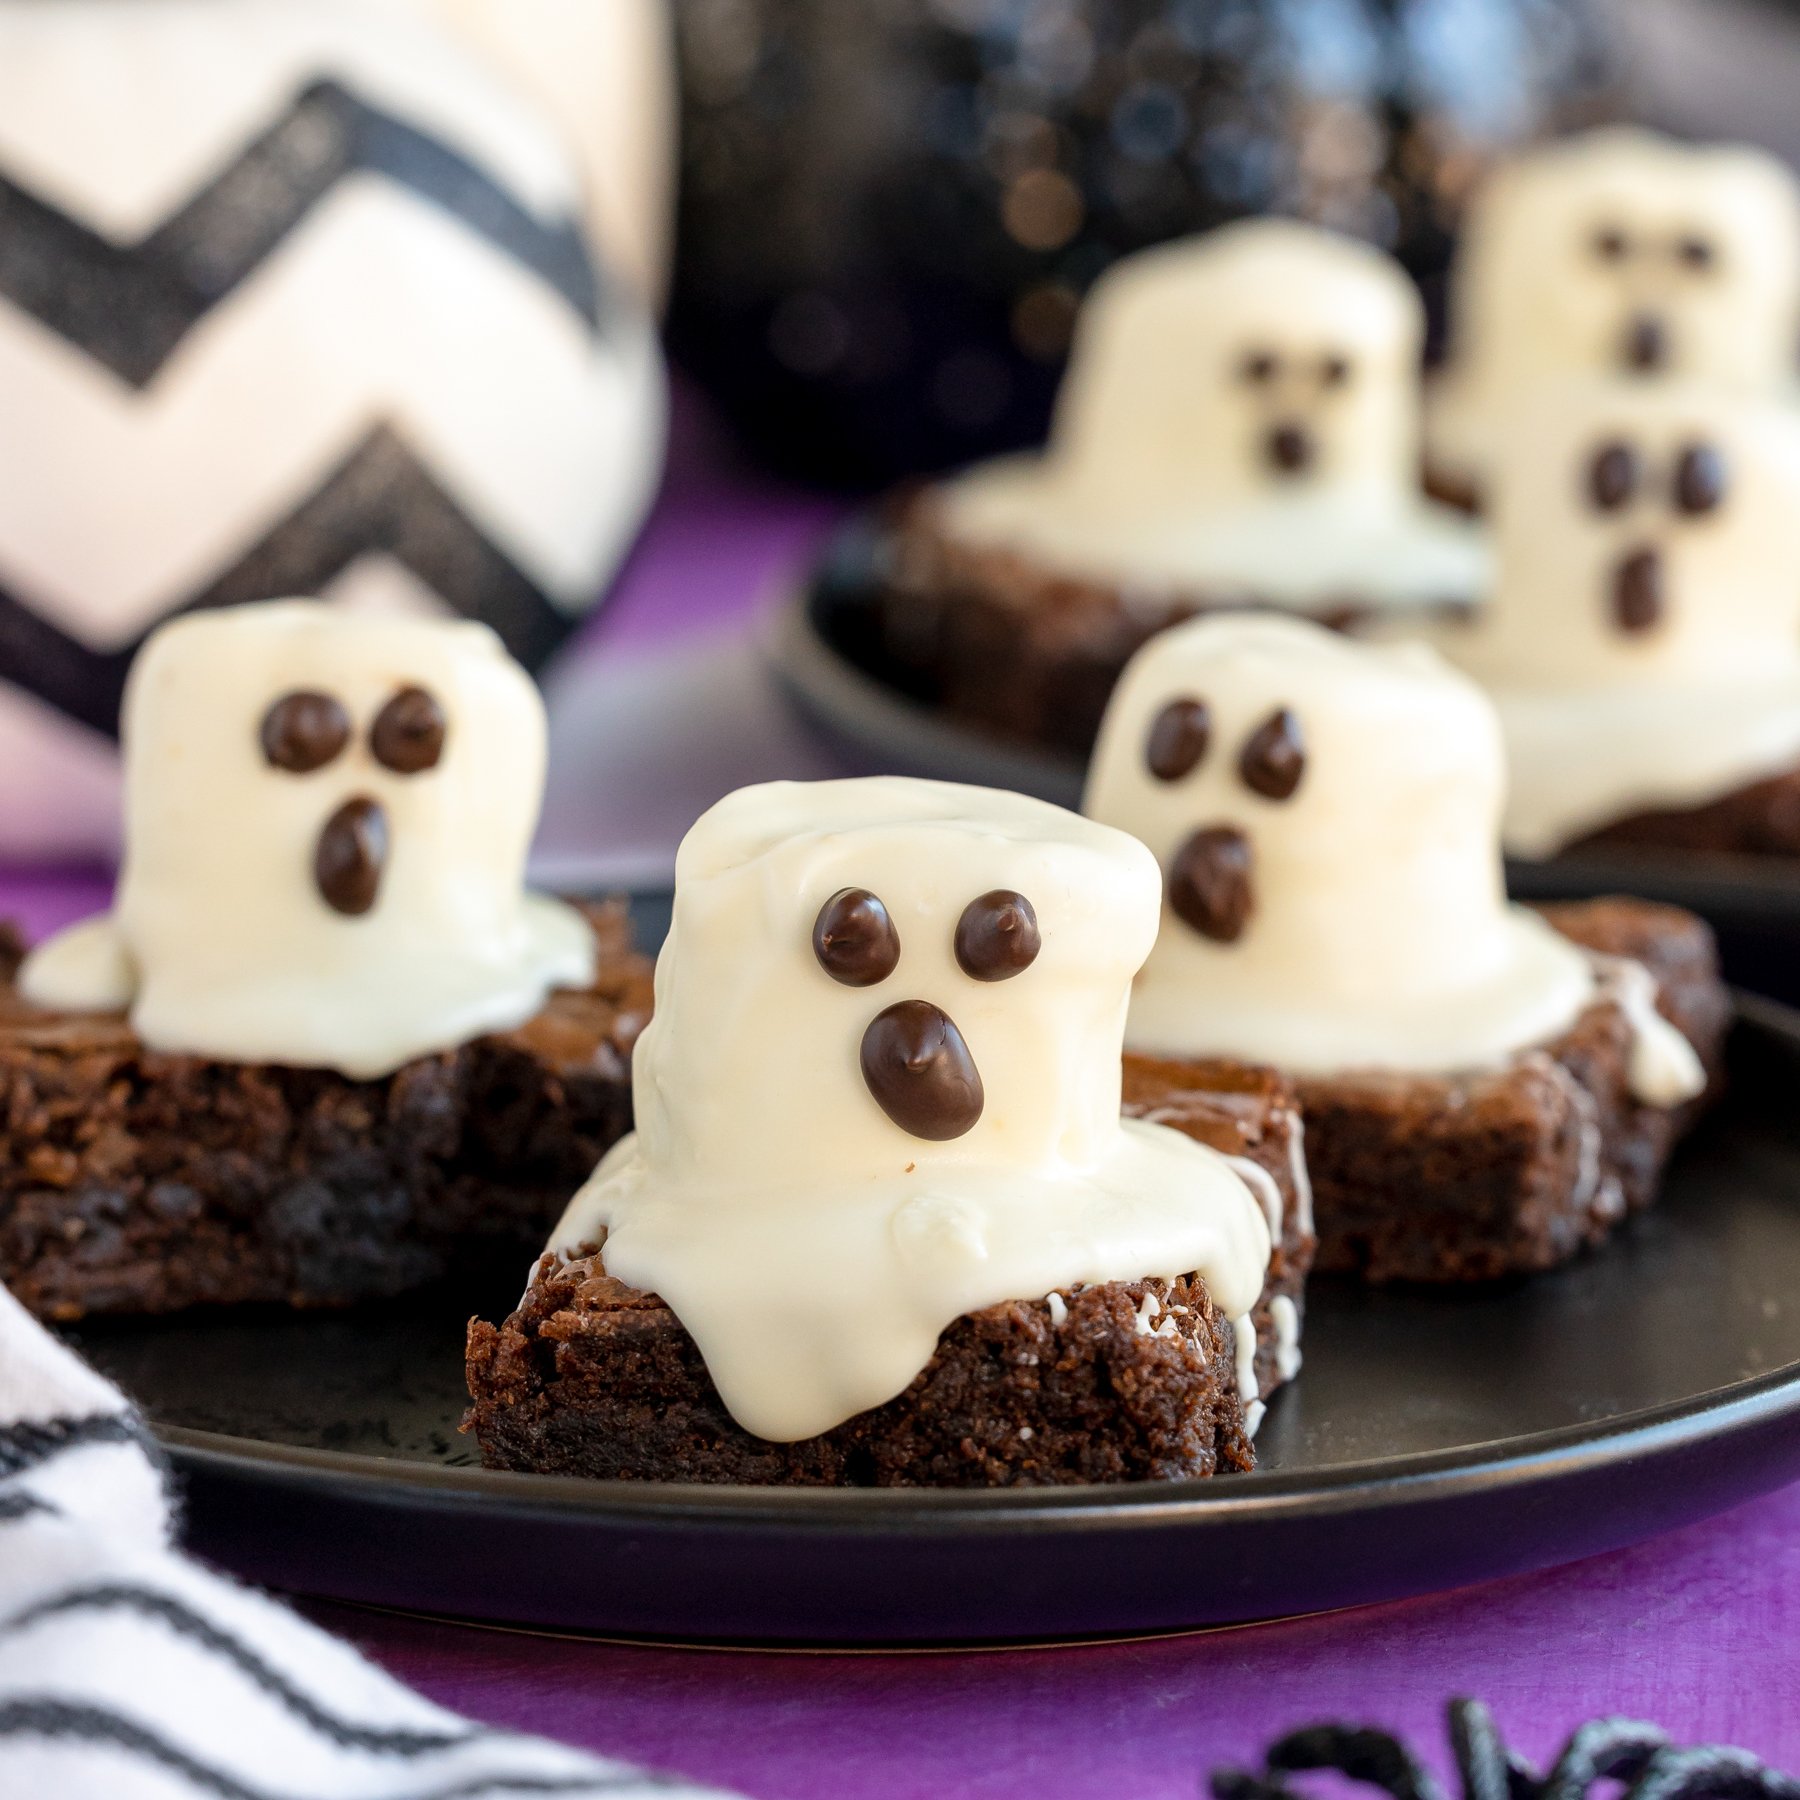
I’ve made these ghost brownies a number of times and one of the best things about them is that they’re a little different every time. The chocolate melts a little different, bends a little different over the marshmallow, flows off the side of the brownie or doesn’t.
It’s super simple to keep them from all looking like cookie cutter treats, and I love that about them. It’s like how every ghost out there from Casper to Peeves looks totally different even though they’re all ghosts!
These also make one of the best Halloween party ideas since you can make them ahead of time and they’ll still be yummy!
Why People Love These Ghost Brownies
- Fun to make – kids will absolutely love helping you make these.
- Make ahead of time – these are a great make ahead treat because the brownies, marshmallows, and melted chocolate all last for a few days! Make them the day before a Halloween party or right before you want to enjoy and they’ll still be delicious!
- Mysterious – these are so fun because you just need a ghost but don’t know what’s underneath it! It’s kind of like with these Mickey cake pops, they’re cute but no one knows what the ears are made of until biting into them!

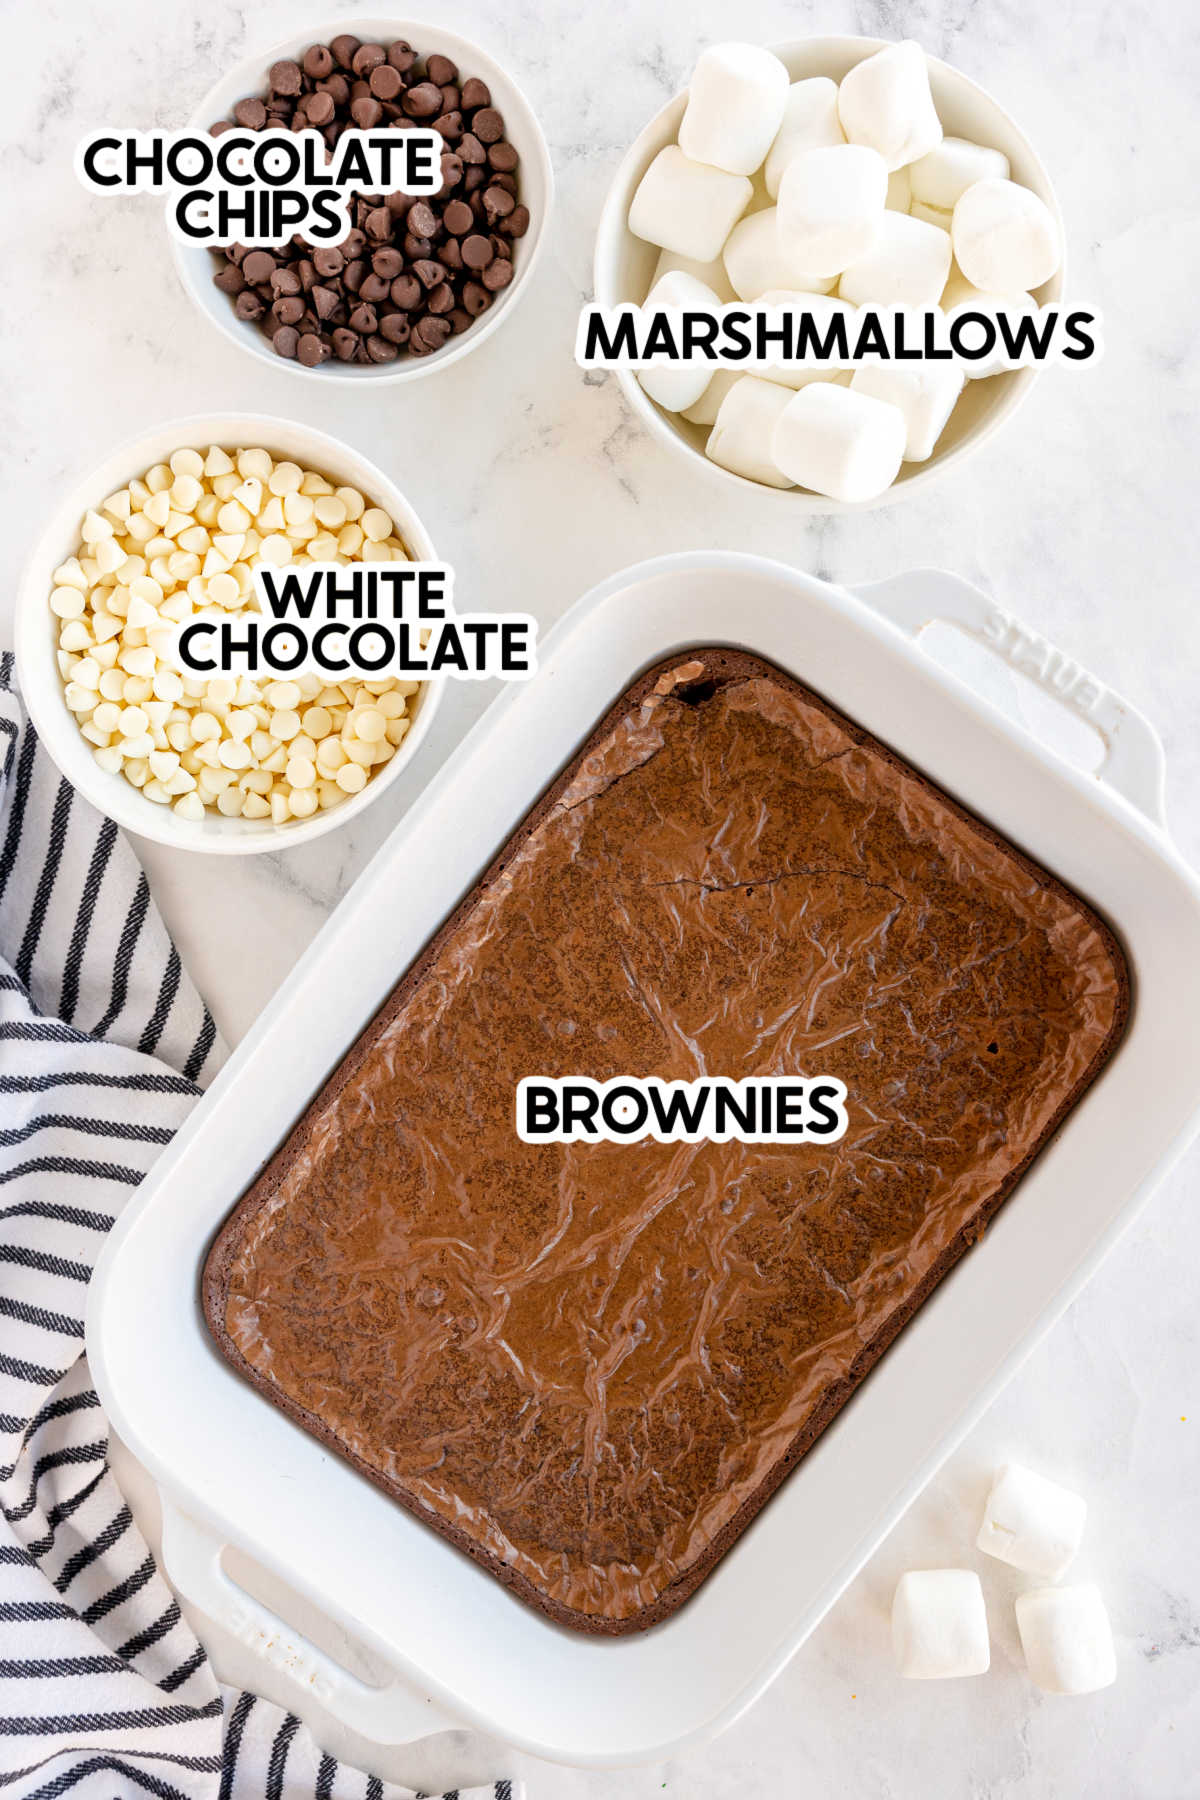
Ingredients

Ingredient notes & Substitutions
- Brownies – you can either use your favorite boxed brownie mix (I love the Ghirardelli double chocolate!) or you can make homemade brownies. Or you can even buy brownie bites that are already made! You just need brownies!
- Marshmallows – make sure you get the regular size and regular shape (not s’mores) marshmallows. Nothing else will work for these!
- White chocolate – you’ll need some sort of white chocolate that melts. I personally recommend white chocolate melting wafers because they melt and harden the best. But in a pinch, you can use almond bark as well. I do not recommend white chocolate chips unless you use high-quality ones like Ghirardelli.
- Chocolate chips – there are a number of options you can use to draw the faces on the ghost brownies, chocolate chips is just one that I know most people have in their homes, so I use melted chocolate chips.
Note!
If you use a box brownie mix, you’ll also need the ingredients to make the brownies – typically eggs, water, and oil.
How to make Ghostly Brownies
These ghost brownies are so simple to make! I’ve included the basic instructions below but you can jump to the recipe at the bottom of the post for all the measurements and detailed instructions!
1 – Make the Ghost Brownies
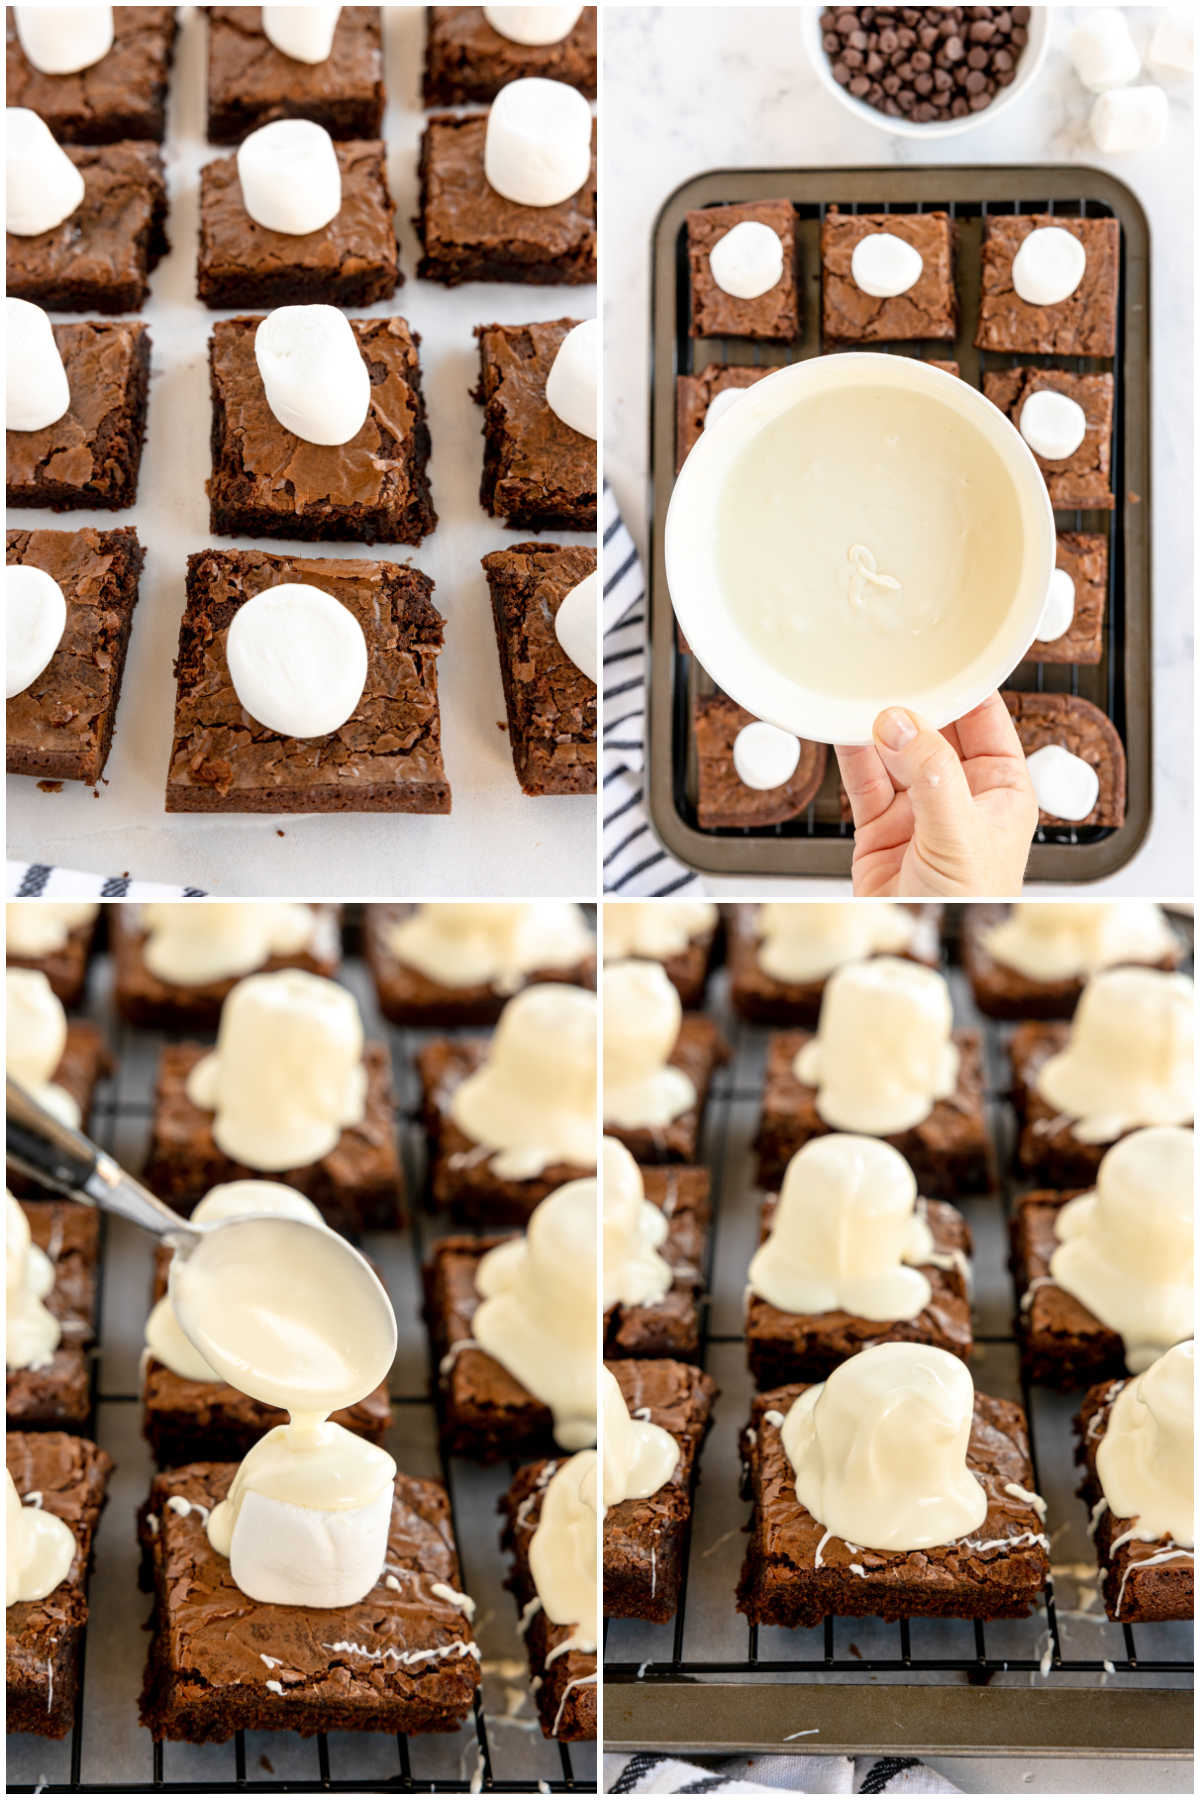
- Make the brownies, let them cool, and cut them into squares.
- Place one marshmallow on top of each of the brownies.
- Melt the white chocolate either in the microwave or on the oven using a double boiler, make sure it’s melted enough that you can pour it easily. If you need to, you can add a tsp of coconut oil to make it smooth.
- Pour the white chocolate over top of the marshmallow, until the marshmallow is covered and there’s a small pool at the bottom, on top of the brownie. I recommend pouring a good layer of chocolate so it coats it well!
Tip!
Melt the white chocolate either in the microwave on 1 minute increments, stirring between each increment, or by using a double boiler on the stove. I typically prefer the double boiler method simply because it gives me more control, but it does take more time than the microwave!
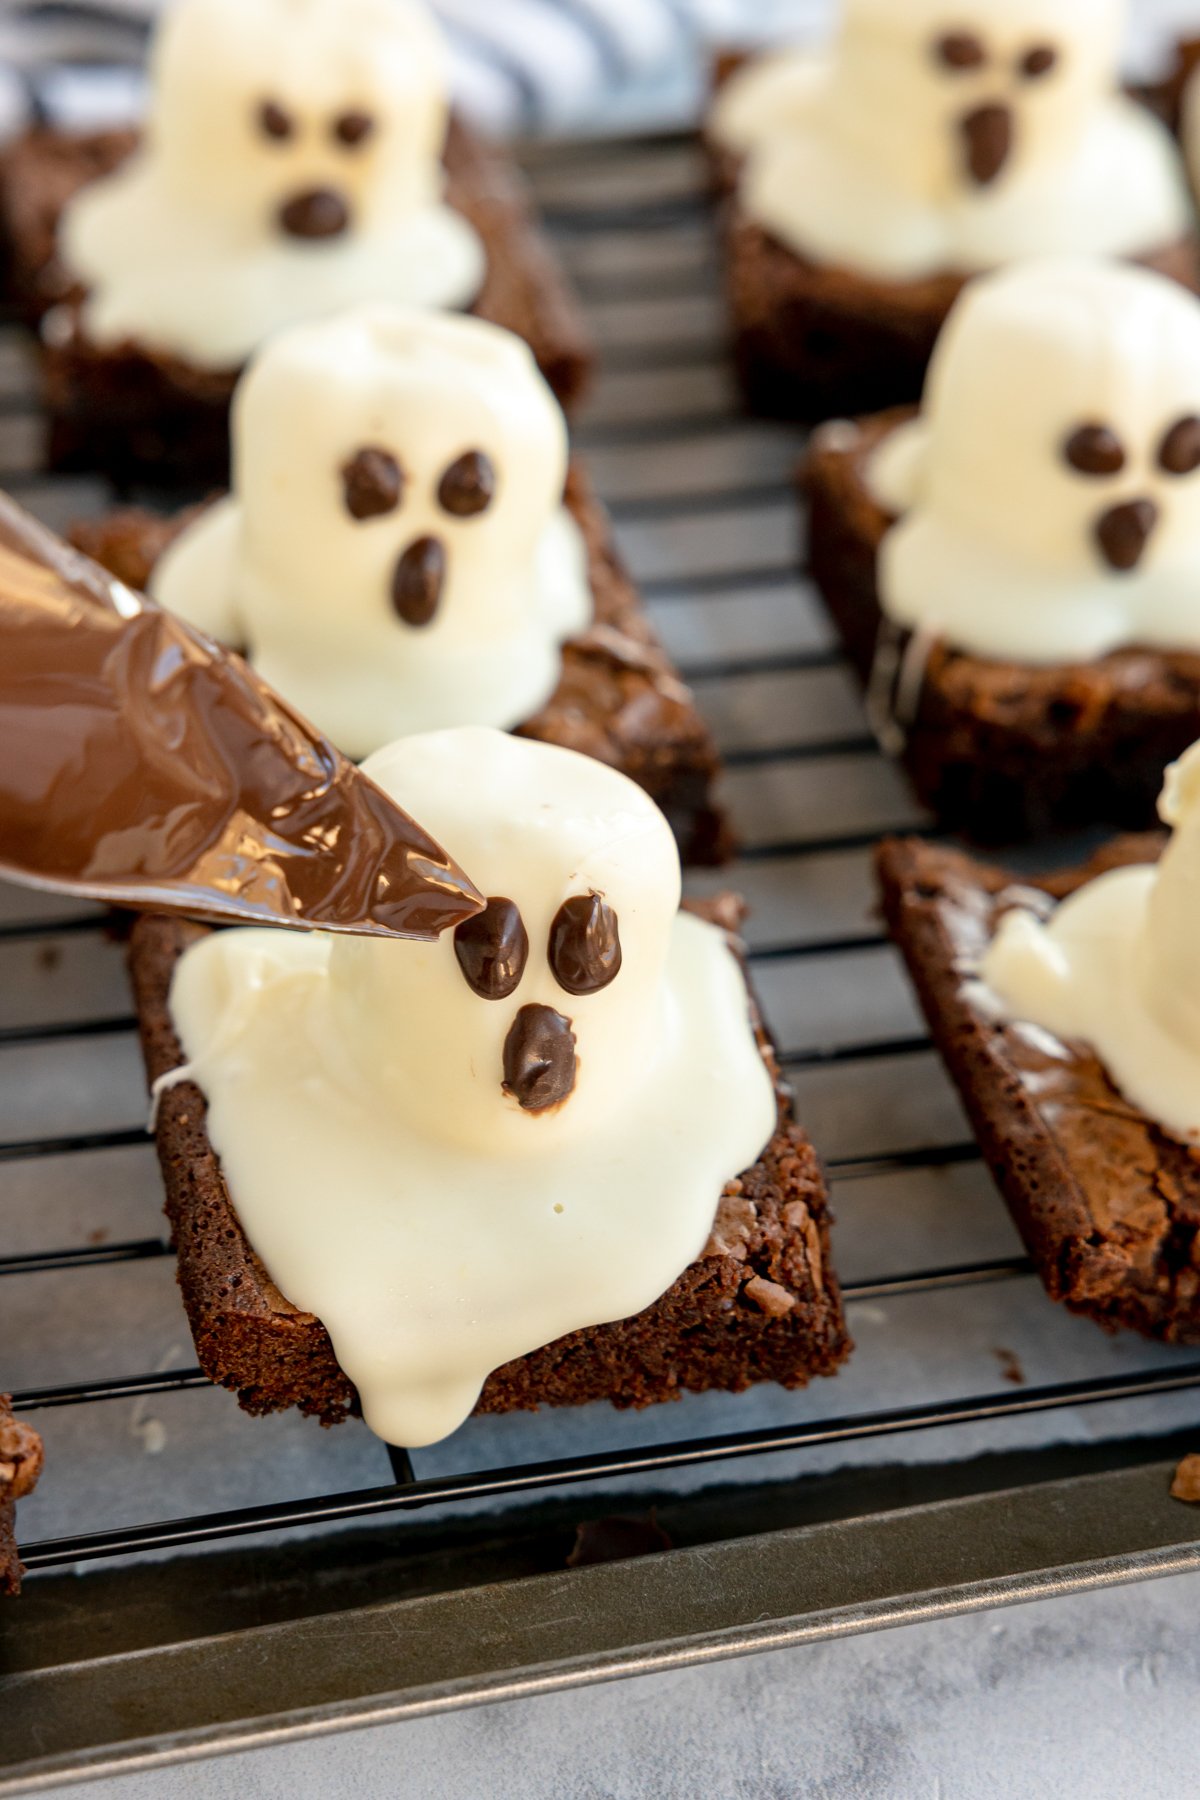
2 – Decorate the ghosts
- Once the white chocolate hardens, melt the chocolate chips in the microwave or using a double boiler (use the instructions above), then transfer it to a piping tip or zipper top bag with the tip cut off (make a small cut).
- Gently squeeze chocolate through the piping tip to make one dot for each of the eyes, and an oval for the mouth on each brownie. You can get creative here or just make them all look the same!
- Let the chocolate harden before serving.
Tip!
If you need ideas for different ghost faces, you can check out all of the ghost variations we used on our ghost luminaries. There are like 12 different ghost faces that would work for these!
Let the melted chocolate harden completely then enjoy! These harden enough that you should be able to package and transport them to a Halloween party or just plate them on your favorite Halloween serving tray to enjoy at home!
Helpful Tips & Tricks
Add a piece of parchment paper to your baking pan before you add your brownie batter, then cook the brownies on the parchment paper. Once they’ve cooled, use the parchment paper to remove them from the pan for easier cutting!
Increase the amount of marshmallows, white chocolate, and chocolate in the recipe if you’re planning to cut the brownies into more than 9 pieces. This recipe is written for 9 square brownies so you may need more if you make more brownies than that!
Use a plastic knife in a sawing motion to cut through the brownies once cooled for the cleanest lines. This will help you give a nice clean look if you’re not using a brownie pan.
Let the brownies cool completely before so the melted chocolate doesn’t just slide off. If they’re still too hot, the chocolate won’t harden like you want it to.
Place the brownies on a piece of parchment paper before adding the marshmallows and ghosts to make cleanup of any overflowing chocolate easier.
Store these in an airtight container (or something like this cupcake carrier) for up to five days before tossing. They will not freeze well!

Ghost Brownies
Ingredients
- 12 brownies store-bought is fine!
- 12 large marshmallows
- 12 ounces white chocolate melting wafers
- 4 ounces semi sweet chocolate chips or chocolate frosting
Instructions
- Bake the brownies according to the package or recipe instructions and allow them to cool completely.12 brownies
- Cut the brownies into 12 equal pieces.
- Place one marshmallow on each of the brownies.12 large marshmallows
- Melt the white chocolate either in the microwave on 1 minute increments, stirring between each increment, or by using a double boiler on the stove.12 ounces white chocolate melting wafers
- Using a spoon or pouring spout, pour melted white chocolate over top of each of the marshmallows.
- Once all marshmallows are covered, place them in the refrigerator for 10 minutes to quicken the hardening process.
- While brownies are in refrigerator, melt the chocolate chips in the same way you melted the white chocolate.4 ounces semi sweet chocolate chips
- Place melted chocolate in a piping bag (or plastic bag with the corner cut off) with a small decorating piping tip.
- Remove brownies from refrigerator and gently squeeze chocolate through the piping tip to make one dot for each of the eyes, and an oval for the mouth on each brownie.
- Let the melted chocolate dry then enjoy immediately or within a few days!
Tips & Notes:
Nutrition Info

More Easy Halloween Treats
If you’re like me and love Halloween treats, you’ll love these ones as well!
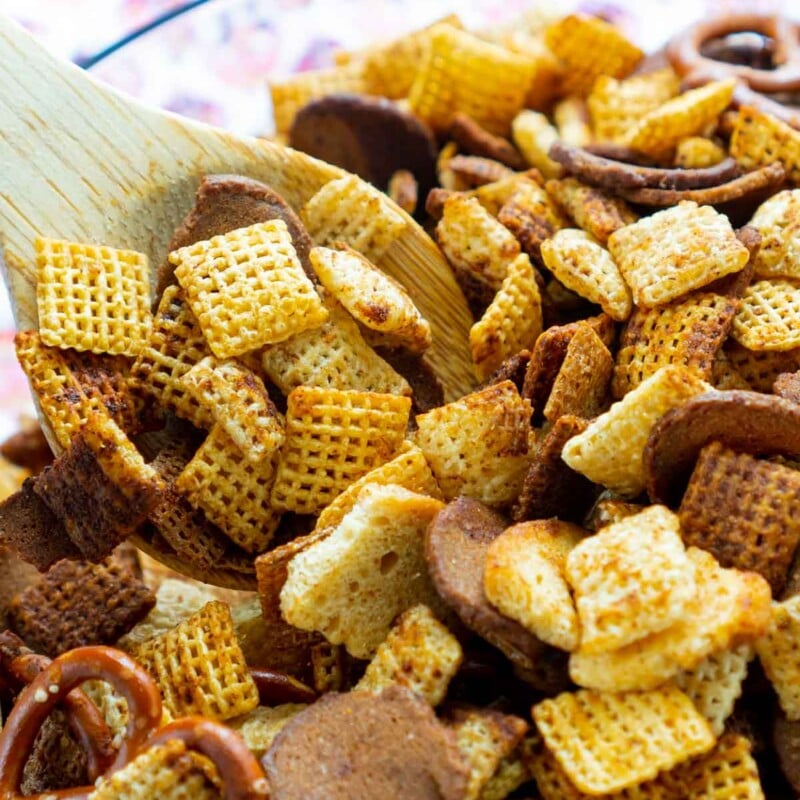
- Halloween pretzels – cute sweet and salty snacks!
- Halloween bark – a unique twist on chocolate bark for Halloween!
- Halloween dirt cups – these fun no bake treats are always a hit with kids!
- Cauldron cupcakes – these witchy cupcakes incorporate cupcakes + Halloween rice krispies in a fun treat!
- Witch hat cookies – the easiest Halloween party food ever, only three ingredients!


Leave a Reply