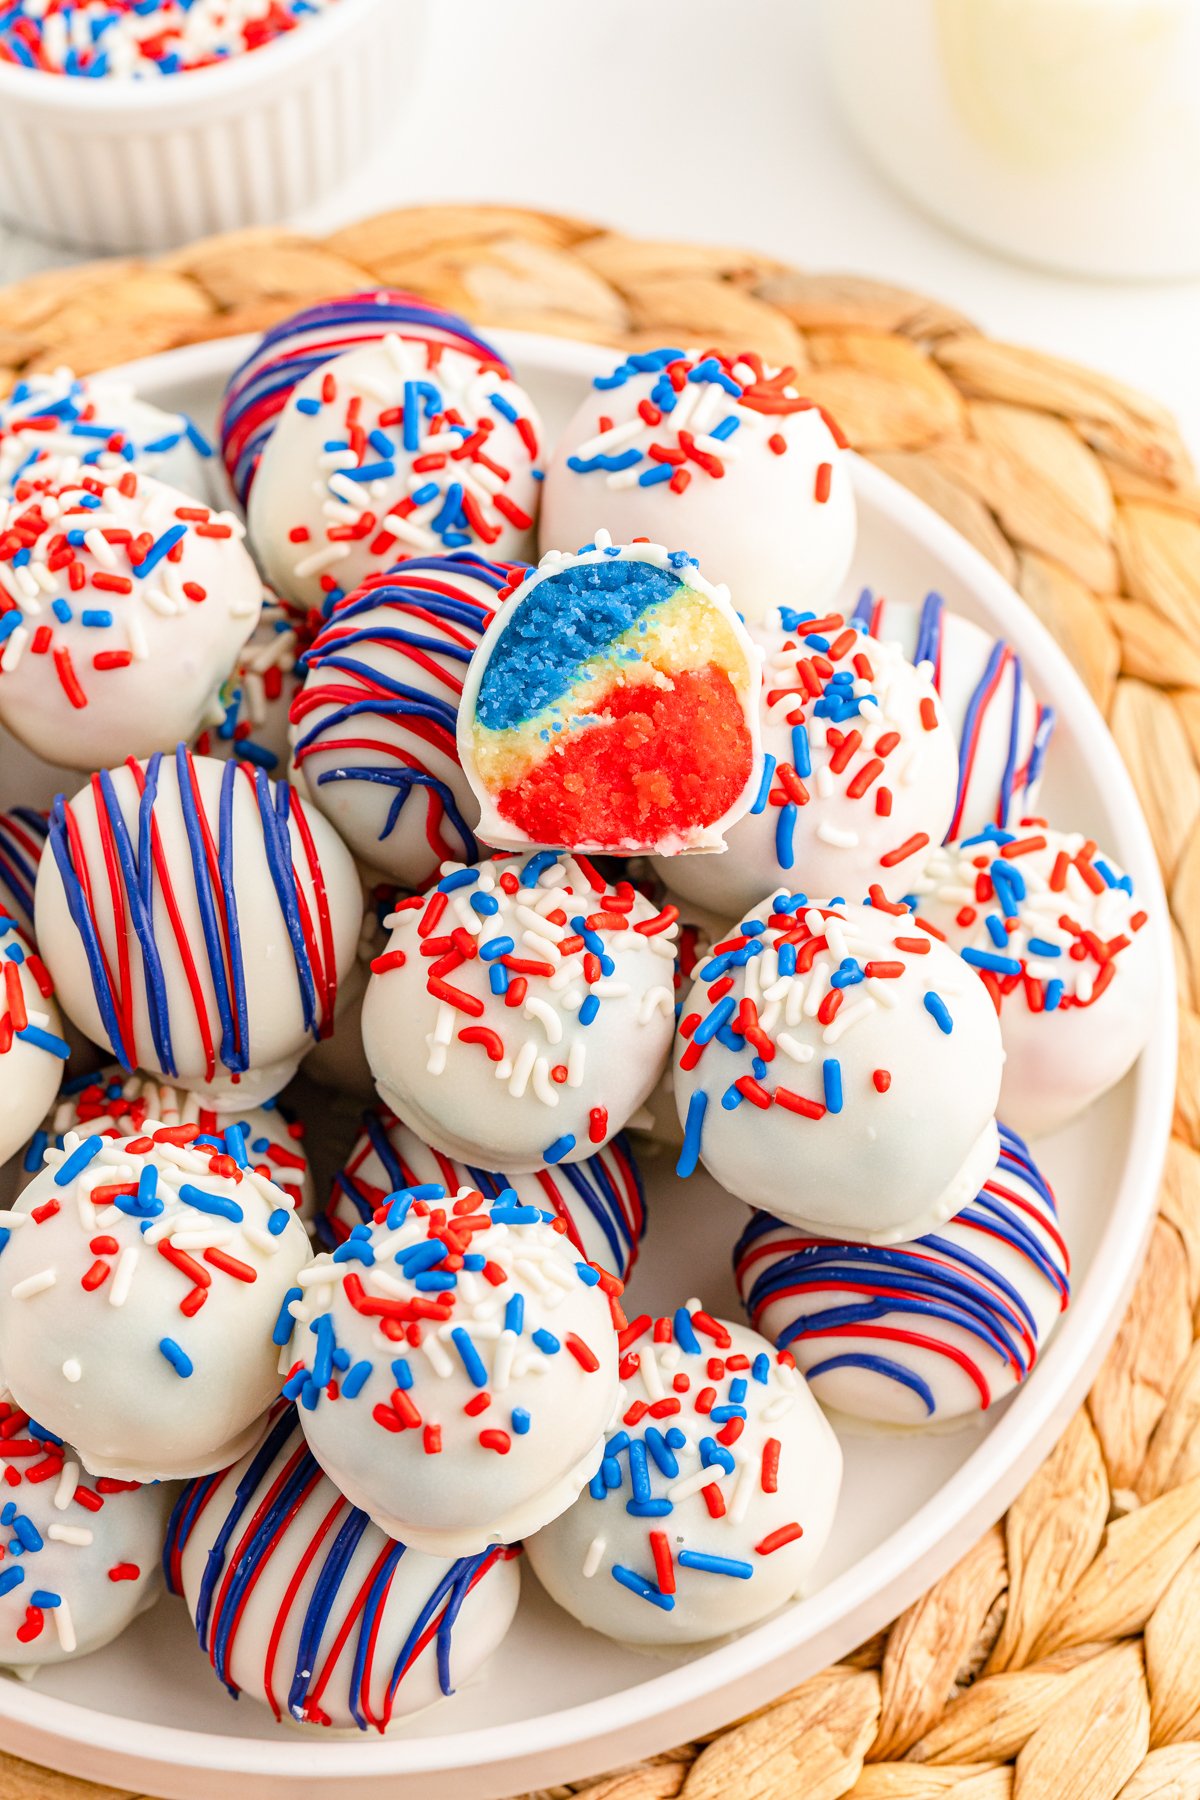
These 4th of July cake balls are a great addition to your patriotic holiday celebrations. You’ll love these cake balls that are made with a delicious cake, cream cheese filling, and a colorful surprise center. They’re the perfect patriotic treats to bring to your holiday BBQ or pool party.
Want to save this recipe?
Enter your email below and we’ll send this idea straight to your inbox (plus you’ll receive fun weekly ideas from us too!)
My kids love cake pops. To be fair, who doesn’t? It’s the best cake bite rolled into a chocolate-coated ball with sprinkles on top. They are delicious and I look for any reason to make them.
With the Fourth of July right around the corner, I had to come up with a festive pop for our patriotic celebration. But sometimes cake pops are a bit too time consuming so me to make, so I decided to go with cake balls this time around!
Aside from the taste, the best thing about cake pop balls is how easy they are to make! It really is as easy as taking an entire cake and mixing it with cream cheese then rolling them into balls.
Finish them by simply dipping them into chocolate to get the chocolate coating, decorate them with some patriotic sprinkles, and they are done! You can use any cake mixture or extra cake pieces you may have, like from this July 4th cake.
These patriotic cake balls are an easy treat to bring to your holiday parties. Not only do they taste great but the colorful center make these almost as exciting as the firework show!
This recipe works great for all patriotic summer parties like Memorial Day and 4th of July or honestly even Labor Day backyard bbqs. Or mix up the colors and it works perfectly for any occasion.
If you are looking to make a whole table full of fun red, white, and blue treats try these fun rice krispy cookies, 4th of July strawberries, or a 4th of July charcuterie board.
Why You’ll Love This Recipe
- Make it your own – change out the food coloring to make it work for any occasion. Make them cake balls or if you are wanting them less messy turn them into cake pops by simply adding a lollipop stick.
- Family-friendly – hand out the blue sprinkles and let the whole family decorate the chocolate-covered cake ball.
- Make ahead – make these the day before and they are still just as good! Easy way to take one thing off your plate so you can enjoy the day out of the kitchen.
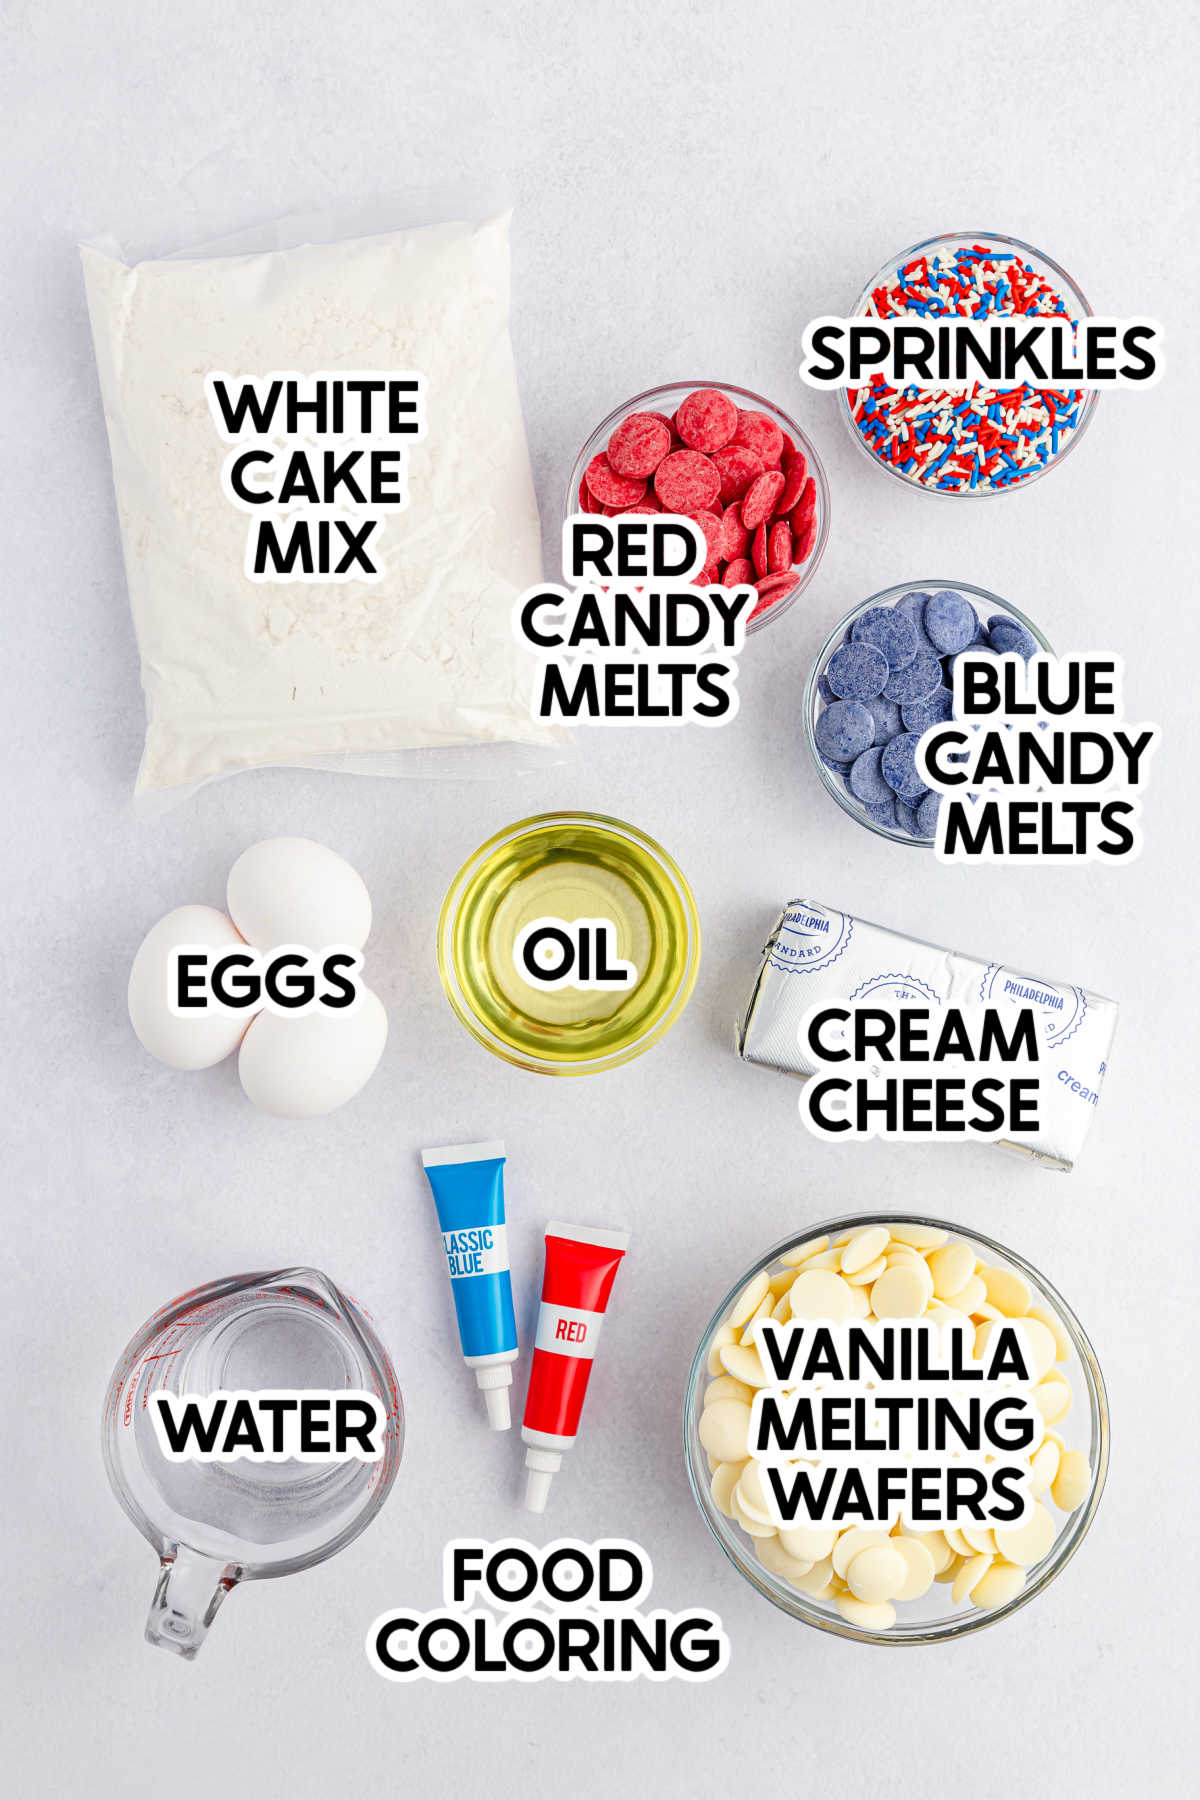
Ingredients
Ingredient Notes
- White cake mix – you can use your own white cake mix if you prefer, but to get the cake crumbles to be colorful use a white cake base. Using a different type of cake will alter the colors at the end.
- Melting candy – you can use red and blue candy melts or change out the colors to whatever you’d like. This can also be omitted if you’d like.
- Vanilla melting wafers – you can use almond bark if you prefer.
How to make red white and blue cake balls
The good news is that cake balls are really easy to make, especially when you use a cake mix. The trickiest part is not eating all the cake mixture before you dip them in chocolate.
You’ll find step-by-step instructions below with pictures to follow along and the recipe card at the bottom of the post.
1 – Make The Cake
Start by preheating the oven, you’ll want to check the box or your recipe for the temperature. Then you’ll grease the pans, I used an 8×8 but you can use any small pan that you have. Round cake pans work great!
In a large bowl, prepare the cake according to what your recipe or box says. For mine, that meant mixing the cake mix, vegetable oil, water, and eggs until smooth. It may vary depending on the brand you use.
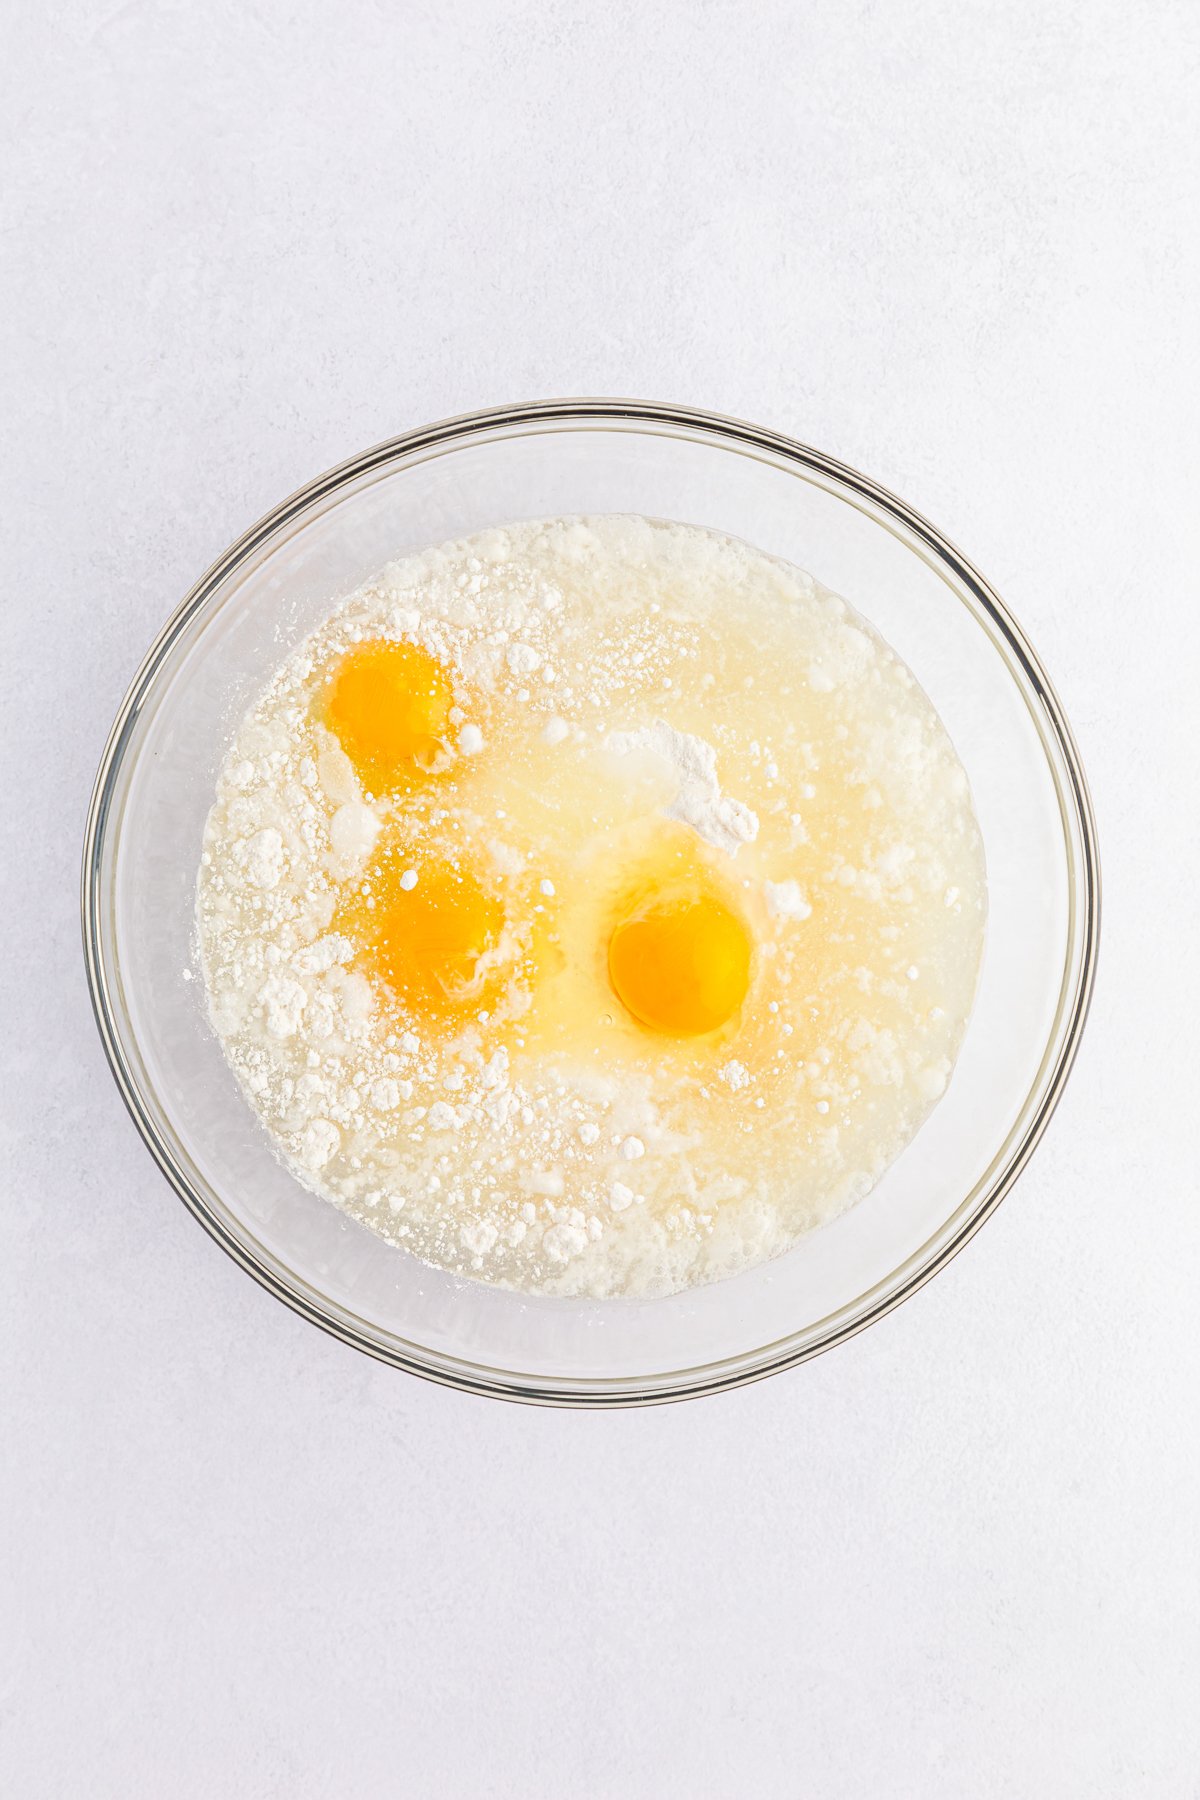
Once you have the cake batter prepared, separate it equally into three different small bowls. Put one bowl aside for the white portion.
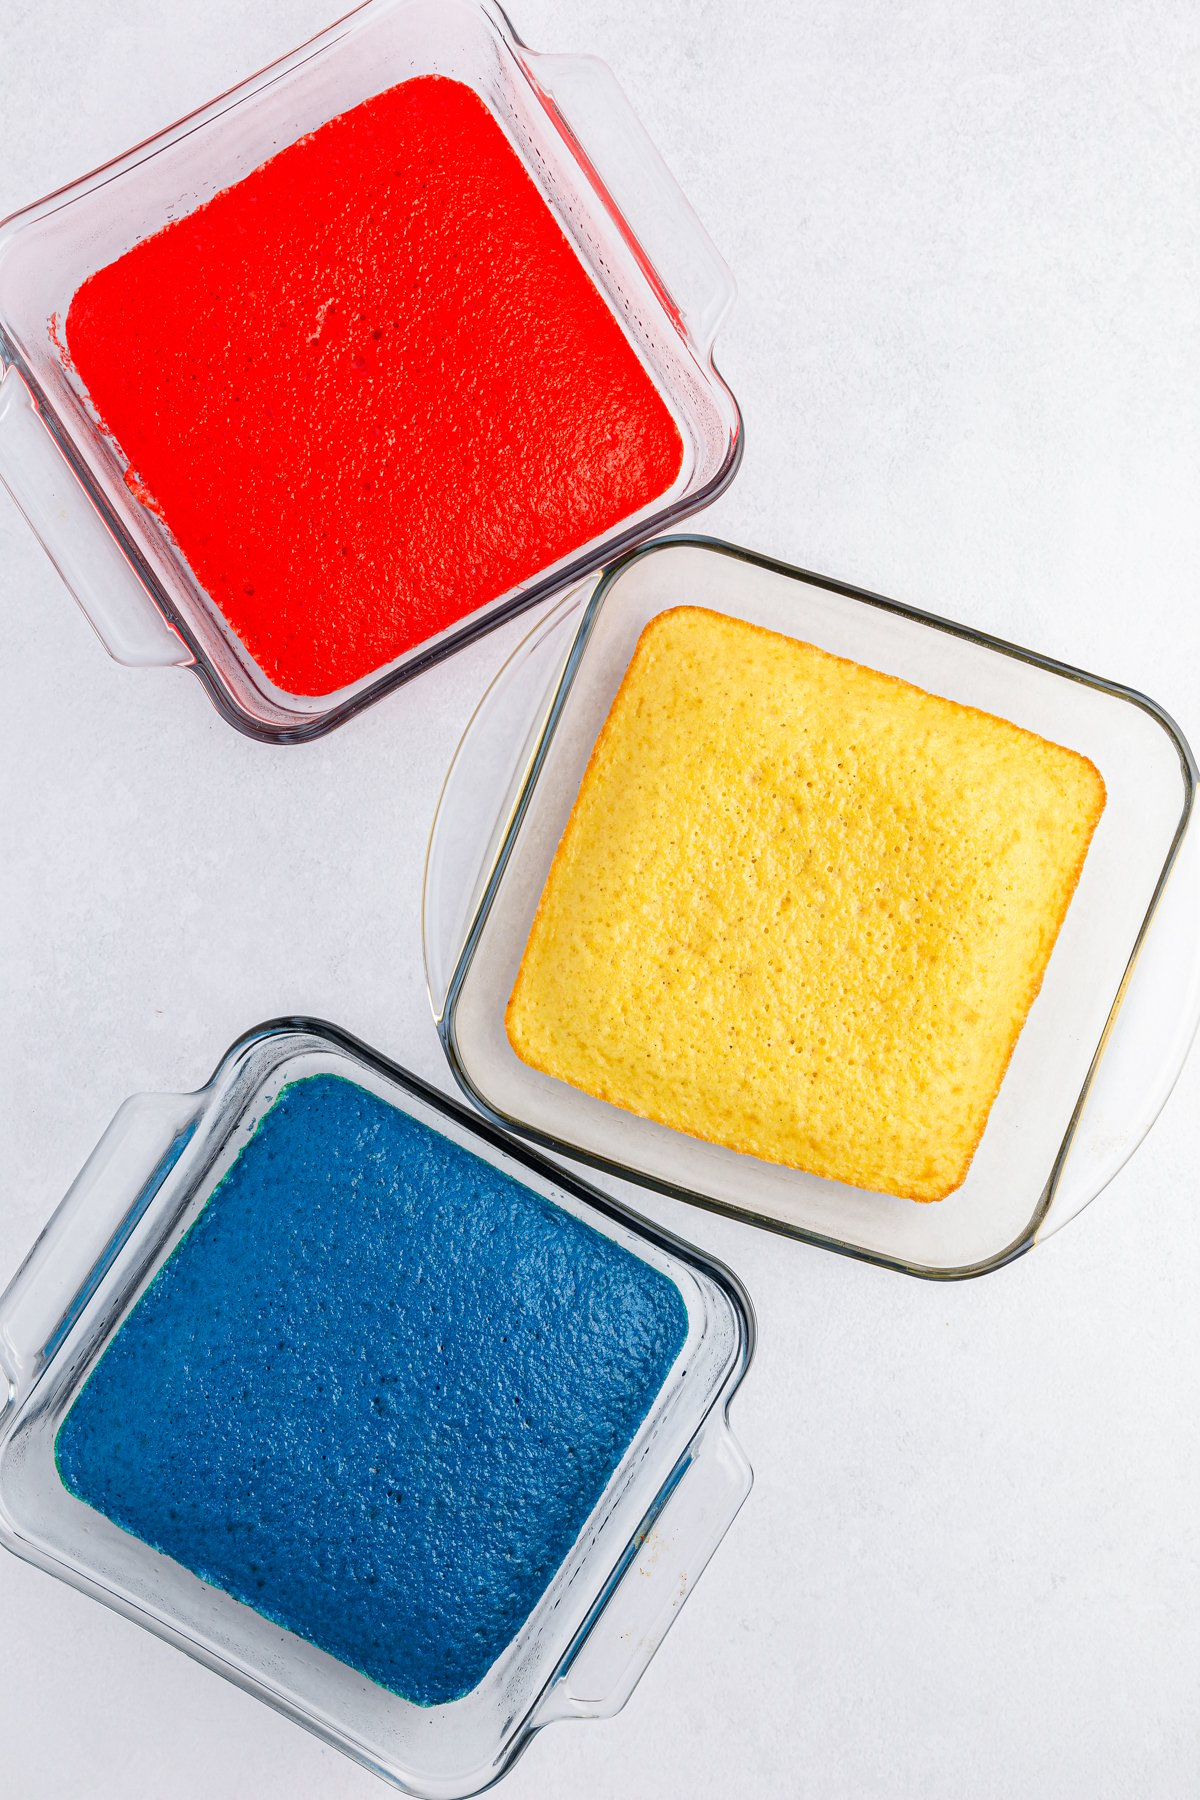
Next, add the red food coloring to one bowl and mix until you have the color you want. I aimed for the color of red velvet cake. Set the bowl aside once it is fully mixed.
Then add blue food coloring to a new batter until you get the desired color. Make sure to use separate spoons for the three different bowls otherwise you could end up with a pink and purple section.
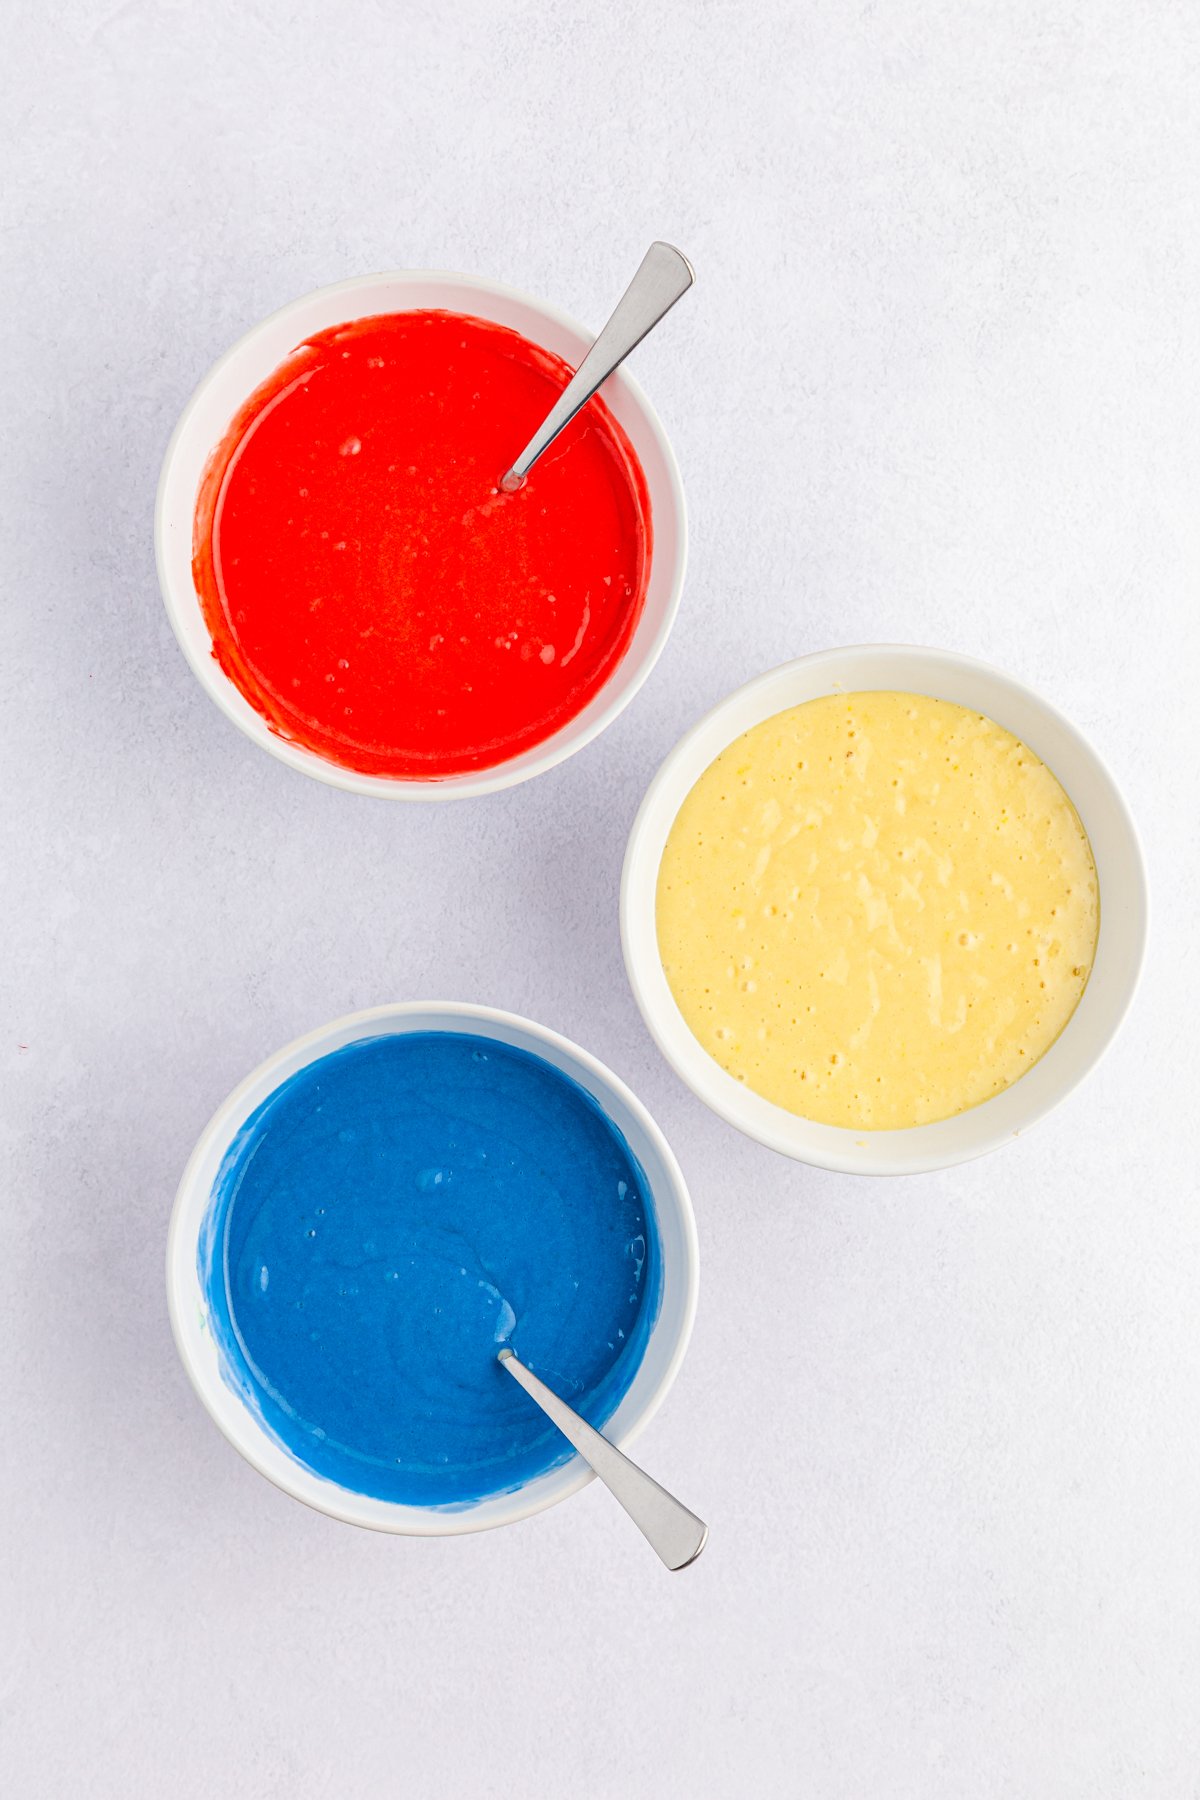
Pour the three different colored batters into their own greased pans. Bake for 14-16 minutes or until a toothpick comes out clean.
Take out of the oven and cool on a wire rack until completely cool.
2 – Make The Patriotic Cake Balls
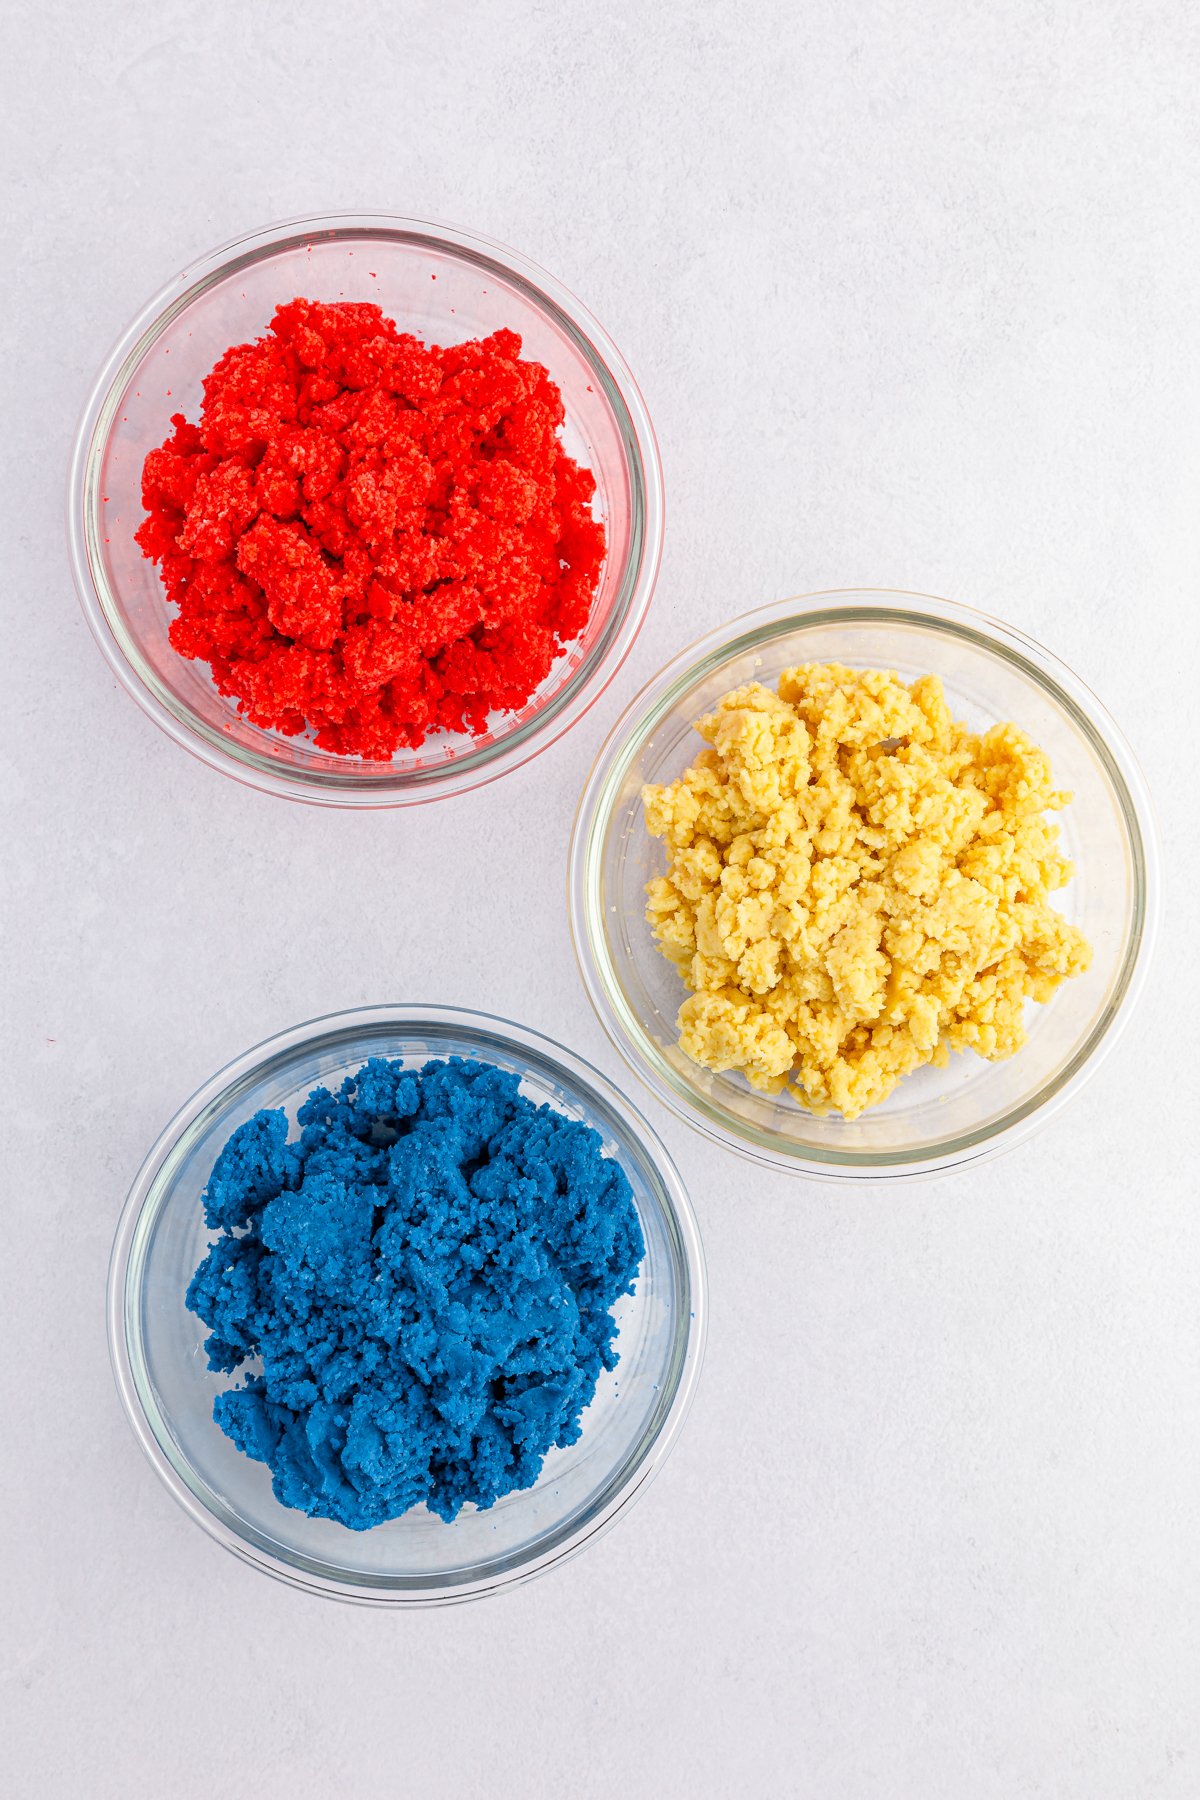
Once cooled, crumble the cake into fine crumbs and transfer to three separate bowls.
In a large mixing bowl using a hand mixer on medium-high speed, beat the cream cheese until smooth and creamy.
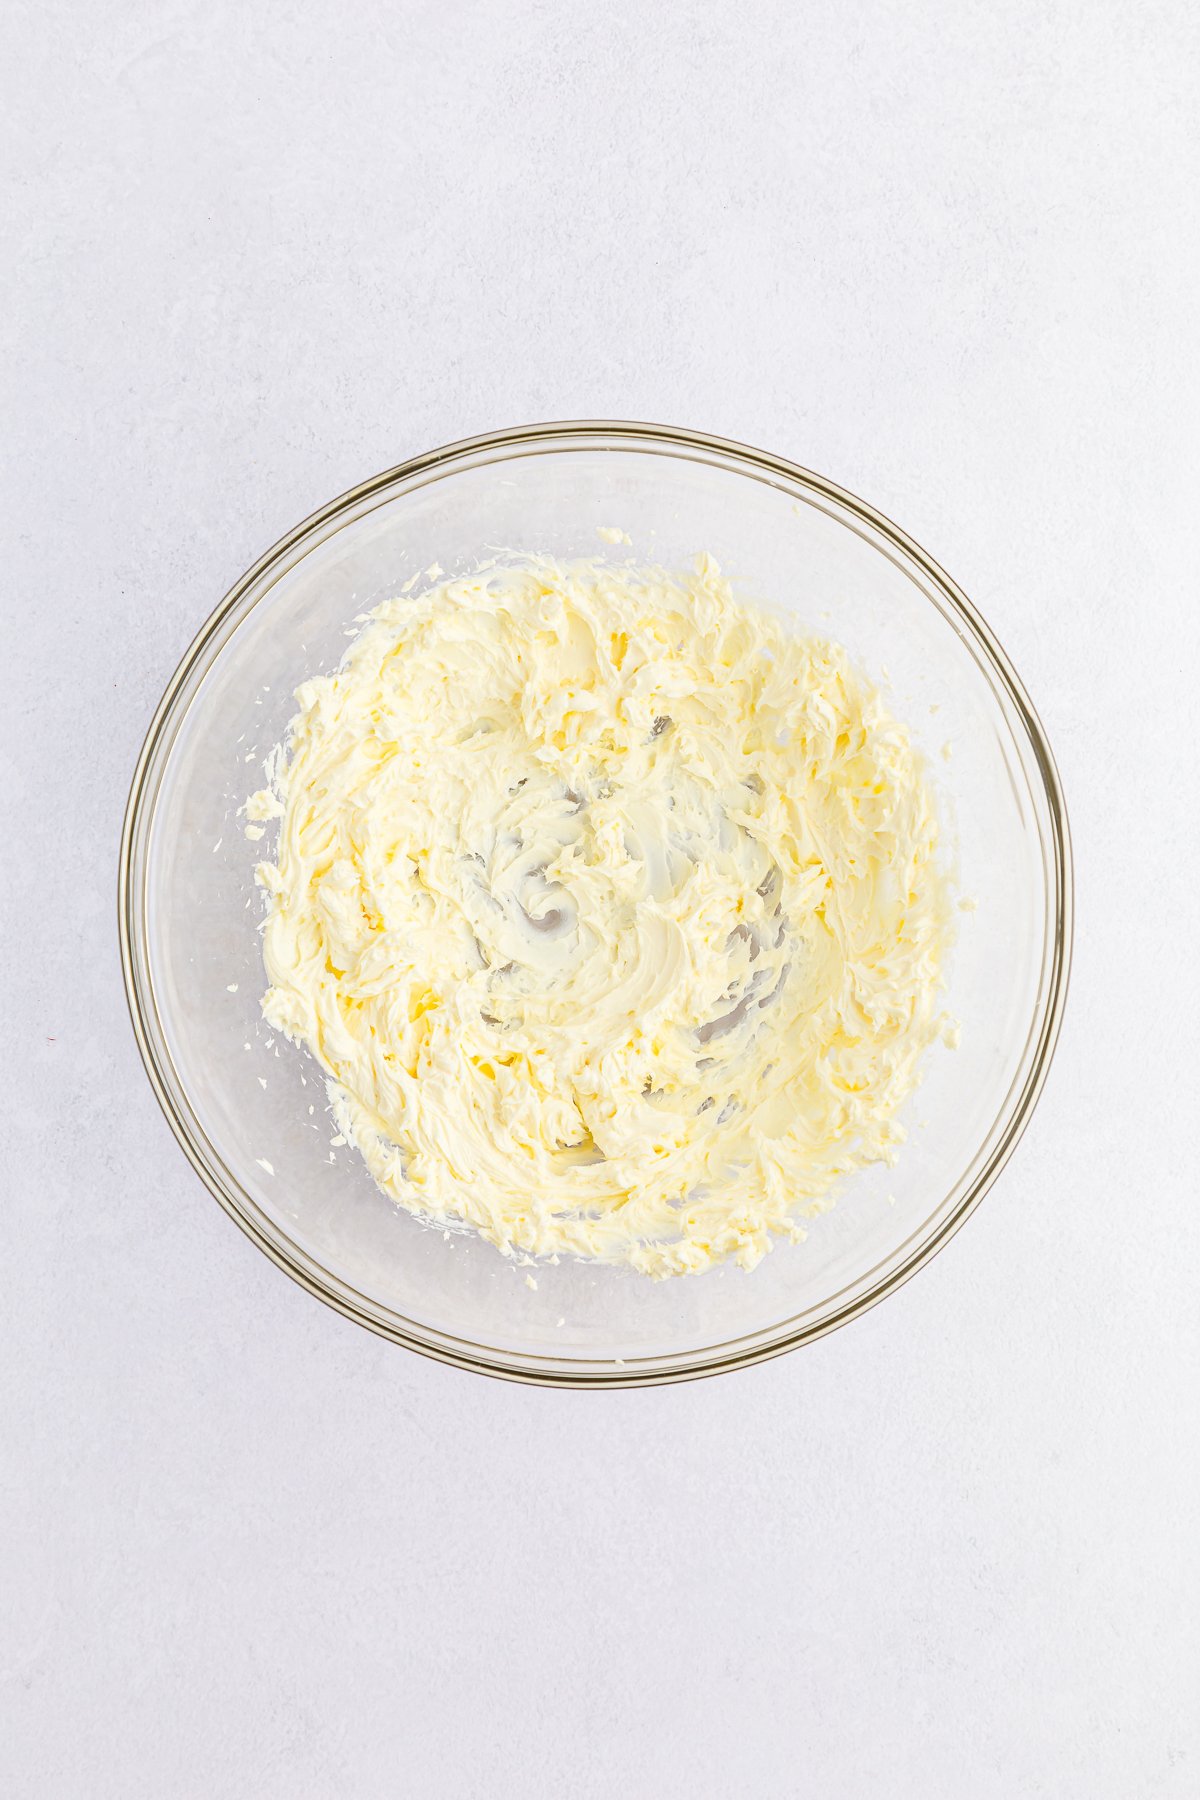
Divide cream cheese evenly into the three cake bowls. Mix each bowl until fully incorporated, making sure to not mix the colors together. You can use a rubber spatula or a hand mixer on low for this portion.
Line a cookie sheet with parchment or wax paper.
Gather a one-inch chunk from each colored cake and roll them together gently in your hands to form a ball. Try not to press too hard and mix all the colors together. Place ball on the prepared baking sheet and repeat until you have used all of the cake mixture.
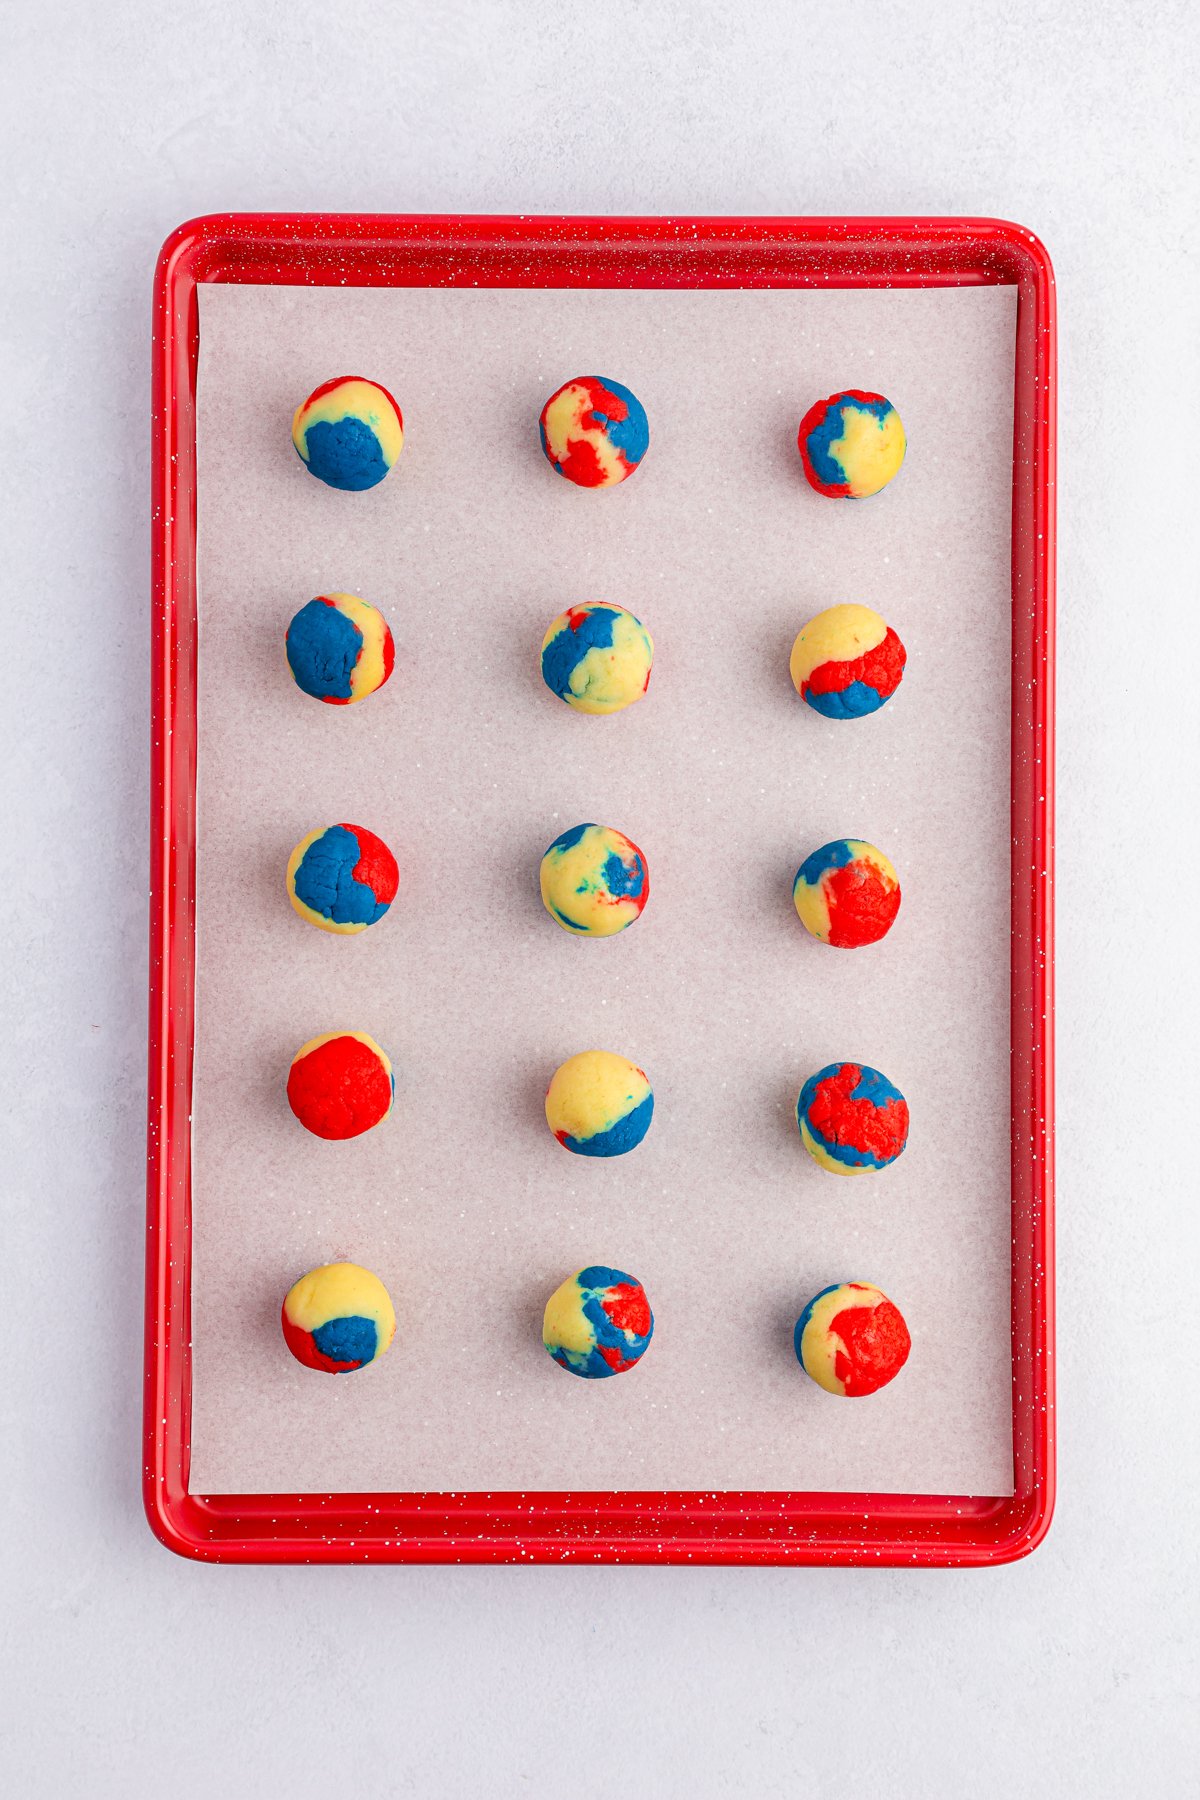
Once all the balls have been made, place in the fridge for 1-2 hours to chill.
If using cake pop sticks, you will want to put them in here. Melt 1/4 cup of vanilla melting wafers and dip the sticks in then place into the balls before putting in the fridge to cool.
If making cake balls rather than cake pops, you can skip the pop step.
3 – Decorate And Serve
Once the balls have chilled, prep the melting chocolate using either a double broiler on low heat or microwave in a microwave-safe bowl, stirring every 30 seconds to get desired consistency.
Once smooth, dip one cake ball at a time into the mixture using a fork. Tapping the fork on the side of the bowl will help to remove excess chocolate. Place back onto the tray to decorate.
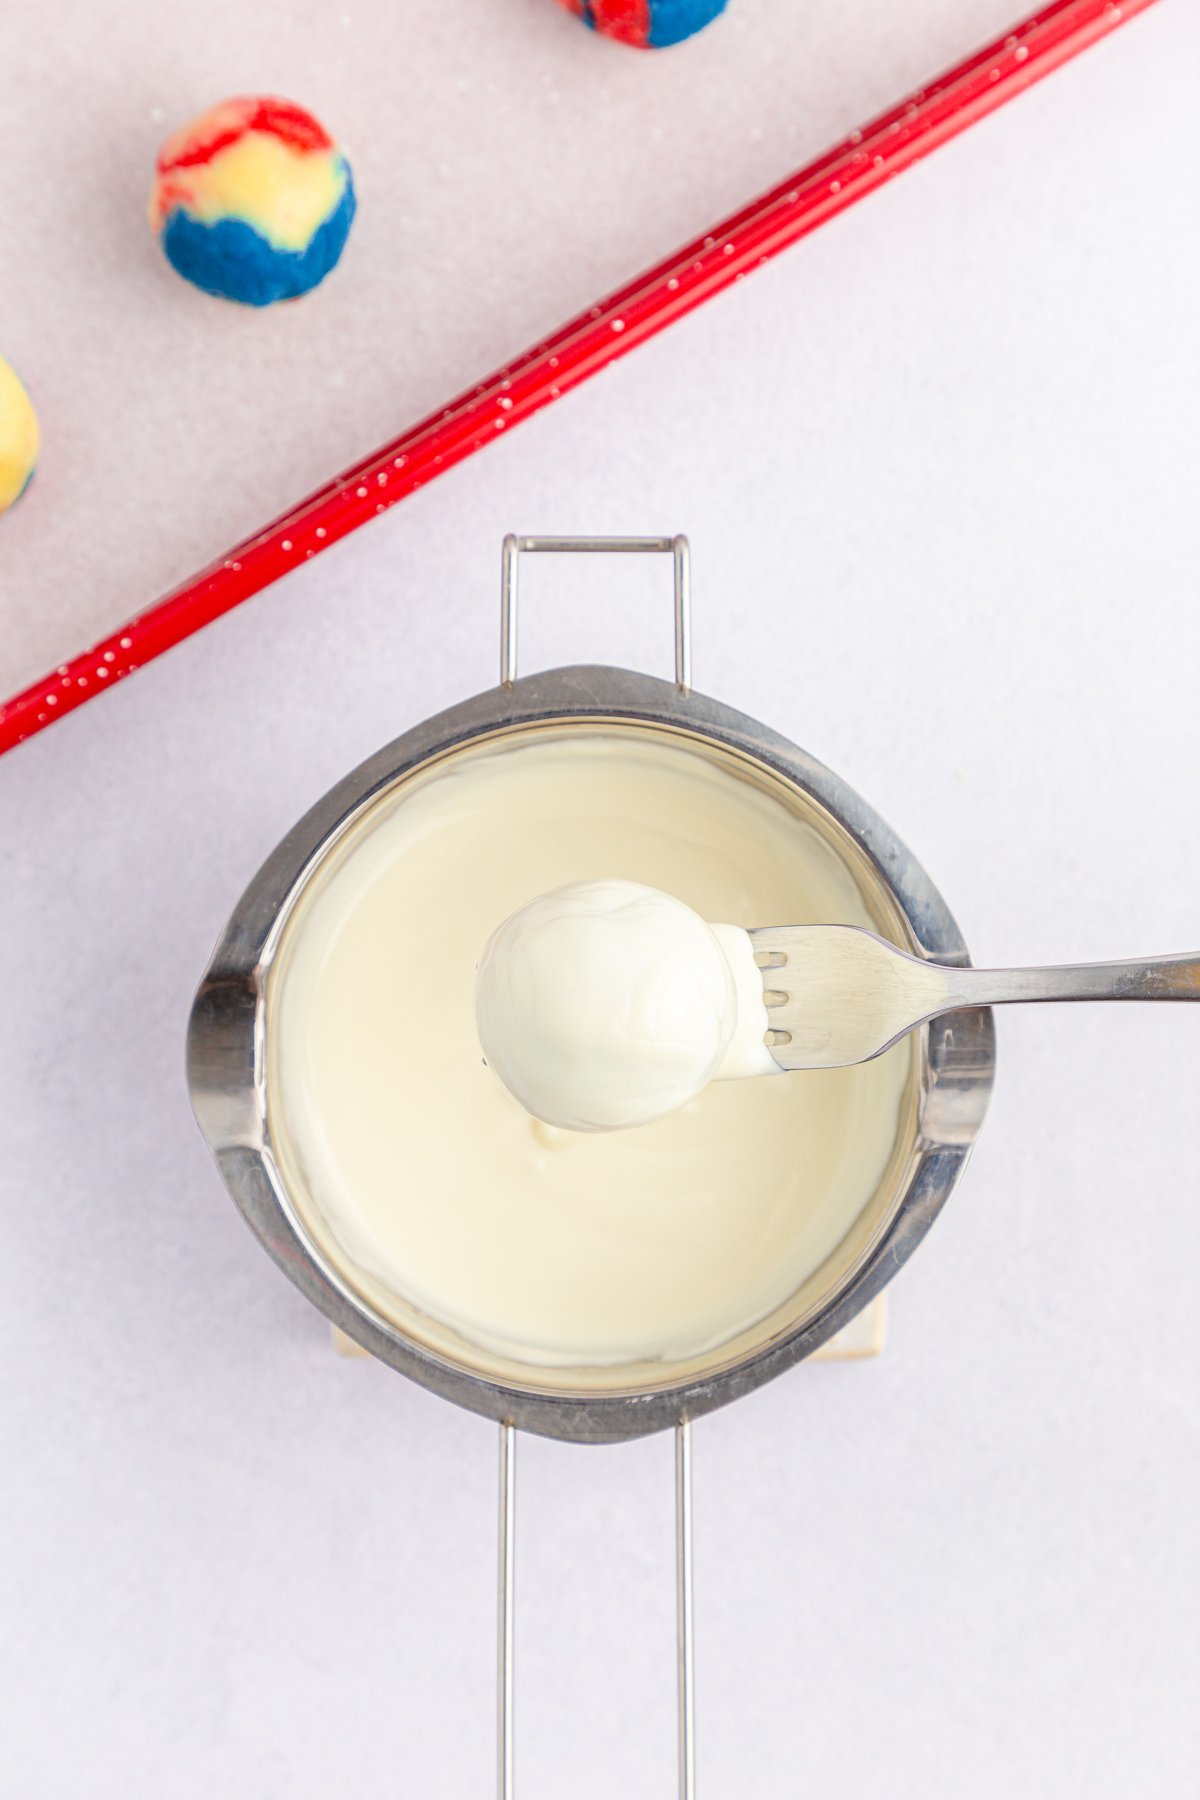
You will want to top half the batch with sprinkles before they dry or the sprinkles won’t stick. I tend to do this in batches of five to ensure they aren’t dried out. Leave the other half just dipped to decorate with candy melts.
Melt blue and red candy melts in the microwave according to the packaging. Transfer smooth melted candy to two different piping bags.
Cut off a tiny piece of the pipping bag to ensure a thin stream when decorating. Drizzle both colors over the plain white-coated cake balls.
After the balls have all been decorated, place back into the fridge to set for another 15 minutes.
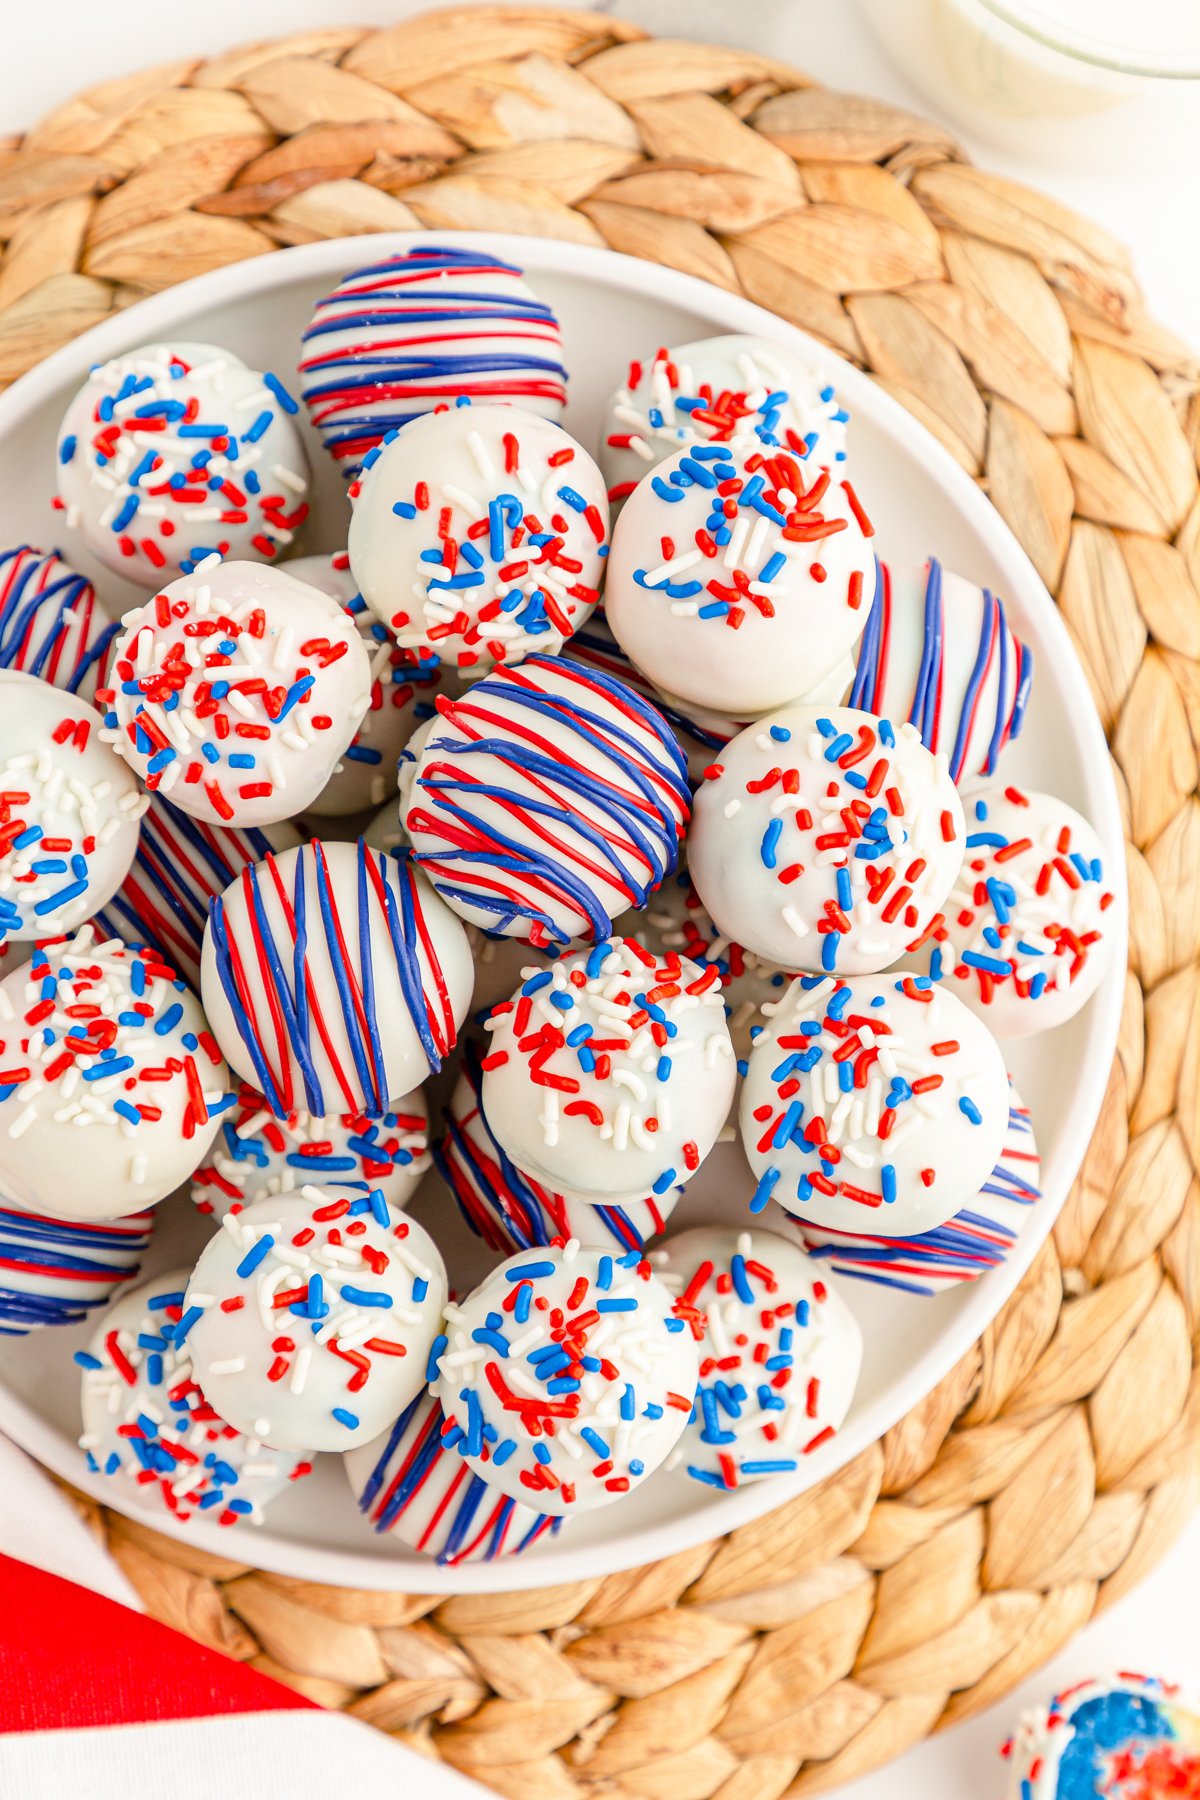
Keep refrigerated until you are ready to serve, then pull them out and serve on a cute plate!
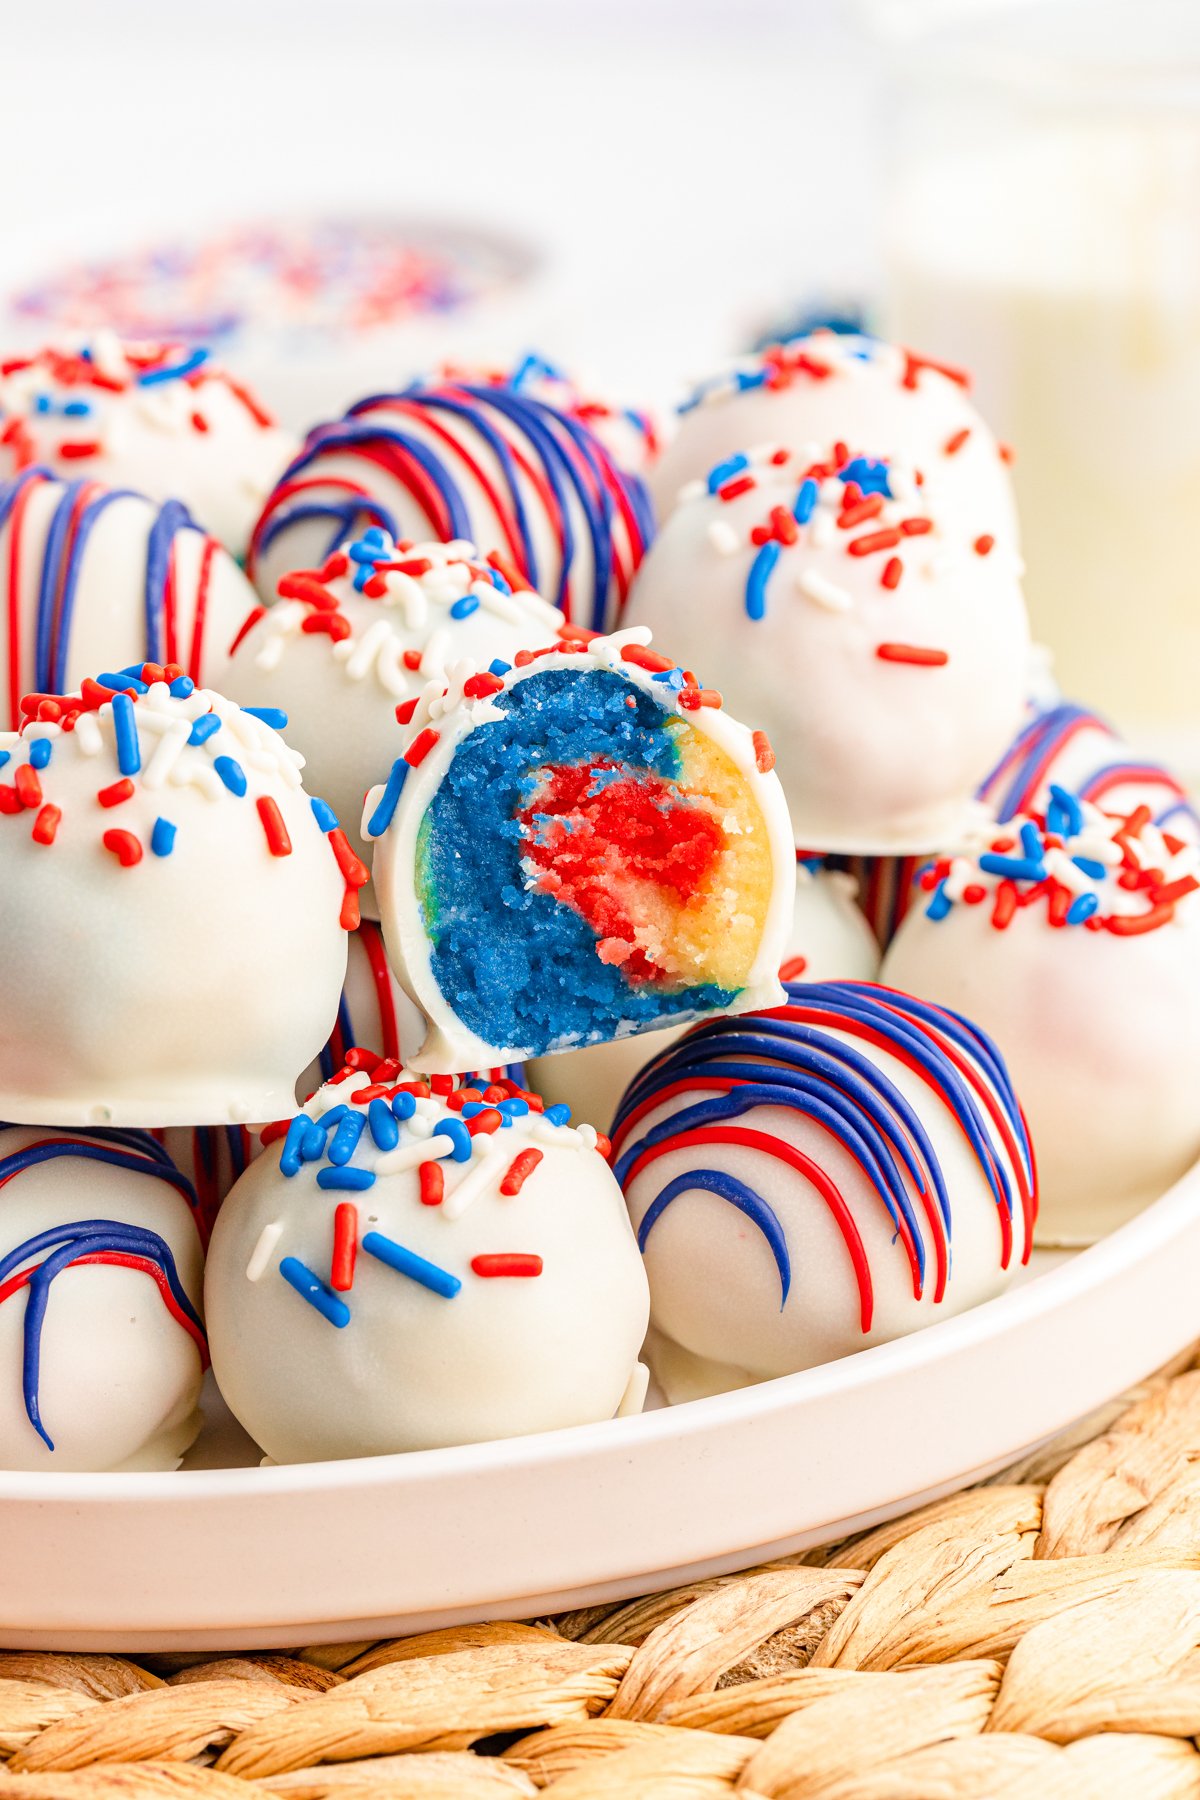
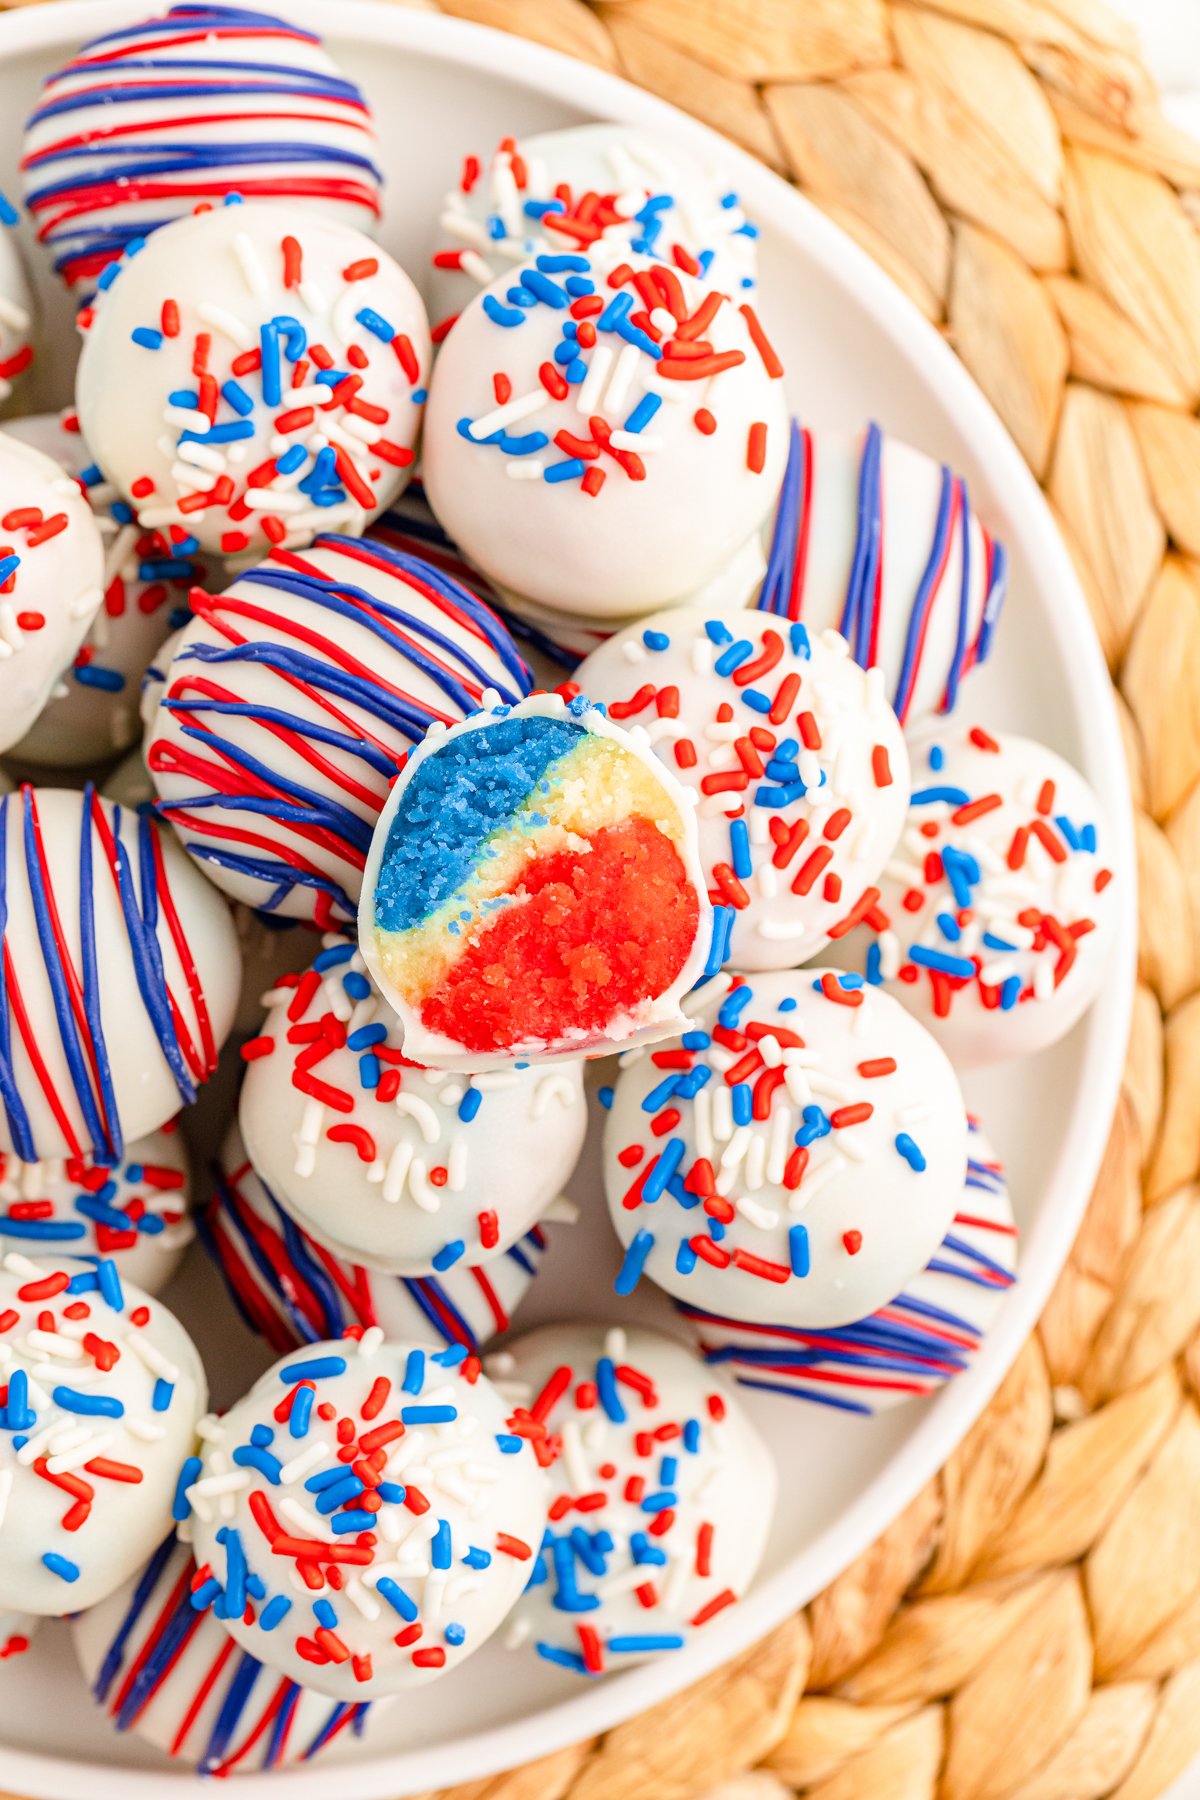
Everyone will be expecting regular cake balls and get a fun 4th of July surprise as soon as they bite into them and see the red, white, and blue center!
Expert Tips And Storage Info
Make sure to chill the balls. If you skip chilling the balls they will not stay together and leave a bunch of crumbs in your dipping chocolate.
Flavor the cake by adding a teaspoon of your favorite extract like vanilla, lemon, birthday cake, or coconut.
Place leftovers in an airtight container and store in the fridge for up to five days.
Freeze for up to three months by individually plastic wrapping each ball to ensure they don’t dry out. Then place all of the cake balls together in a large zipper top bag.
Recipe FAQs
What is the secret to dipping cake balls?
The secret to dipping cake balls is making sure that the balls are chilled before dipping so that they don’t fall apart while dipping. Tapping the fork gently can also help with getting rid of the excess chocolate and creating smooth balls.
How far in advance can you make cake balls?
You can make cake balls 3-4 days in advance of when you want to eat them. Make the cake balls and refrigerate until you’re ready to serve. Or you can make them up to three months in advance if you want to freeze them and just thaw before serving.
How long do you have to refrigerate cake balls before dipping?
I recommend refrigerating the cake balls for 1-2 hours to completely chill them before dipping. However, if you don’t have that much time, as long as you refrigerate them for at least 15-30 minutes, they should be okay. Split them into batches and only take the first half you’re going to dip out of the fridge then take out the other half once the first half has been dipped.
More Red White and Blue Recipes
If you want even more patriotic treats, check out these other red, white, and blue desserts!
- Red, white, and blue cheesecake salad – the best patriotic dessert salad, perfect with angel food cake!
- Red white and blue cake – a delicious homemade cake full of colorful layers!
- Recipe for flag cake – if you want to make an American flag cake, you have to try this!
- Brownie fruit pizza – a red white and blue fruit pizza with a brownie crust!
- 4th of July rice krispie treats – easy rice krispie treats with a red, white, and blue twist!
Want more Goodies?
Want more delicious recipes just like this one? Enter your first name and email address in the form below to join the Play Party Plan community! You’ll receive weekly recipes and party ideas directly to your inbox!

4th of July Cake Balls
Ingredients
- 1 box white cake mix plus ingredients to make the cake
- red and blue food coloring
- 8 oz cream cheese softened
- 10 oz Ghirardelli white vanilla melting wafers
- ½ cup red candy melts
- ½ cup blue candy melts
- red, white, and blue sprinkles
Instructions
- Preheat the oven to 350 degrees and grease three small cake pans (round or 8×8 square cake pans).
- Mix the cake batter according to the cake box instructions.1 box white cake mix
- Split the cake batter into three bowls and add red food coloring to one of the bowls, blue food coloring to one of the bowls, and nothing to the third bowl.red and blue food coloring
- Pour the cake batter into small round cake pans or 8×8 square cake pans and bake in the oven for 14-16 minutes or until a toothpick comes out clean when inserted into the center of the cake.
- Remove the pans from the oven and place on a wire rack to allow the cake to cool completely. Once cooled, crumble each cake into small pieces and transfer to three medium mixing bowls.
- Split the cream cheese into thirds and add a third to each of the bowls. Mix the crumbled cake and cream cheese together until fully incorporated.8 oz cream cheese
- Line two baking sheets with parchment paper.
- Grab a small piece of the red, blue, and white cake mixtures and roll them together in your hand to form one cake ball with all three colors. Place on the prepared baking sheet then repeat with the rest of the balls. Place the baking sheets in the fridge and chill for 1-2 hours.
- Once the balls have been chilled, melt the white vanilla melting wafers either using a double boiler on the stove or by melting in the microwave in a microwave safe bowl for 20-30 second increments, stirring in between increments.10 oz Ghirardelli white vanilla melting wafers
- Using a fork, dip one cake ball at a time into the melted melting wafers, coating the cake ball completely. Tap the fork on the side of the bowl to get rid of any excess chocolate. Place the coated cake ball back onto the baking sheet.
- If you’d like to add sprinkles, add the sprinkles as soon as you put the dipped cake ball onto the baking sheet.red, white, and blue sprinkles
- Melt the red and blue candy melts in the same way as you did the vanilla melting wafers. Place the melted candy melts into either a zipper top plastic bag with the corner cut off or a piping bag. Then drizzle the red and blue candy melts over top of the cake balls.1/2 cup red candy melts, 1/2 cup blue candy melts
- Chill in the fridge for another 15 minutes and then the cake balls are ready to serve.





Leave a Reply