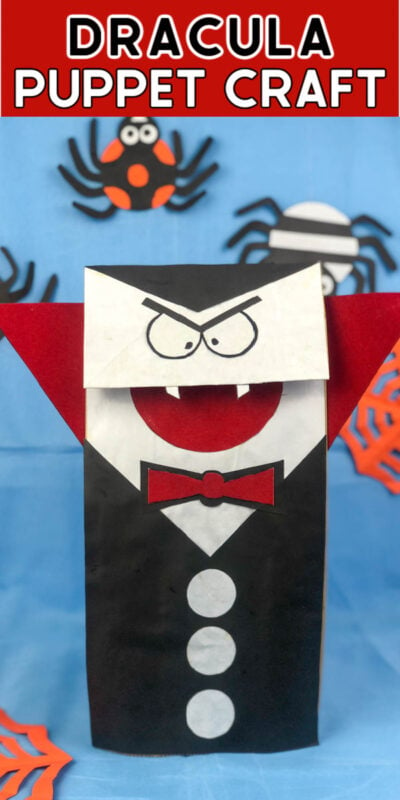
This fun vampire paper bag craft is the perfect kids craft for Halloween! It’s easy to make and all you need is a paper bag, paper, and some glue to make these cute vampire puppets! Kids will have a blast making these with paper bags and playing with them all spooky season long!
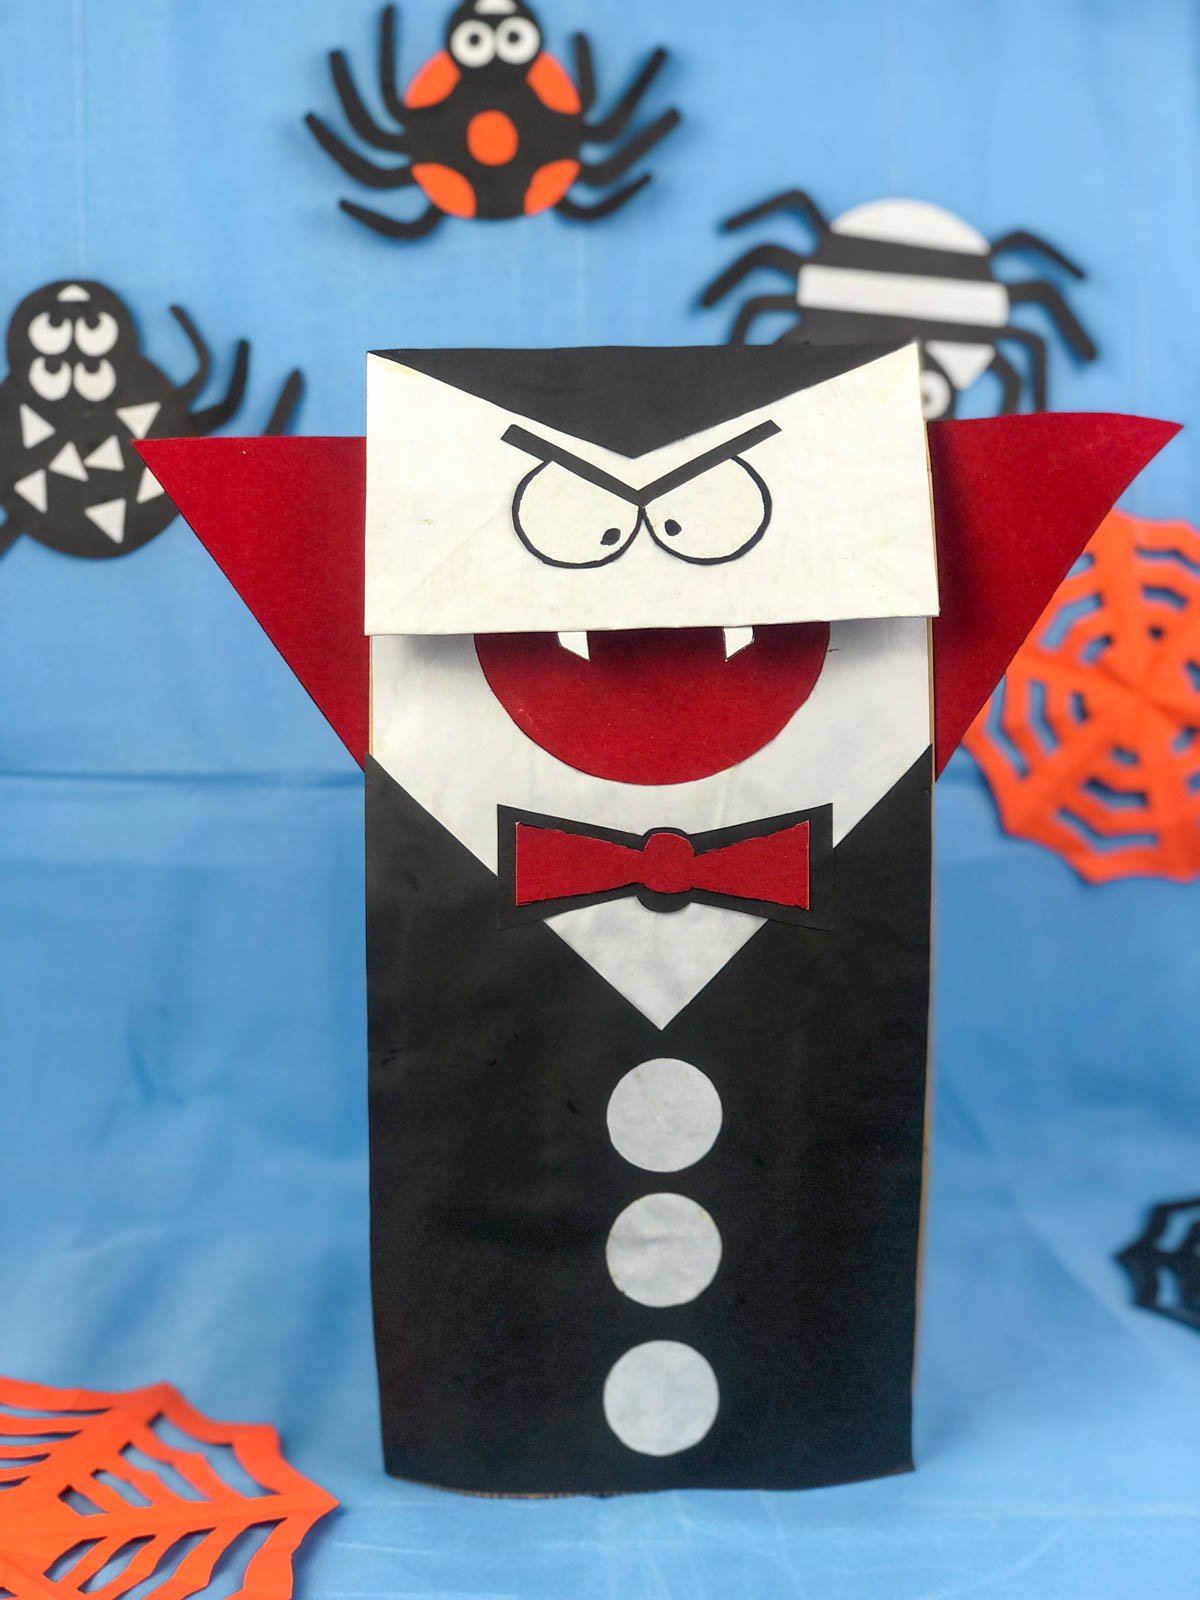
One of the things that I’ve heard more and more of is where are the crafts? We love all of your Halloween games but do you have any Halloween crafts for my Halloween party?
Well guess what, this is the first in a series of a ton of Halloween crafts that are perfect for kids of all ages! I have a ton of Halloween popsicle stick crafts, paper crafts, and even some crafts with paper plates!
So get ready for all sorts of easy Halloween crafts – no one will ever ask if I have a fun Halloween craft idea again! It was about time I added to my cotton ball ghost craft and Halloween tombstone craft, so thanks to all of you who were asking!
Anyway, these fun paper bag puppets are so easy to make and so cute. They’re so easy to make with a brown paper bag and simple enough that if you help with the cutting, young children could make them on their own!
Why You’ll Love This Craft
- Great activity – if you need a craft that’s really a fun activity, then this is a great choice because not only is it a fun paper bag craft, it’s also something to play with once it’s created! All kids – younger kids, big kids, and even older kids all have enjoyed Halloween puppets when we’ve made them in the past!
- Easy craft – if you want something that doesn’t require hot glue, this is one of the best ideas out there. You can let kids practice their fine motor skills cutting the paper (with a little bit of adult supervision of course) then either let them glue the pieces on or have adults glue them for the little kids.
- Put on a puppet show – when you’re done, you can have everyone show off their creations for the whole family in a Halloween puppet show! Even though everyone will be making the same craft, I can guarantee you that everyone’s spooky characters will look a little different. Different size eyes, different placement on the bottom of the paper bag, etc.
Supplies
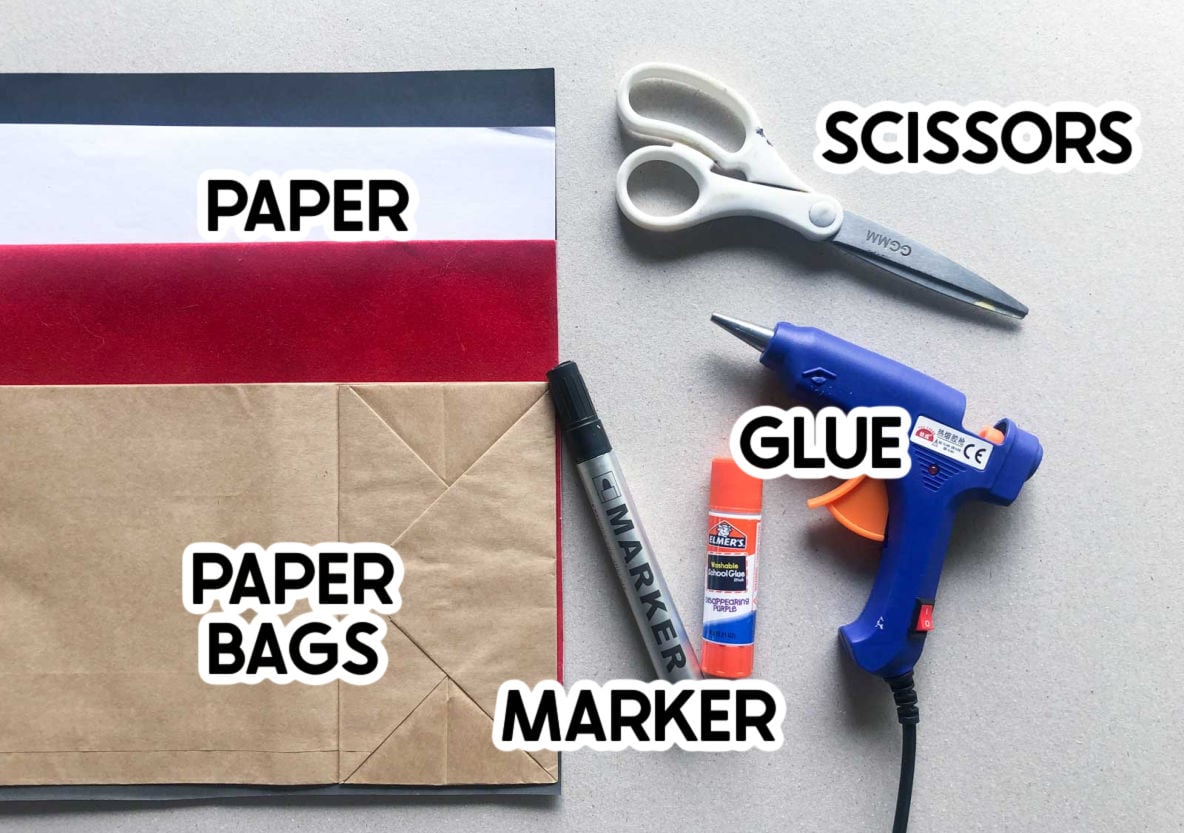
Supply Notes
Before I talk about the individual supplies, I did want to note that what is shown in the pictures here is what I personally used to make these crafts. Many of these, especially the scissors, are supplies for teens and adults. Assuming that you are making these with kids, make sure that little kids are using kid appropriate tools.
- Paper bag – I just used a brown paper lunch bag that I had in the pantry for this fun craft activity. You don’t really see it though so you could definitely use white paper bags too! Just make sure you get ones that fold for the puppet’s face.
- Paper – you’ll need white, red, and black paper for this craft. You can really use whatever you want in terms of paper or you could even make it thin felt. The only thing I do recommend is that you make the red something more substantial such as card stock or felt so that it is sturdy and holds up on the sides. I’m pretty sure I used black construction paper, white construction paper, and red felt.
- Glue – a gluestick is best for kids but feel free to use hot glue if you’re making these yourself for kids to play with since hot glue dries faster and more securely.
- Black marker – I recommend something thick so you can see the lines around the eyes on your Halloween paper bag craft.
How to make This Halloween paper bag craft
I’m going to walk you through step by step how to make this fun vampire craft but it’s always a good idea to look at the pictures below to so you know what I mean when I say cut a long rectangle, etc.
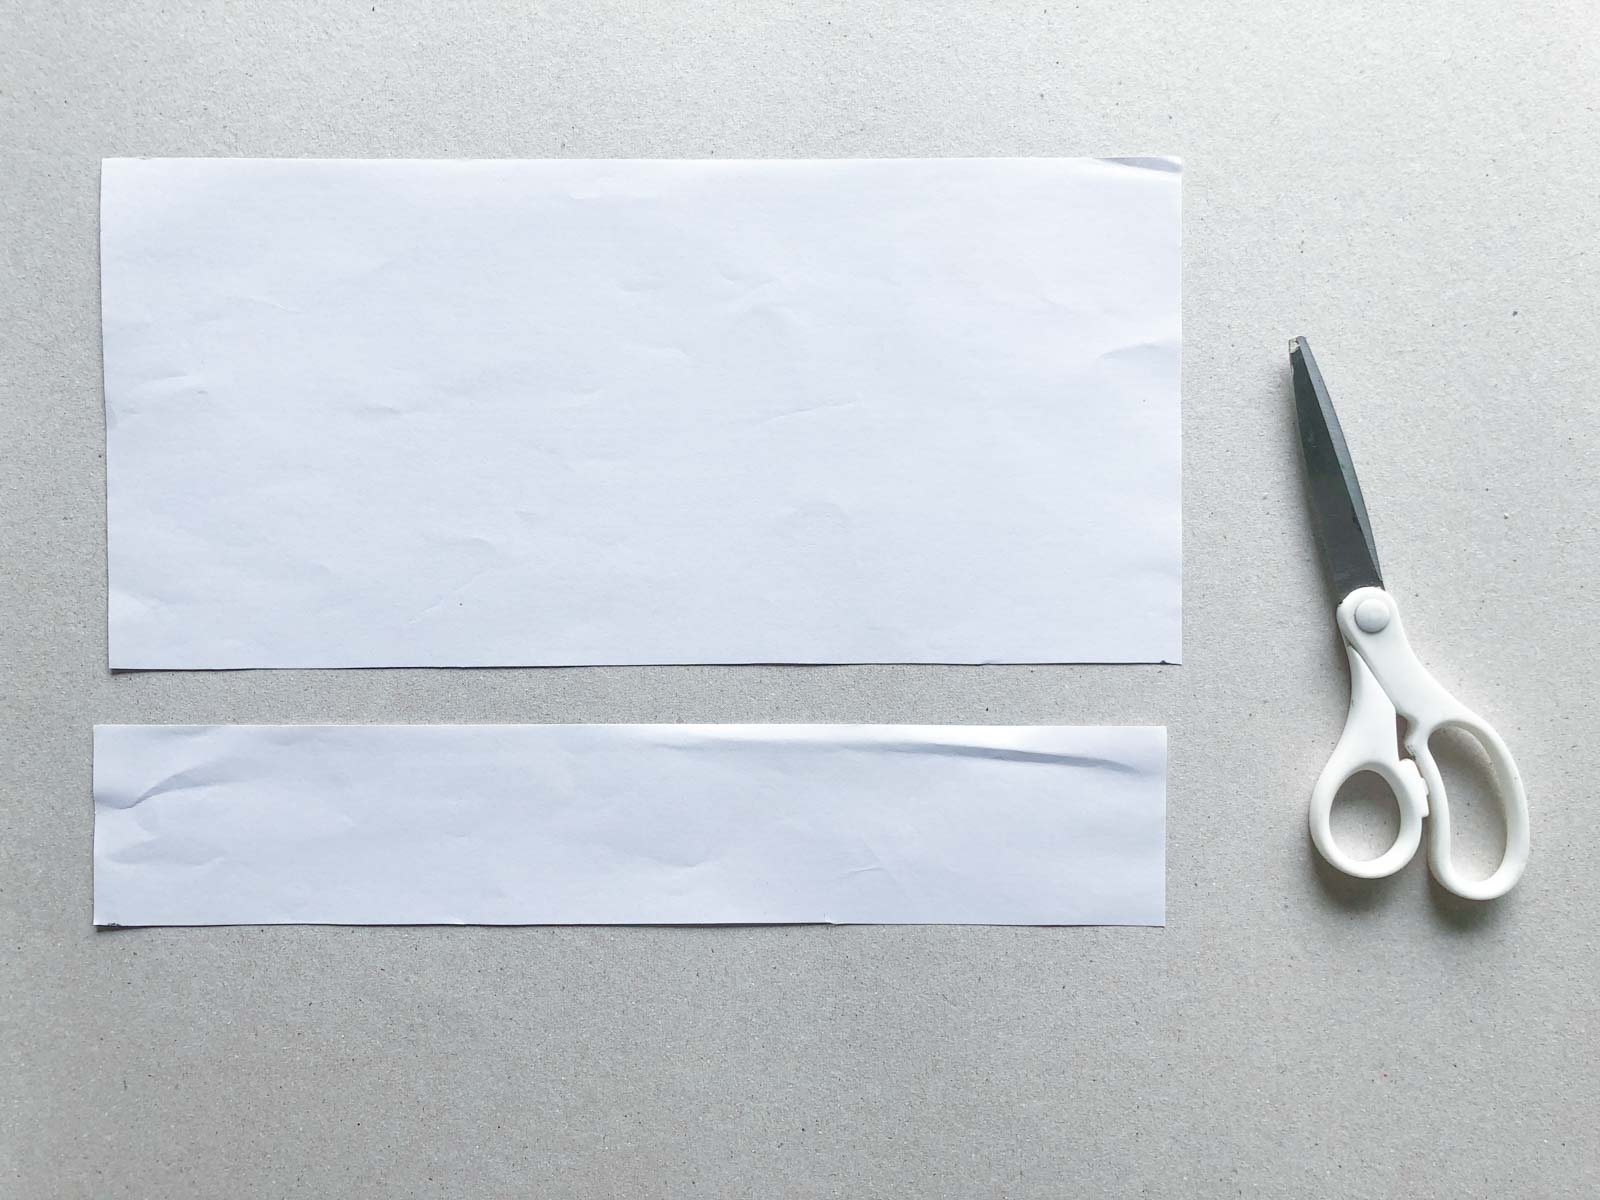
Start by cutting the white paper to fit the paper bag, leaving about a 1/4 at the bottom of the bag empty.
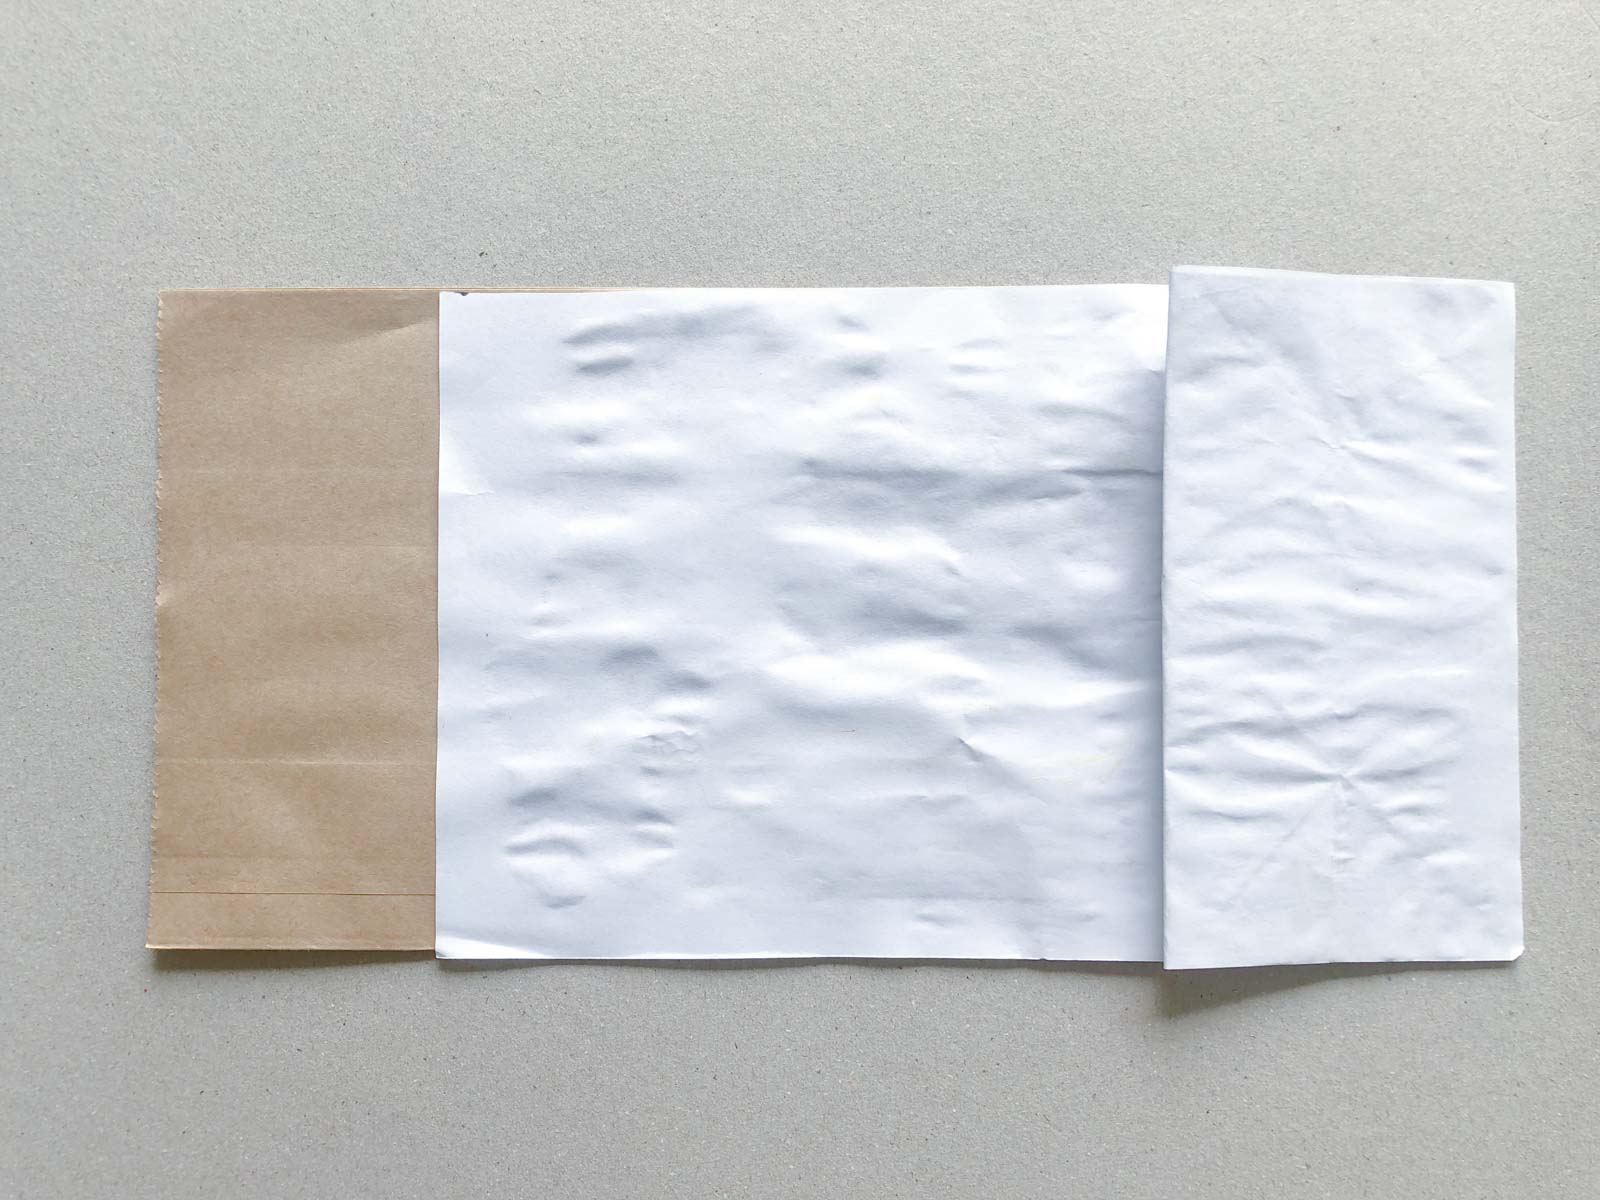
Once it’s cut, go ahead and glue it to the bag with the top of the white paper at the top of the paper bag.
Cut a long rectangle from the black paper that’s the same width as the paper bag. Cut a deep vee shape out of the top of the piece of paper so it looks like mine below.
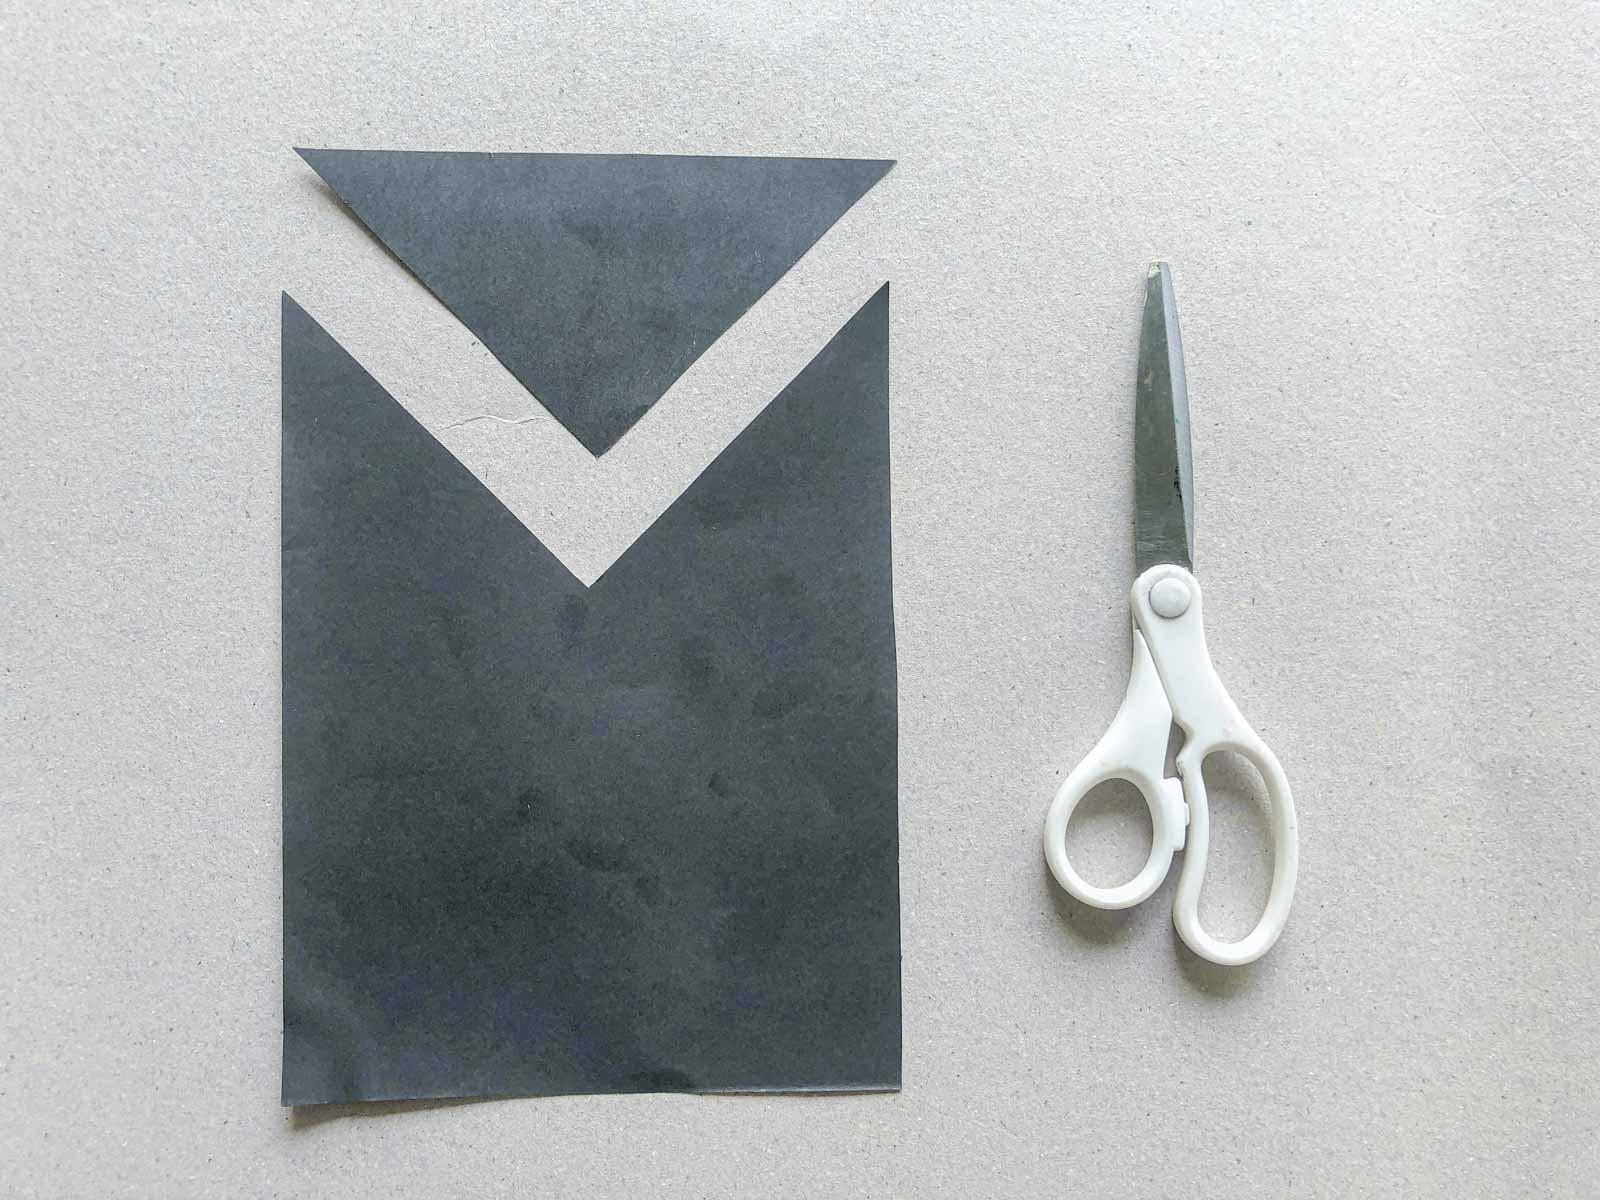
Once that’s done, glue it to the bottom of the brown paper bag so that it intersects the white piece to create the V in the vampire’s outfit.
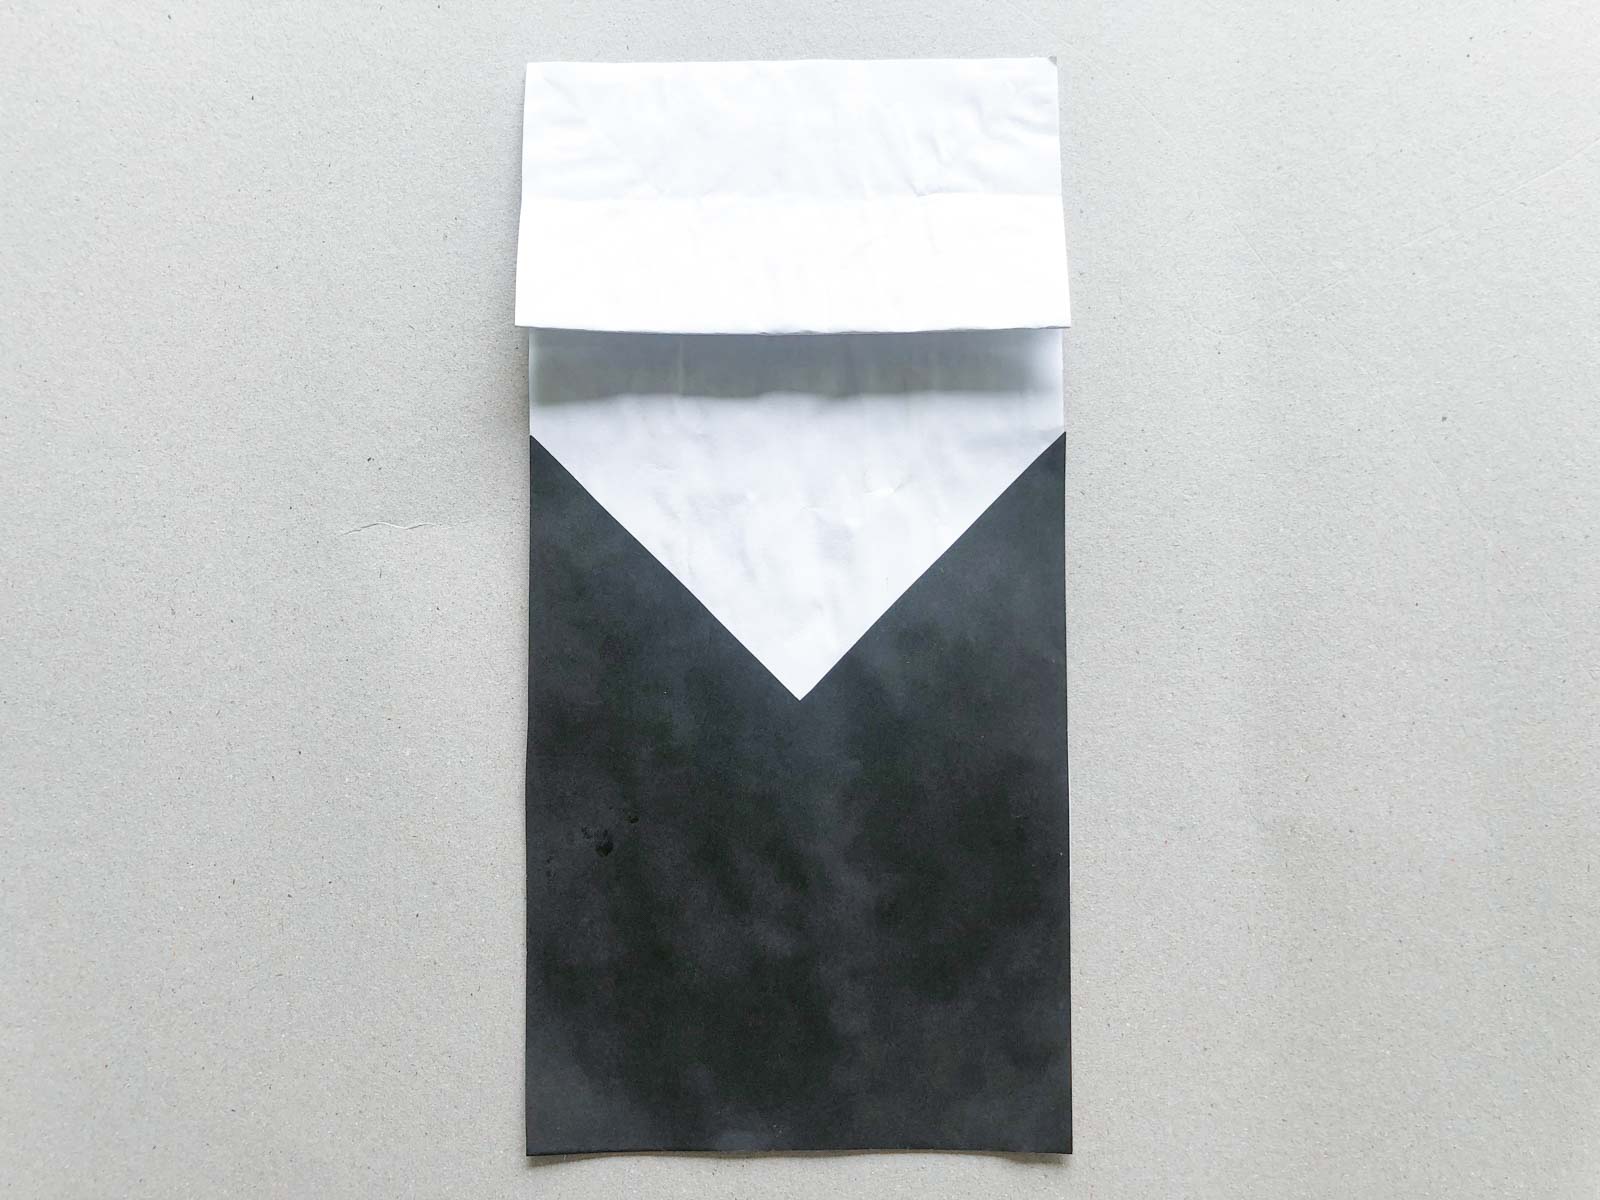
Take the scraps of the black and white paper and create circles for the puppet’s buttons and a black section at the top for the vampire’s hair. Glue then on once they’re cut out.
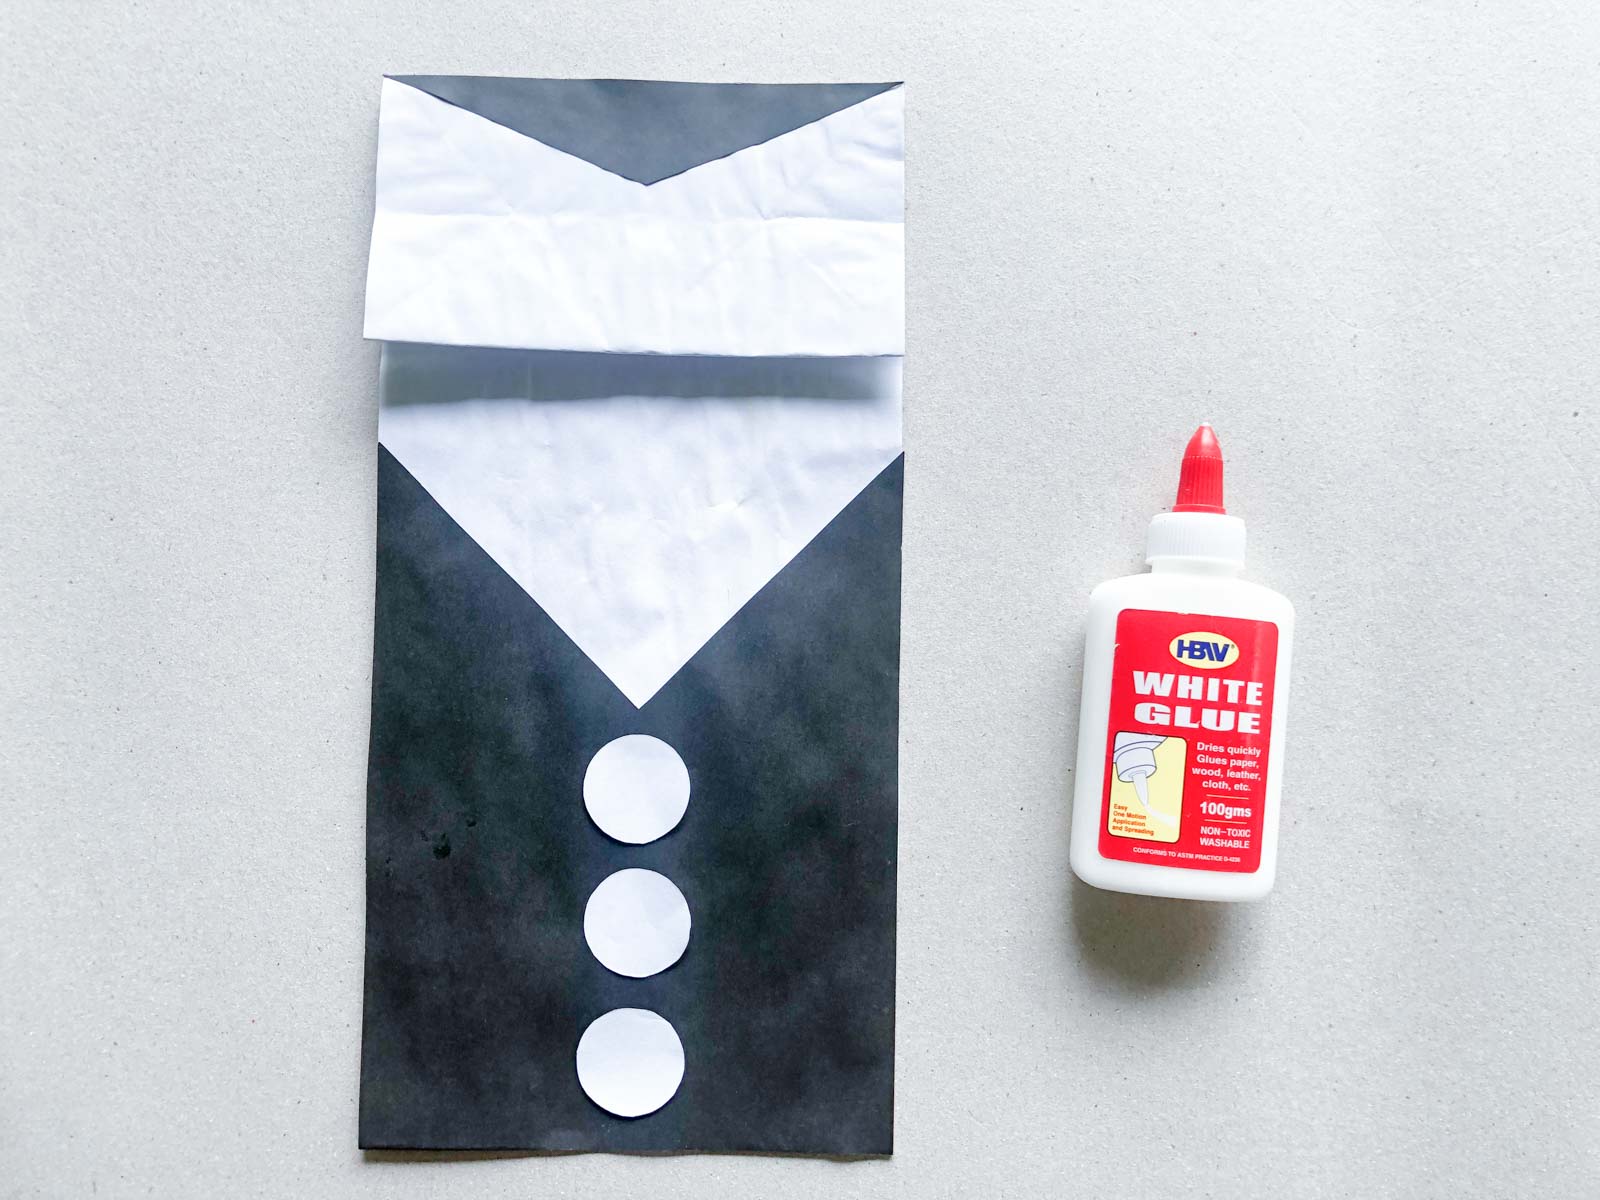
Then you’re going to take any remaining white paper and create eye shapes by cutting out two circles then just cutting off the top portion of both so you have a straight top instead of a round one.
Finish off the eyes by using the marker to outline the outside of the eyes and add the eyeball on the inside.
Or if you want to skip this part altogether, you could also just glue on some large googly eyes instead!
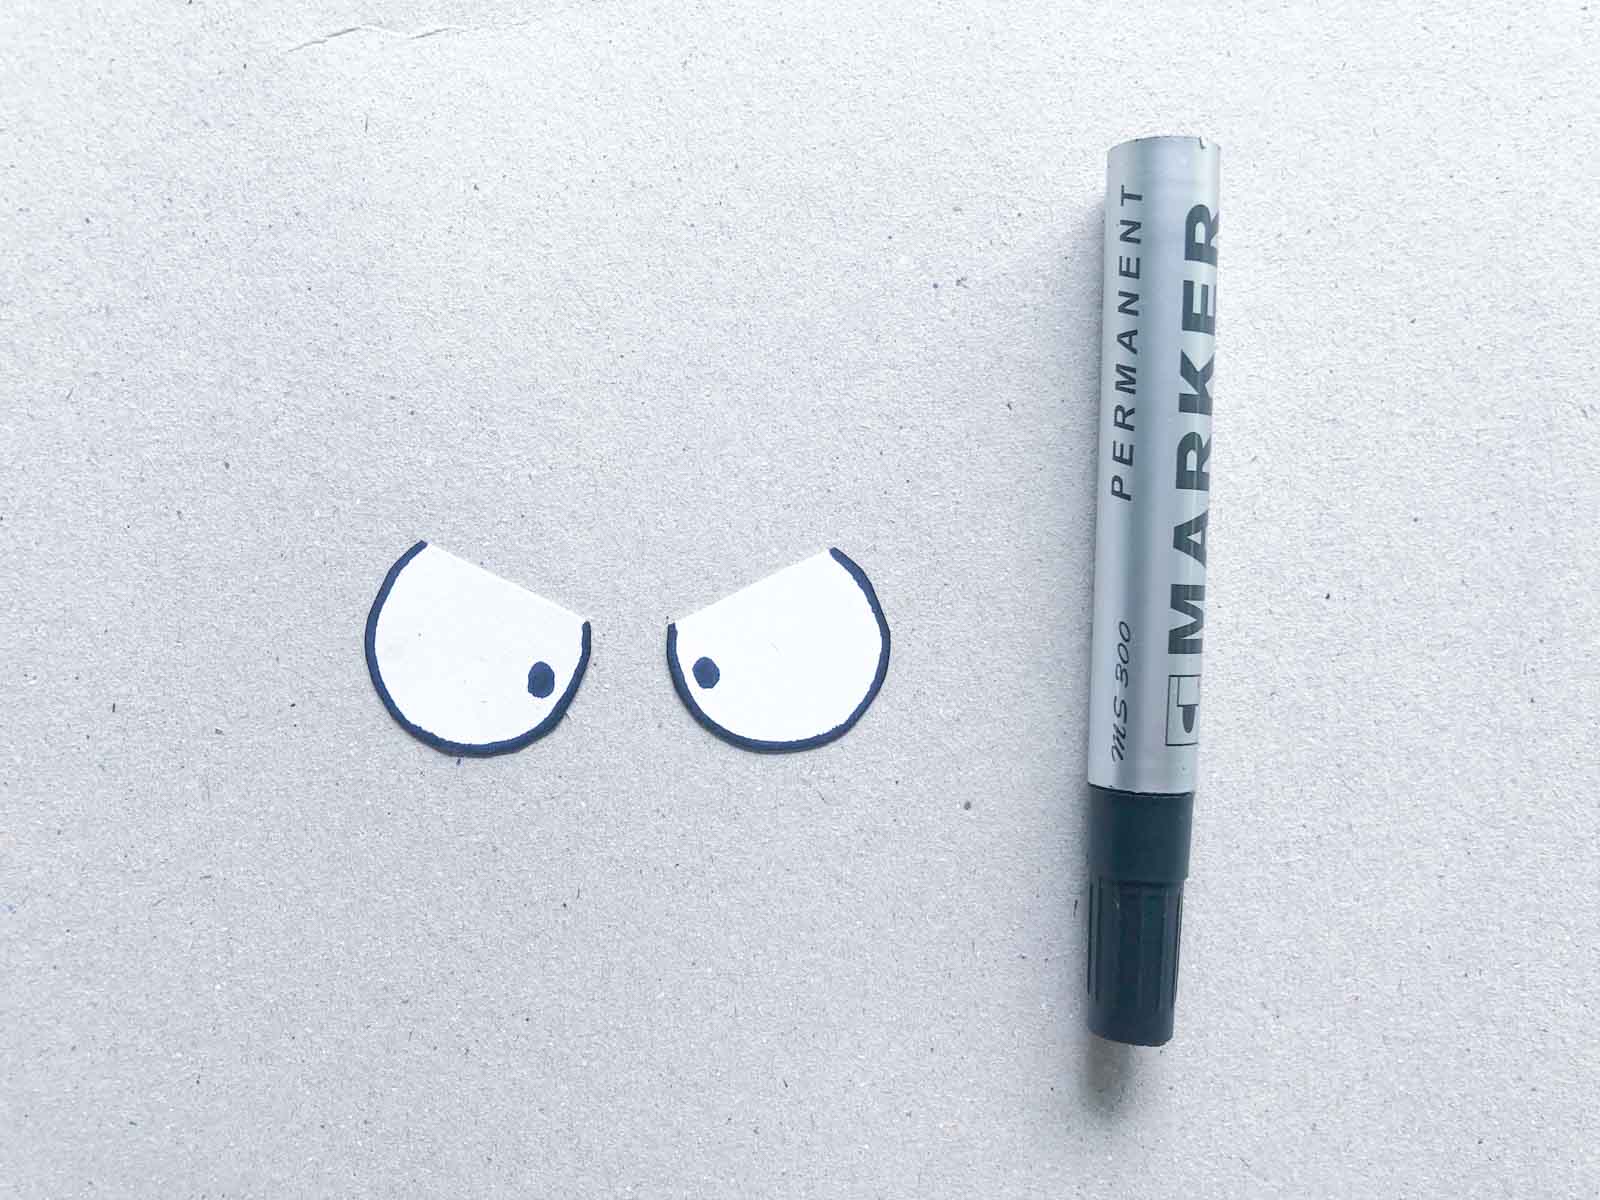
Then it’s time to add some eyebrows by adding a V shape eyebrow (hello unibrow) to the top of the vampire’s eyes! It can be as thick as you want, but I like the look of a little thinner line.
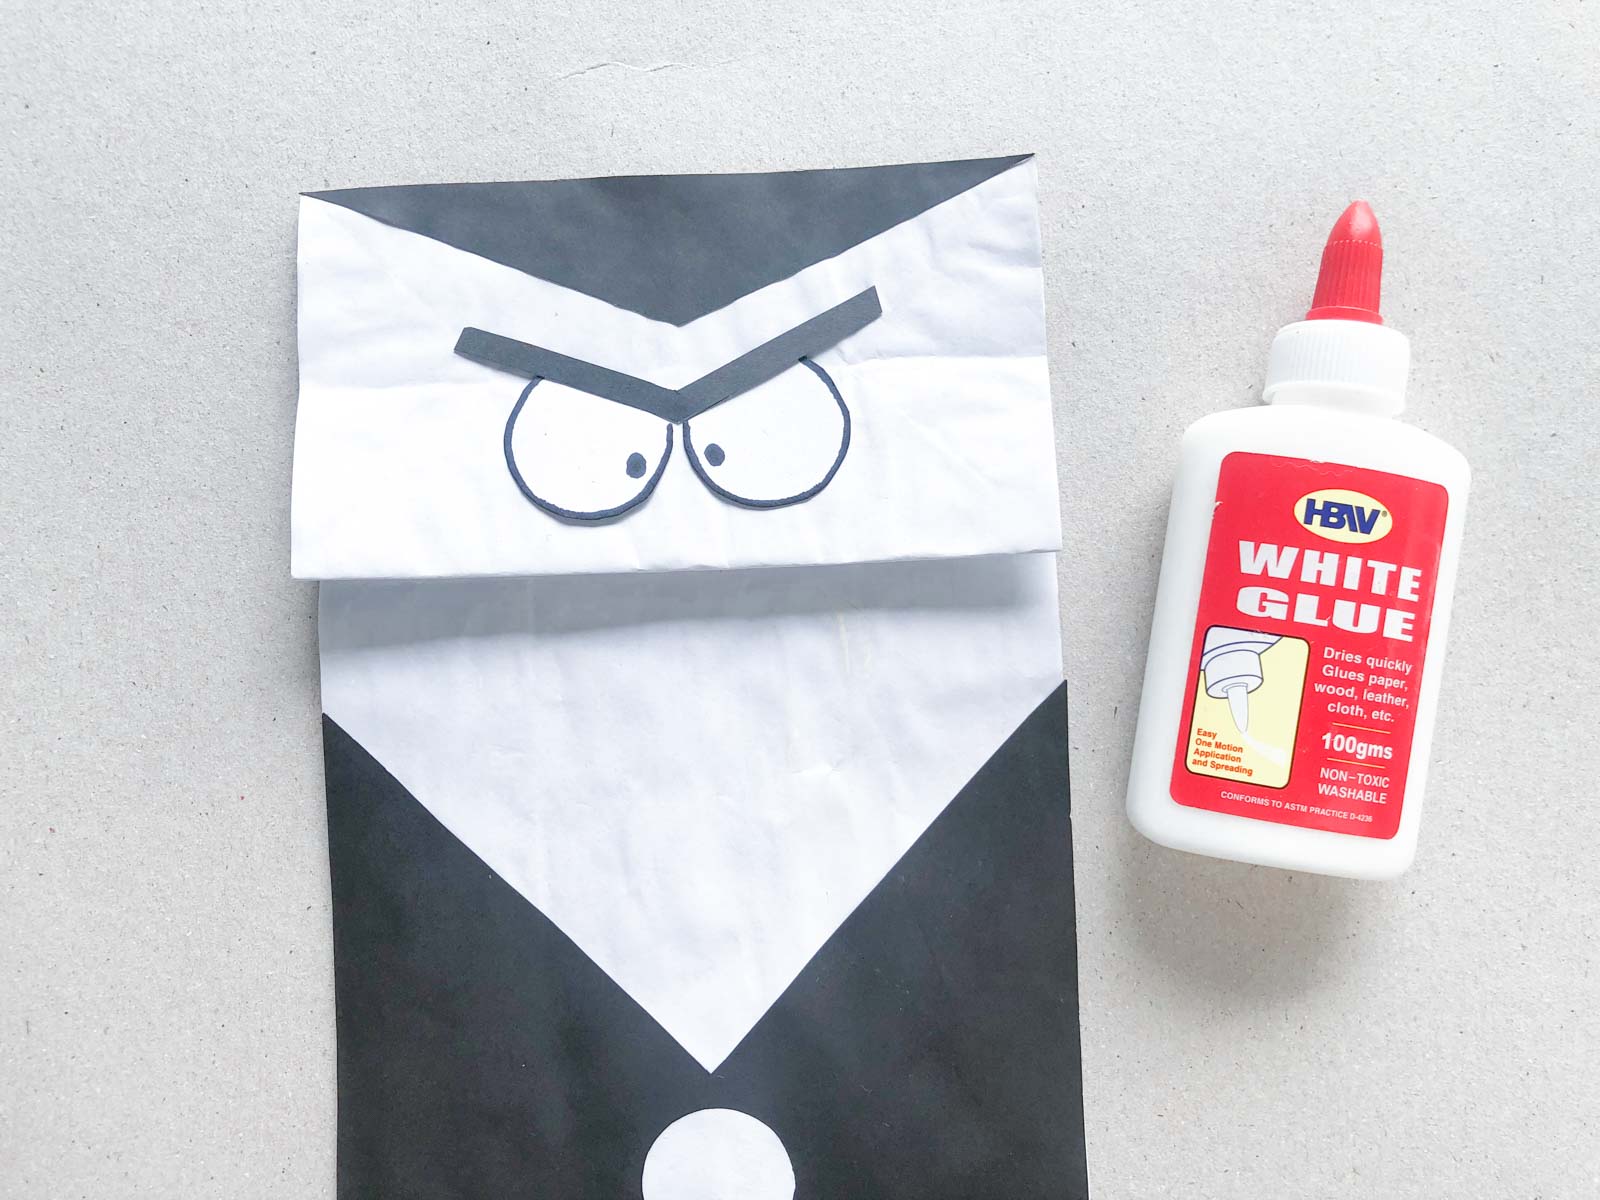
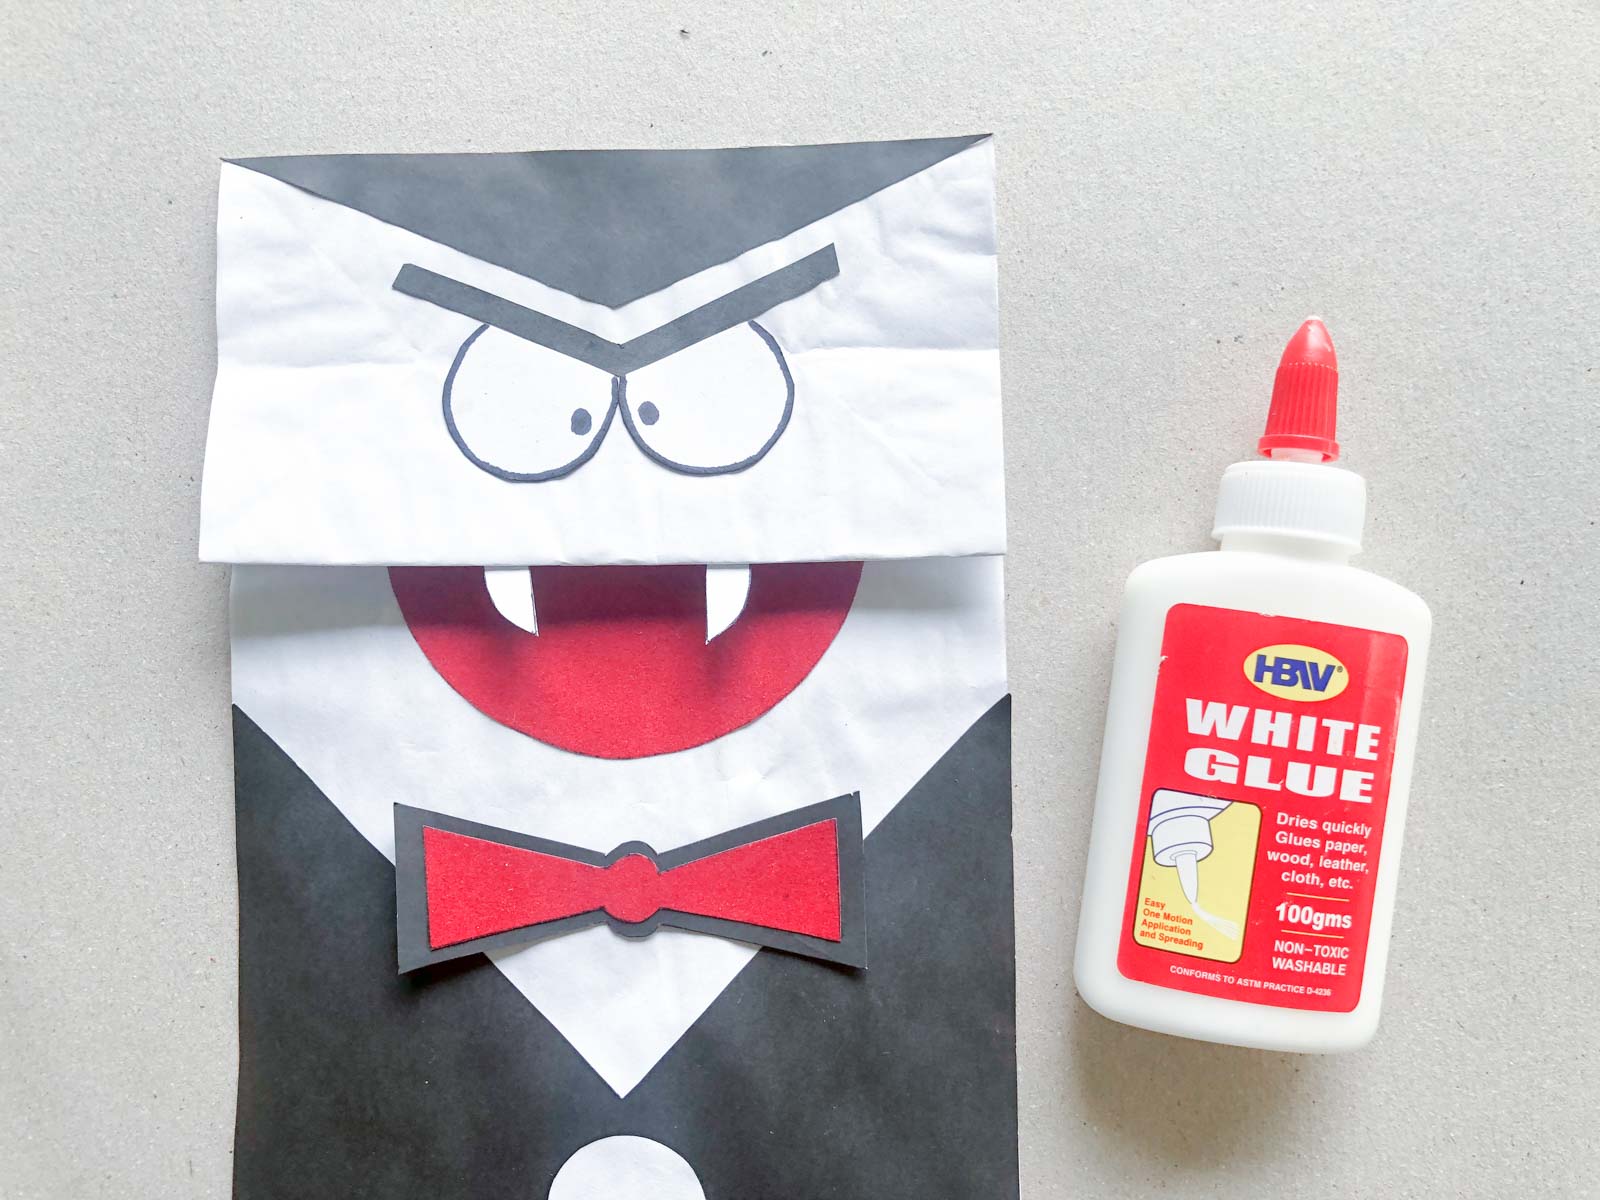
Then it’s time to add some details! Cut out little features for your vampire including a bow tie, a half circle mouth, and fangs! I mean the best part are the fangs so don’t skip those!
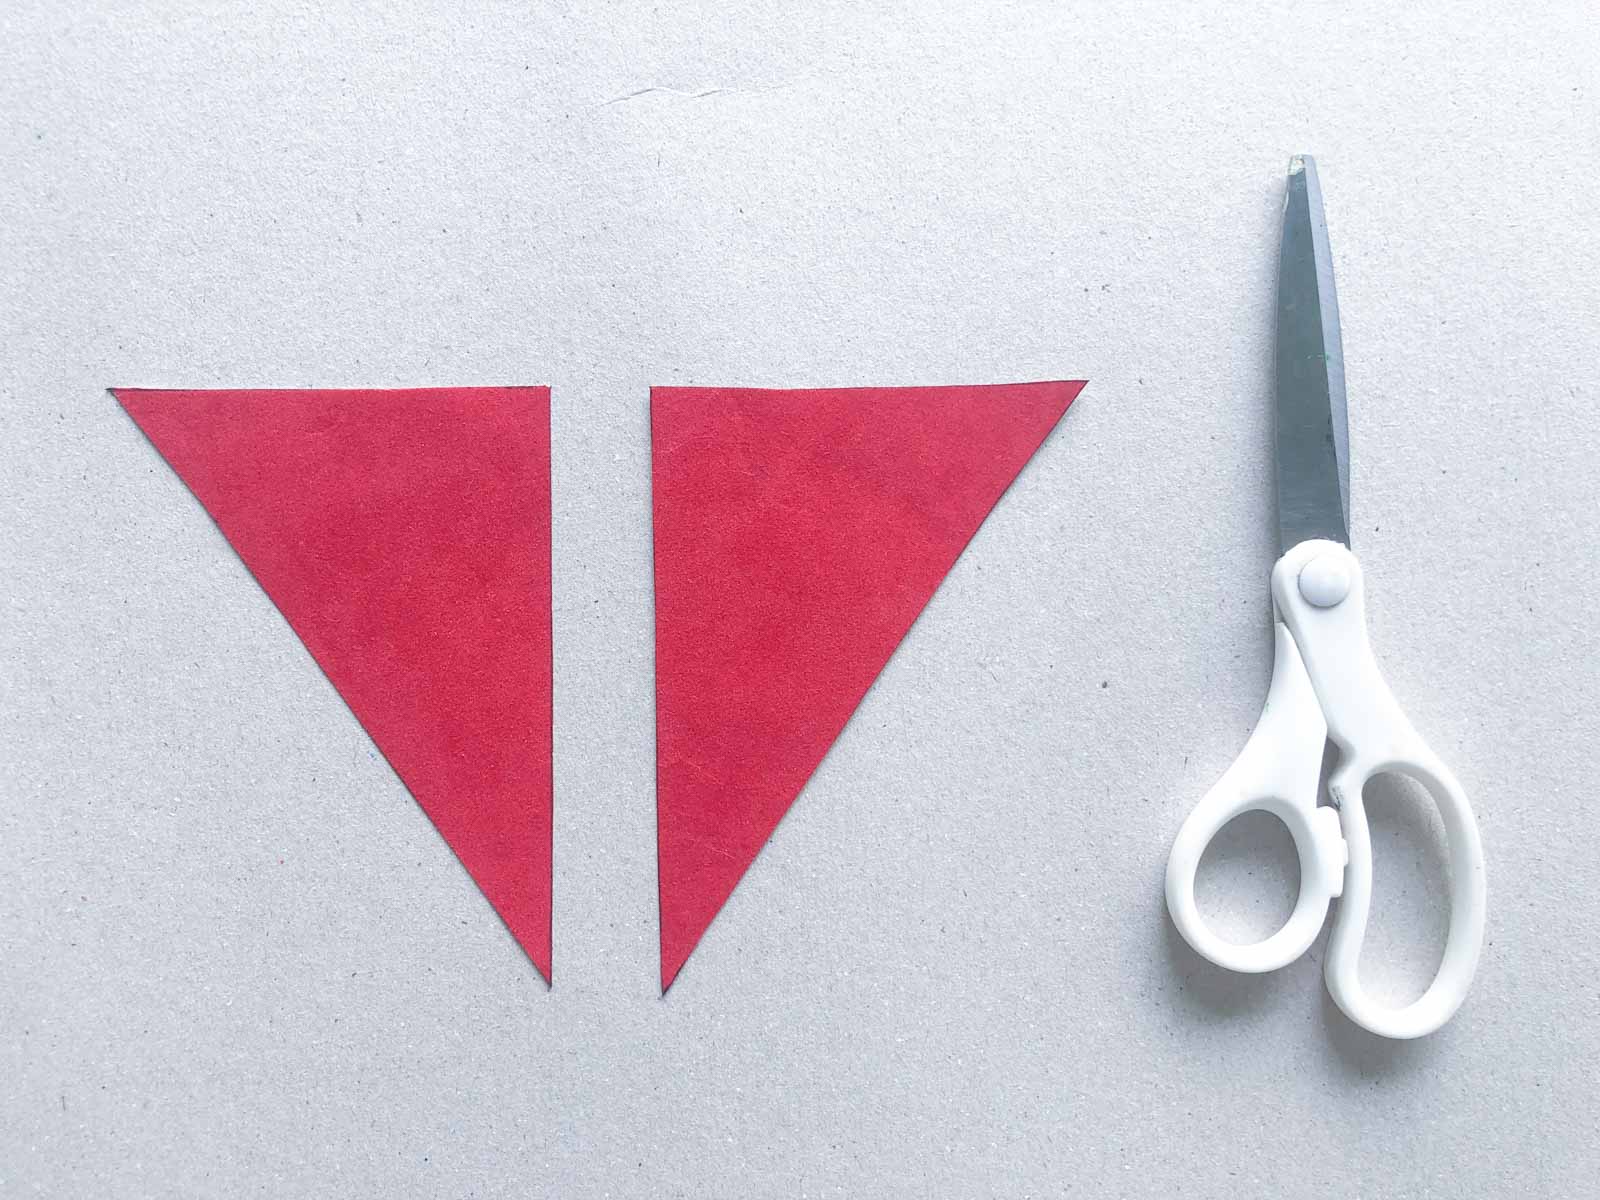
Last but not least cut out large triangles from the red paper or felt. These will be the vampire’s cape and are really one of the reasons this is one of my favorite crafts!
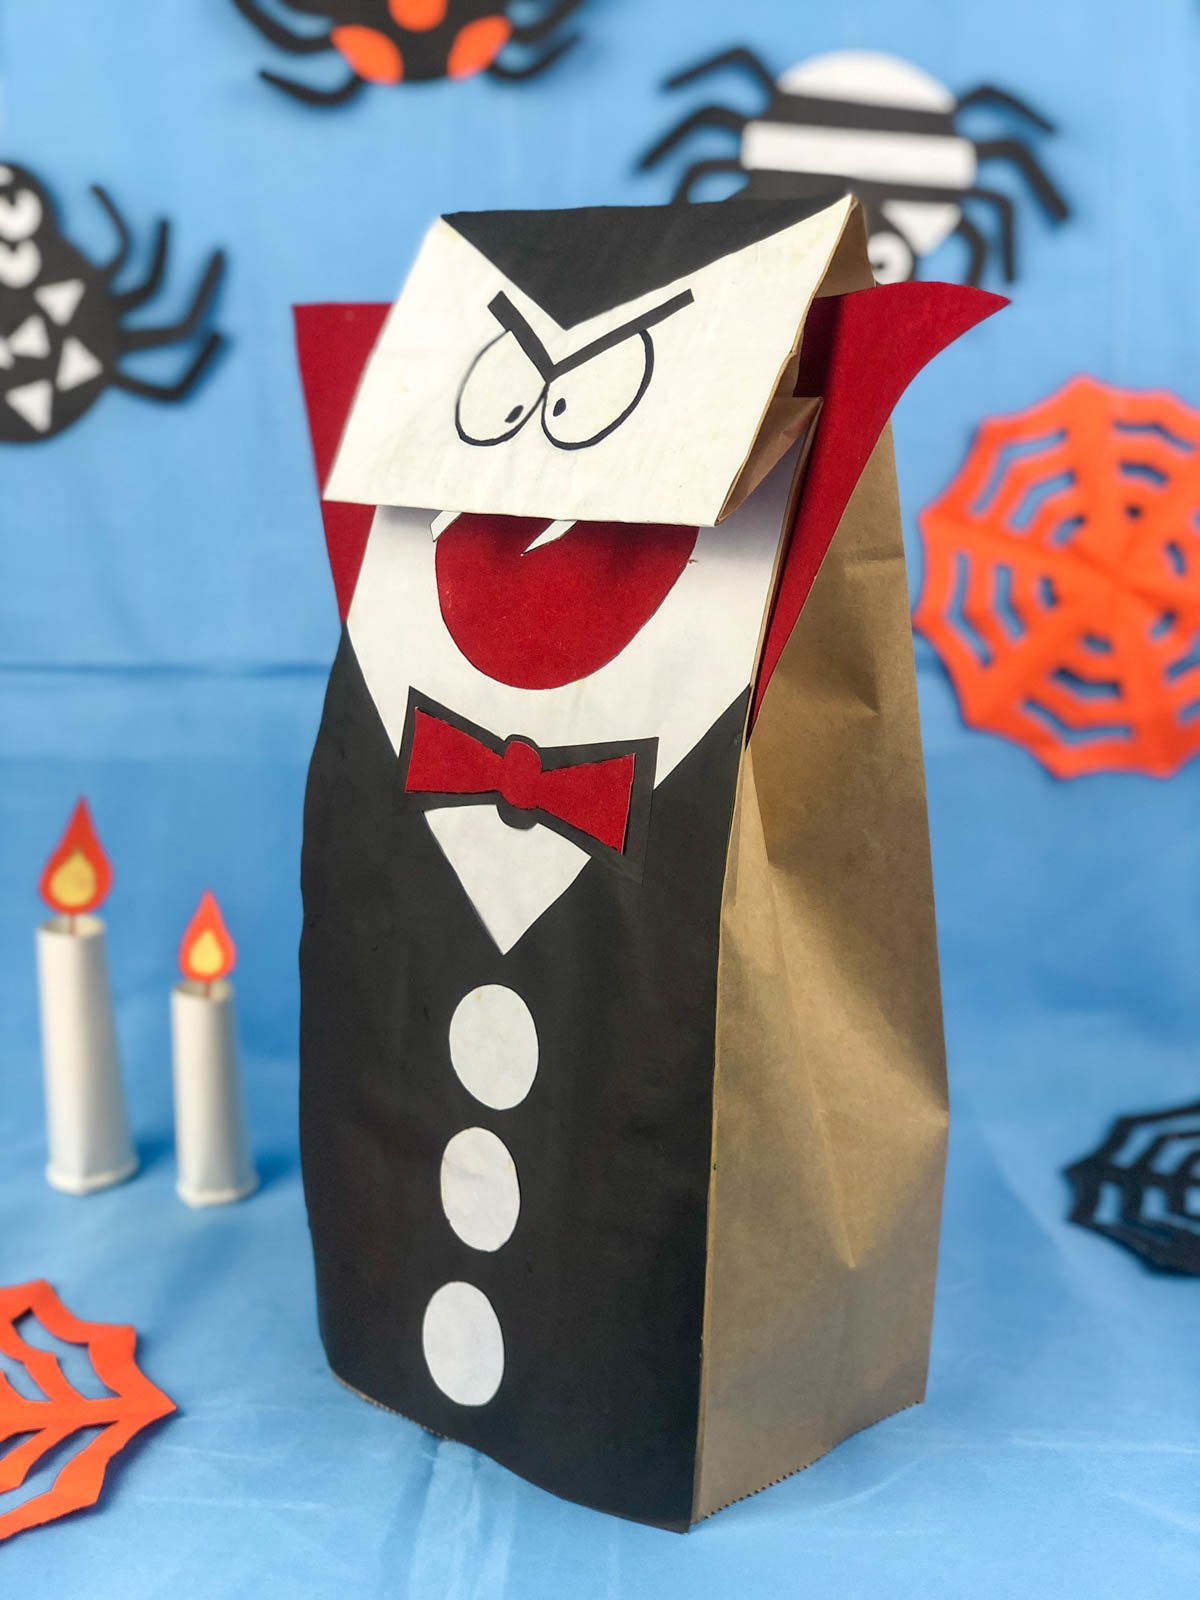
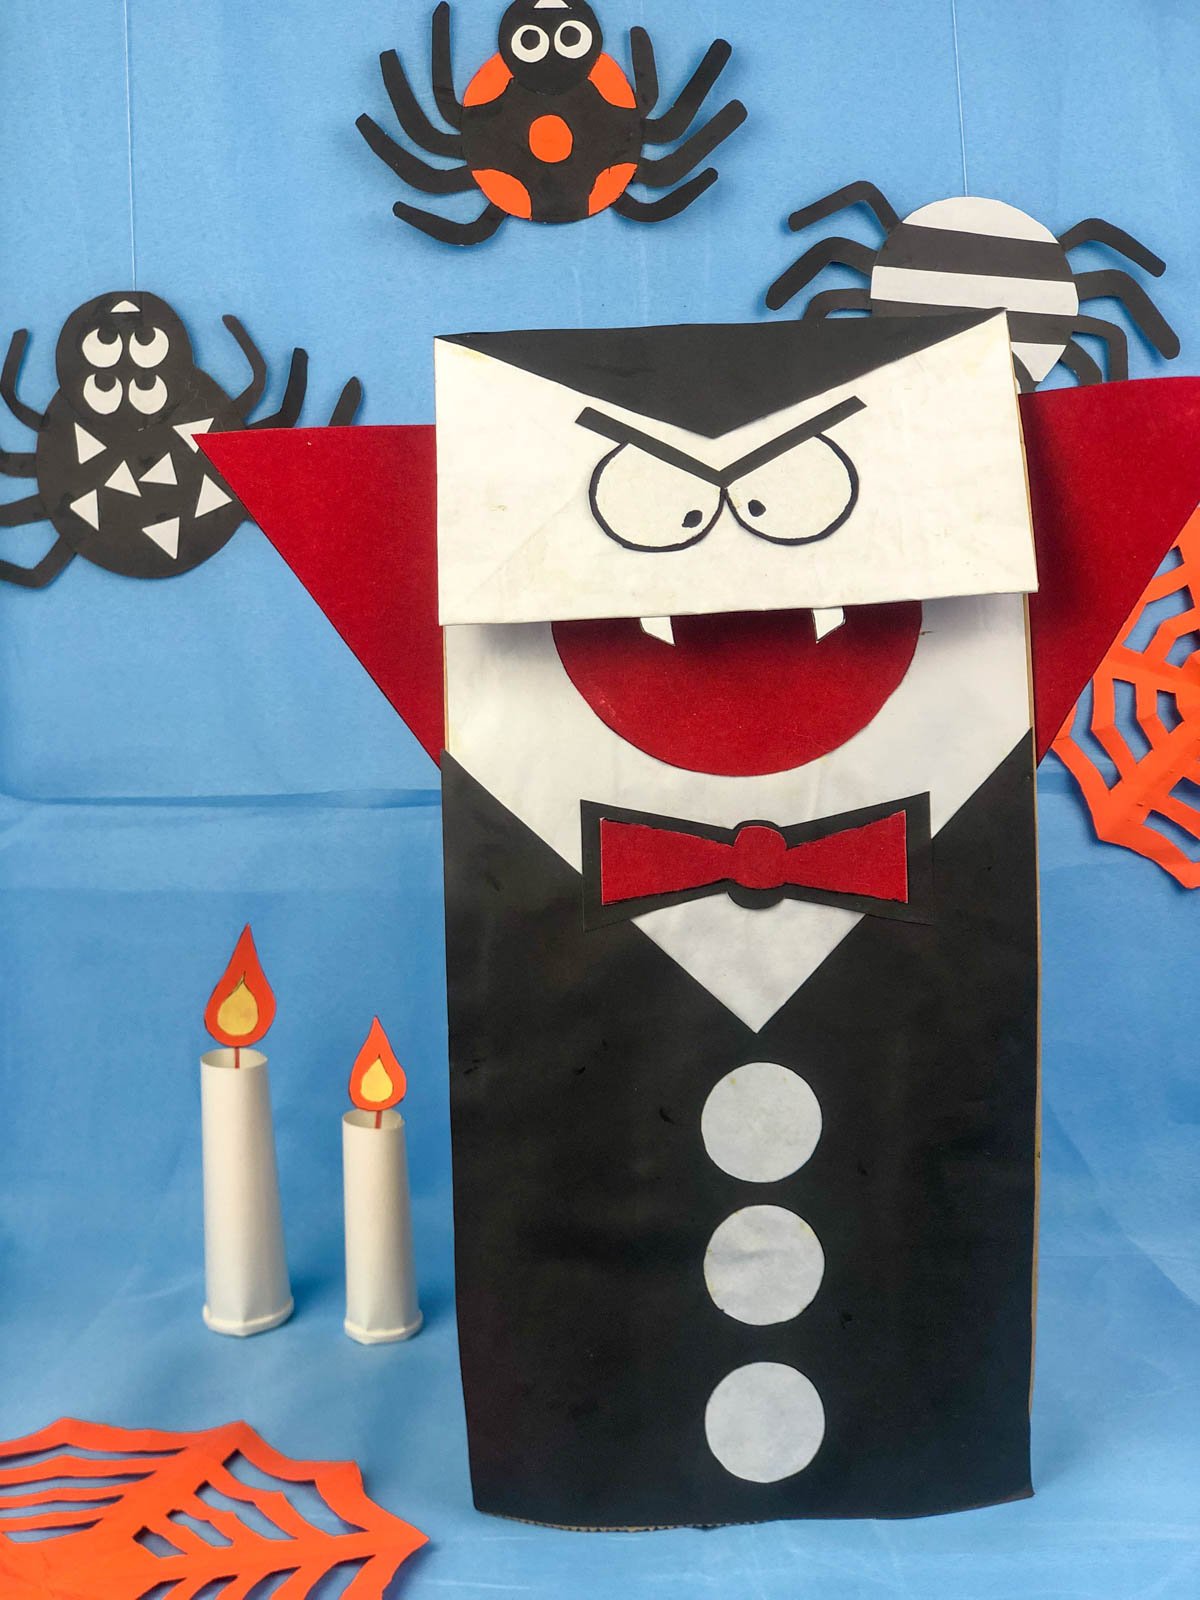
Finish your Halloween paper bag craft by adding the red triangles to the back of the paper bag, making sure you can still see a good portion of them from the front!
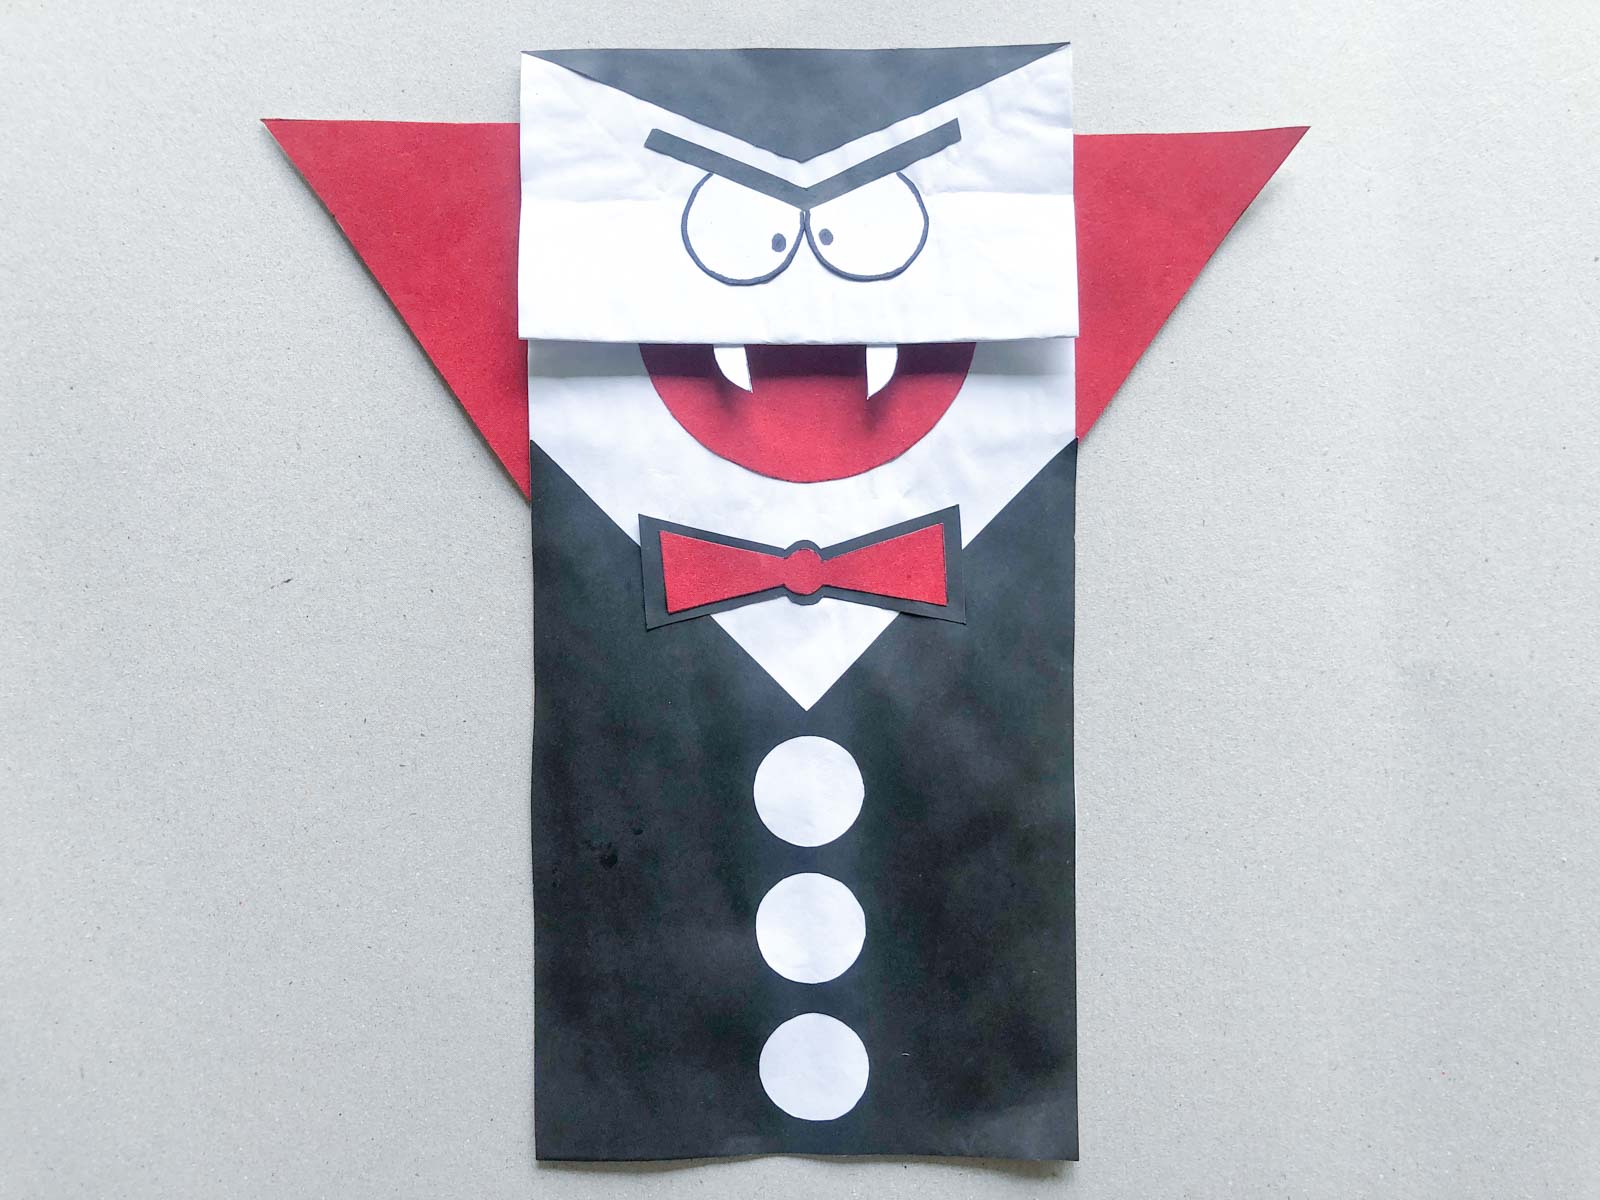
And there you have it – a cute Halloween craft made from a paper bag! Kids will love putting their hand inside and using their new puppet to chomp up and down. I mean I know I did and kids get more excited about things than I do!
Expert Tips
Cut out some of the smaller pieces for everyone if you’re doing this with little kids. A Cricut machine like the Cricut Maker or Cricut Joy would make this step take about ten seconds tops!
Don’t require everyone to make their bag match this one. A better way to do it is to show a finished example, maybe one per table, and then let people work at their own pace and using their own imagination to create their vampire. I do recommend having instructions but if kids want to be creative, the best Halloween crafts come from creative kids!
Cut the smaller pieces out while you’re letting the larger pieces dry if you’re using a slower dry glue. That way the two main pieces have a chance to really attach to the bag before you start handling them a lot.
Craft FAQs
Do you have a printable template for the pieces?
I unfortunately do not have a free printable template for these pieces because I just free-handed the pieces. If you go with just the general idea of how to cut this out, I guarantee they’ll still be cute!
Can I skip the first step if I use a white paper bag?
Yes, if you want to use the more expensive white paper bags instead of brown paper bags, you can skip the first step of adding the white paper on top of the brown paper bag since it’ll already be white underneath.
More Halloween Fun
Don’t stop at just doing your favorite Halloween crafts, there are tons of other fun Halloween activities you can do as well! Any of these would be a perfect addition to your paper bag Halloween craft!
- Halloween candy hands – instead of handing out a traditional treat bag for Halloween, give out these fun treat filled Halloween hands!
- Witch rice krispie treats – these fun Halloween rice krispie treats are like an edible witch craft! Kids will love making and eating them!
- Halloween coloring pages – another great activity for kiddos, these easy Halloween coloring sheets are free to print!
- Halloween scavenger hunt – the best set of Halloween treasure hunt clues, perfect for finding a spooky surprise!
- Pumpkin patch craft – this is one of my favorite paper pumpkin crafts because it uses apples – clever and so fun!
- Halloween bat craft – the cutest little bat ever made with just popsicle sticks and paper!
Vampire Paper Bag Halloween Craft
Ingredients
- 1 piece white paper
- 1 brown paper lunch bag
- 1 piece black paper
- 1 piece red paper
Instructions
- Start by cutting the white paper to fit the paper bag, leaving about a 1/4 at the bottom of the bag empty.1 piece white paper
- Once it’s cut, go ahead and glue it to the bag with the top of the white paper at the top of the paper bag.1 brown paper lunch bag
- Cut a long rectangle from the black paper that’s the same width as the paper bag. Cut a deep vee shape out of the top of the piece of paper.1 piece black paper
- Once that’s done, glue it to the bottom of the brown paper bag so that it intersects the white piece to create the V in the vampire’s outfit.
- Once that’s done, glue it to the bottom of the brown paper bag so that it intersects the white piece to create the V in the vampire’s outfit.
- Take any remaining white paper and create eye shapes by cutting out two circles then just cutting off the top portion of both so you have a straight top instead of a round one.
- Finish off the eyes by using the marker to outline the outside of the eyes and add the eyeball on the inside.
- Top the eyes with a V shape eyebrow (hello unibrow) made out of a thin piece of black paper.
- Cut out little features for your vampire including a bow tie, a half circle mouth, and fangs!1 piece red paper
- Last but not least cut out large triangles from the red paper or felt.
- Finish your Halloween paper bag craft by adding the red triangles to the back of the paper bag, making sure you can still see a good portion of them from the front!






Leave a Reply