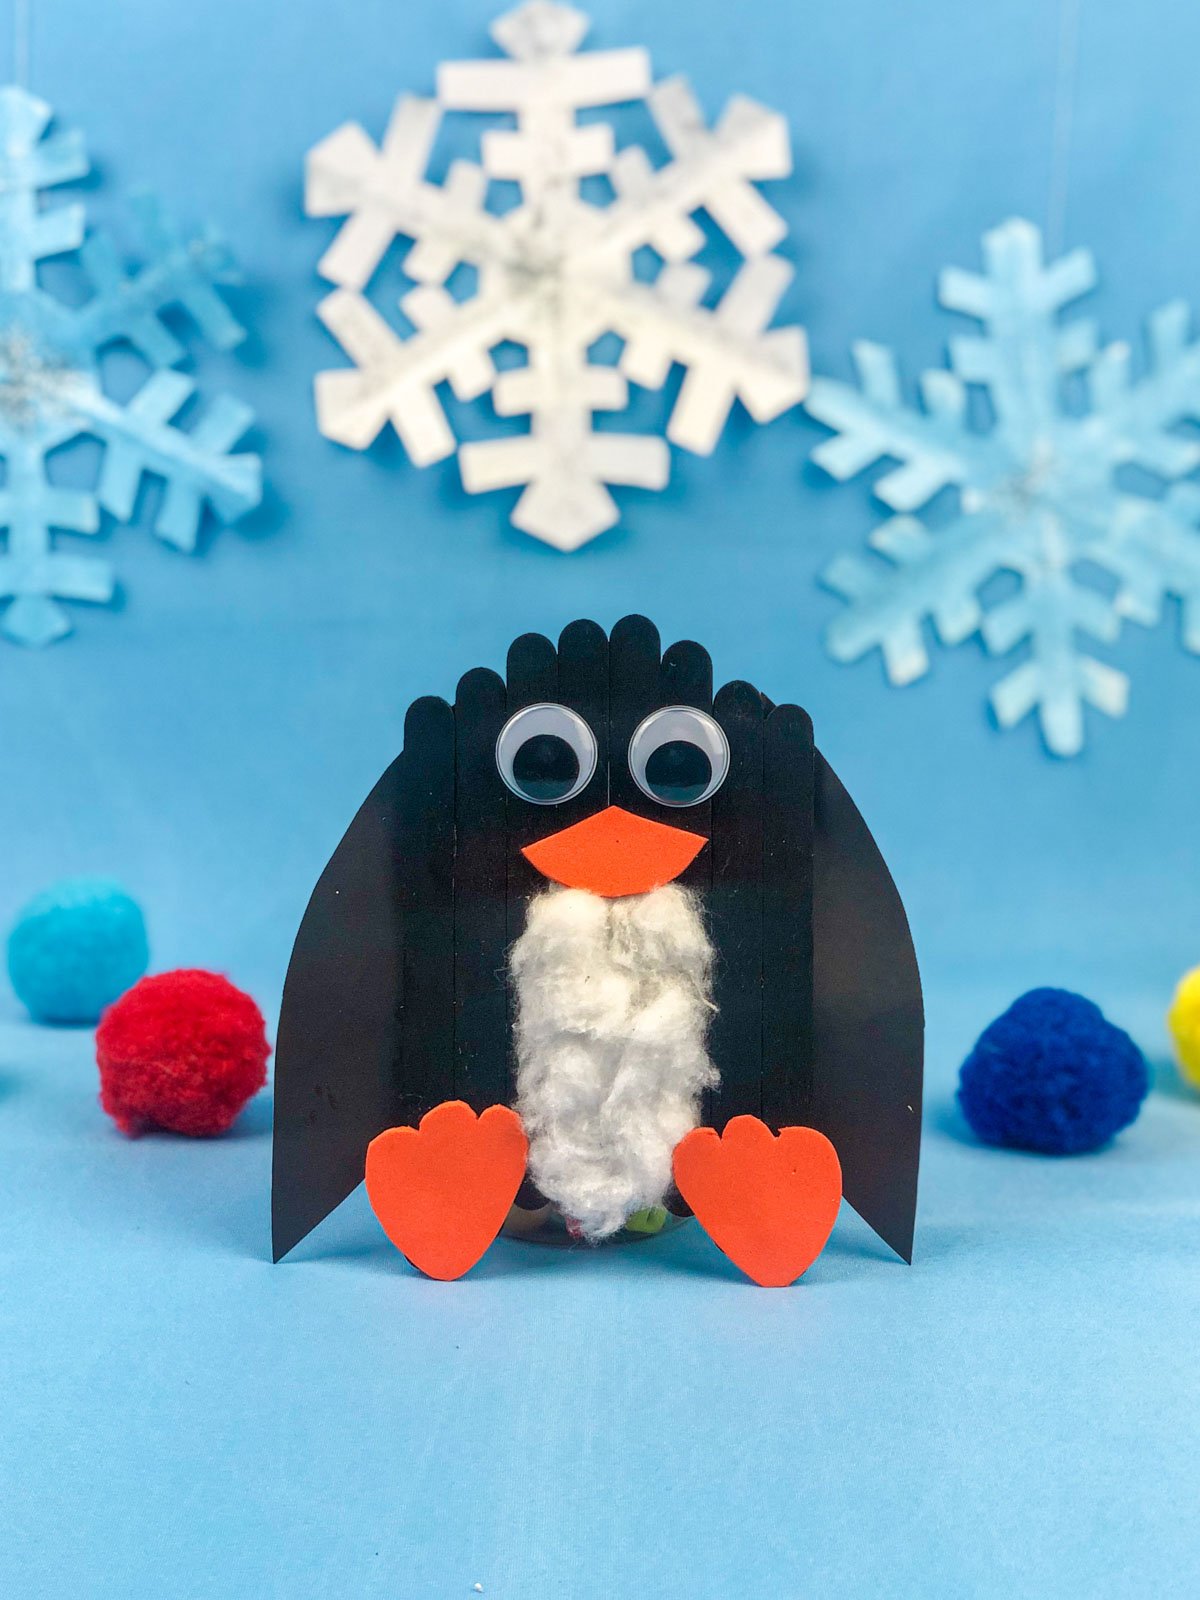
Kids will love making this fun printable penguin craft with popsicle sticks, paint, and cotton balls! Start with our printable penguin template then get creative with your adorable penguins!
If you couldn’t tell already from our vampire craft, popsicle stick witch, and Frankenstein craft, we like using popsicle sticks around here. They’re inexpensive, they’re versatile, and they can be turned into about a million different things.
Since it’s winter, today it’s all about making a cute little penguin with a fluffy tummy for sliding all over the ice!
My boys loved making this craft, and they’re not the crafty type – they just like penguins. I mean, who doesn’t?
This craft is a fun way to practice fine motor skills like cutting, gluing, and painting! Little kids and bigger kids will enjoy making their very own penguin – you just may need to help out a bit more with the little ones!
You could even make it a full penguin theme day with a little Happy Feet movie time, making this cute craft, and making some of these penguin snacks!
Why You’ll Love This Craft
- Good for kids of all ages – with just a little bit of help, kids of all ages can make this craft! Older kids can do the gluing themselves and younger kids can just do the painting and putting their penguins together! It’s a fun activity for the winter months, no matter their age!
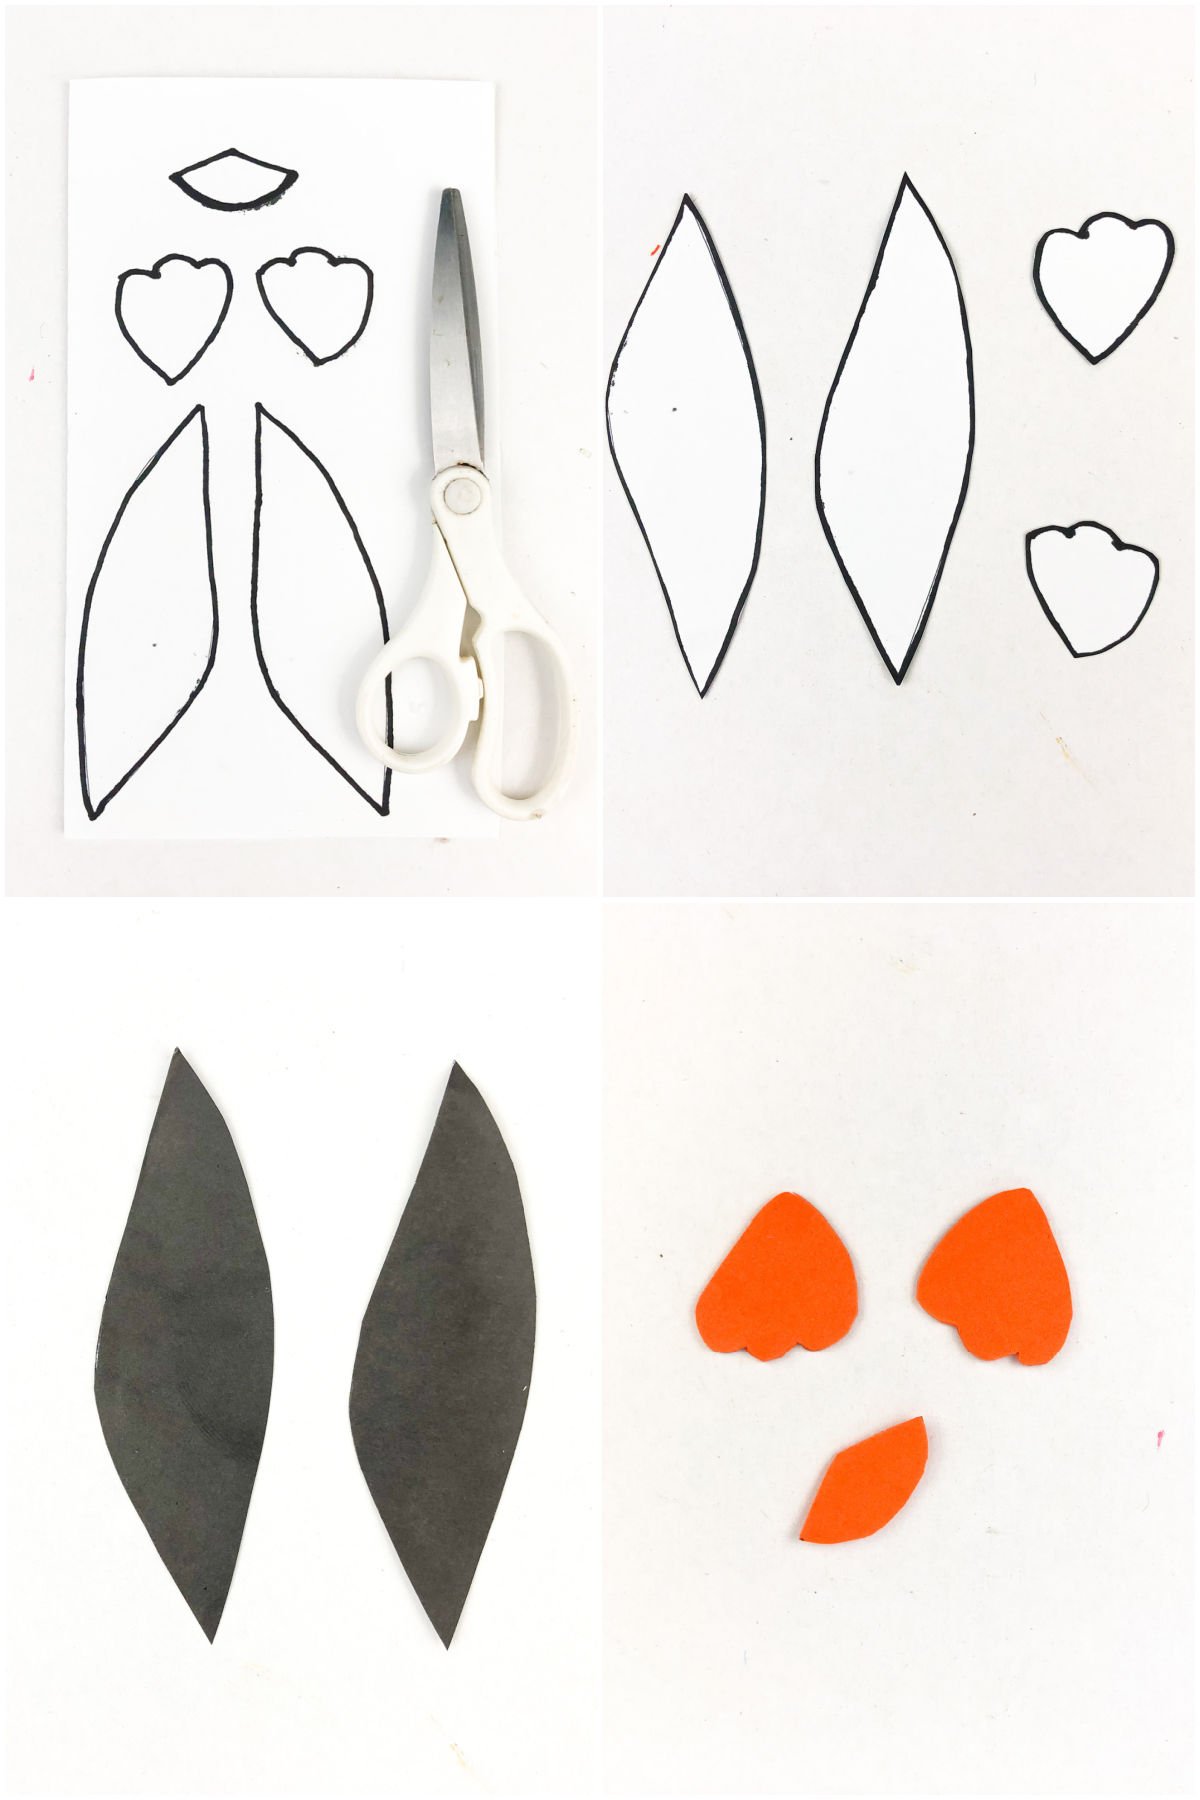
- Free template – we’ve provided you with a free template to cut out the feet, orange beak, and wings of the penguin. The penguin craft template can help make sure these actually turn out like penguins!
- Great winter craft – we’re in that weird space when Christmas is over but we’re not yet to Valentine’s Day so this easy craft is the perfect void for the winter months in the middle!
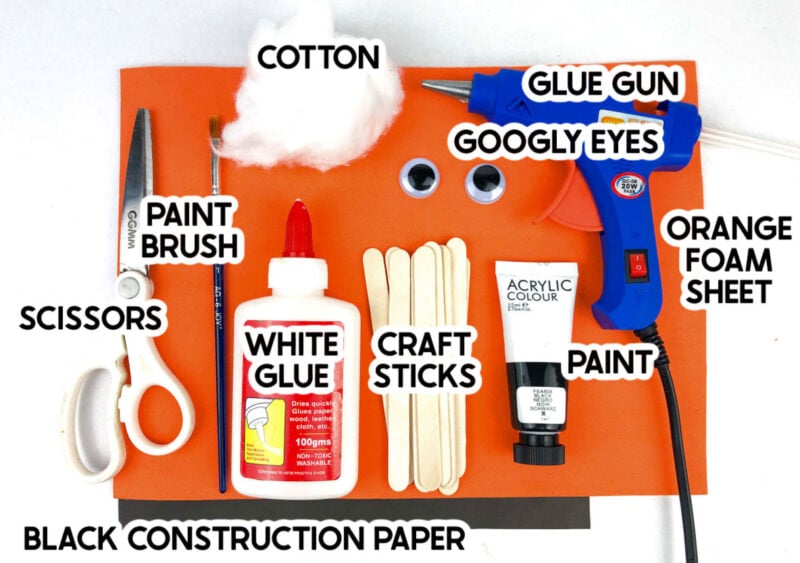
Craft Supplies
Supply Notes
- Glue gun – you’ll want to use a glue gun to glue the craft sticks together. You can either do this as part of the craft with older kids that can use a glue gun or just glue them all together beforehand and let kids just paint.
- Craft sticks – I used thin craft sticks (aka popsicle sticks) for these penguins, and they were perfect for this cute winter craft. You could use thicker thicks if you want, but you’ll want to use less of them.
- White glue – good ole Elmer’s glue works great. Let kids use this to add on all of the pieces of the penguin.
- Paint – if you’re making these with kids, I recommend black washable paint like Crayola, always washable. No one wants to have to explain why kids came home with stained clothes after craft day!
- Cotton – you can either use cotton balls (easier and cheaper) or if you want to just have to glue one section on, you could also buy something like this cotton stuffing for crafts and give kids a small section.
- Googly Eyes – I recommend getting the larger ones like these so they don’t get lost on the penguin.
- Printable penguin template – you can download the template for the beak, feet, and wings here.
- Foam sheet – I just grabbed a cheap piece of foam from a craft store in an orange color that looked like a beak. You only need a little bit of this per penguin so feel free to keep it around for other simple crafts!
- Black construction paper – construction paper or black card stock work well, you just want something that’s a little sturdier than normal copy paper.
How to make This Penguin Craft
This easy penguin craft takes just a couple of steps to put together!
1 – Create the Craft Stick Base
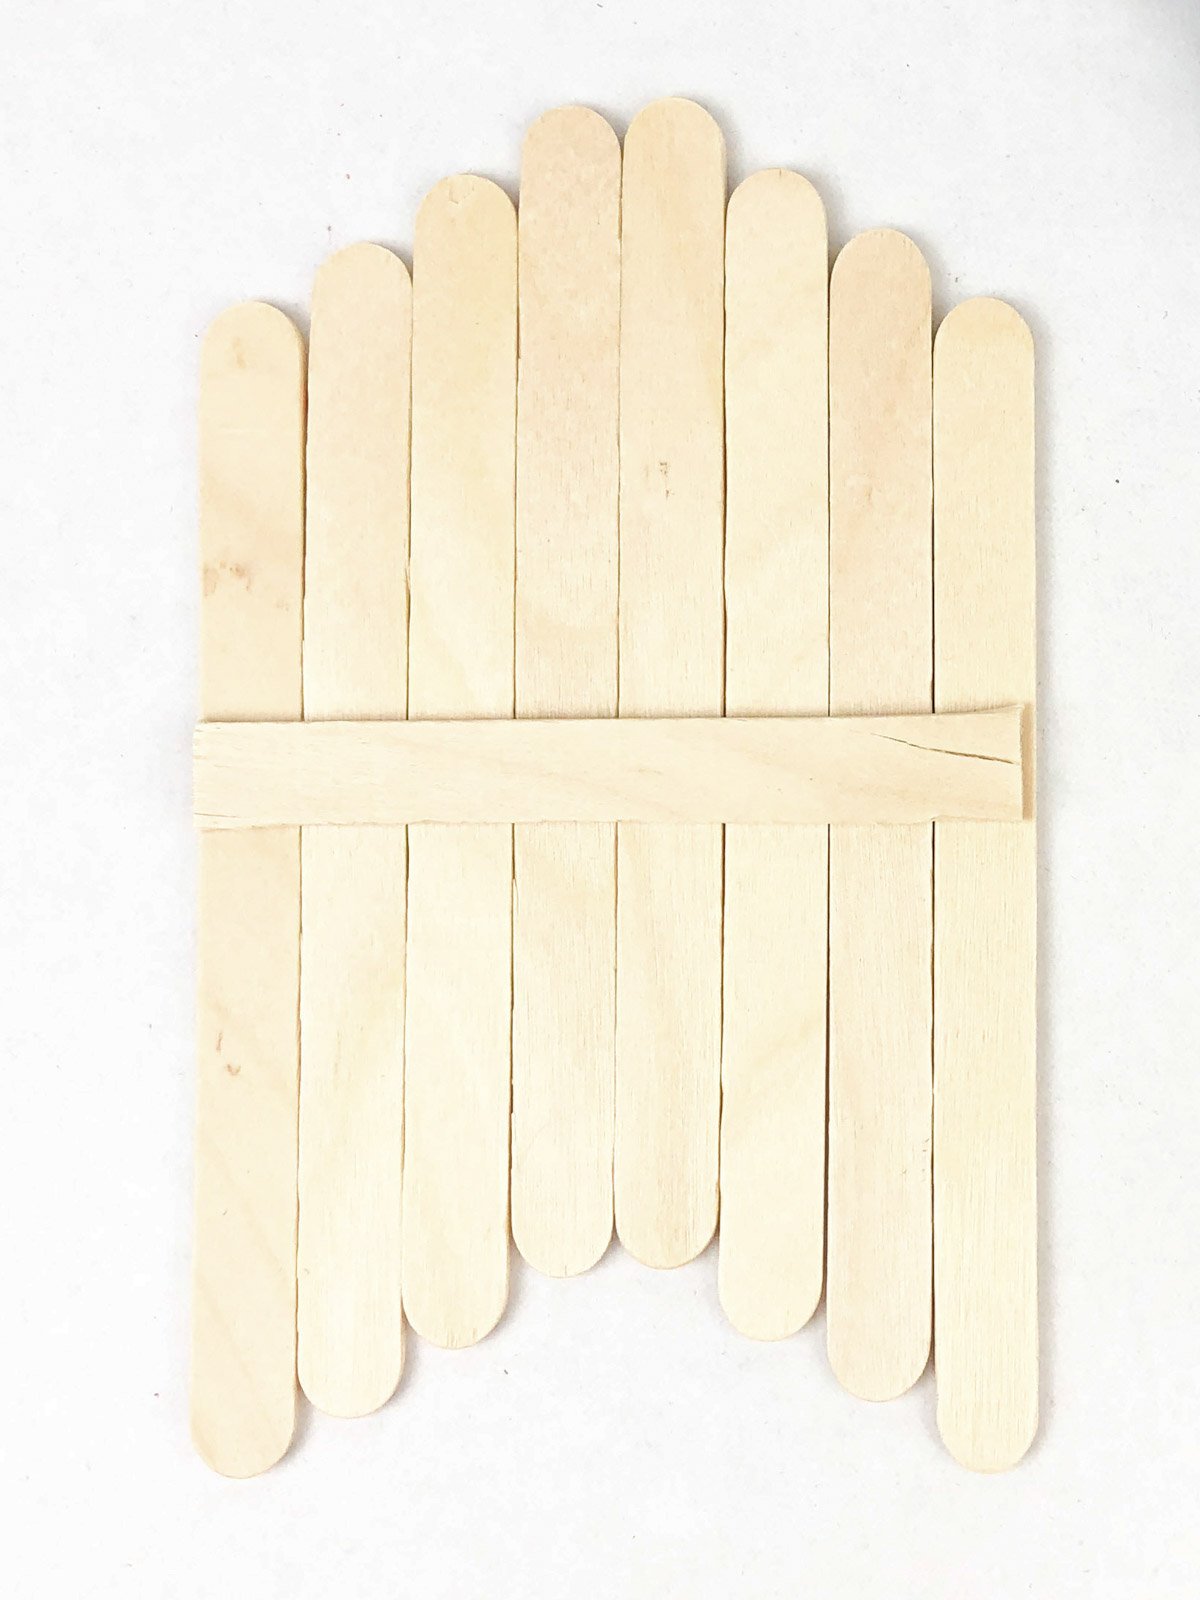
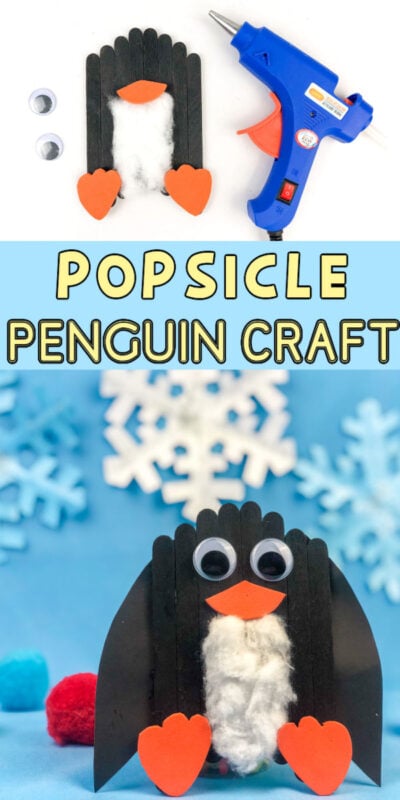
Start by lining up eight craft sticks so they are like stairs up and down with two sticks lined up evenly in the center. So you’ll have 1, 2, 3, 4/5 at the same height, and 6, 7, 8 are back down.
Once you have those lined up at the heights you want, glue them together then break one craft stick in half and glue it across the back of the popsicle sticks so that they have more support.
2 – Paint the Craft Sticks
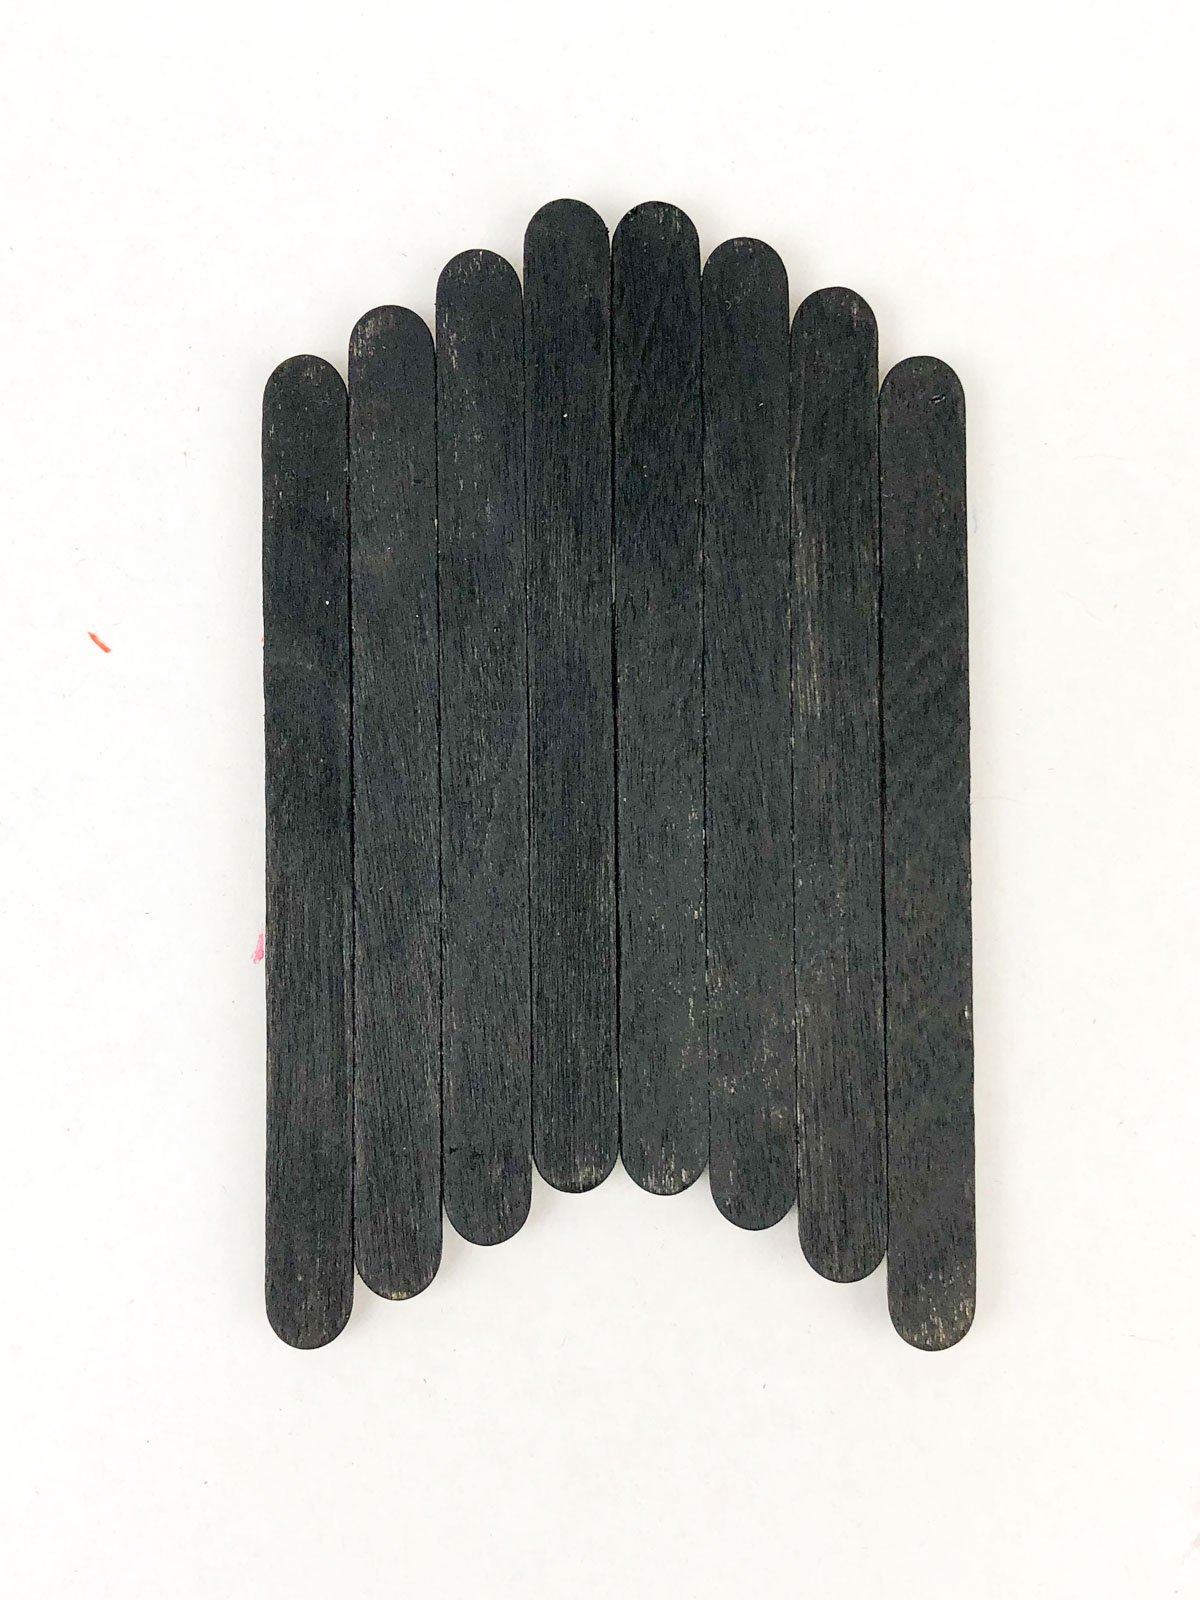
Next, you’re going to paint the popsicle sticks black. You can either just paint the front or paint front and back.
While they’re drying, you can move onto the next step to prep all of your materials for putting the little penguins together.
3 – Cut Out Your Penguin
Print out the free printable penguin template then cut out the individual pieces.
Use the pieces to cut out black wings and orange foam feet and beak.
Pull of a piece of the cotton if you’re using a larger piece of cotton or get out enough cotton balls to cover the penguin’s belly.
4 – Put Your Penguin Together
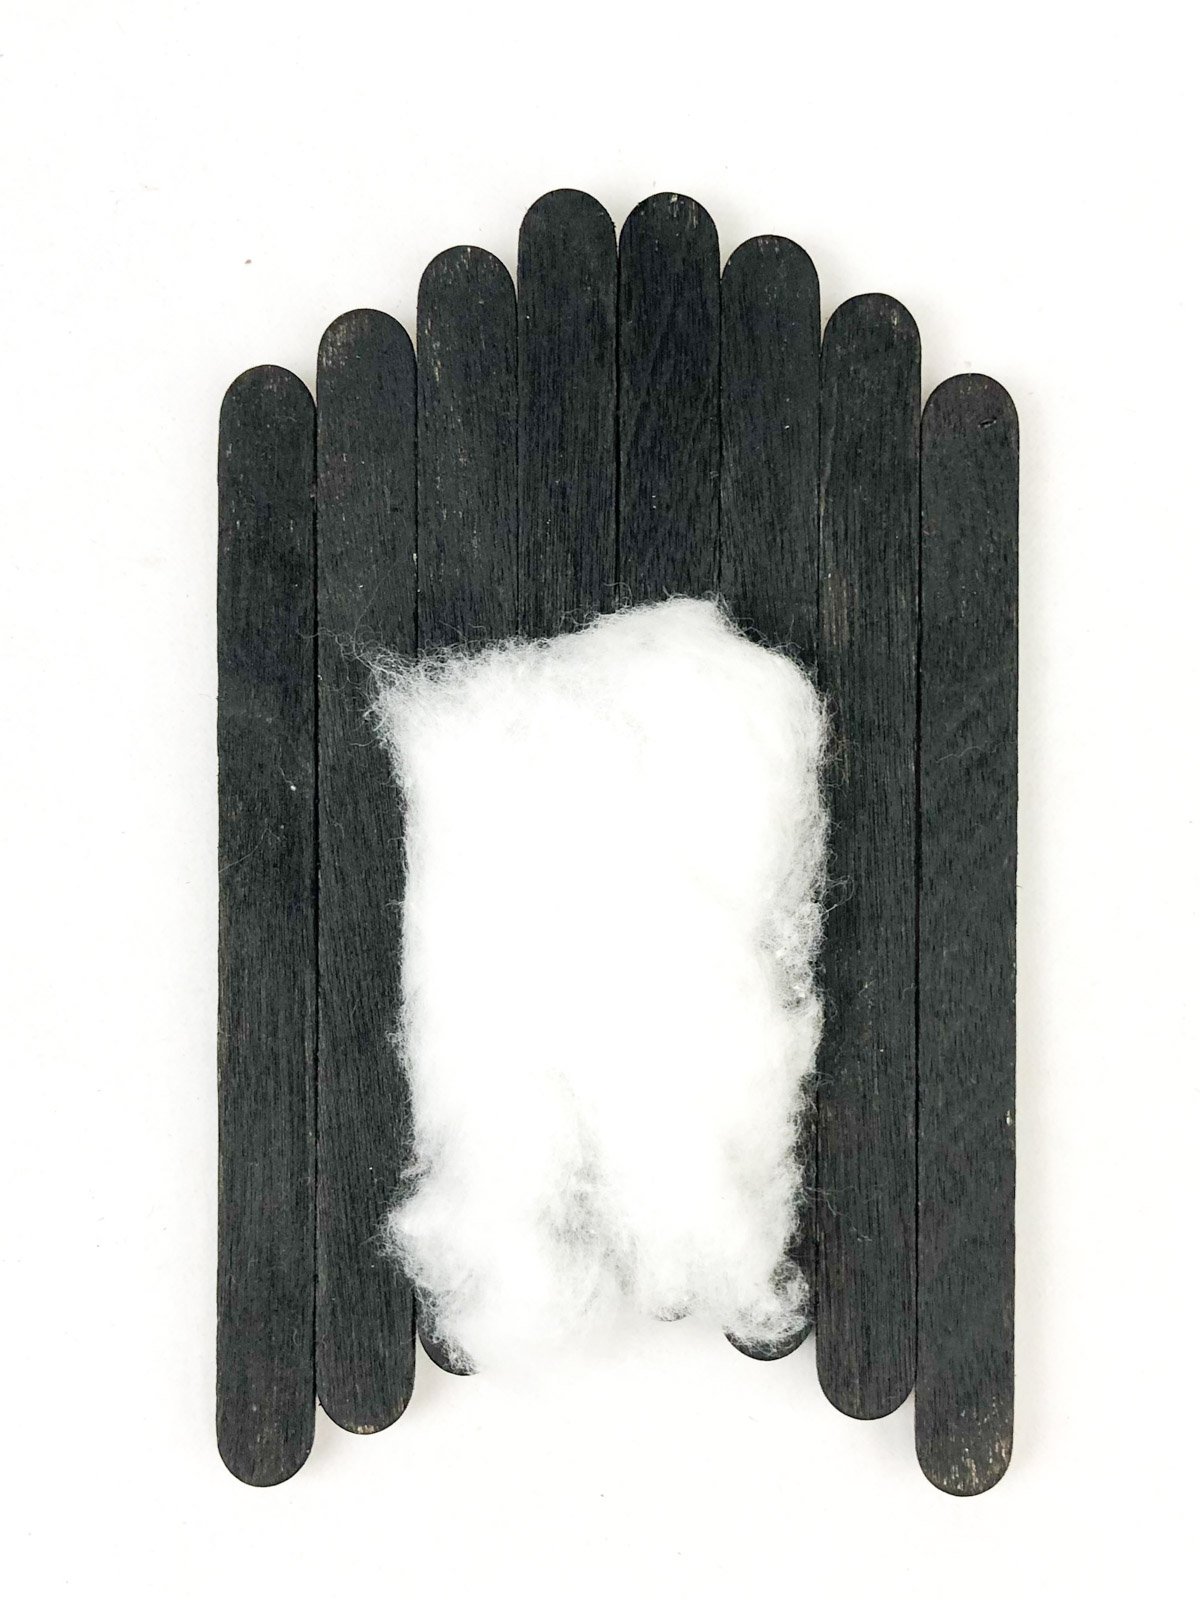
Once the black paint is dry, it’s time to put your penguin together. Start by gluing on the white circle cotton belly in the center. I like to start about 2/3 up and go down from there, right in the center of the body.
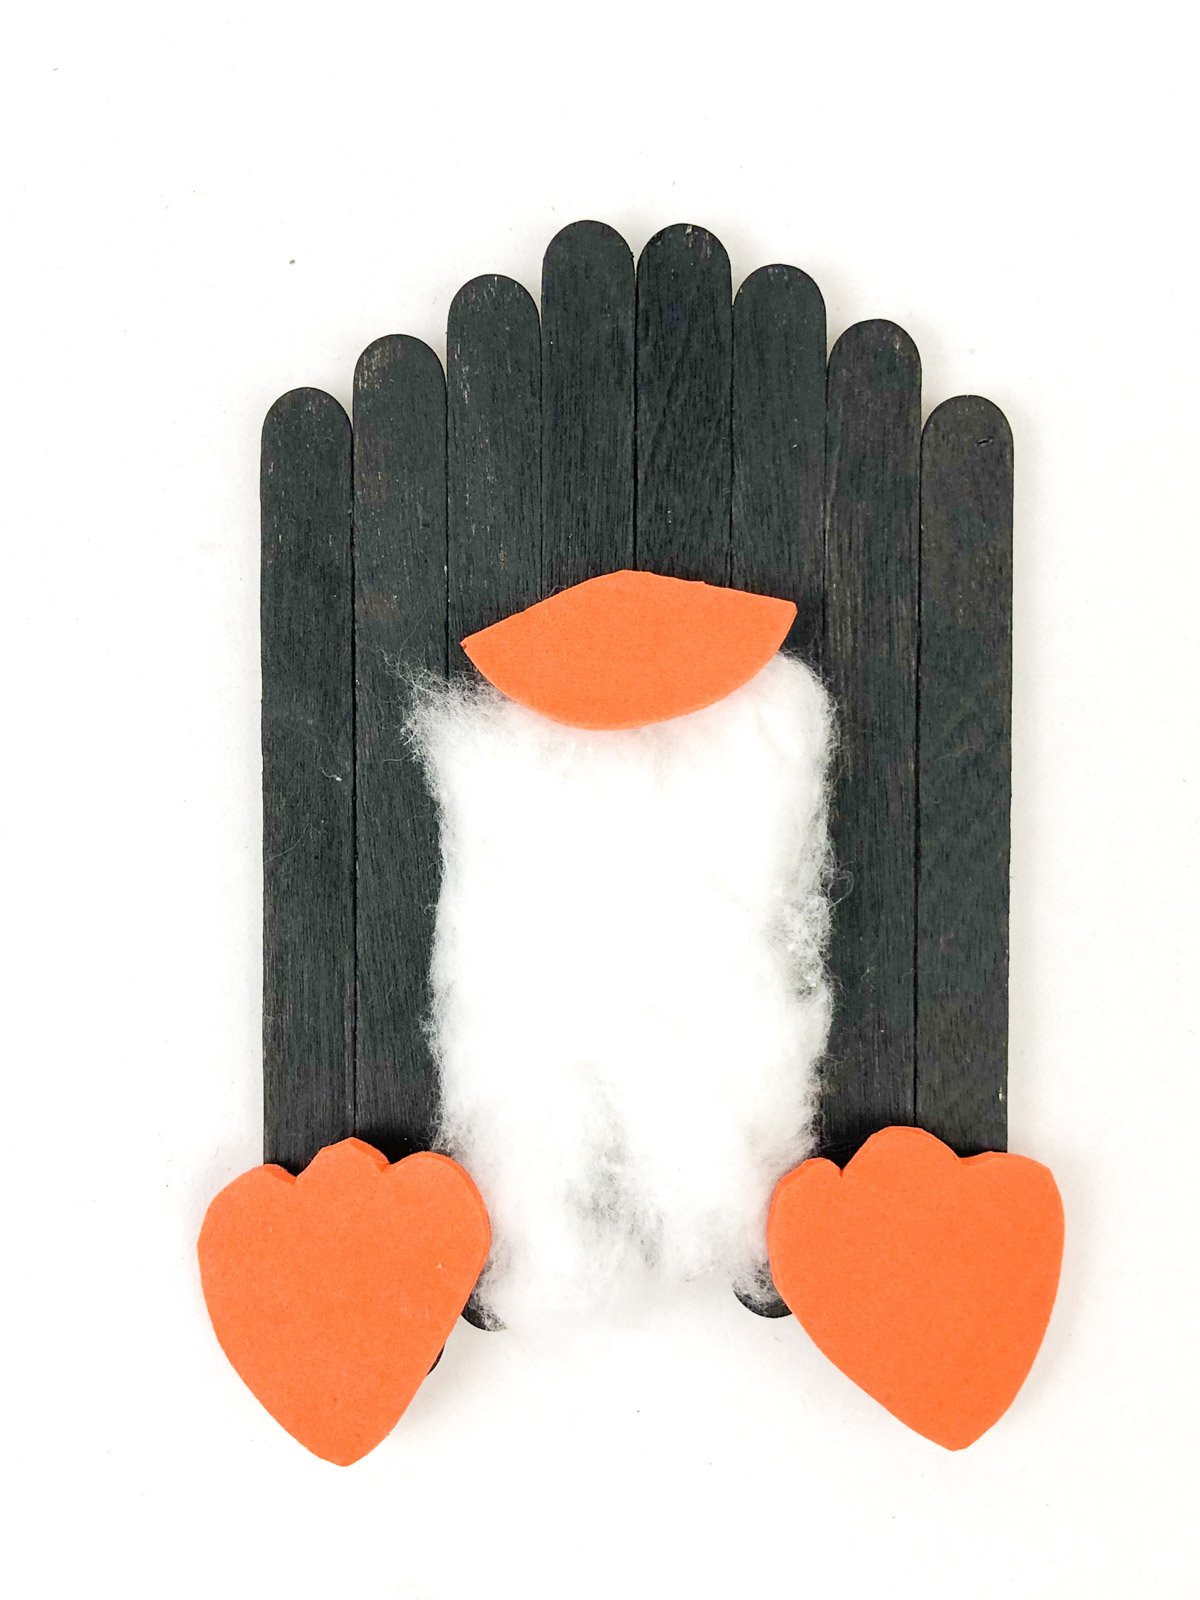
Then add on the orange beak and feet that you cut out using the penguin template pieces.
Finish off this portion of the penguin by adding the googly eyes right above the beak either with glue or the self-adhesive sticky stuff on the back (if you follow my expert tips at the bottom of this post).
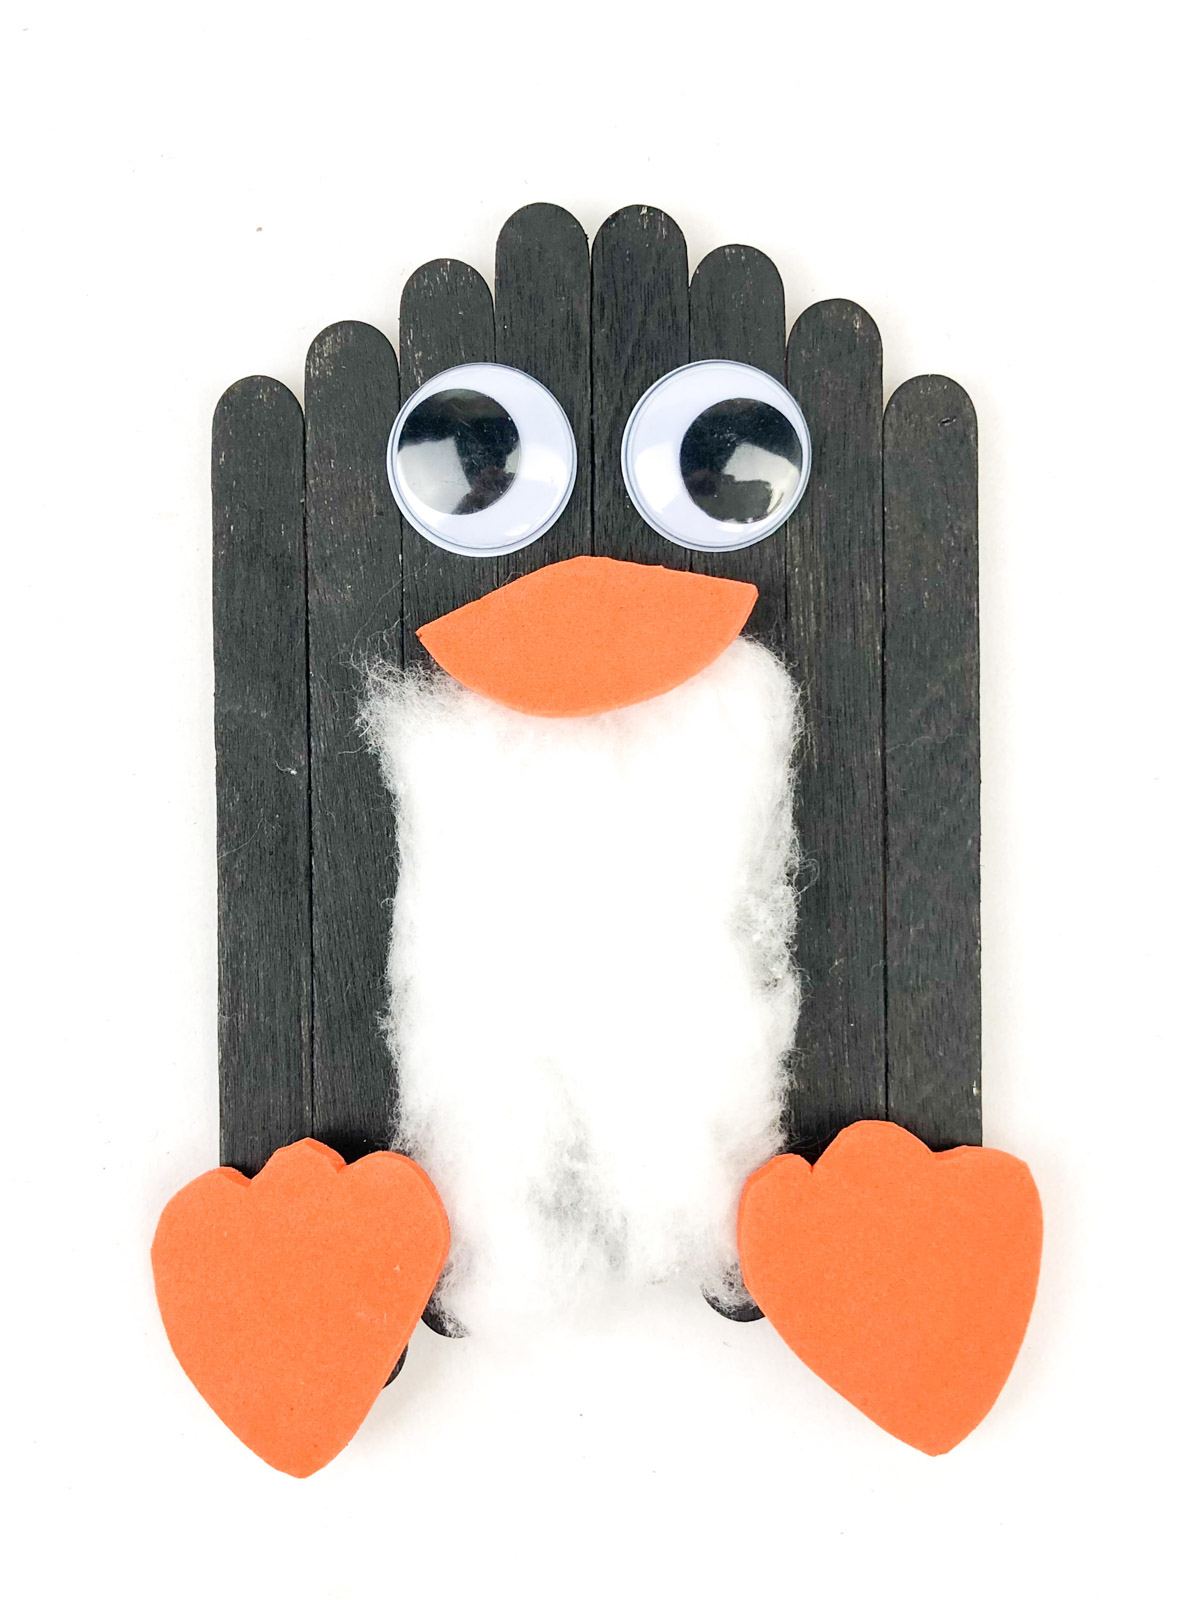
Finally, glue on the black wings to finish your black body (penguins have to have wings after all!).
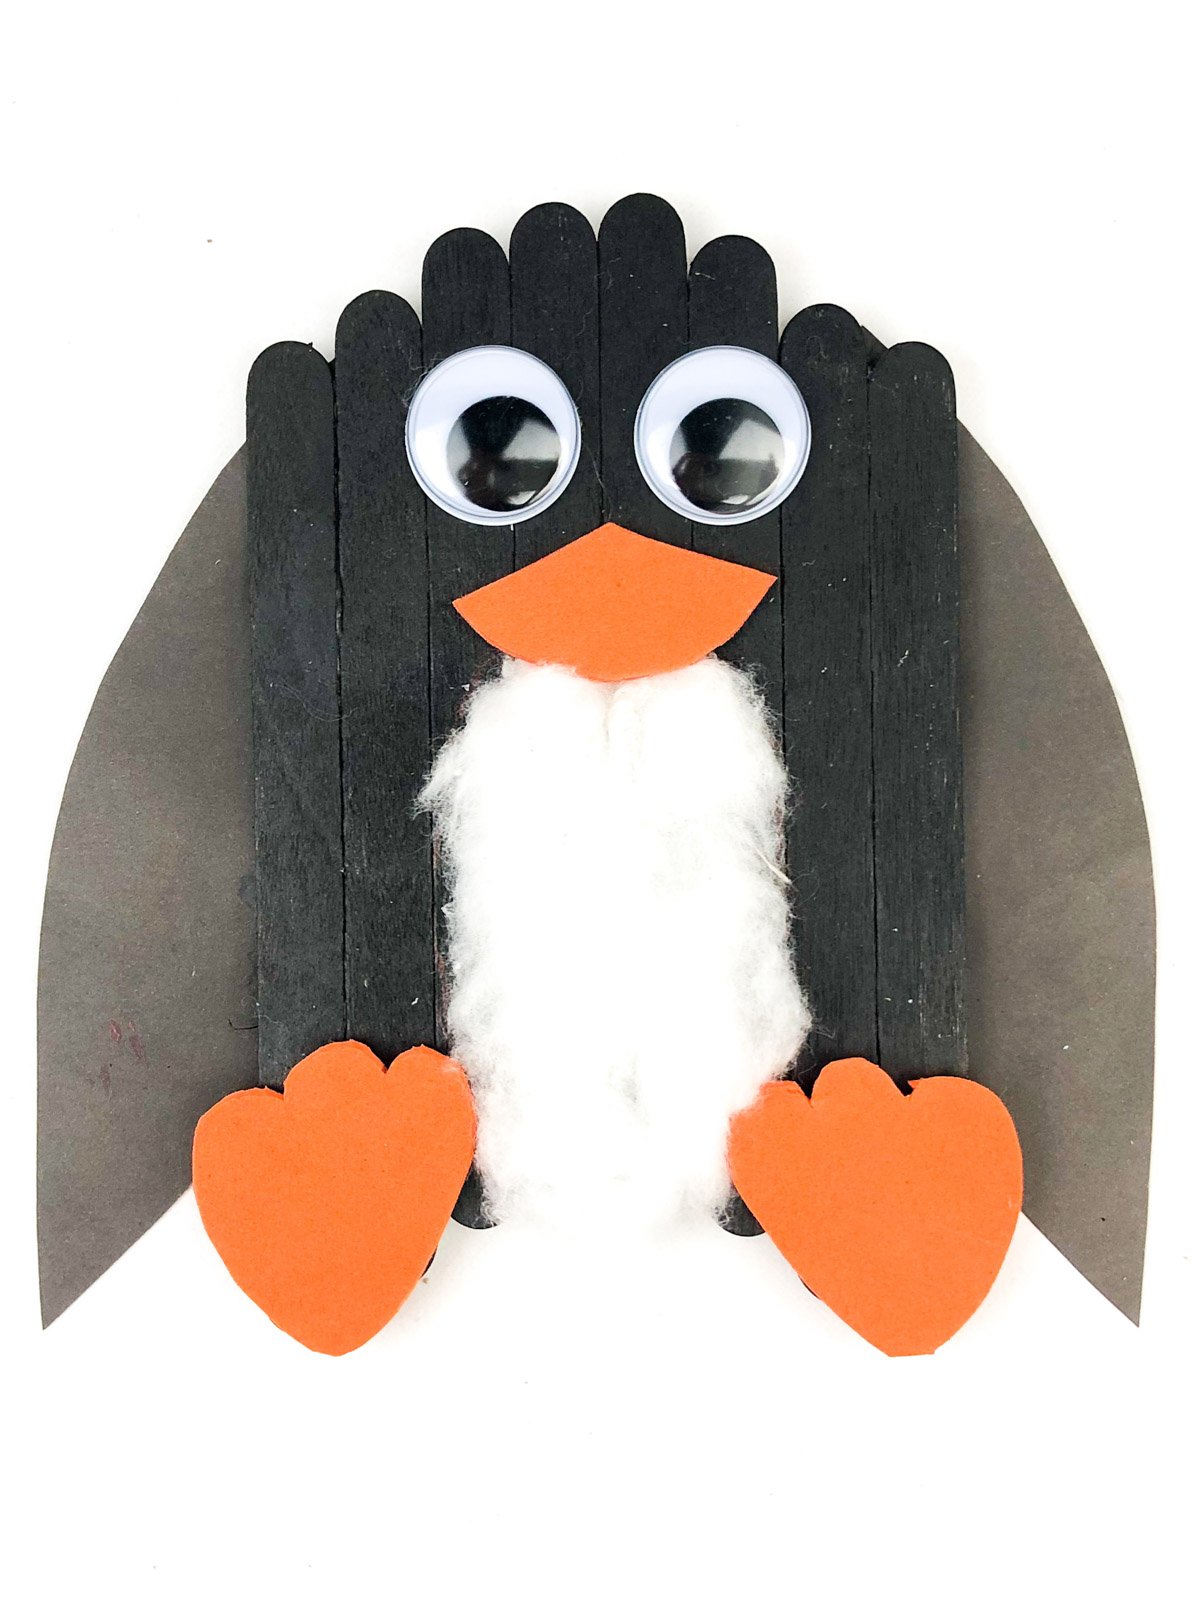
All of these steps should be easy enough for little hands to do, and it’s a perfect way to give them a little practice with glue without destroying the craft!
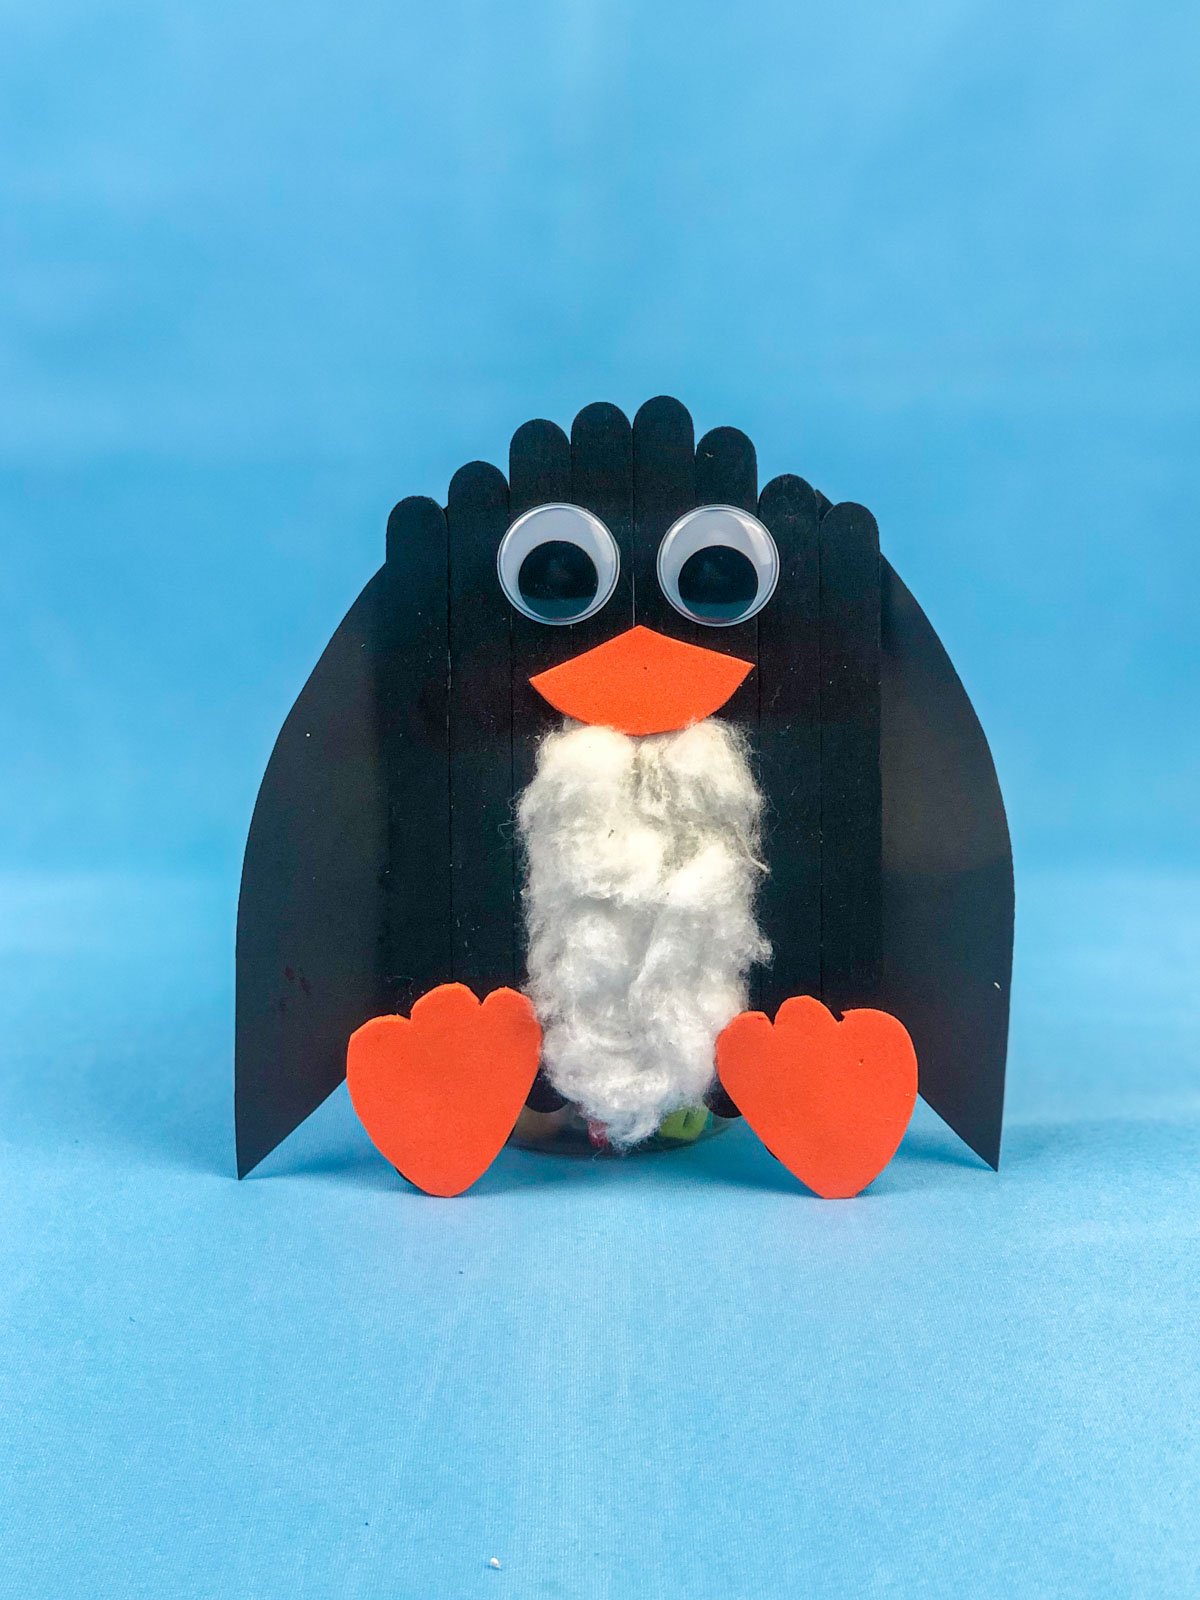
And that’s it – you’re done, your cute penguin craft is complete! This fun activity is perfect to do alongside other penguin activities (you could do a whole penguin unit!) or even anything to do with arctic animals!
Expert Tips
Make this craft simpler for younger kids by gluing together the popsicle sticks before you get started. That piece can be a little challenging for younger children and you don’t want them to be done with this diy penguin craft before the fun even gets started!
Let kids get creative if they don’t want to use the free printable template! Let them cut out whatever shape wings, beak, and feet they want. This is a great way to let kids show their creativity without getting too crazy.
Get self-adhesive googly eyes to make that piece simpler! Googly eyes with white glue also sometimes tend to slip around a bit, so I always recommend the ones that are just ready to be stuck right on!
More Easy Craft Ideas
If you like this easy winter craft, these are some of other fun craft ideas that you might love!
- Turkey craft – tons of fun turkey themed crafts for little hands to make all fall long!
- Ghost craft – this fun ghost craft uses a free printable template and cotton balls so just keep the leftovers from this penguin!
- Popsicle stick crafts – more fun crafts to make with those leftover craft sticks!
- Christmas handprint crafts – the cutest holiday crafts to make with just hand and footprints!
- DIY Christmas ornaments – these fun ornaments are all simple crafts that end with something to hang on your tree!
Printable Penguin Craft
Ingredients
- 9 craft sticks
- Black paint
- Printable penguin template
- 1 sheet orange foam
- 1 piece black construction paper
- Cotton balls or cotton stuffing
- 2 googly eyes
Instructions
- Start by lining up eight craft sticks so they are like stairs up and down with two sticks lined up evenly in the center. So you’ll have 1, 2, 3, 4/5 at the same height, and 6, 7, 8 are back down.9 craft sticks
- Once you have those lined up at the heights you want, glue them together then break one craft stick in half and glue it across the back of the popsicle sticks so that they have more support.
- Paint the popsicle sticks black. Allow them to dry completely before moving onto the next step.Black paint
- Print out the free printable penguin template then cut out the individual pieces.Printable penguin template
- Use the pieces to cut out black wings and orange foam feet and beak.1 sheet orange foam, 1 piece black construction paper
- Glue cotton balls or a large piece of cotton in the center. I like to start about 2/3 up and go down from there, right in the center of the body.Cotton balls or cotton stuffing
- Add on the orange beak and feet that you cut out using the penguin template pieces.
- Finish off this portion of the penguin by adding the googly eyes right above the beak.2 googly eyes
- Finally, glue on the black wings to finish your penguin!



Leave a Reply