Kool Aid pie is a fun and easy no bake dessert that is kid-friendly, easy to make, and delicious! This three-ingredient recipe is served on top of a pre-made graham cracker crust and will be a new favorite with kids and adults alike! It’s the perfect addition to any other summer desserts or a holiday dessert table!
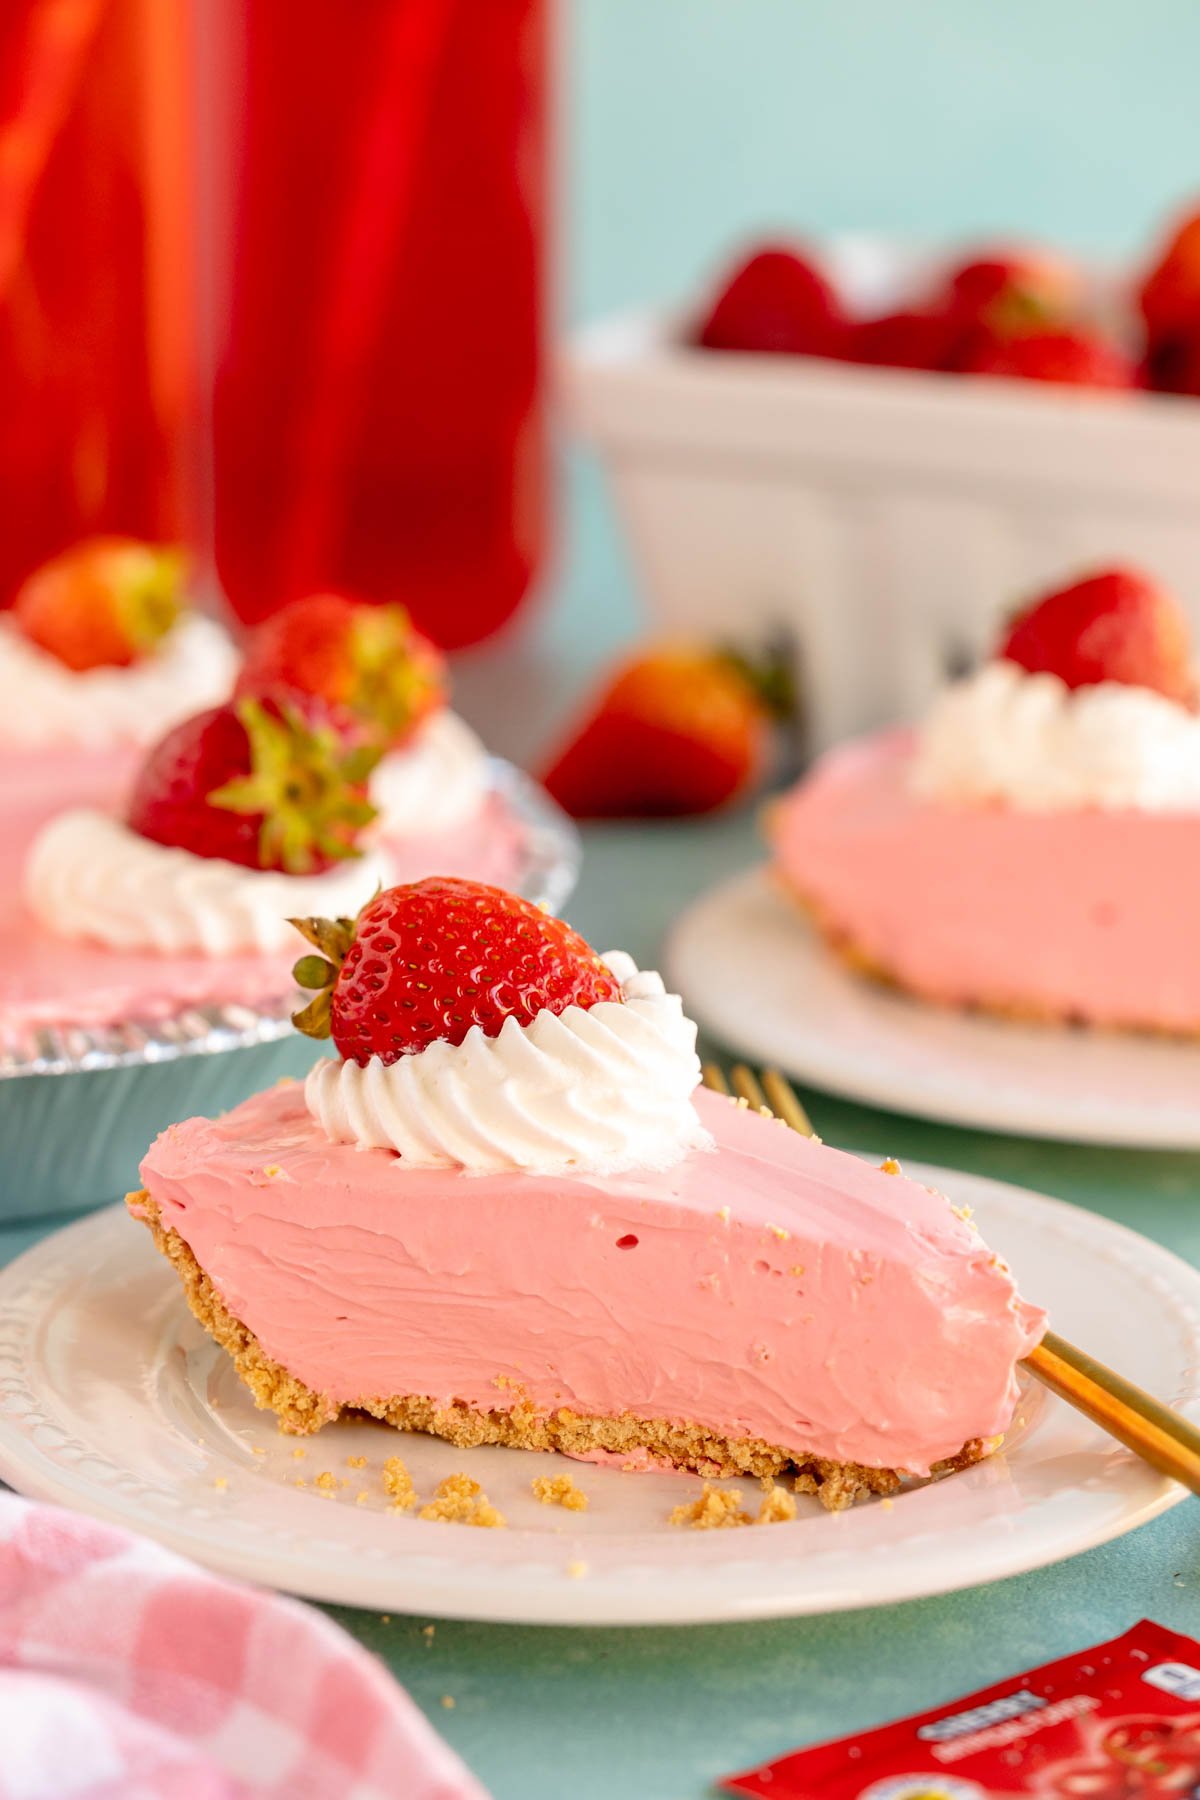
I’m always looking for easy desserts, especially ones that I think will go over well with both kids and adults. And ones that are easy to make for a crowd.
This Kool Aid pie achieves both of those things. While Kool Aid pies are typically served in the summer, I’m sharing it now in case you want a different type of pie to bring with that no bake pumpkin pie for the holidays!
Or just wait until the summer moths to try out this summer time favorite no bake pie. It’s the perfect refreshing dessert for a hot summer day!
Kool Aid pies originated in the south, but they’re a new favorite of our family, and I think they’re a treat that should be enjoyed across the country!
This delicious pie is typically made with a store-bought crust, Kool Aid mix, and whipped cream. I add one more ingredient to mine to make them super creamy and delicious!
Just be forewarned, once you try this creamy pie you may never go to a celebration without Kool Aid pie in hand again! It might be a different flavor every time, but it’s going to be one people ask for again and again! And that’s perfect for you since it’s such an easy recipe!
Why you’ll love this Recipe
- 3-ingredients – you only need three simple ingredients including a store-bought graham cracker pie crust to make this delicious no bake kool-aid pie recipe!
- Versatile – want to change up the Kool-Aid flavor to match a different theme? Simply switch out the strawberry Kool Aid with your favorite flavors and you’ve got a lemon pie, switch it again for lime, and so on. You could even mix and match lemon and lime Kool-Aid to get a lemon lime Kool Aid pie!
- Easy to transport – these are super simple to pack up to take to a party, which makes them a great treat to take with you! Even better if you buy one of those pre-made graham cracker crusts that actually comes with a lid!
Ingredients
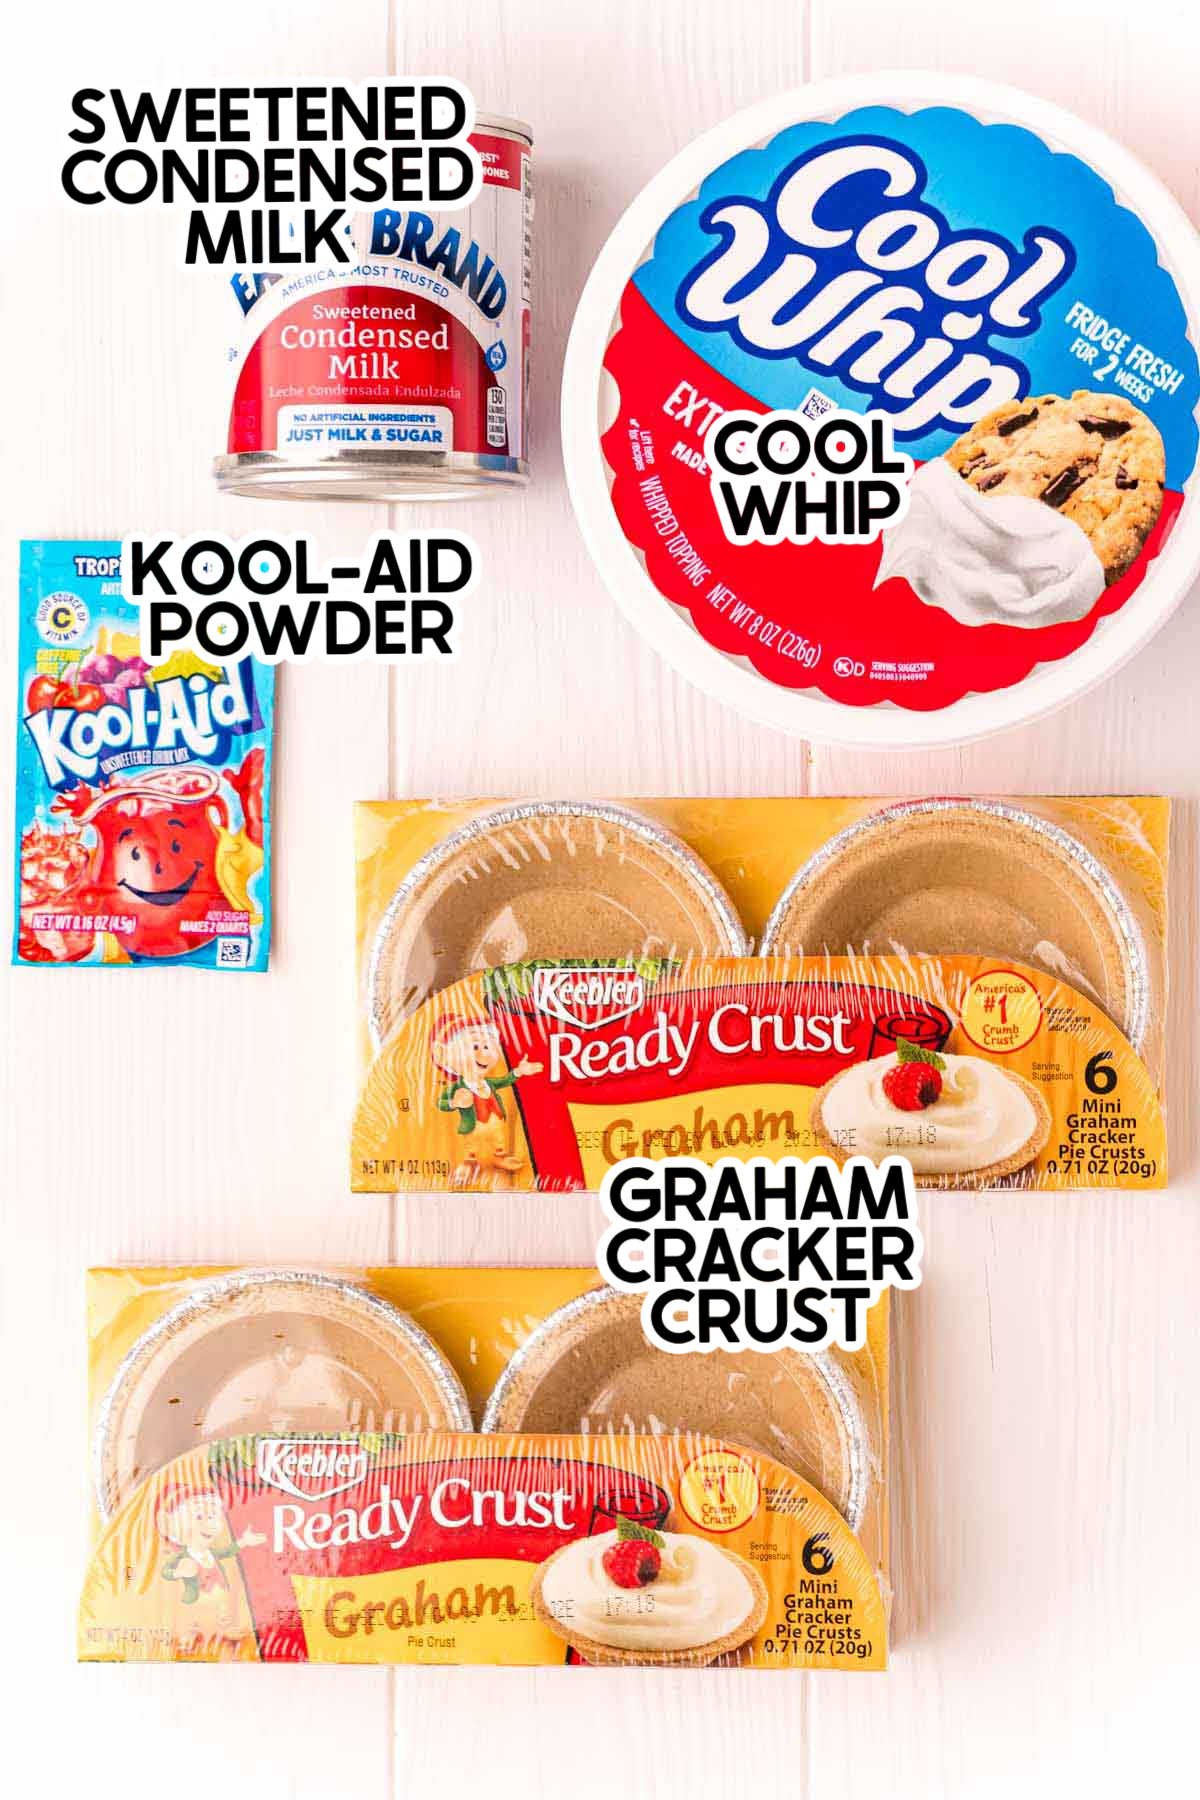
Ingredient Notes
- Graham cracker crusts – I used pre-made graham cracker crust in this recipe but you could totally make your own graham cracker crust using the one in this striped delight recipe. It’s basically graham cracker crumbs, sugar, and butter combined together.
- Kool-Aid Packet – this is where this recipe gets fun. I used a tropical punch flavor Kool-Aid in this recipe but you could easily change it up to make it strawberry, fruit punch, or really anything you want! I just liked the bright pink color! You could even just walk through your local grocery store and pick out whatever packages of kool aid are currently tempting your taste buds! I recommend sticking with fruit flavors to balance the sweetness but feel free to get creative!
How to make kool aid pie
Kool Aid pies are as classic summertime dessert but as I mentioned, they can be enjoyed throughout the year as well!
Just add them to the pie table along with a little peanut butter pie and homemade apple pie or even Butterfinger pie and people will be excited for the additional option!
These are so easy to make, it’s almost crazy that I’m writing a blog post about them and writing out step by step instructions, but here we are. You can get the full recipe in the printable recipe card at the bottom of the post!
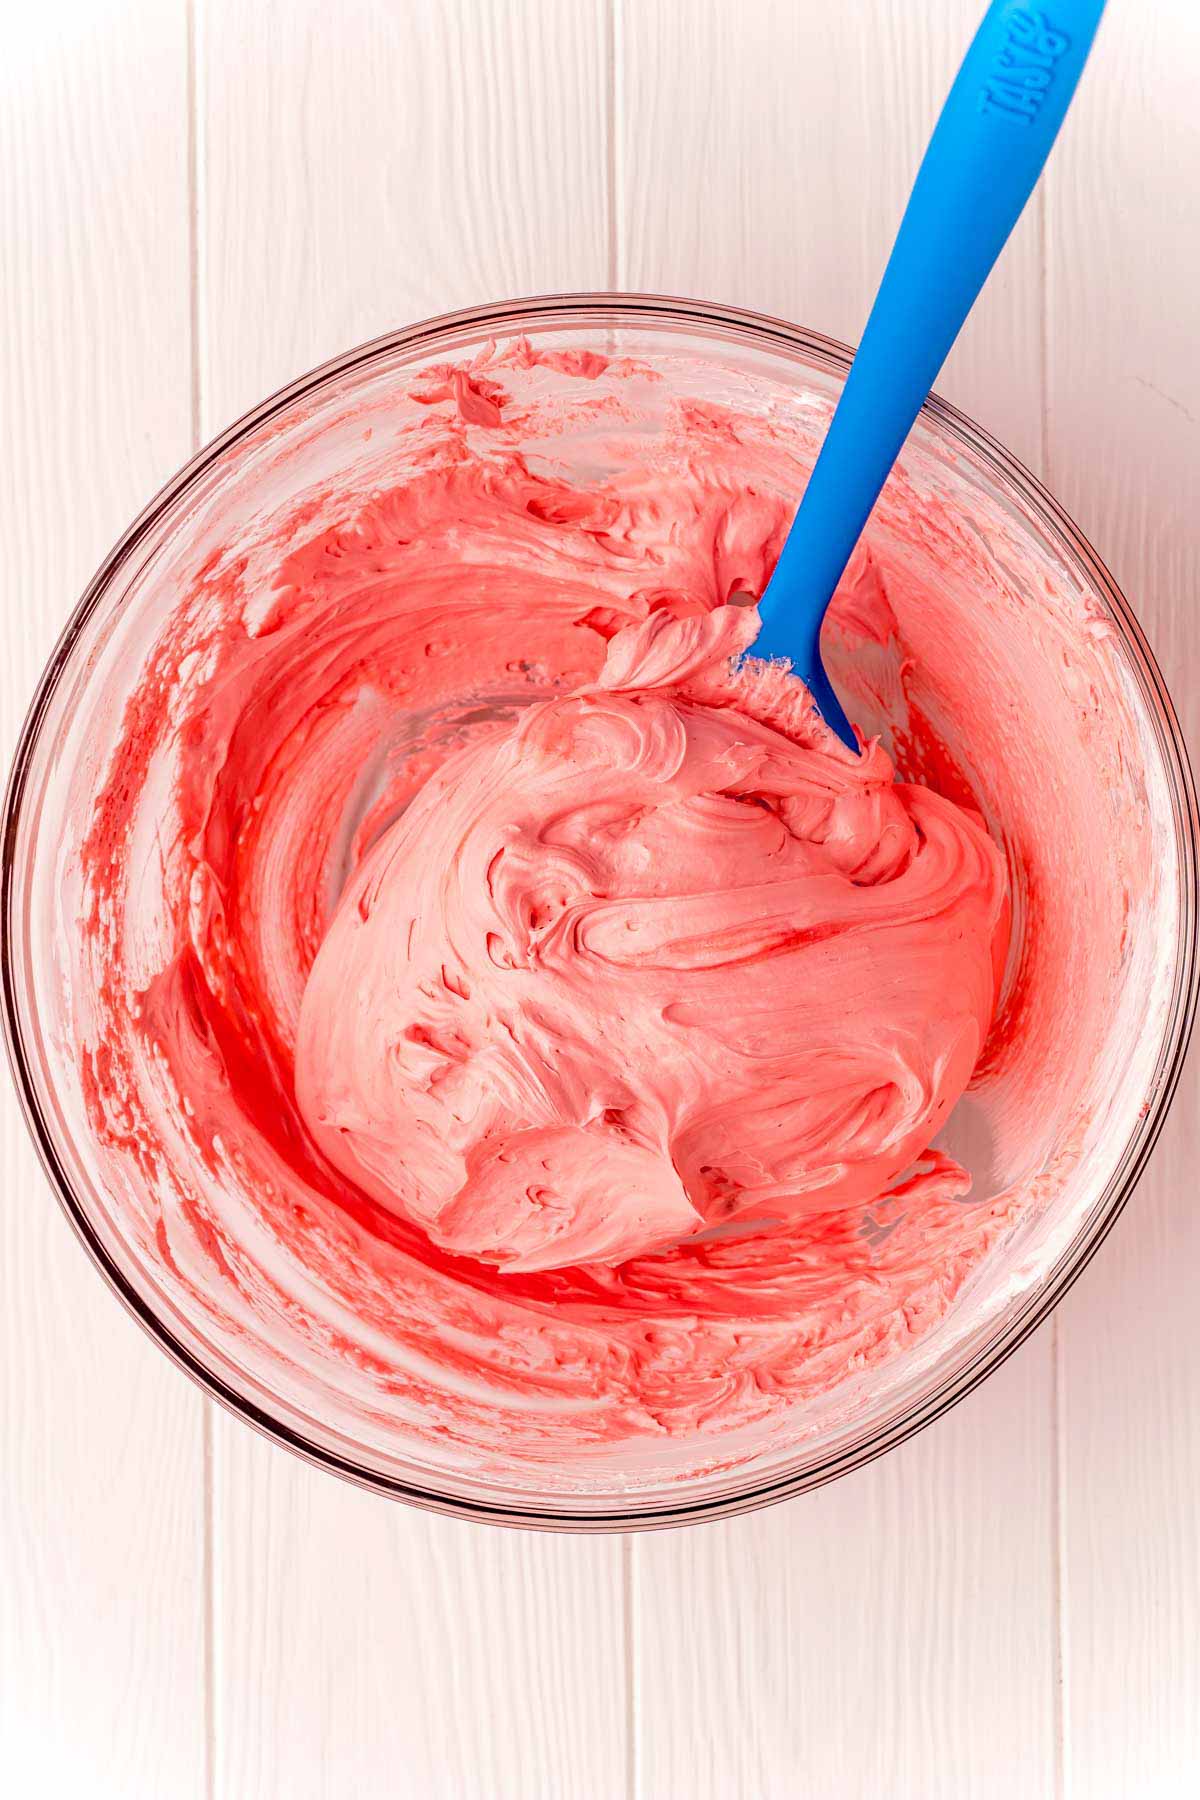
- Start by whisking together the kool-aid powder, sweetened condensed milk, and cool whip in a large mixing bowl.
- Whisk until well combined. The mixture should be creamy, fluffy, and colorful. Make sure the color is totally incorporated into the mixture – you don’t want any white streaks anywhere!
Tip!
Make sure to fold the ingredients together by hand, not using an electric mixer. If you mix it too much, the kool aid pie may end up runny if you beat the ingredients too much or at too high of a speed.
- Use a large cookie scoop or a spatula to transfer the pie mixture from the mixing bowl to your graham cracker crust. Then use a spatula to smooth the mixture out inside the pie crust.
- Place in the refrigerator and allow the pie to chill for at least two hours, ideally four or more.
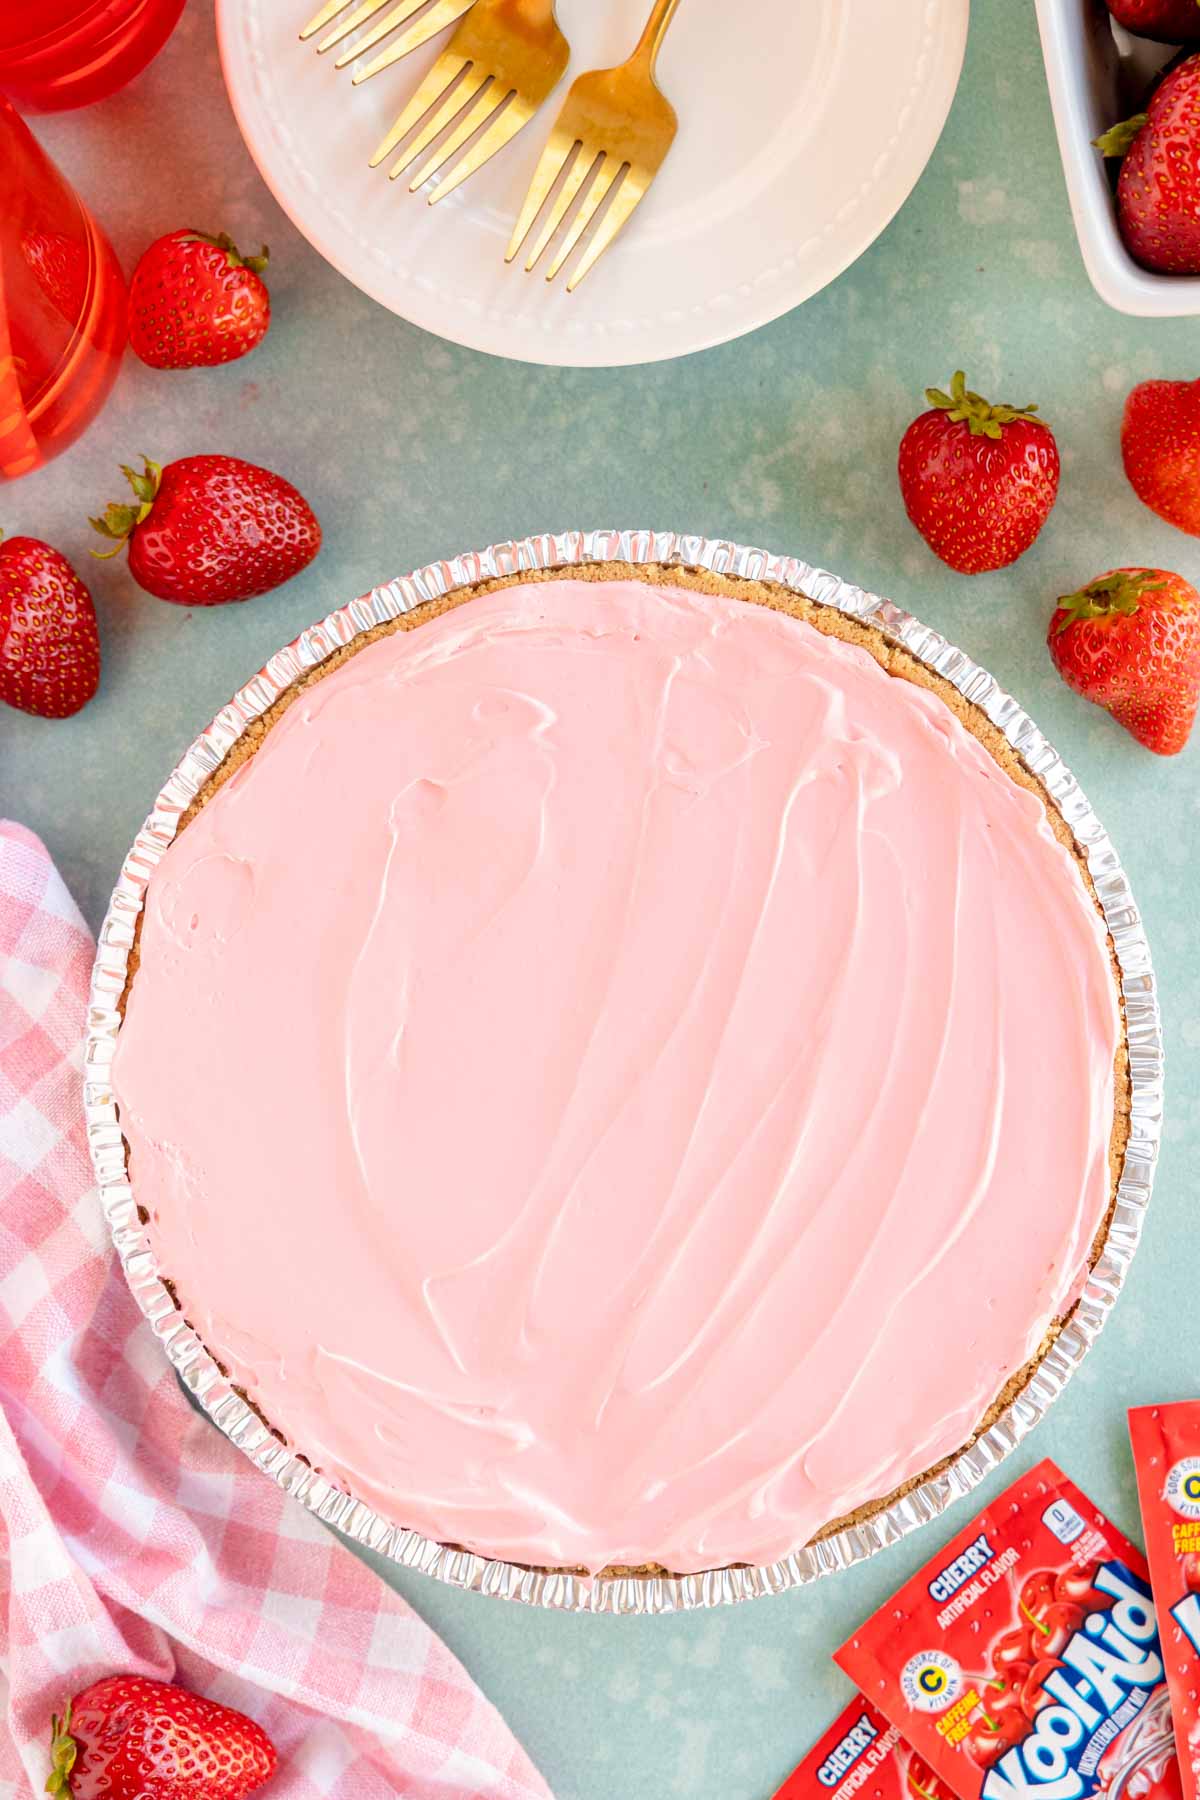
Technically your pie is now finished, but I personally love to make it look a little prettier than this by piping on some homemade whipped cream and garnishing with fresh fruit.
For this particular pie, I used strawberries, but you could also do candied orange slices, fresh cherries, or really anything that goes along with the flavor of your no bake pie!
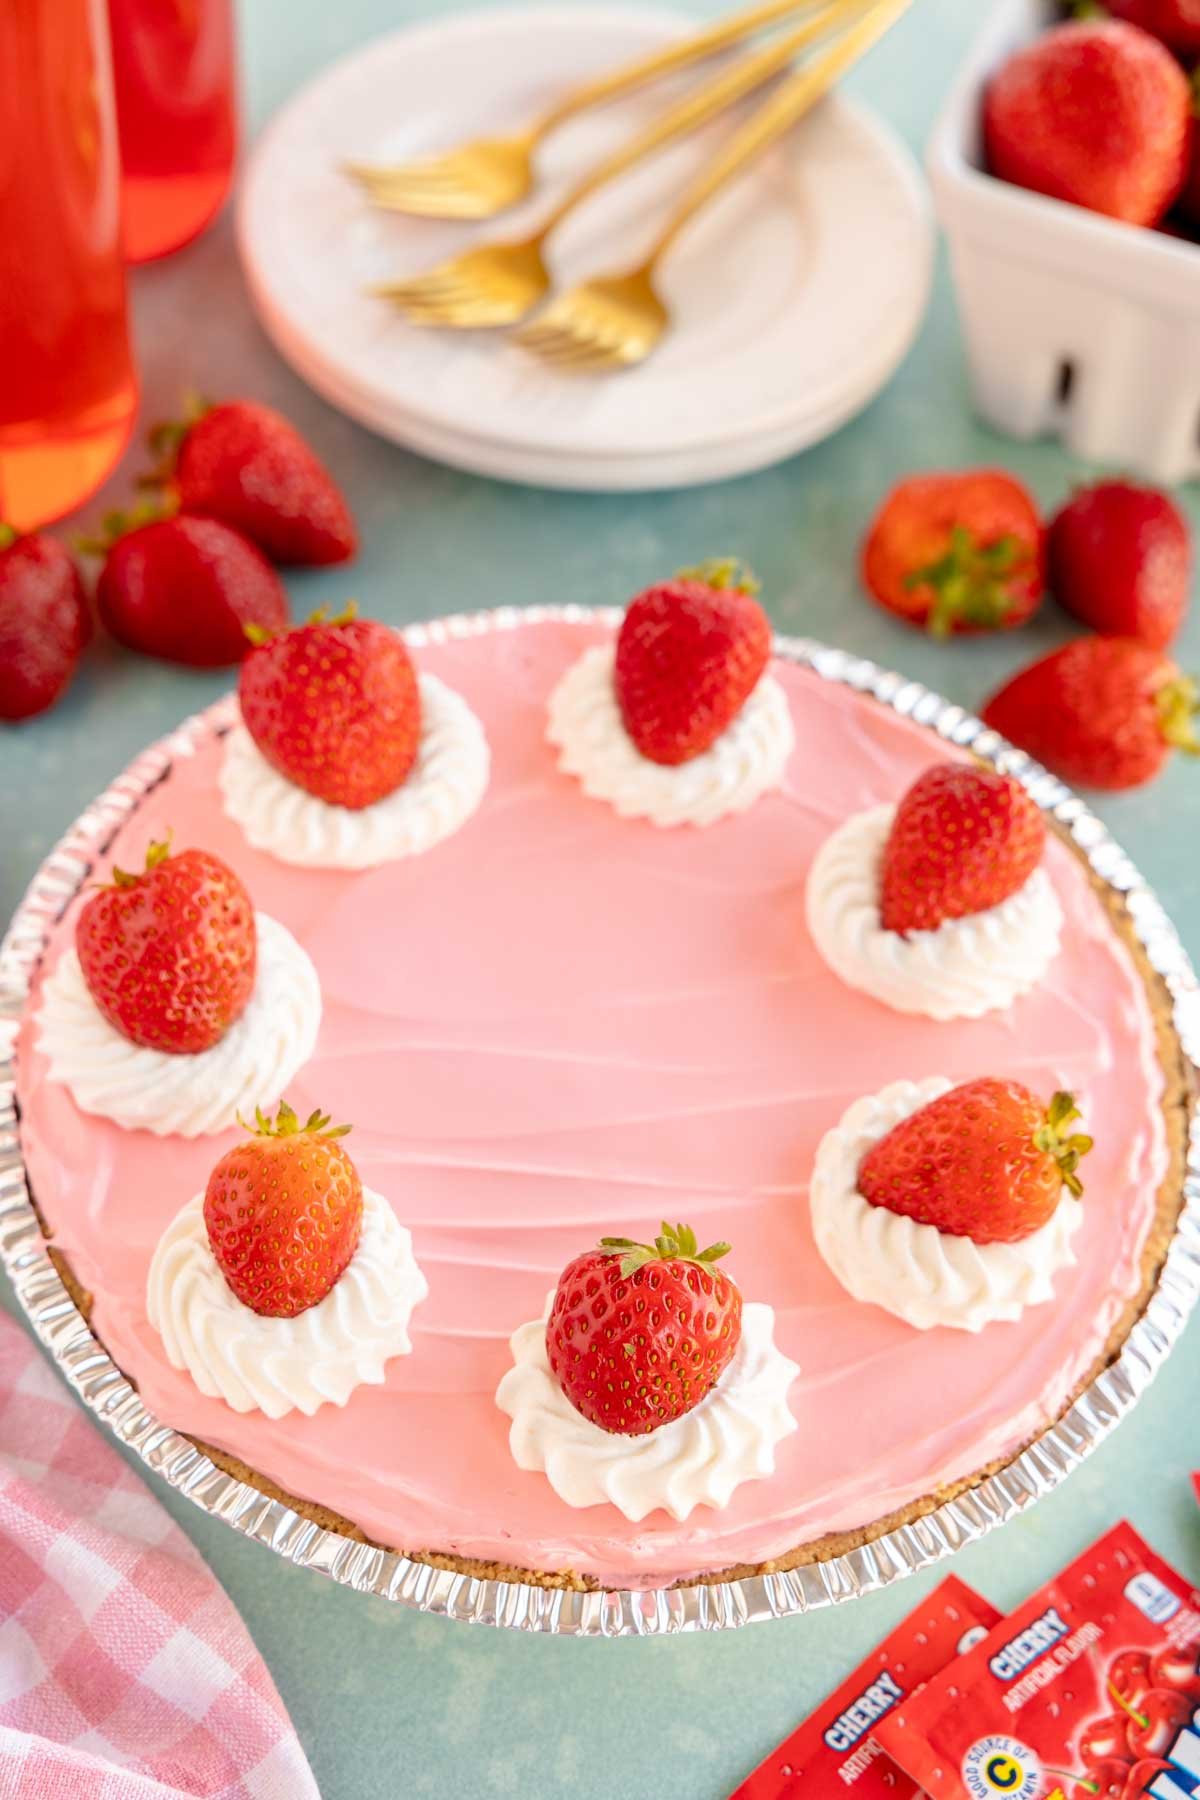
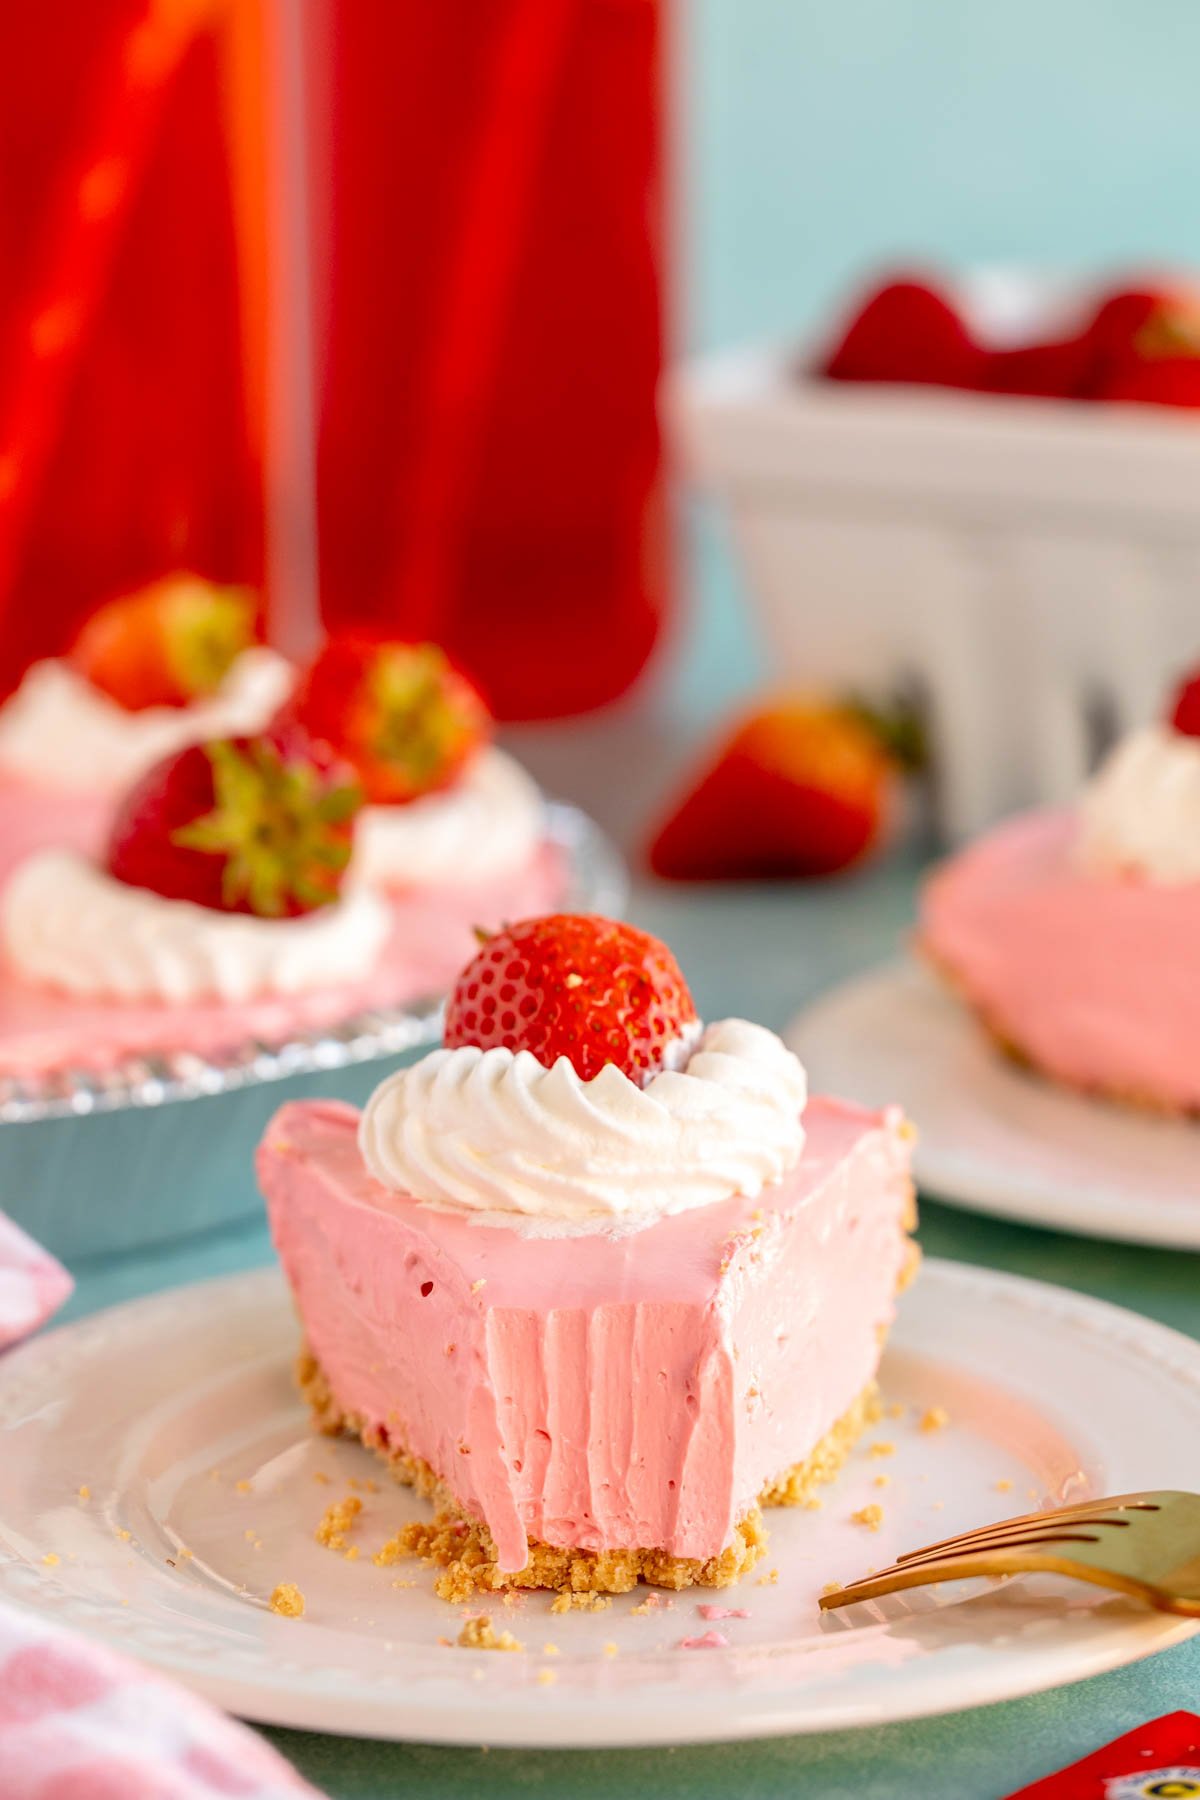
Once you’re ready to serve, cut the pie into eight large slices using a sharp knife. This will give you nice clean edges even though this is a creamy no bake pie.
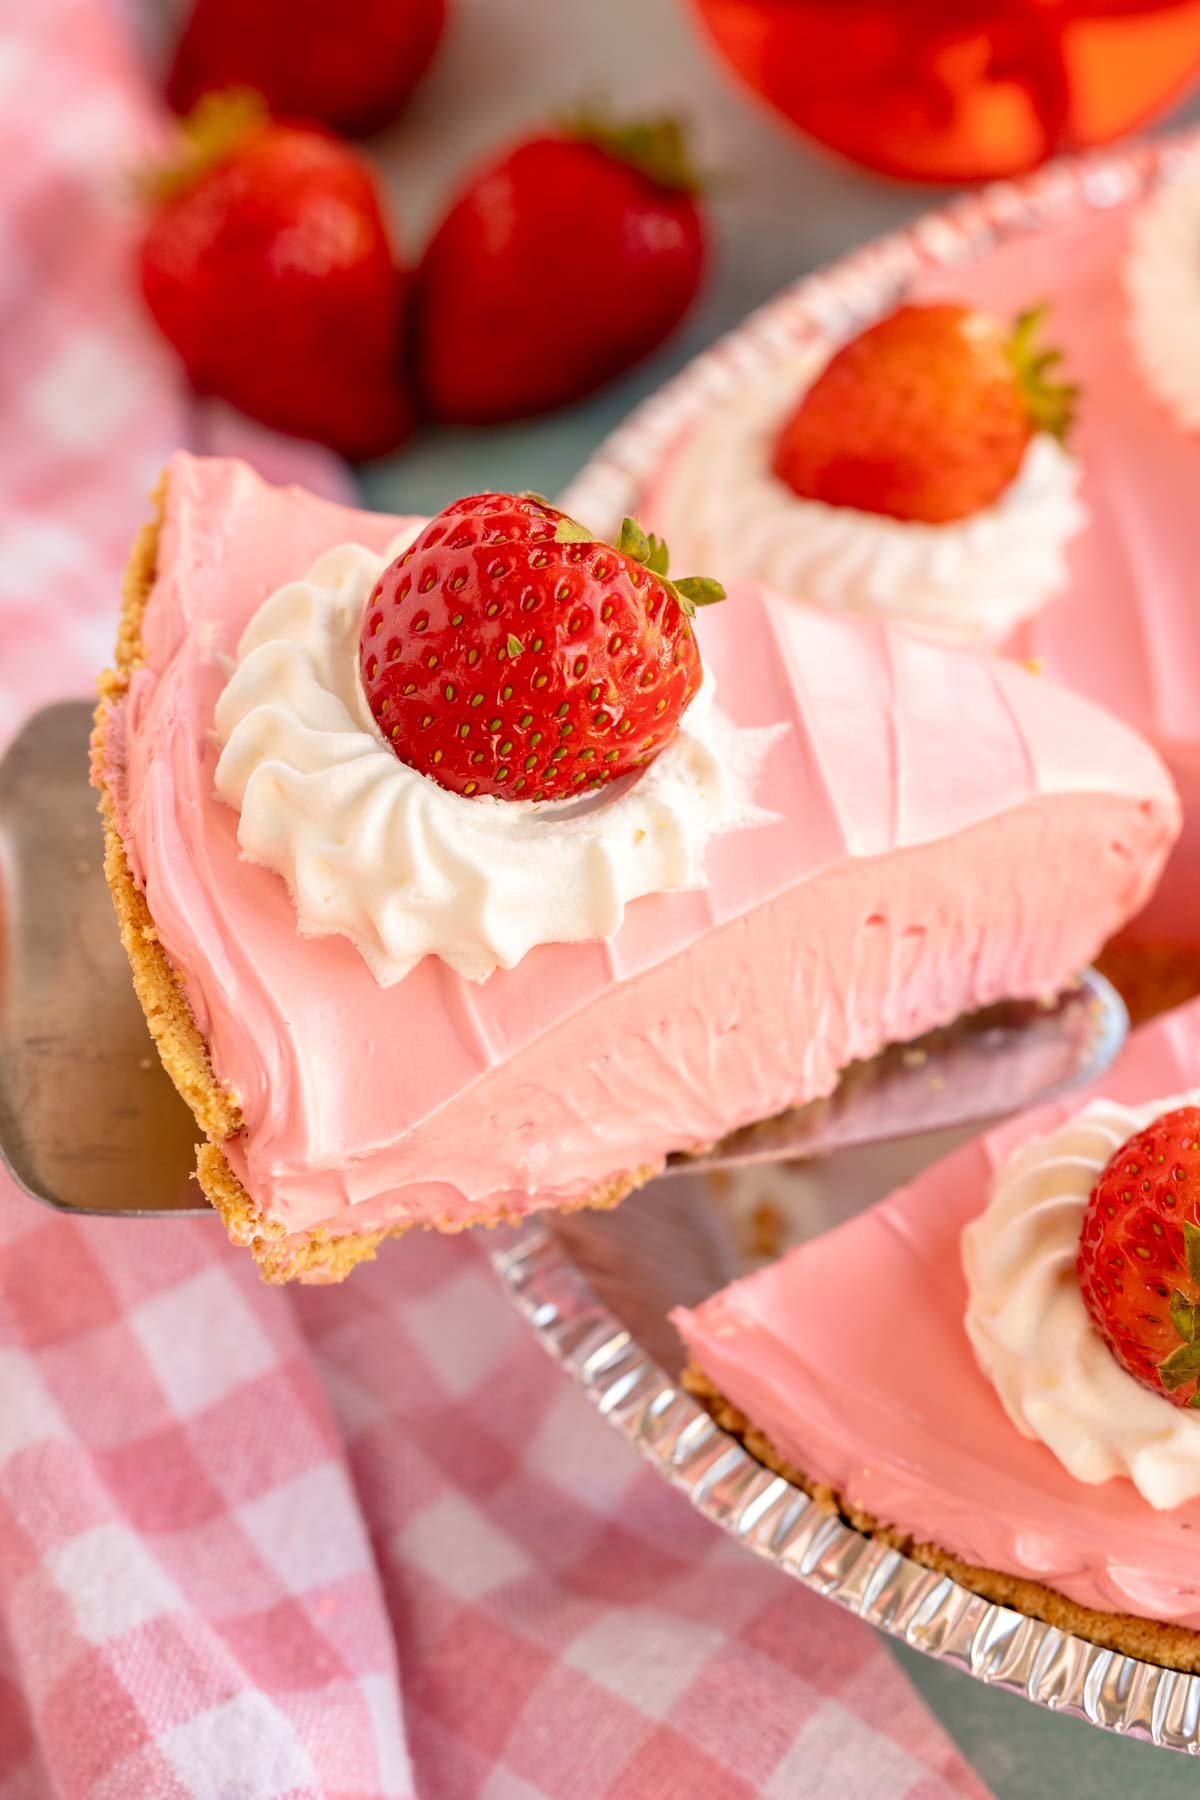
different Kool-Aid Pie Variations
If you want to try something other than the tropical punch we used in this recipe, some of our personal favorite flavors of Kool-Aid to use include:
- Strawberry Kool-Aid pie
- Cherry – both cherry Kool-Aid pie with normal cherry flavor and black cherry Kool-Aid are delicious
- Pink lemonade
- Blue raspberry lemonade (my son’s favorite)
- Orange
- Lemon, lime, and lemon lime (the two of them mixed together)
How to make Mini Kool Aid Pies
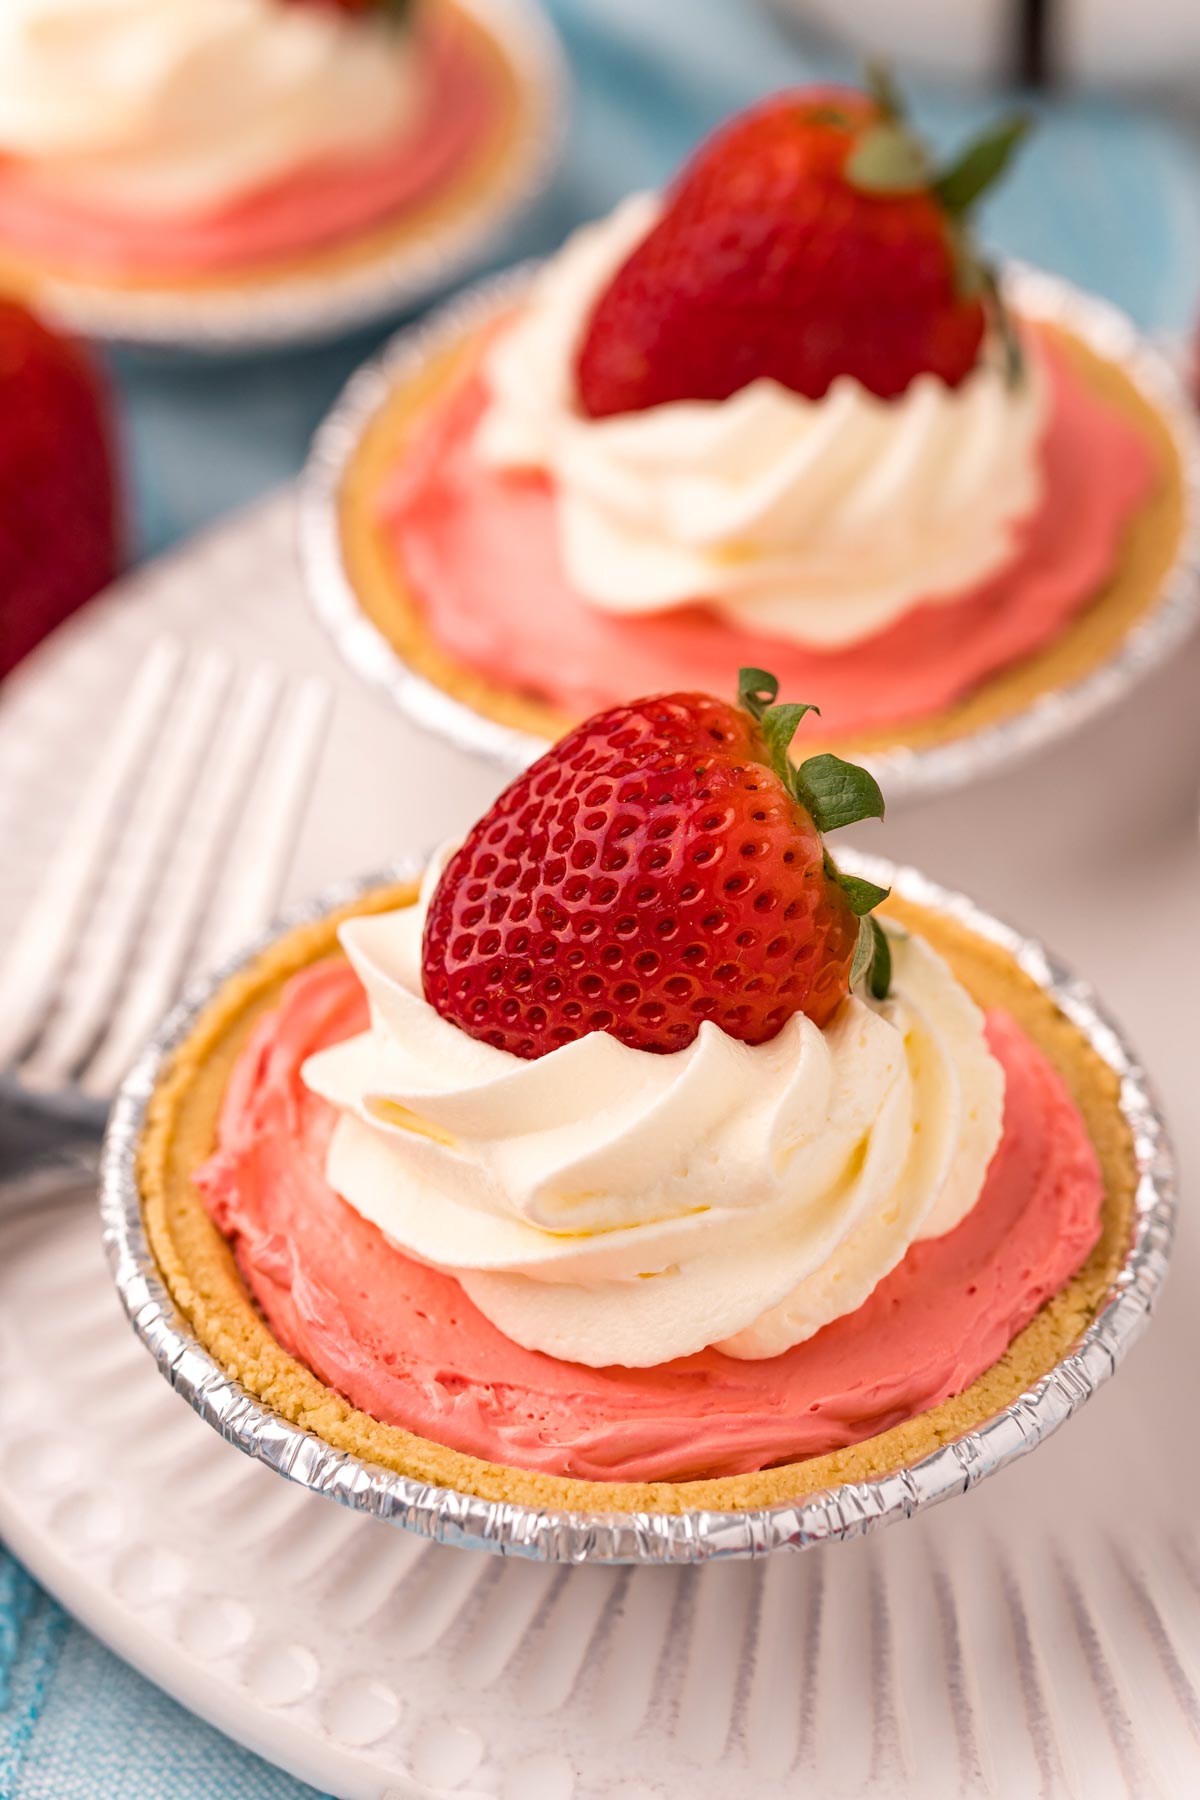
If you’d prefer to use this no bake Kool-Aid pie recipe to make individual mini no bake desserts instead, here’s how!
- Use a large cookie scoop to scoop mixture into the 12 individual mini graham cracker crusts. Divide the mixture evenly so that each mini pie crust is nice and full.
- Use a silicone spatula to smooth the filling out into the pie crust.

- Put the mini pies in the refrigerator and chill for at least one hour. You can chill for longer if you’re not ready to serve but you want to chill for at least an hour. The mini ones chill quicker than the full size pie does.
- Remove the mini Kool Aid pie from the refrigerator and top with more Cool Whip, fresh whipped cream, or even spray whipped topping (just know that it goes flat quickly).
- Garnish with fresh fruit that matches the flavor of the pie. Berries always make things prettier!
- Serve chilled or leave in the fridge until you’re ready to serve!
Tips & tricks
Store leftovers covered with plastic wrap or in an airtight container and in the refrigerator for up to five days before throwing away.
Make this ahead of time to save time the day of your event! This stores perfectly in the fridge, so you could easily throw it together the night before and add the garnishes right before serving.
Mix it up and use different flavors of Kool Aid for different seasons and occasions. Blue raspberry would make great desserts for a boy baby shower. Pink lemonade would be great for any of these girl baby shower themes. Cherry limeade is also another favorite! You can use your favorite flavor of kool-aid to make this for any different theme!
Recipe FAQs
Can you freeze Kool Aid pie?
I personally don’t love to freeze this Kool Aid pie because it’s so easy to put together and much better fresh but technically you can freeze it for up to two months. When you’re ready to serve, you can either serve it still slightly frozen or let it thaw completely to serve.
What is kool aid pie made of?
Kool aid pie is made of Cool-Whip (whipped topping), sweetened condensed milk, and your favorite flavor of Kool-Aid powder. It’s a super simple and super versatile favorite and perfect for warm summer days!
Can you make Kool Aid pie with different drink mixes?
I’ve never personally tried making Kool Aid pie with other drink mixes, but they should work in a similar way as long as the measurements of the drink powder are similar. I could see this being good with something like a Hawaiian punch drink mix or Crystal Light drink mix as well.
Can you add fruit to kool aid pie?
Once you’ve mixed up the main Kool Aid pie mixture, feel free to top it with more whipped topping and fresh fruit of your choosing.
Do I use unsweetened Kool-Aid powder for Kool Aid Pie?
Yes, you want to use just the unsweetened Kool Aid power in this Kool Aid pie recipe, don’t add the sugar that it calls for when making an actual batch of Kool-Aid. If you add the sugar to the pie, you will end up with a pie that is way too sweet.

More No Bake Desserts
If you like this Kool Aid pie recipe, you have to try one another no bake dessert recipe from the list below next!
- No bake Snickers pie – this quick and easy Snickers pie combines just a few ingredients for a dessert that anyone who loves Snickers will love! It’s one of those easy pie recipes you’ll make over and over again.
- No bake banana split cake – all the flavors of a banana split in an easy no bake cake!
- Homemade Nestle Crunch bars – these simple chocolate crunch bars are an easy no bake dessert with a ton of flavor!
- Oreo ice cream cake – three ingredients, one amazingly refreshing dessert made with Oreo cookie crumbs that’s perfect for a summer shindig!
- Pumpkin delight – layers of graham cracker, pumpkin, and Cool Whip make this one of the best fall desserts!
Want more Goodies?
Want more delicious recipes just like this one? Enter your first name and email address in the form below to join the Play Party Plan community! You’ll receive weekly recipes and party ideas directly to your inbox!

No Bake Kool Aid Pie Recipe
Ingredients
- 1 package Kool-aid powder mix
- 12 ounces sweetened condensed milk
- 8 ounces Cool Whip (thawed)
- 1 premade 9-inch graham cracker crust
Instructions
- In a large bowl, whisk together the Kool-aid, sweetened condensed milk, and cool whip until combined.1 package Kool-aid powder mix, 12 ounces sweetened condensed milk, 8 ounces Cool Whip
- Use a large cookie scoop or a spatula to transfer the pie mixture from the mixing bowl to your graham cracker crust. Then use a spatula to smooth the mixture out inside the pie crust.1 premade 9-inch graham cracker crust
- Use an offset spatula to smooth the filling.
- Place in the refrigerator and allow the pie to chill for at least two hours, ideally four or more.
- Remove from the refrigerator and garnish with more cool whip, whipped cream, or fresh fruit if desired.






Leave a Reply