Want a fun car date night idea? Try out this epic Amazing Race date night that you can play right from your car! It’s a great way to have fun together without spending going somewhere or being around a ton of people!
Want to save this game?
Enter your email below and we’ll send this idea straight to your inbox (plus you’ll receive tons of fun weekly ideas from us!)
Sponsored by: Cricut. All opinions are honest and my own. This post also contains affiliate links. If you purchase via these links, I may receive a small commission at no additional cost to you.
I’ve always loved the show The Amazing Race. I’ve even considered applying myself once or twice until I realized that I would get out if there were any crazy eating challenges. Picky eaters don’t do well on The Amazing Race!
A couple of years ago I put together a superhero Amazing Race for our family reunion that everyone loved, so I thought it would be fun to do an Amazing Race date night for me and my husband!
This date night idea is perfect for right now when so many people are still doing car date nights or date nights where you don’t want to be around a lot of people. And if you’re not worried about that, it’s still a super fun one – you just do it mostly from your car!
Unlike an actual Amazing Race, you aren’t actually racing for this date – it’s just setup with fun challenges like The Amazing Race. If you do want to race, you could always make two copies and have couples race to finish first! I’ve included some instructions for that later on in this post!
Amazing Race Date Night Supplies
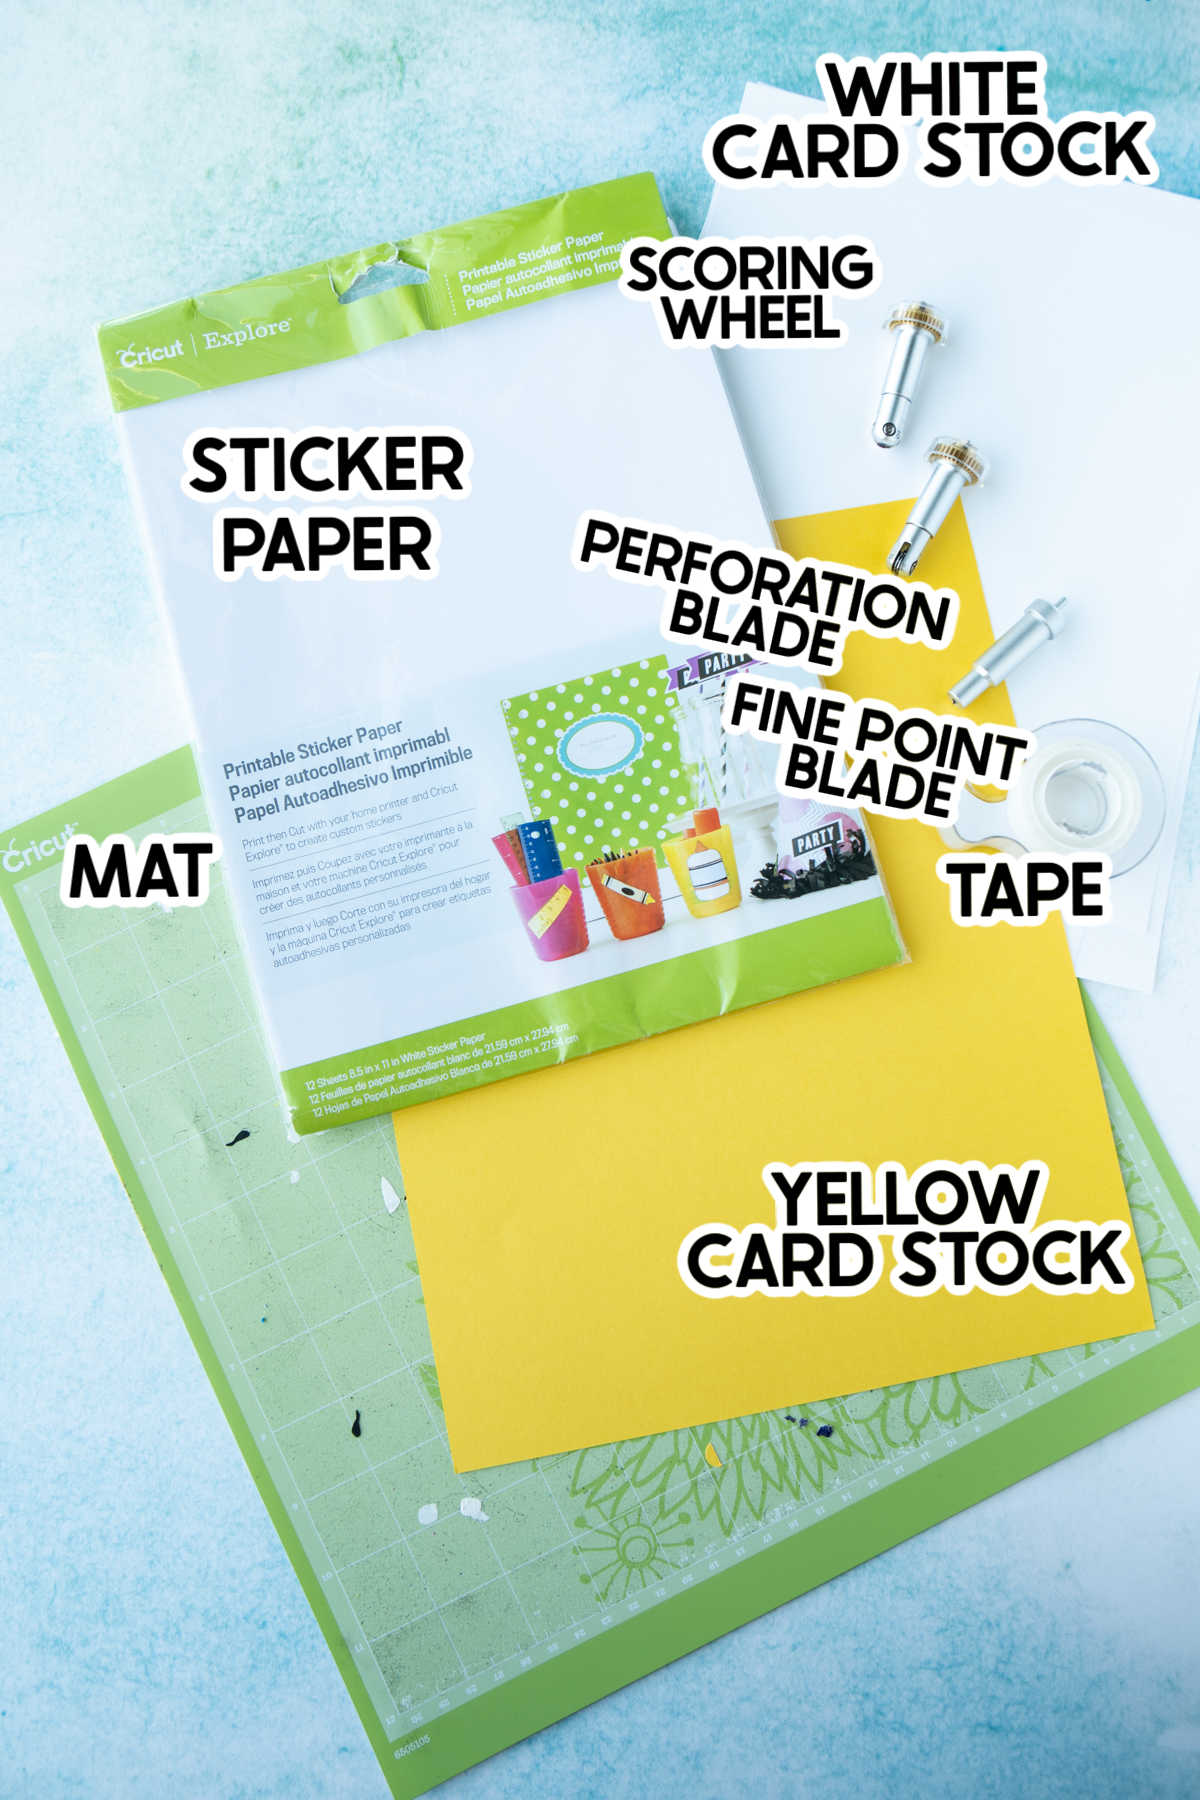
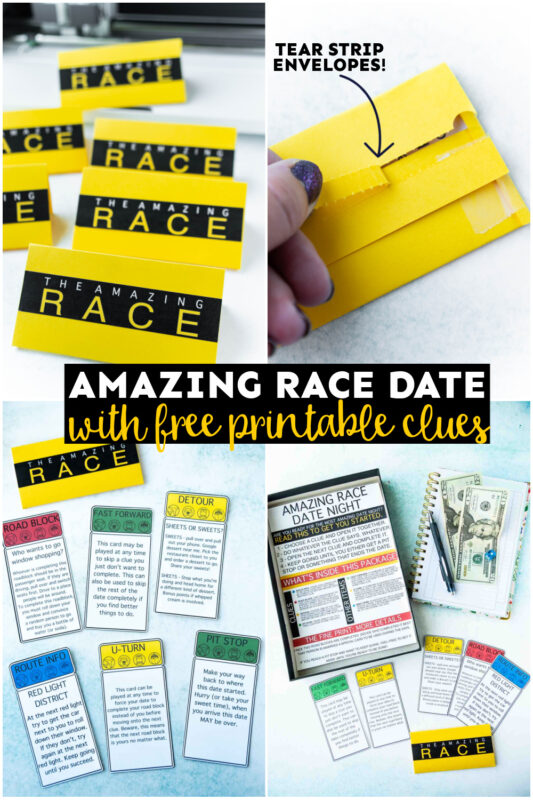
I created the Amazing Race envelopes on my Cricut Maker because I really wanted to have the ability to not just open the envelopes with clues but to actual do the tearing of the envelope like they do on the show. And the perforation blade for the Cricut Maker made that part so easy!
Anyway, here’s what you’ll need to setup your own date night!
- Cricut Maker – this is my absolute favorite Cricut machine and this is just one of the Cricut Maker projects you can do!
- Cricut StandardGrip Mat
- Perforation Blade
- Scoring Wheel
- Fine Point Blade
- Yellow Cardstock (I used the yellow pieces from this princess pack) – these will be used for your envelopes
- White cardstock – to print out the clues
- Cricut Printable Sticker Paper (and a printer – I recommend a Canon or Epson printer to use the sticker paper)
- Double-sided tape
- This Cricut Design Space file (includes the envelopes, labels, and clue cards)
Tip!
I highly recommend grabbing one of these Cricut Tool Organizers to keep track of all of your Cricut tools! It makes it so much easier when you’re doing a project like this with multiple tools to keep track of everything.
How to Make Amazing Race Envelopes
Let’s start with the most important part of putting this project together – creating the Amazing Race envelopes. This consists of perforated envelopes with Amazing Race labels.
Perforated Envelopes
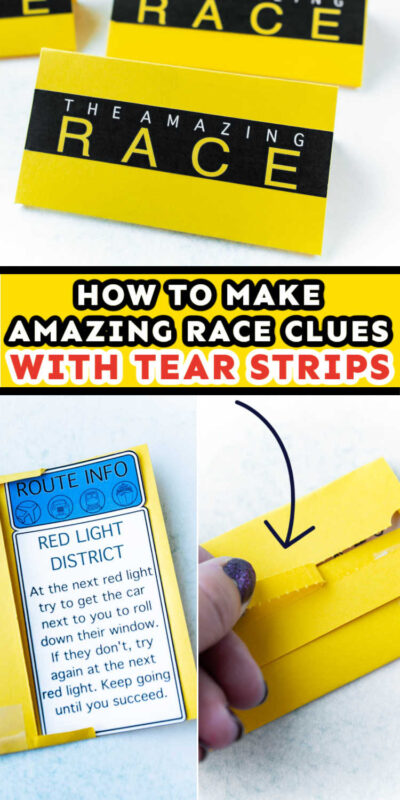
Like I mentioned before, I really wanted to be able to tear the envelopes to open them since that’s such an iconic part of the show.
To create the envelopes, I designed my own envelopes using simple shapes in Cricut Design Space then added scoring (where the envelopes needed folded) lines and a perforated shape where I wanted the tear strip to be.
I also added a little small cut out next to the perforated shape to be a pull tab to the get the tearing started.
Luckily, I already did all of this for you so all you need to do is open the Cricut Design Space file then either make the envelopes (if you like my sizing) or customize the file if you want to cut them larger.
Once the file is ready, connect your maker and choose card stock as your material. Load the card stock onto your mat and load it into the machine.
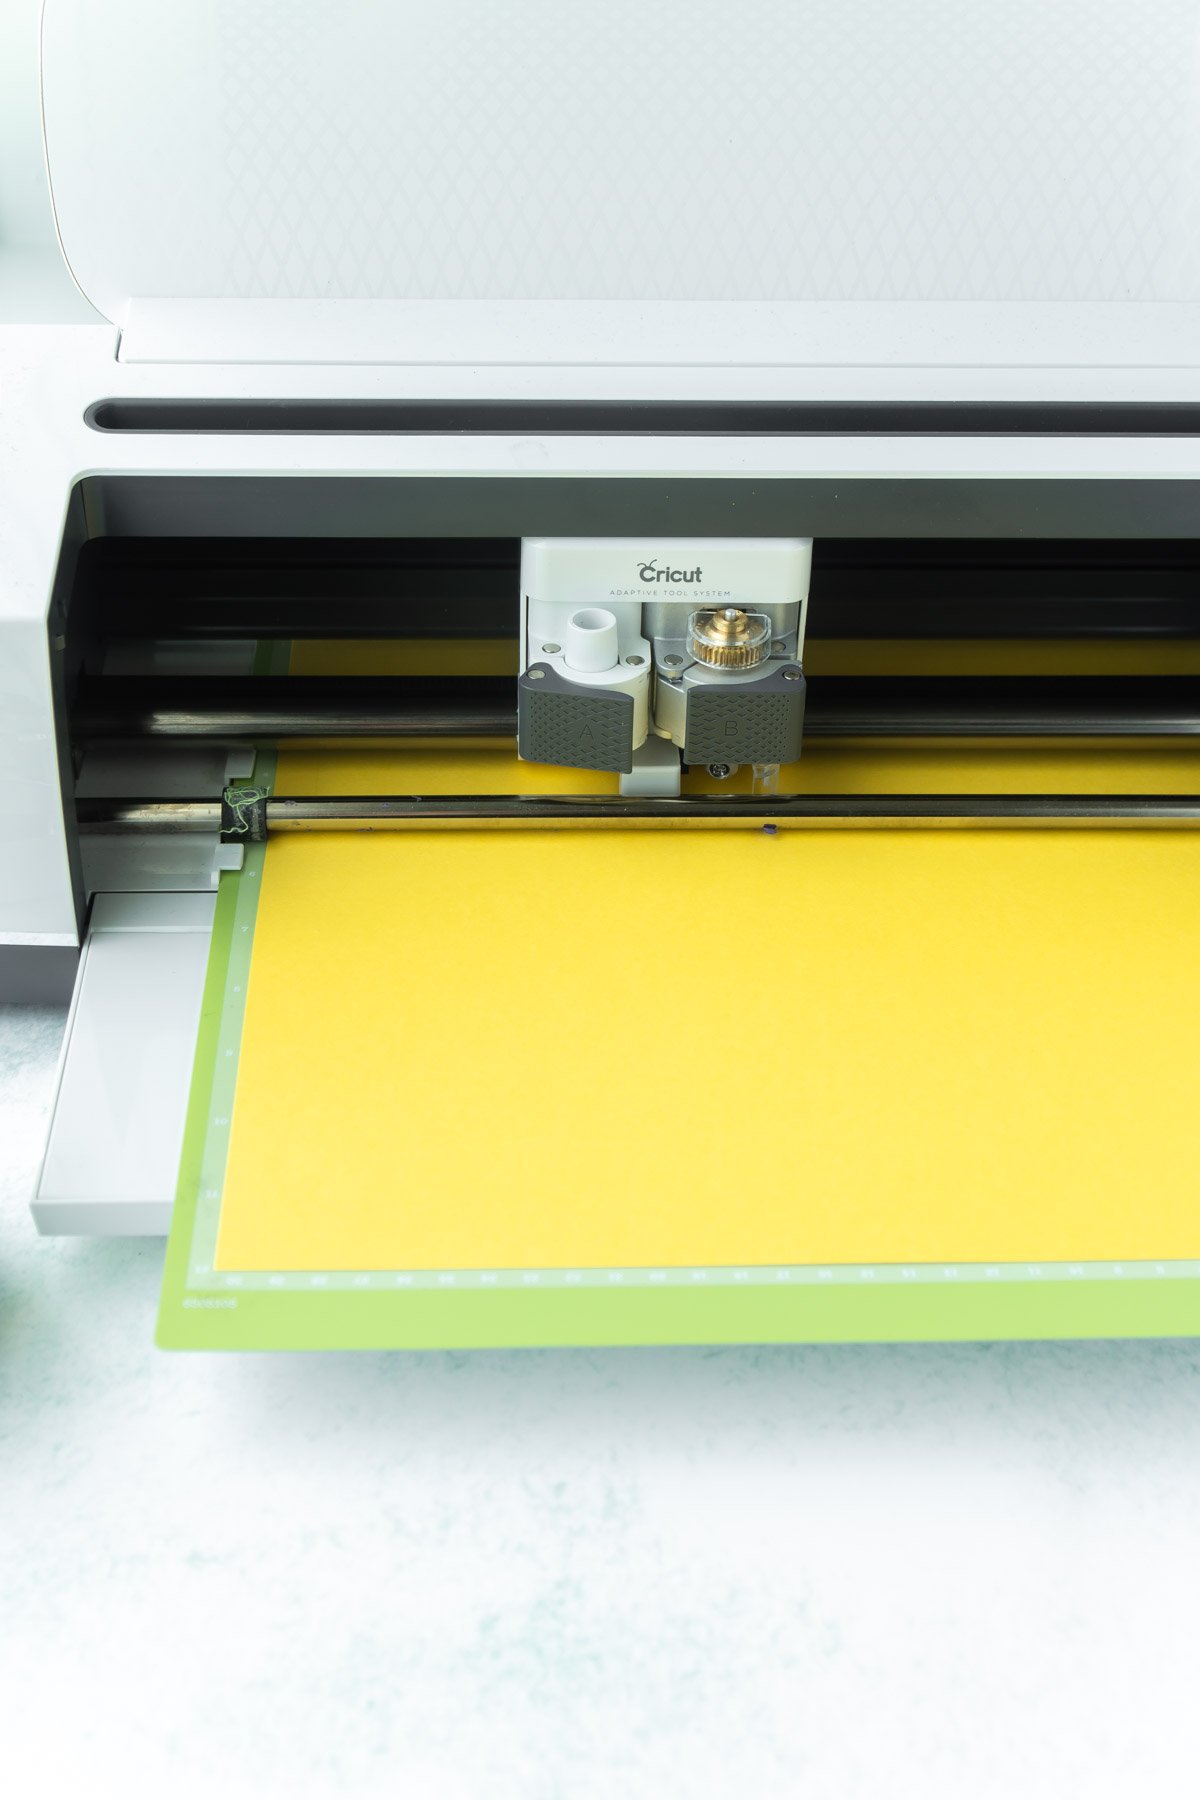
Follow the instructions on the machine and Cricut Design Space to first score, then perforate, then cut your envelopes.
The scoring wheel leaves scored lines, which make it super easy to fold these envelopes perfectly!
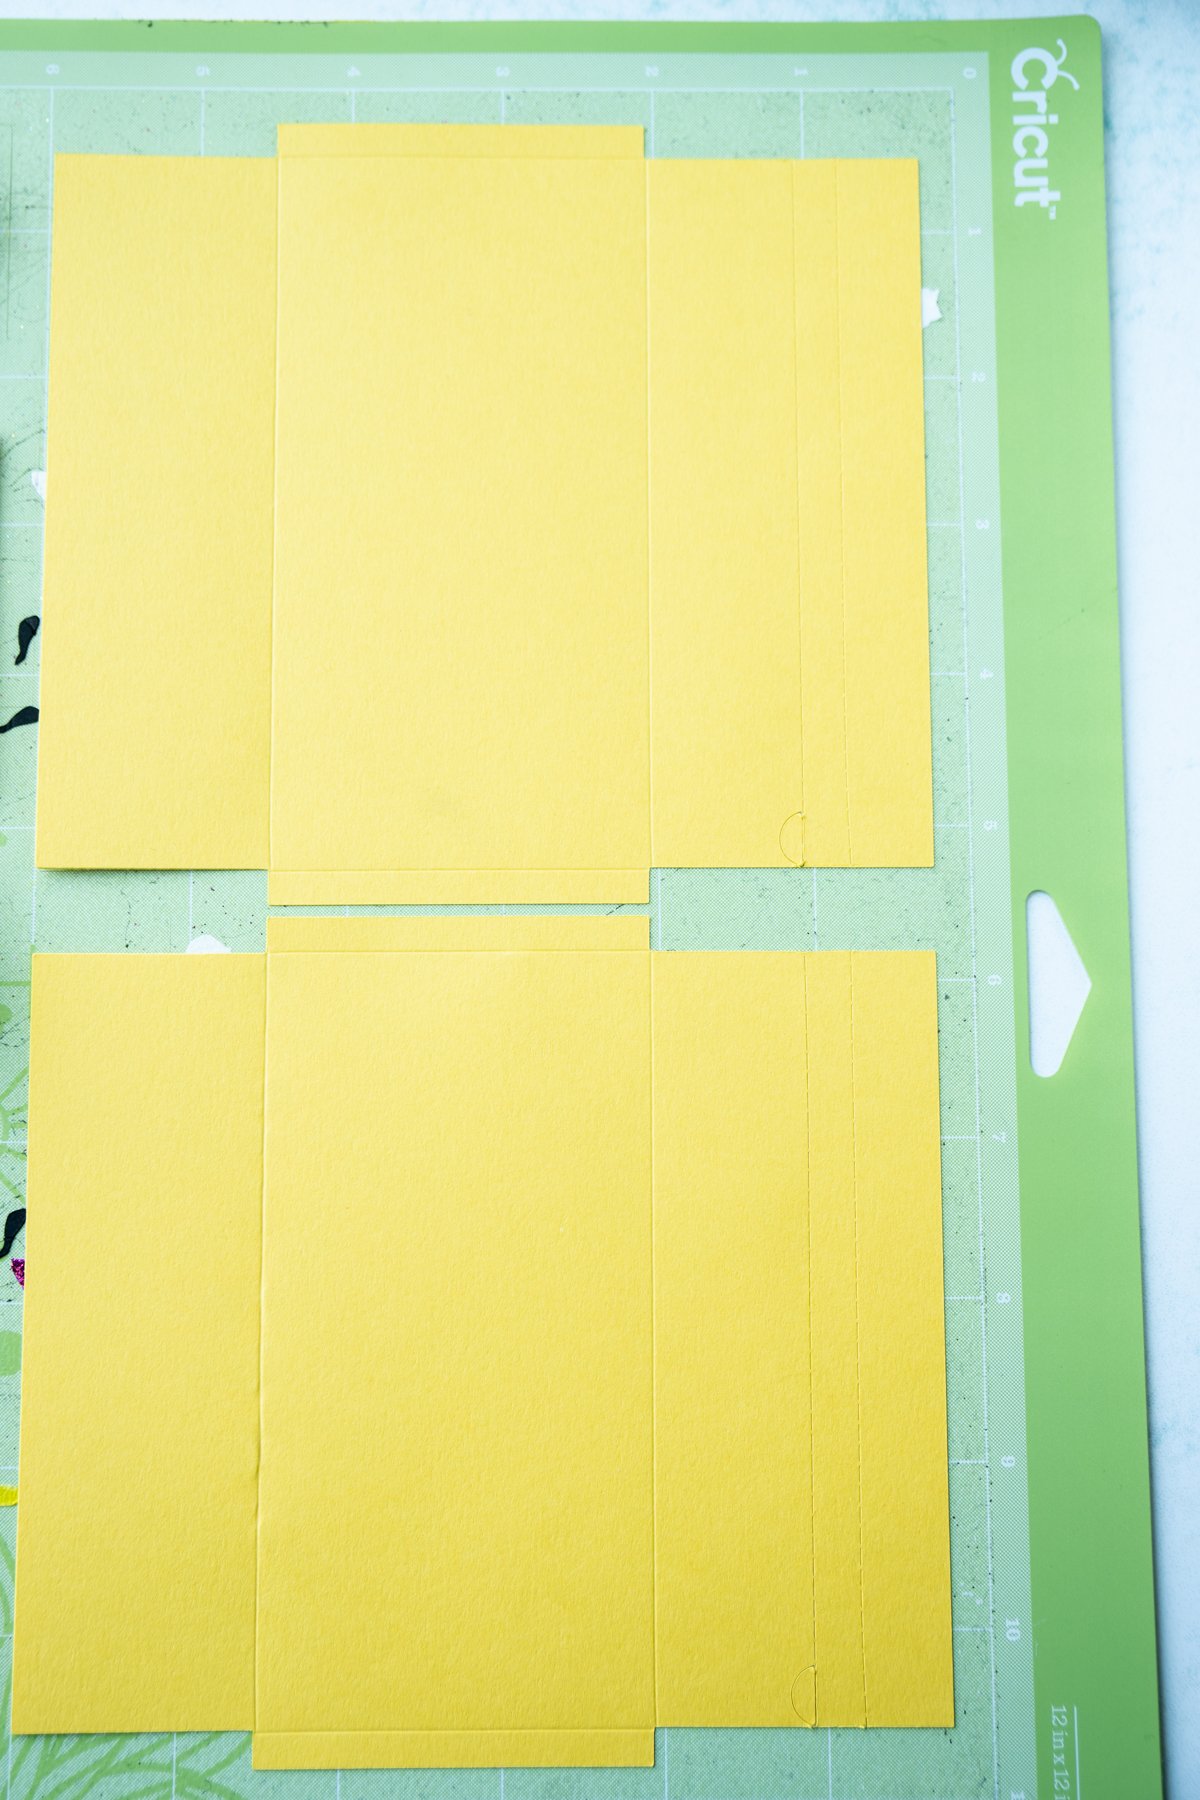
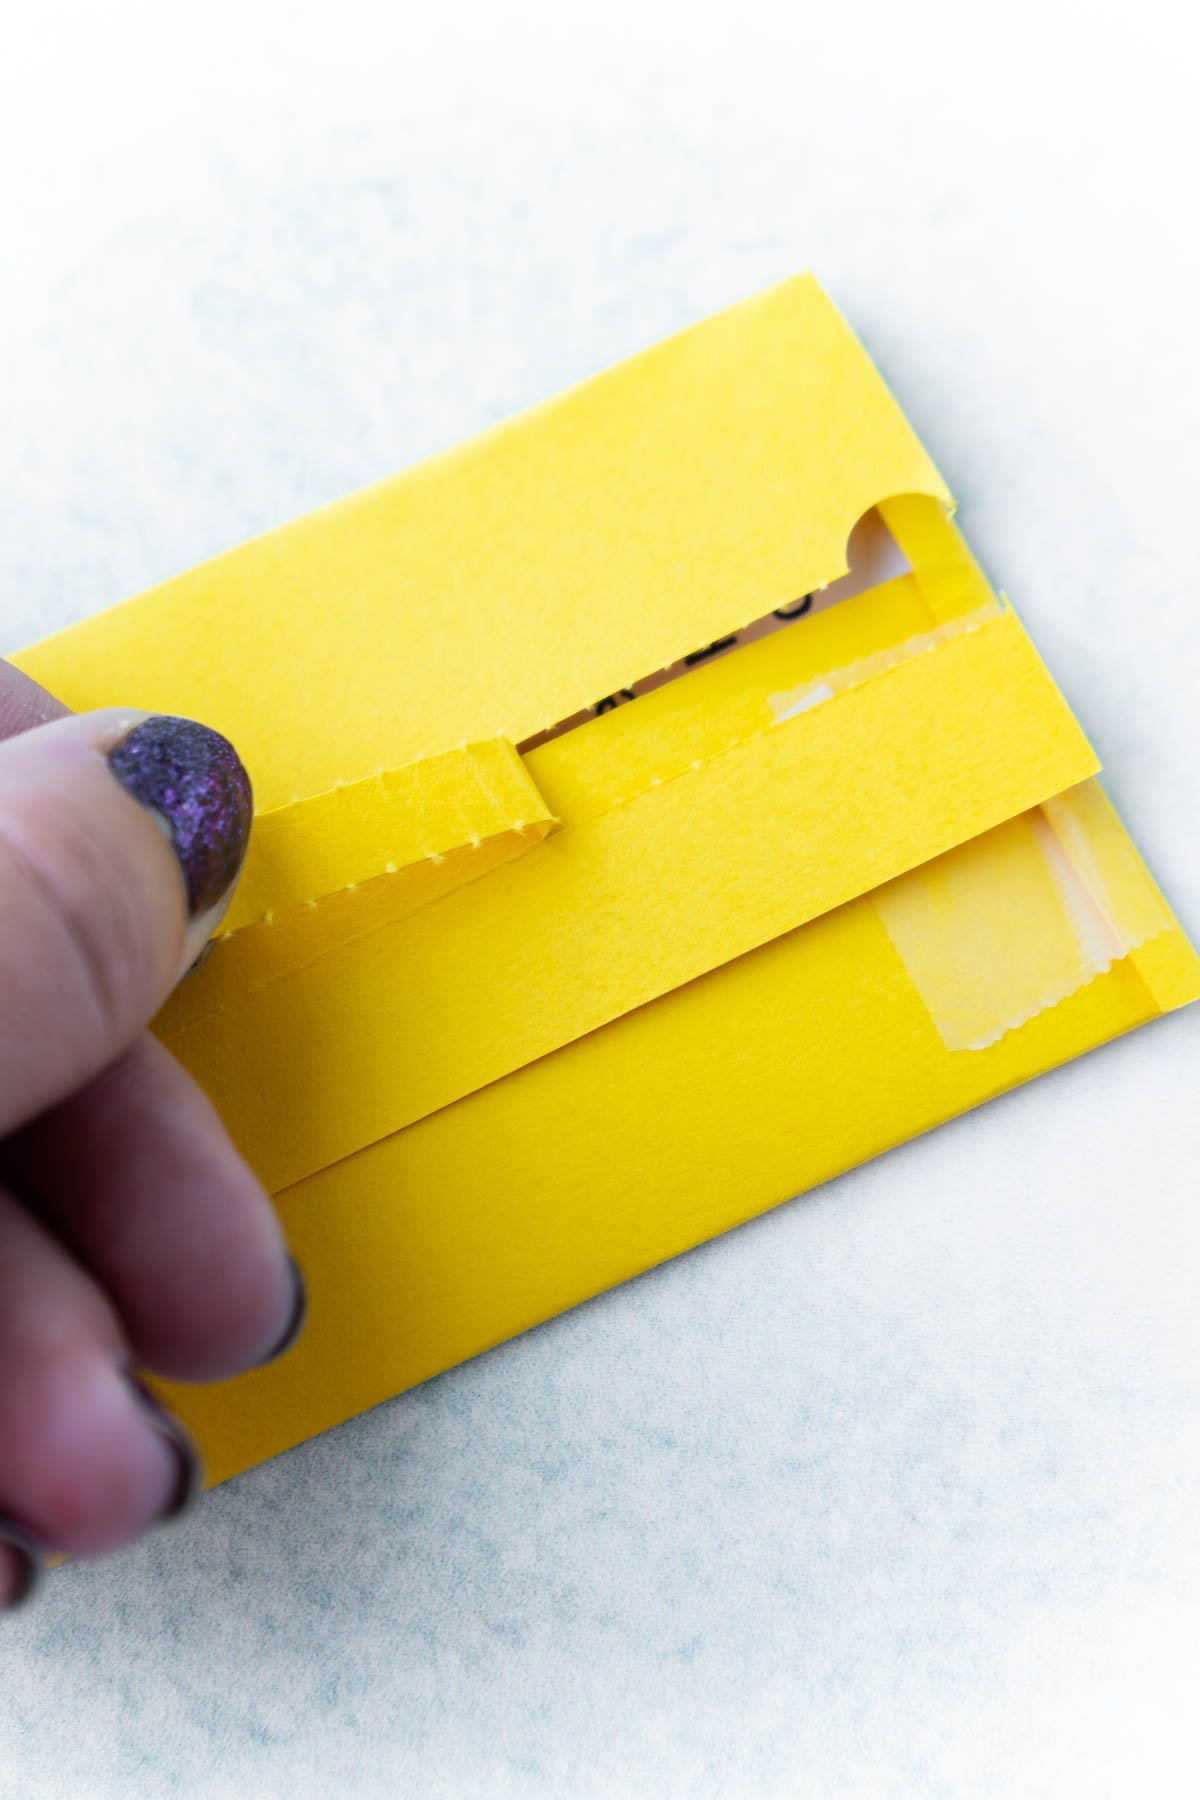
Use those lines to fold your envelope then to complete the envelopes, use a little double-sided tape to tape down the sides. Then you’re ready to add your actual clues!
When someone is ready to open the clue, they can just pull the little tear strip to open the envelope!
Envelope Labels
The labels are super simple to make – you just need to make sure that if you change the size of the envelopes, you also change the size of the labels to match!
Open the label design up in Cricut Design Space and click Make It. Follow the instructions to print the labels onto the Cricut Sticker Paper then load them (design up) onto your mat to cut.
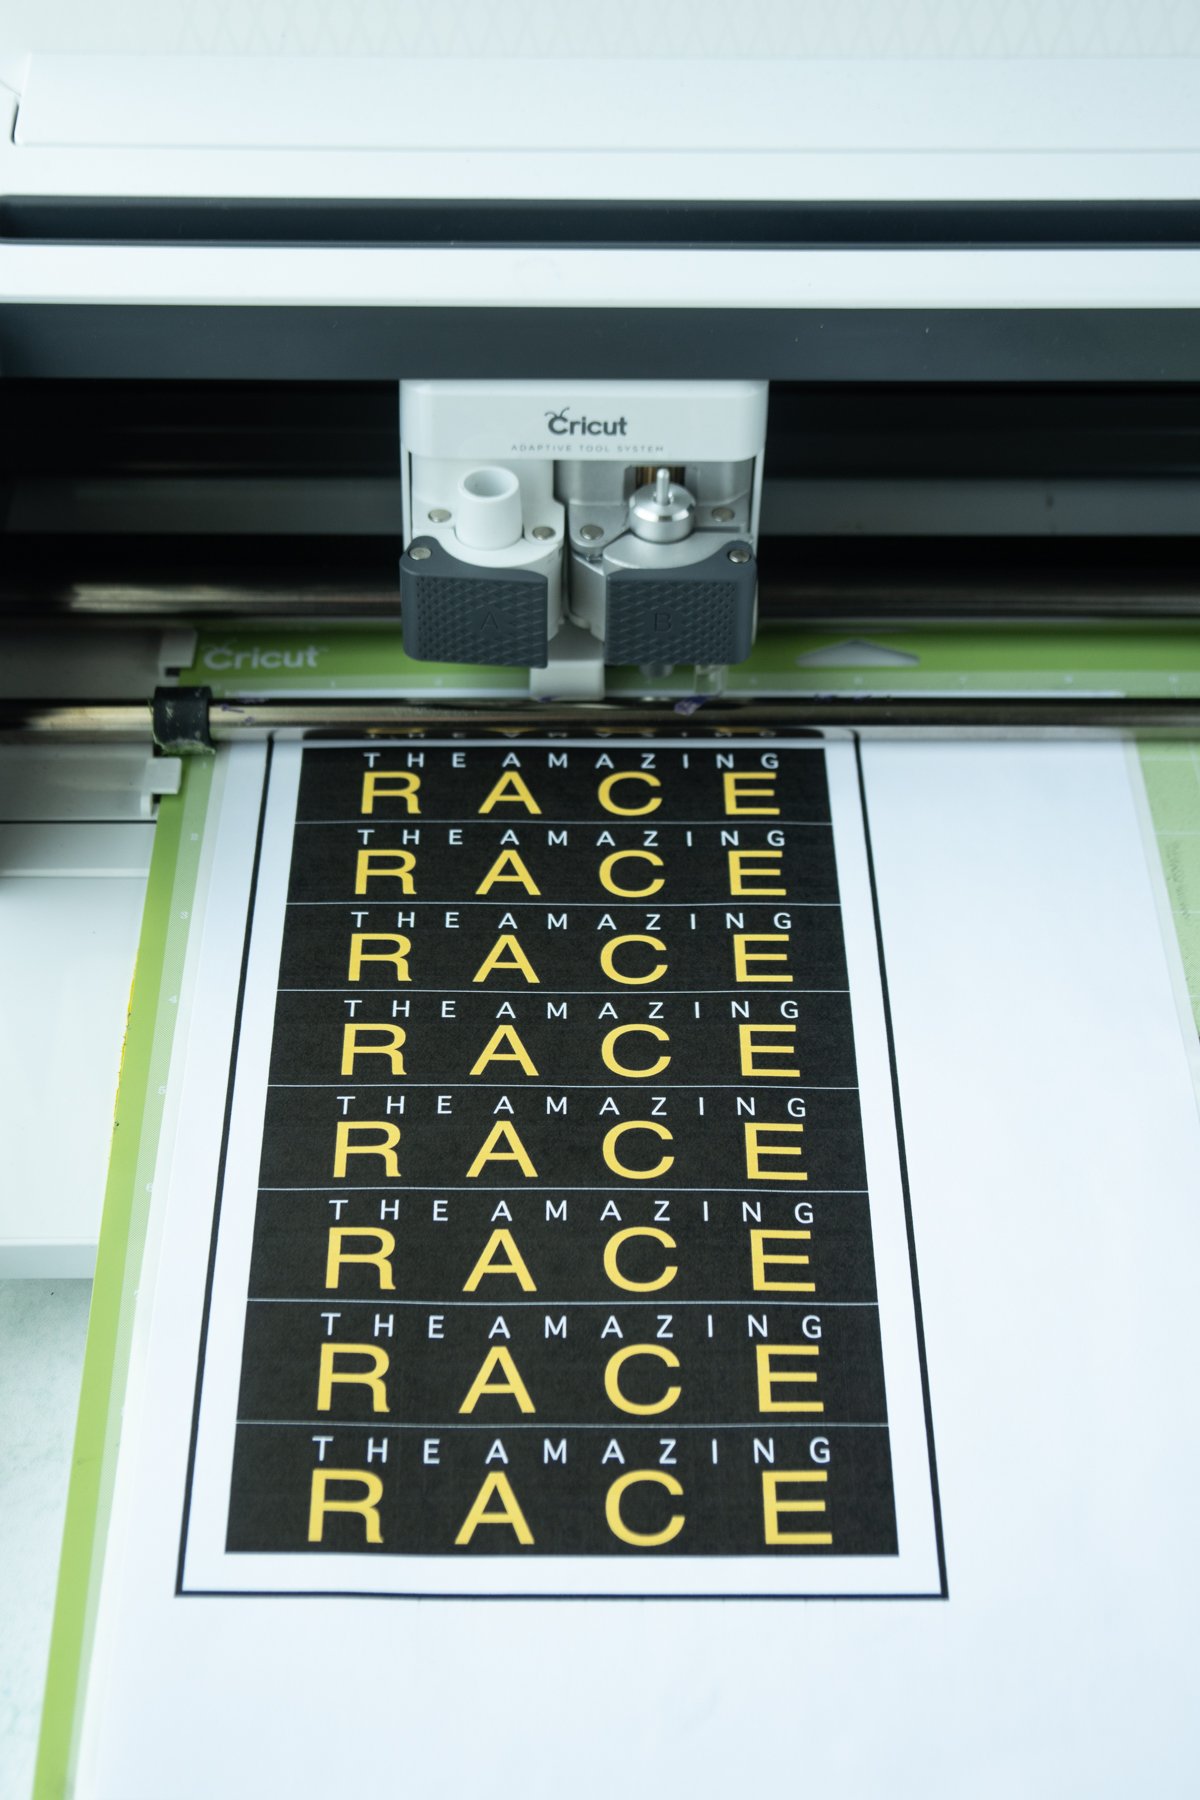
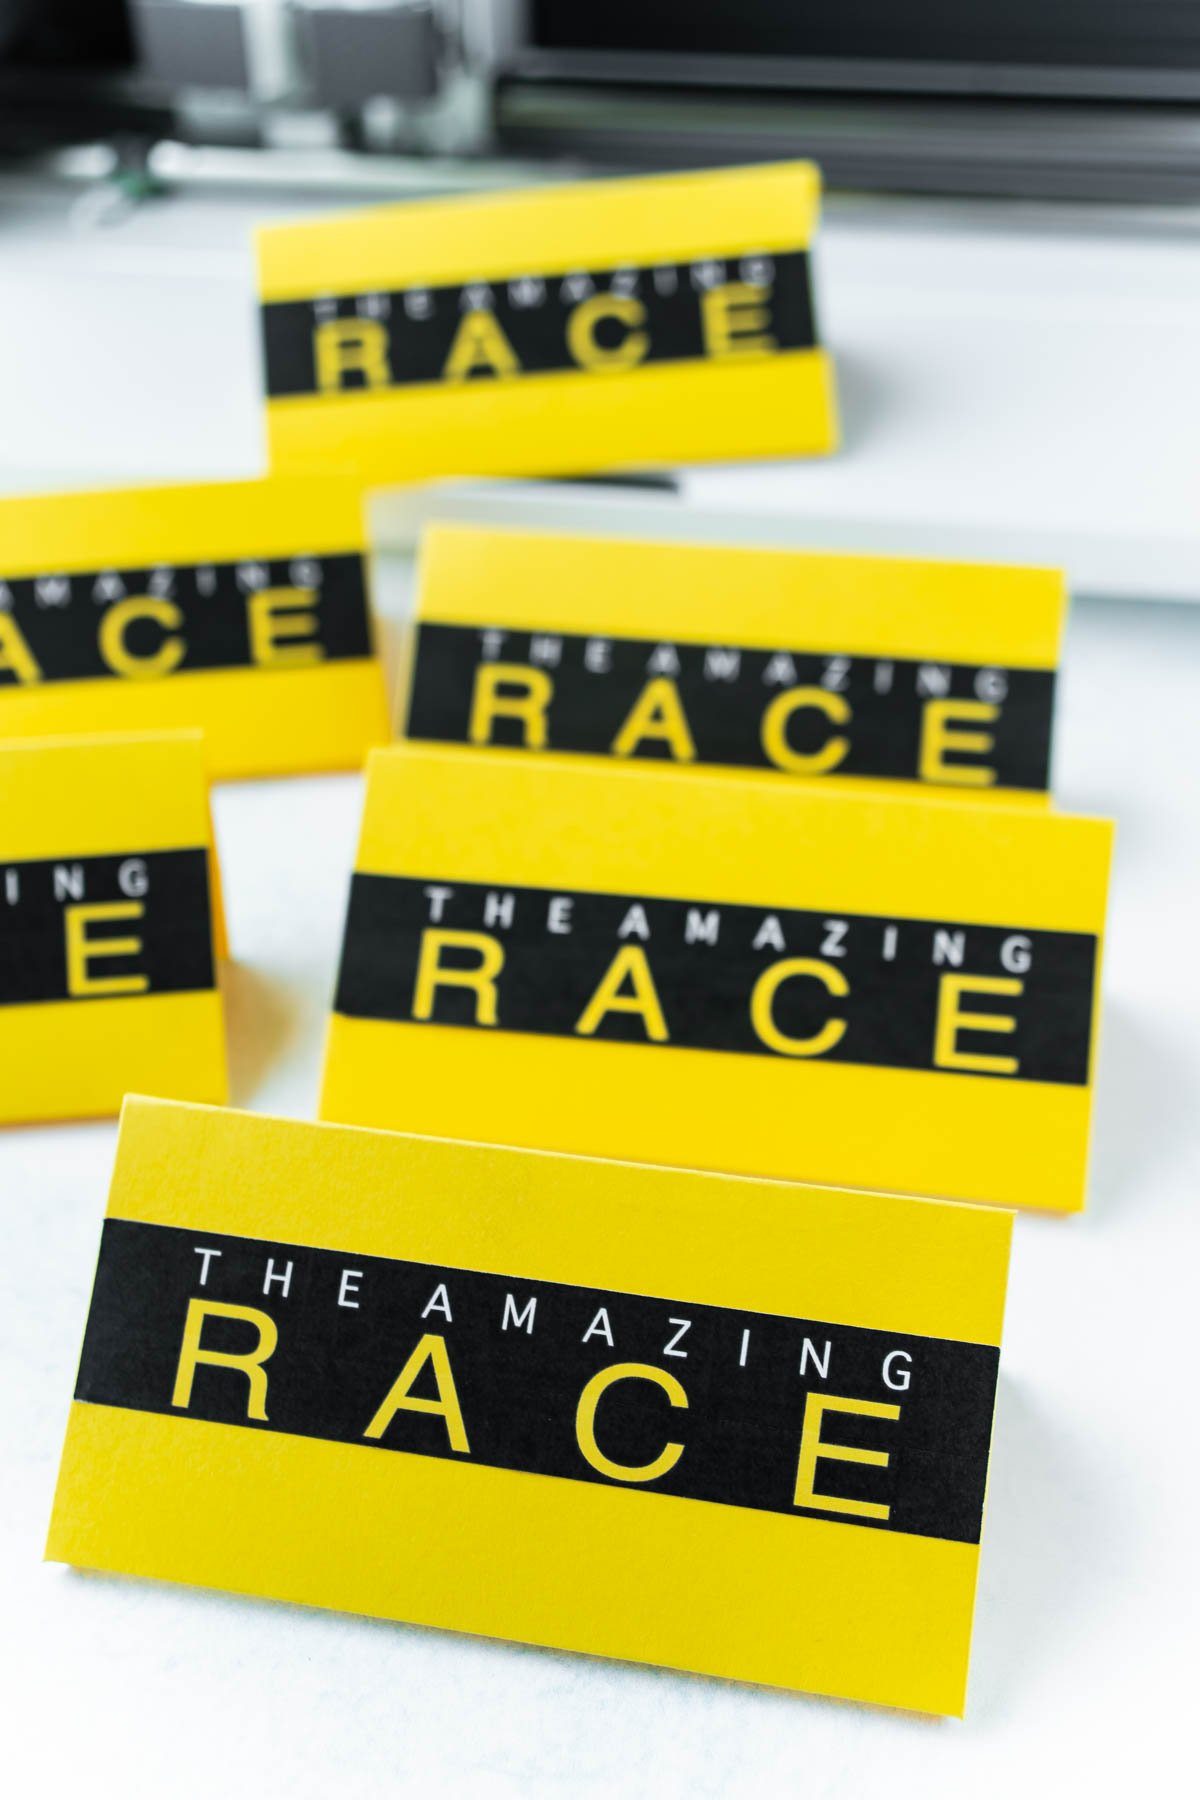
Choose sticker paper as you material and once it’s done cutting, gently pull the stickers off the sheet. Stick the label to the front of the envelope and voila, perfect Amazing Race Envelopes!
How to Make the Amazing Race Clues
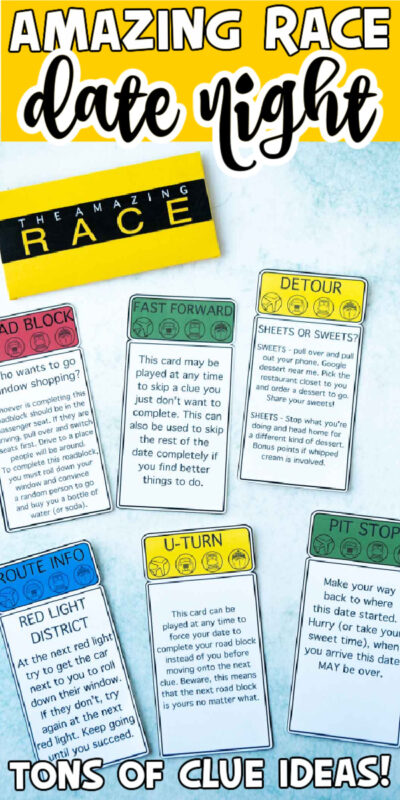
The clues themselves are the easiest to make out of any of this. I used the offset tool in Cricut Design Space to create the iconic looking clues with their rounded edges. Then I used a handful of transportation images and the offset tool to create icons at the top of the clues.
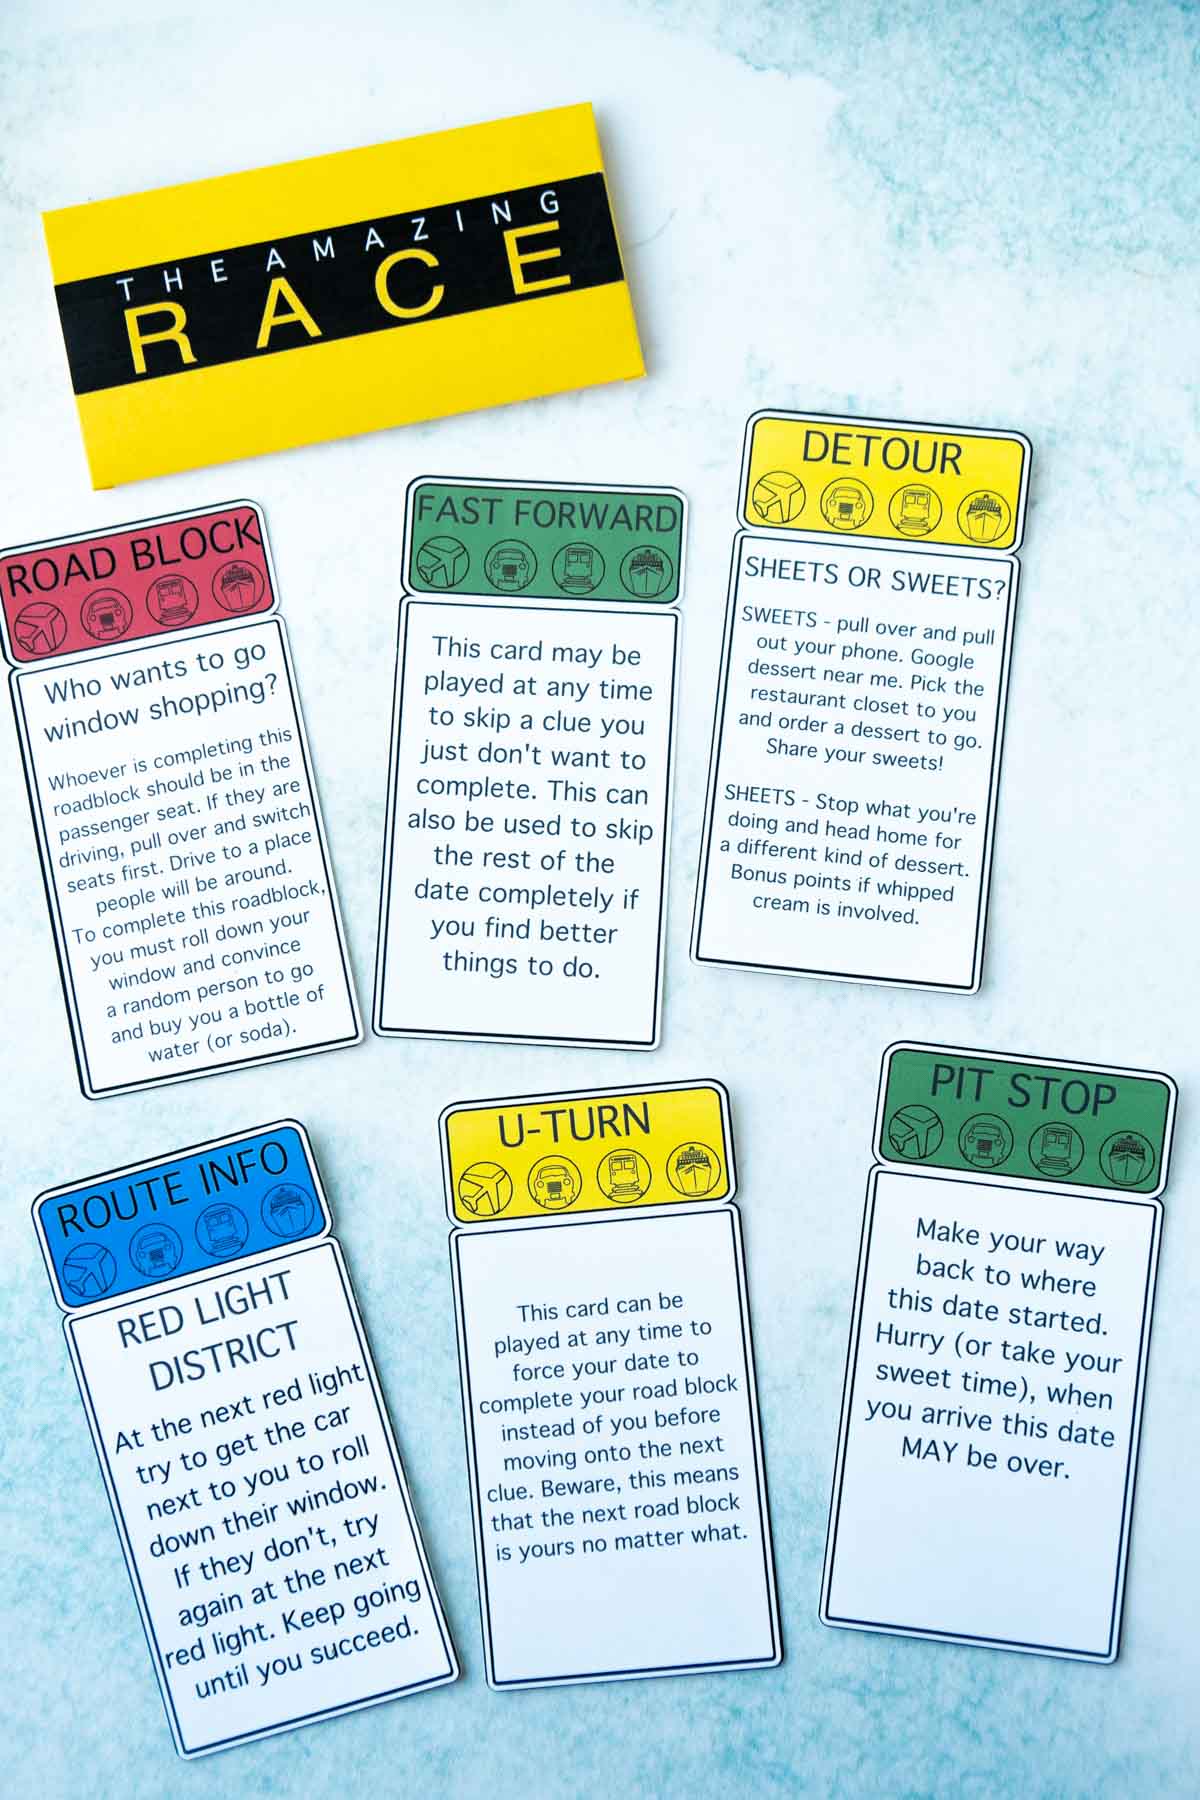
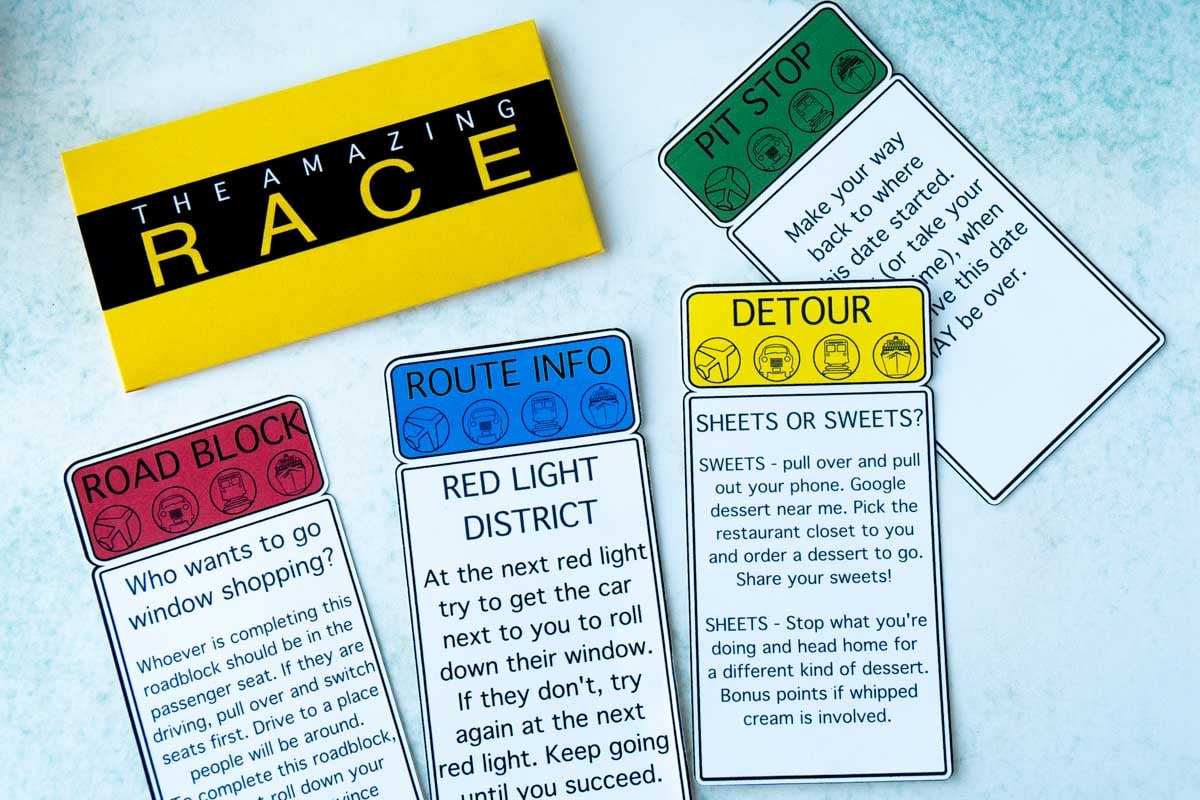
There are six different types of clues included in the date night set:
- Route Info – activities to complete together
- Detours – two activities you can choose from
- Road block – choose one person to complete the activity
- Pit stop – card leading you back home
- Fast forward – special card allowing you to skip a challenge or end the date
- U-Turn – special card allowing you to have your date complete a card instead of you
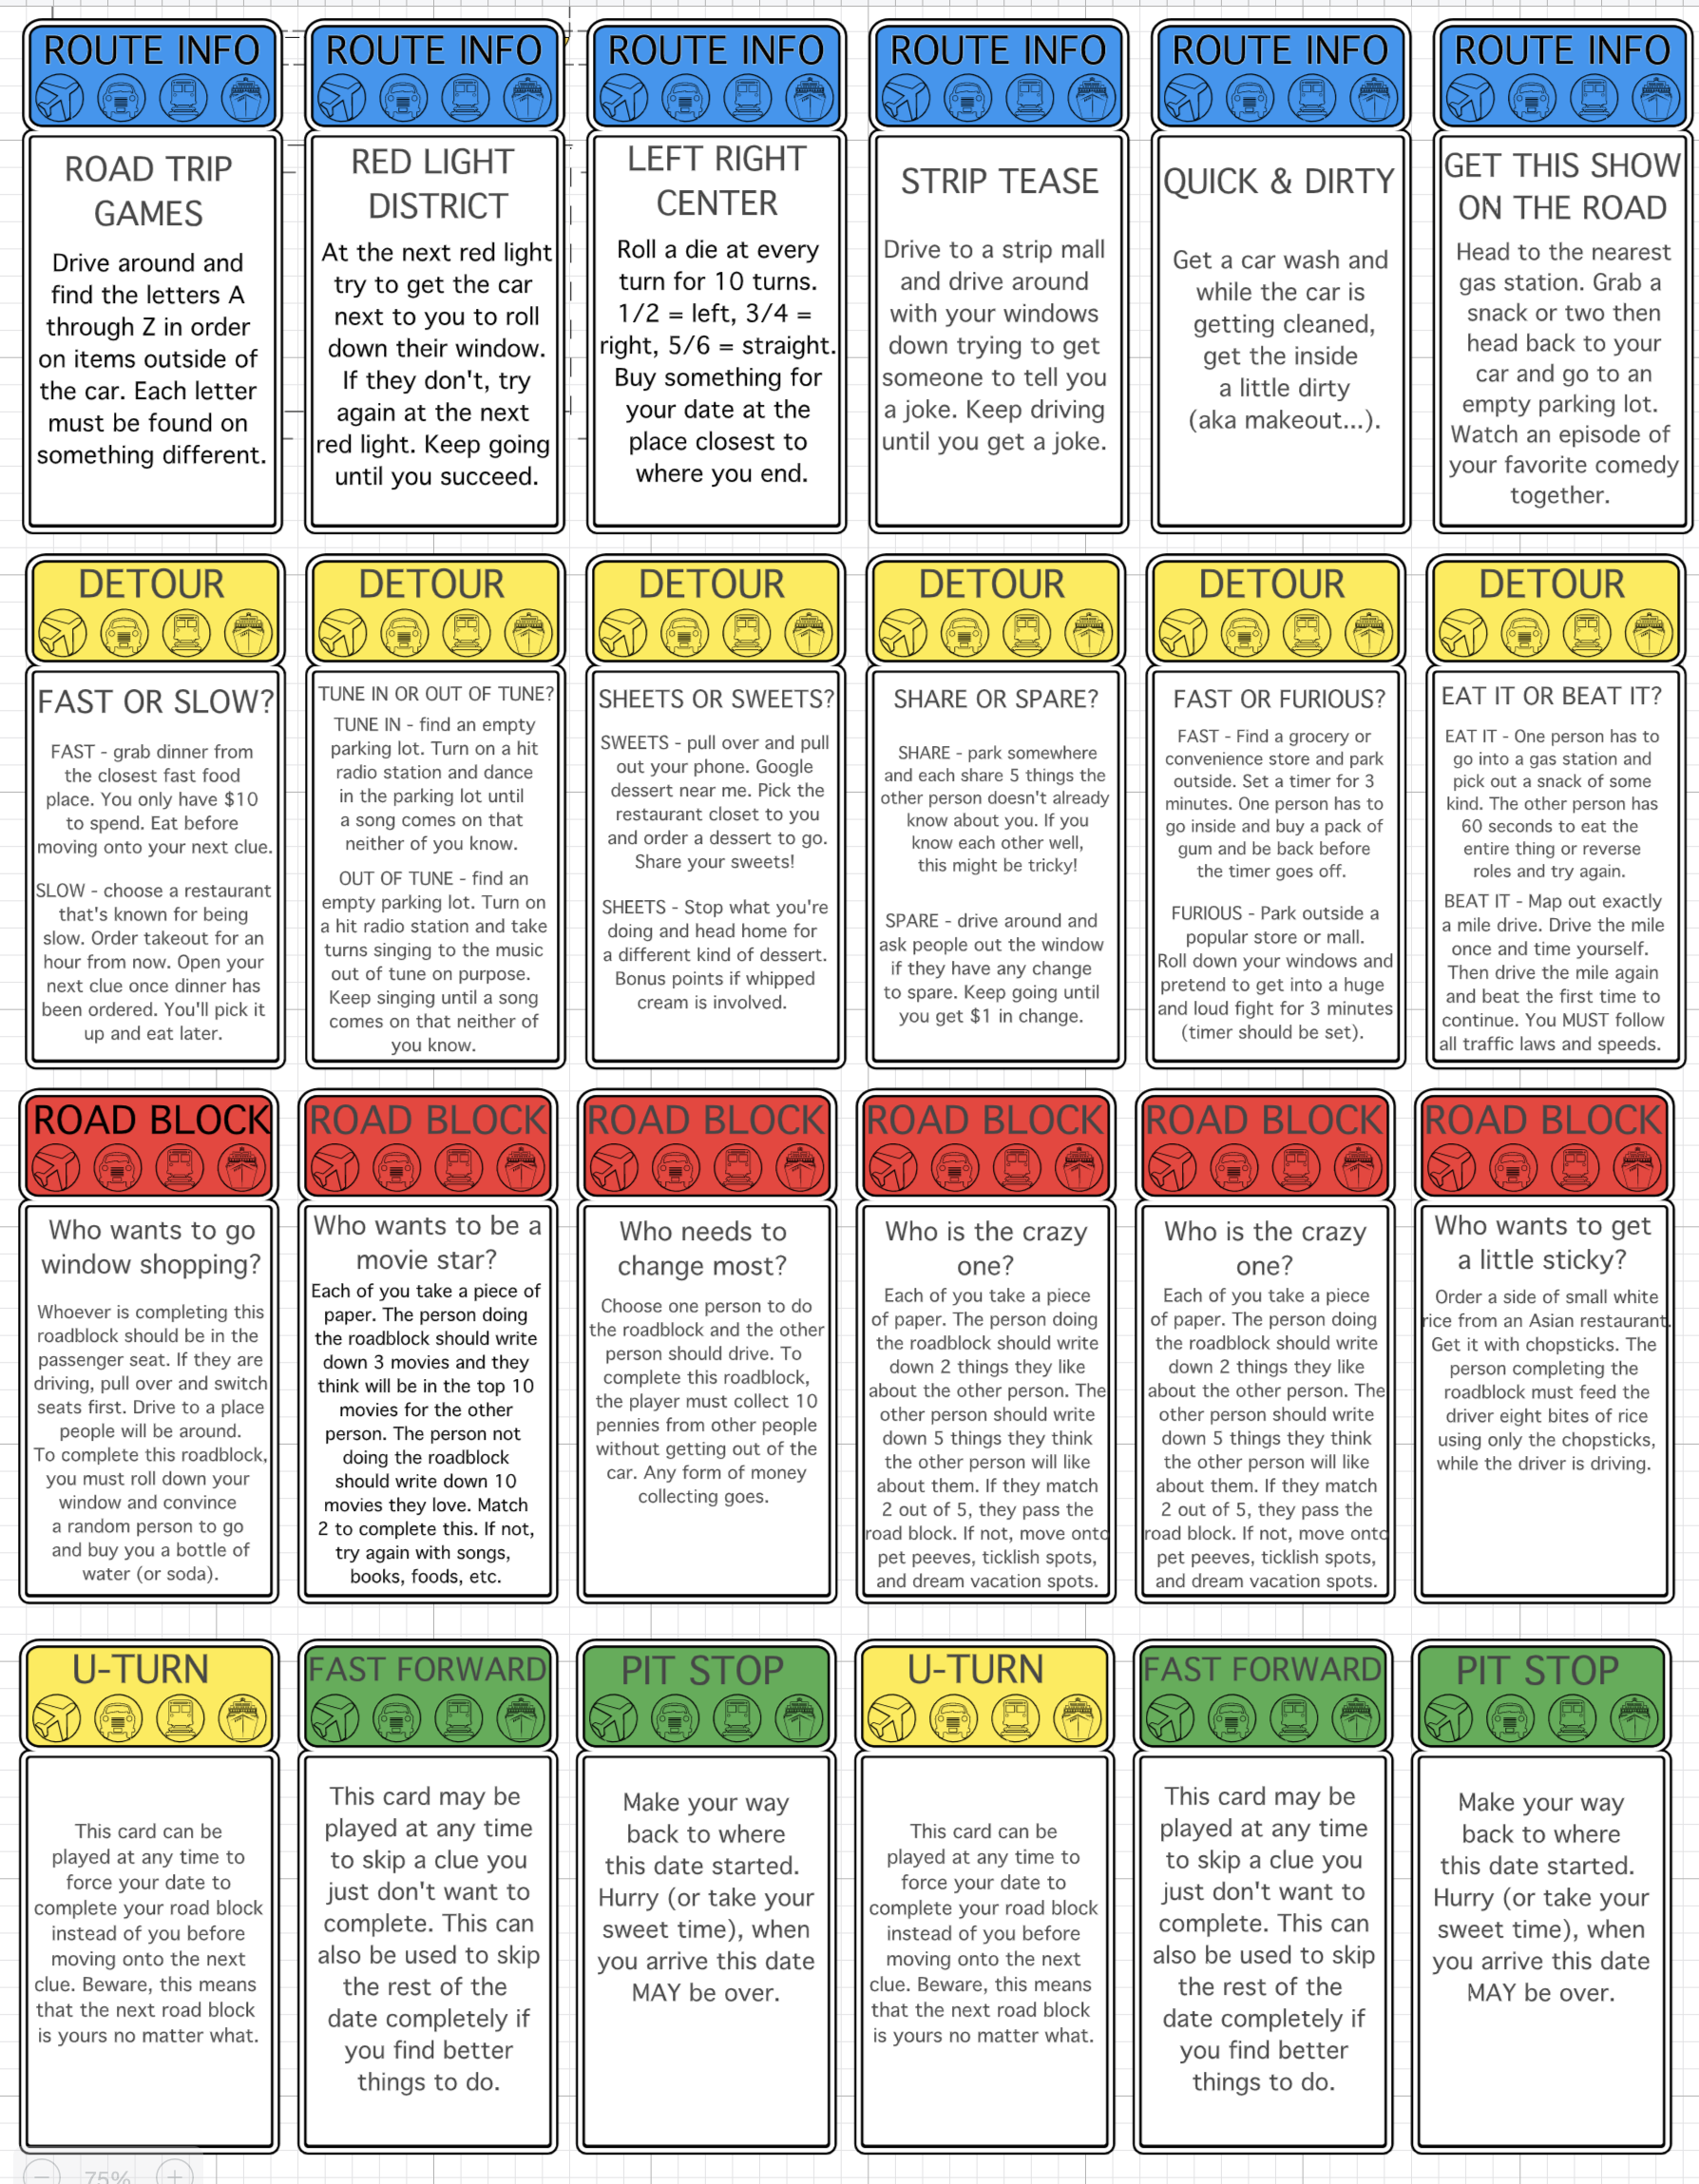
There are a number of different options already setup in the Cricut Design Space file I created for this project. All you need to do is open the file and click Make It.
This will take you through the process of printing and cutting the clues. Print one page first, load it onto the mat (with a fine-point blade), and cut.
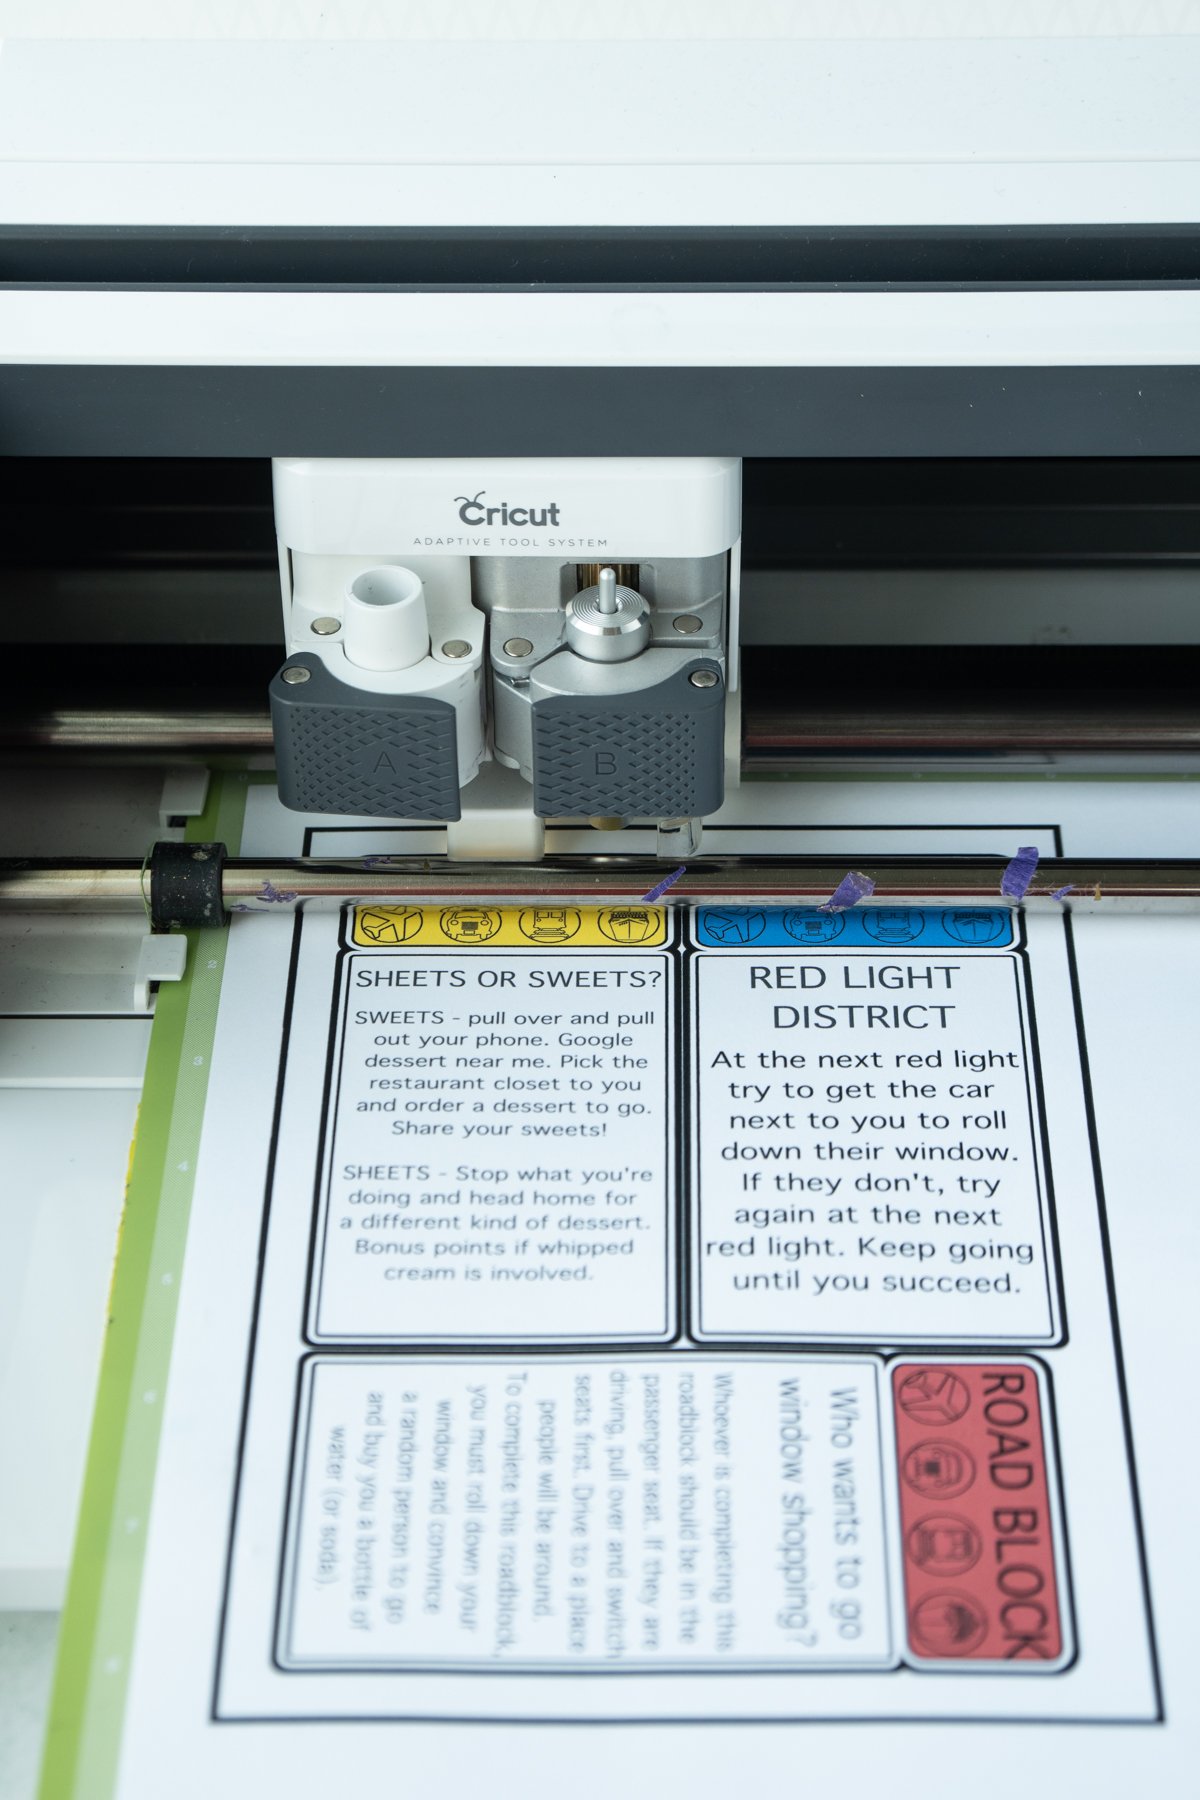
I love how the clues turned out with the Cricut Maker because of its precise cutting around the rounded edges and the little cut out area below the title and the clue. They turned out absolutely perfect!
Note!
You can pick and choose which of the clues you want to use for your race. If you don’t want to use a clue, click the little eye icon next to it in Cricut Design Space to hide it from your print job.
About the Clues
There are a couple of things you should know about the clues and challenges on the clues before you get started with your race.
- The clues are all generic enough that they should work in any city, town, or neighborhood.
- Some of the clues are a bit more intimate than others – this date night was designed for a committed couple. If that’s not you, you can totally still do this – just don’t use those date night cards!
- If there’s something you don’t feel comfortable doing, choose a different clue to include in the game.
There are about 20 clues to choose from, so hopefully you should be able to find ones that work for you and your date to do!
How to Set Up the Amazing Race date
Now that you’ve created everything, it’s time to set up your actual date! I’m going to go through how I personally set up this date but if that doesn’t work for you, use the materials to make it your own!
- Choose which clues you want to use. I recommend doing 3 route info clues, 4 road blocks, and 3 detours. You’ll also need 1 pit stop and if you want to use them, 1 fast forward and 1 u-turn.
- Print, cut, and make your envelopes and clues on the Cricut Maker.
- Place your route info, road blocks, and detours into clue envelopes and shuffle them together into one pile. If you’re going with my recommendation, you should have 10 total clue cards.
- Place your pit stop cards into envelope.
- Take the bottom three cards from your main clue pile (the one with 10 clues) and shuffle those three with the pit stop card. Place those four cards on the bottom of the clue pile deck.
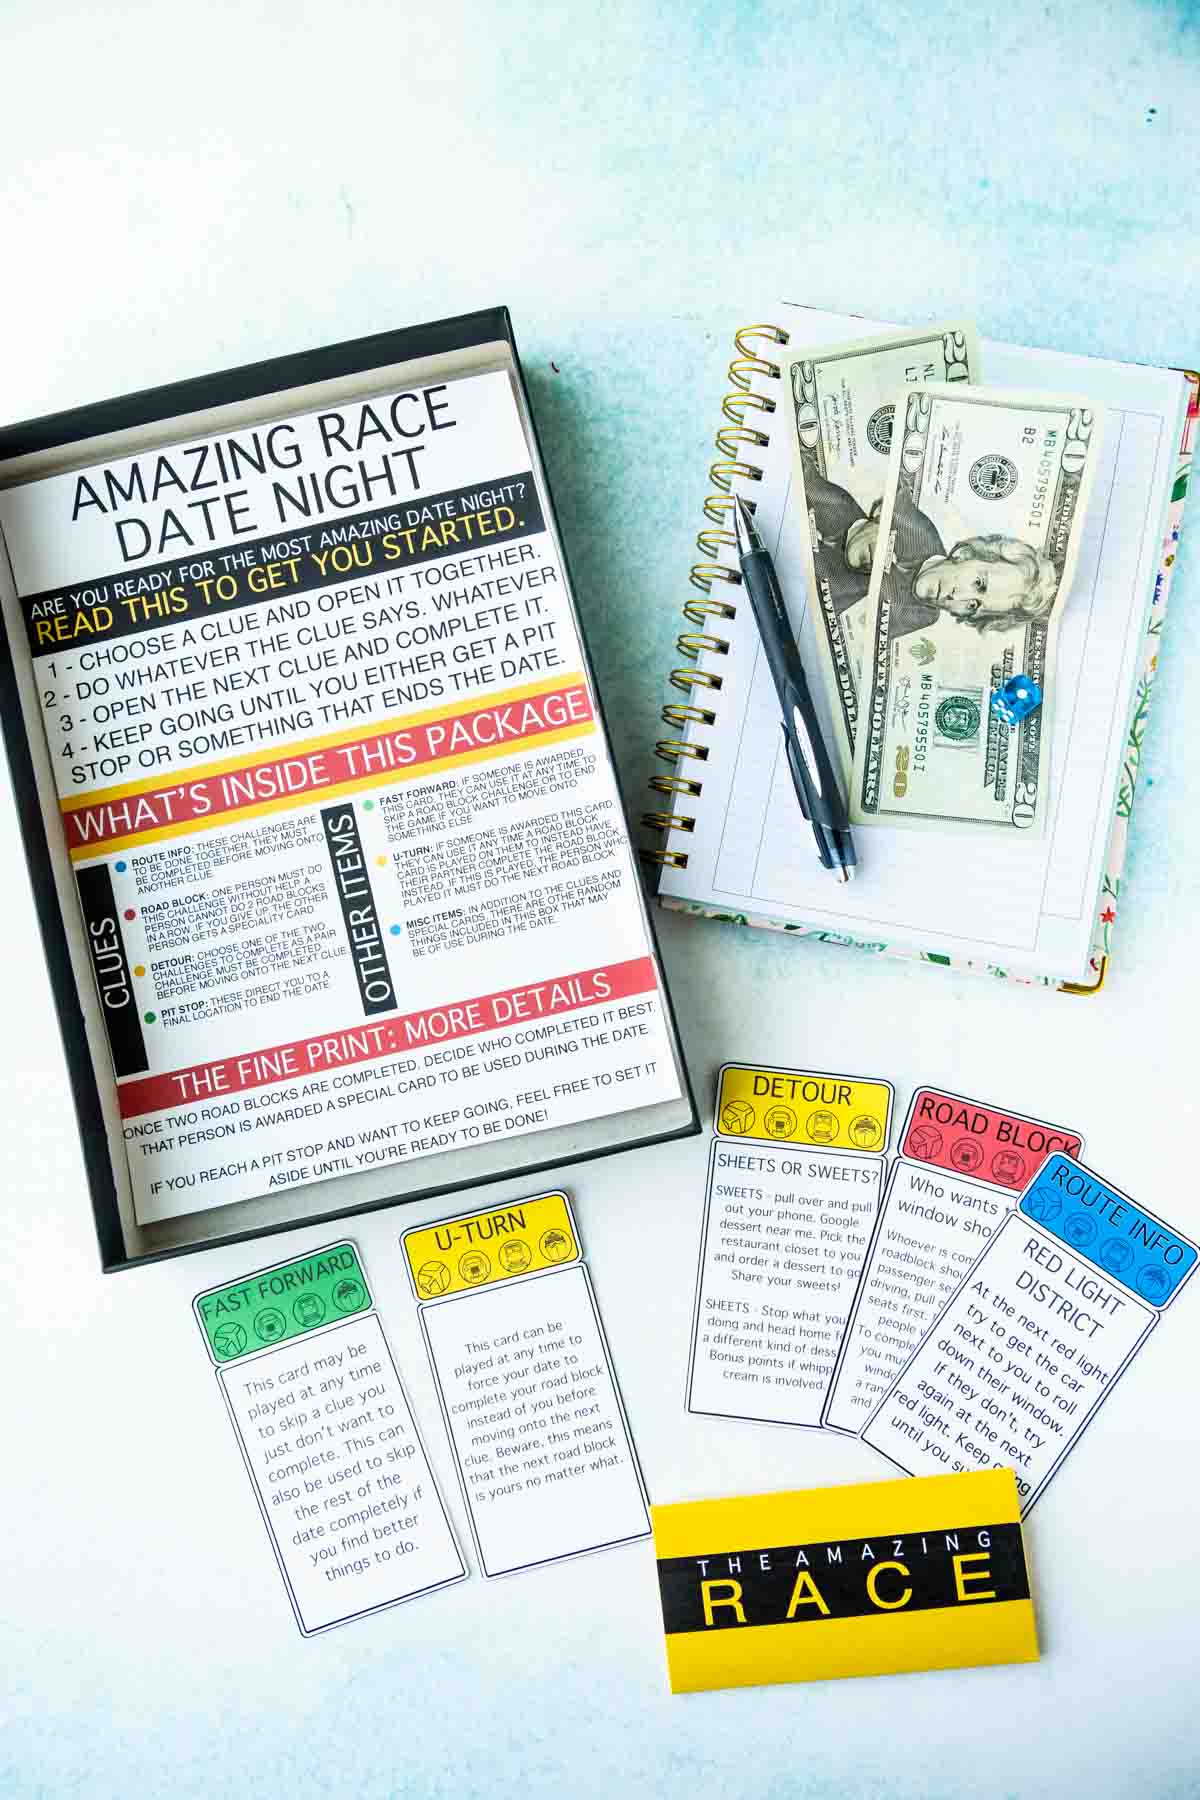
- Place all of the clues in a box, keeping the order of the clues. (The idea is that the pit stop will be towards the end but you won’t know exactly when). Place the fast forward and u-turn as well.
- Get everything else you might need for the date and put it in the box as well (along with these printable instructions). This would include anything you might need for the clues you chose (dice, paper, etc.). This box will be the center of your date – you could even use an extra sticker to label the box if you’d like!
How to Do an Amazing Race Date Night
When you’re ready for your date, get in the car. Open the first clue and complete it, open the next clue and complete it, and keep going until you get a pit stop that ends your date.
One other thing – if you get a road block, choose one person to do it. Whoever does the first one, the other person will have to do the second one.
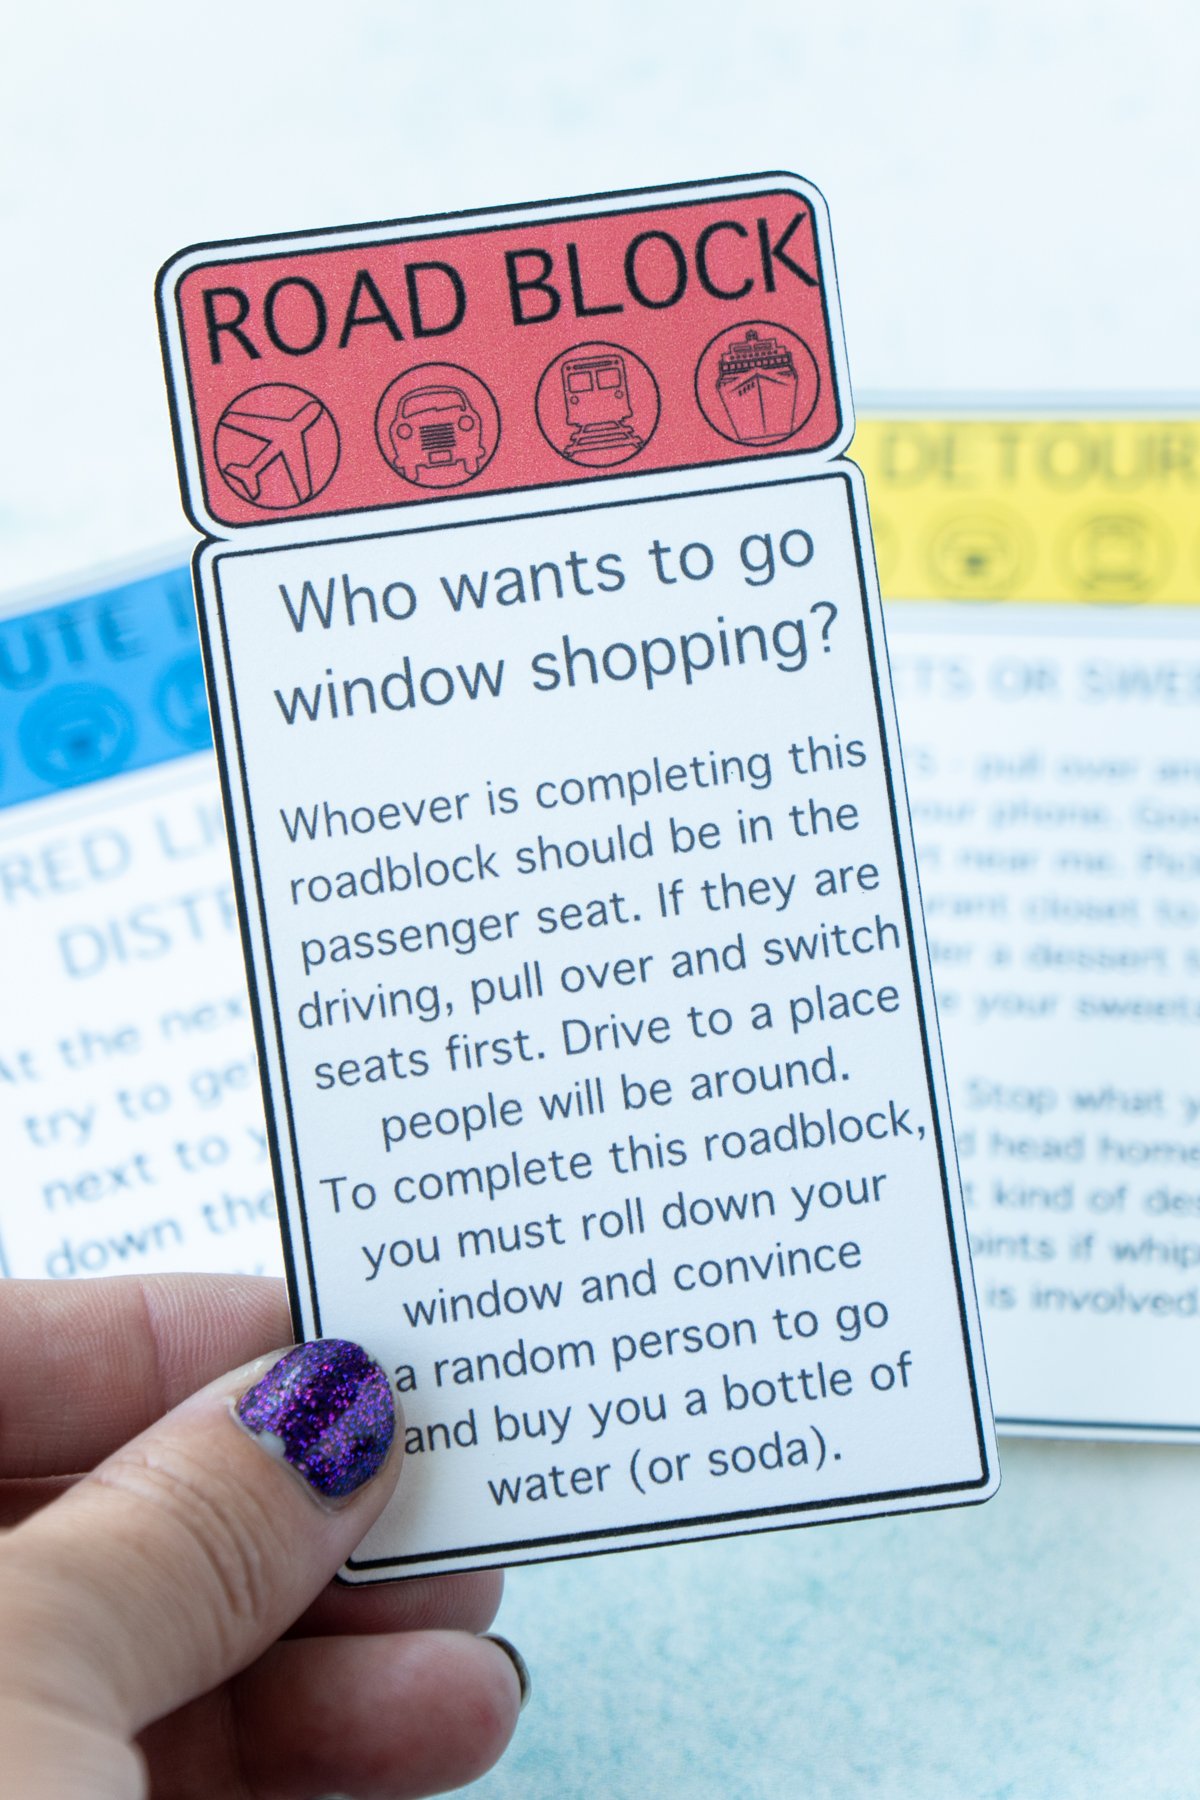
After you’ve both completed a road block, vote on whoever completed their road block the best (this is a good time for working together). The person who “won” the road block challenge gets to choose either the fast forward or u-turn card.
Do the same thing with the other road block challenge and the remaining fast forward or u-turn card.
Tip!
If you get to the pit stop and still have clues left – you can either end your date and go home or you can finish the other clues if you want. Or leave those unknown clues for your next epic Amazing Race night!
How to Make It A Race
If you want to make it an actual race, you’ll need to a do a little more prep work but it’s still pretty easy to pull off!
- Choose which clues you want to use. I recommend doing 3 route info clues, 4 road blocks, and 3 detours. You’ll also need 1 pit stop and if you want to use them, 1 fast forward and 1 u-turn.
- Print, cut, and make your envelopes and clues on the Cricut Maker. Make one set for every couple racing.
- Place your route info, road blocks, and detours into clue envelopes and shuffle them together into one pile. If you’re going with my recommendation, you should have 10 total clue cards. OR if you’d rather everyone be doing the same clues at once, you could just put them in a pile – mixing up the different types of clues.
- Place your pit stop card into envelope.
- Place the pit stop card at the bottom of your pile of clues.
- Place all of the clues in a box with the pit stop on the bottom.
- Get everything else you might need for the date and put it in the box as well (along with these printable instructions). This would include anything you might need for the clues you chose (dice, paper, etc.). This box will be the center of your date – you could even use an extra sticker to label the box if you’d like!
- Give everyone a box with everything, including a pile of clues and tell them to go! First person to get through all of their clues and follow the pit stop back to the starting point wins.
Other date Night Ideas
- Date Night Deck – over 150 date night ideas, all contained in one fun way!
- Date night scattergories – a fun two-player game, perfect for an at home date night!
- Build your own sundate – a choose your own adventure inspired date night idea!
- Pillow talk questions – printable question cards to use at home after a date!
Want more Games?
Want more fun games just like this one? Enter your first name and email address in the form below to join the Play Party Plan community! You’ll receive weekly games, activities, and more directly to your inbox!




Leave a Reply