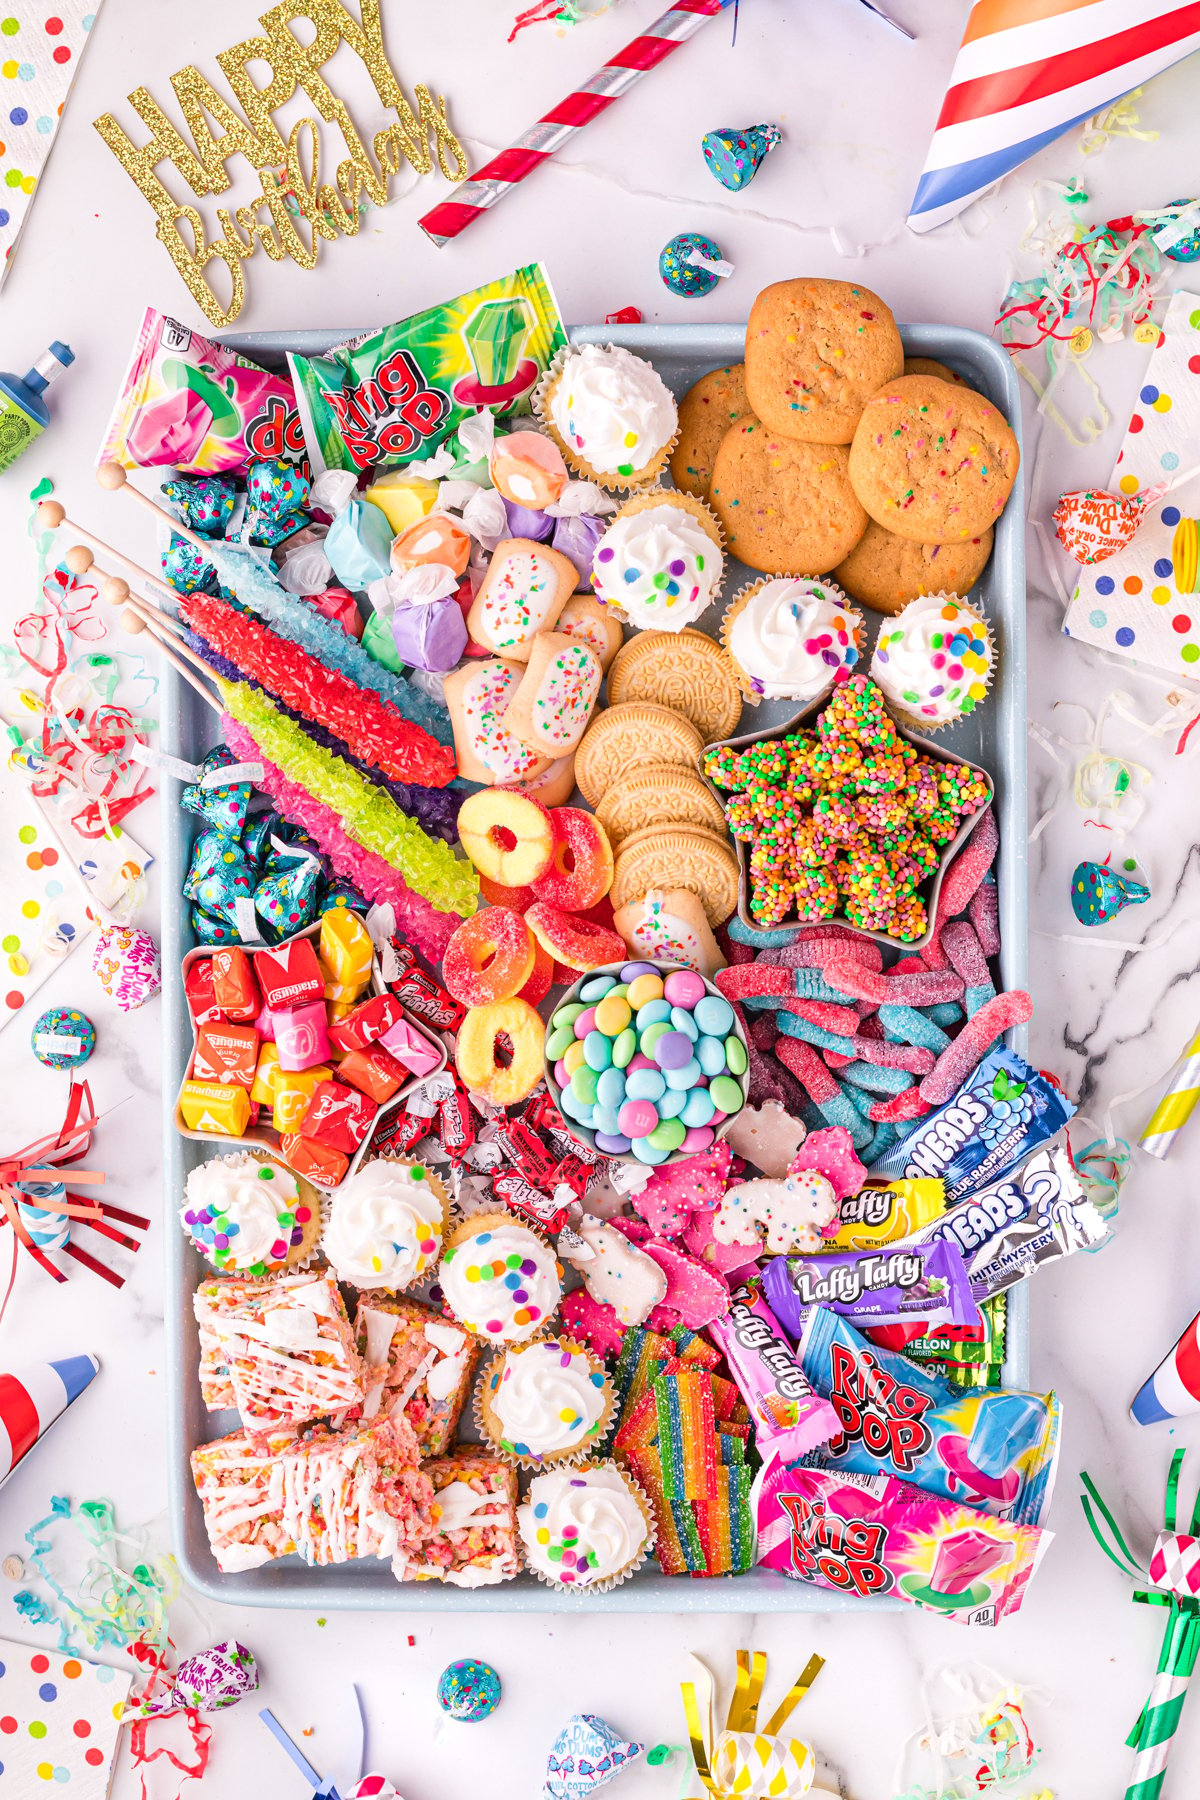
This fun birthday charcuterie board is perfect for any upcoming birthday celebration! Replace the traditional birthday cake with the board of their party dreams, filled with all of their favorite sweet treats! Bring your next birthday party to a whole new level with this vibrant board.
Want to save this recipe?
Enter your email below and we’ll send this idea straight to your inbox (plus you’ll receive fun weekly ideas from us too!)
Birthdays were always a big deal growing up. My dad would plan elaborate party games while my mom sent me on a scavenger hunt for my presents. My parents were always able to come up with the best birthday party ideas from games to snacks to the cake.
It’s a huge part of why I started this website in the first place, I wanted to share that fun with everyone.
It also really made me love my birthday.
As a birthday person, I am always looking for new great ideas to celebrate it. This birthday dessert board is a fun new way to celebrate the special occasion.
You can use this birthday charcuterie board to replace the traditional birthday cake altogether or serve it alongside a variety of foods as a fun addition. The best part is you can make it custom for the birthday boy or birthday girl.
Get your creative juices flowing to arrange the candies and treats into this personalized birthday board.
Why You’ll Love This Recipe
- Fun options – there is an endless amount of snack or treat options you can put onto this sweet snack board.
- Easy to make – almost everything can be found at your local grocery store. You may even be able to raid your leftover Halloween or Easter candy. Once bought, it only takes minutes to put everything together.
- Visual interest – dessert charcuterie boards are great because they look as good as they taste. The best part is you don’t have to be a professional cake decorator to make it. Anyone can do it!
Ingredients
Ingredient Notes
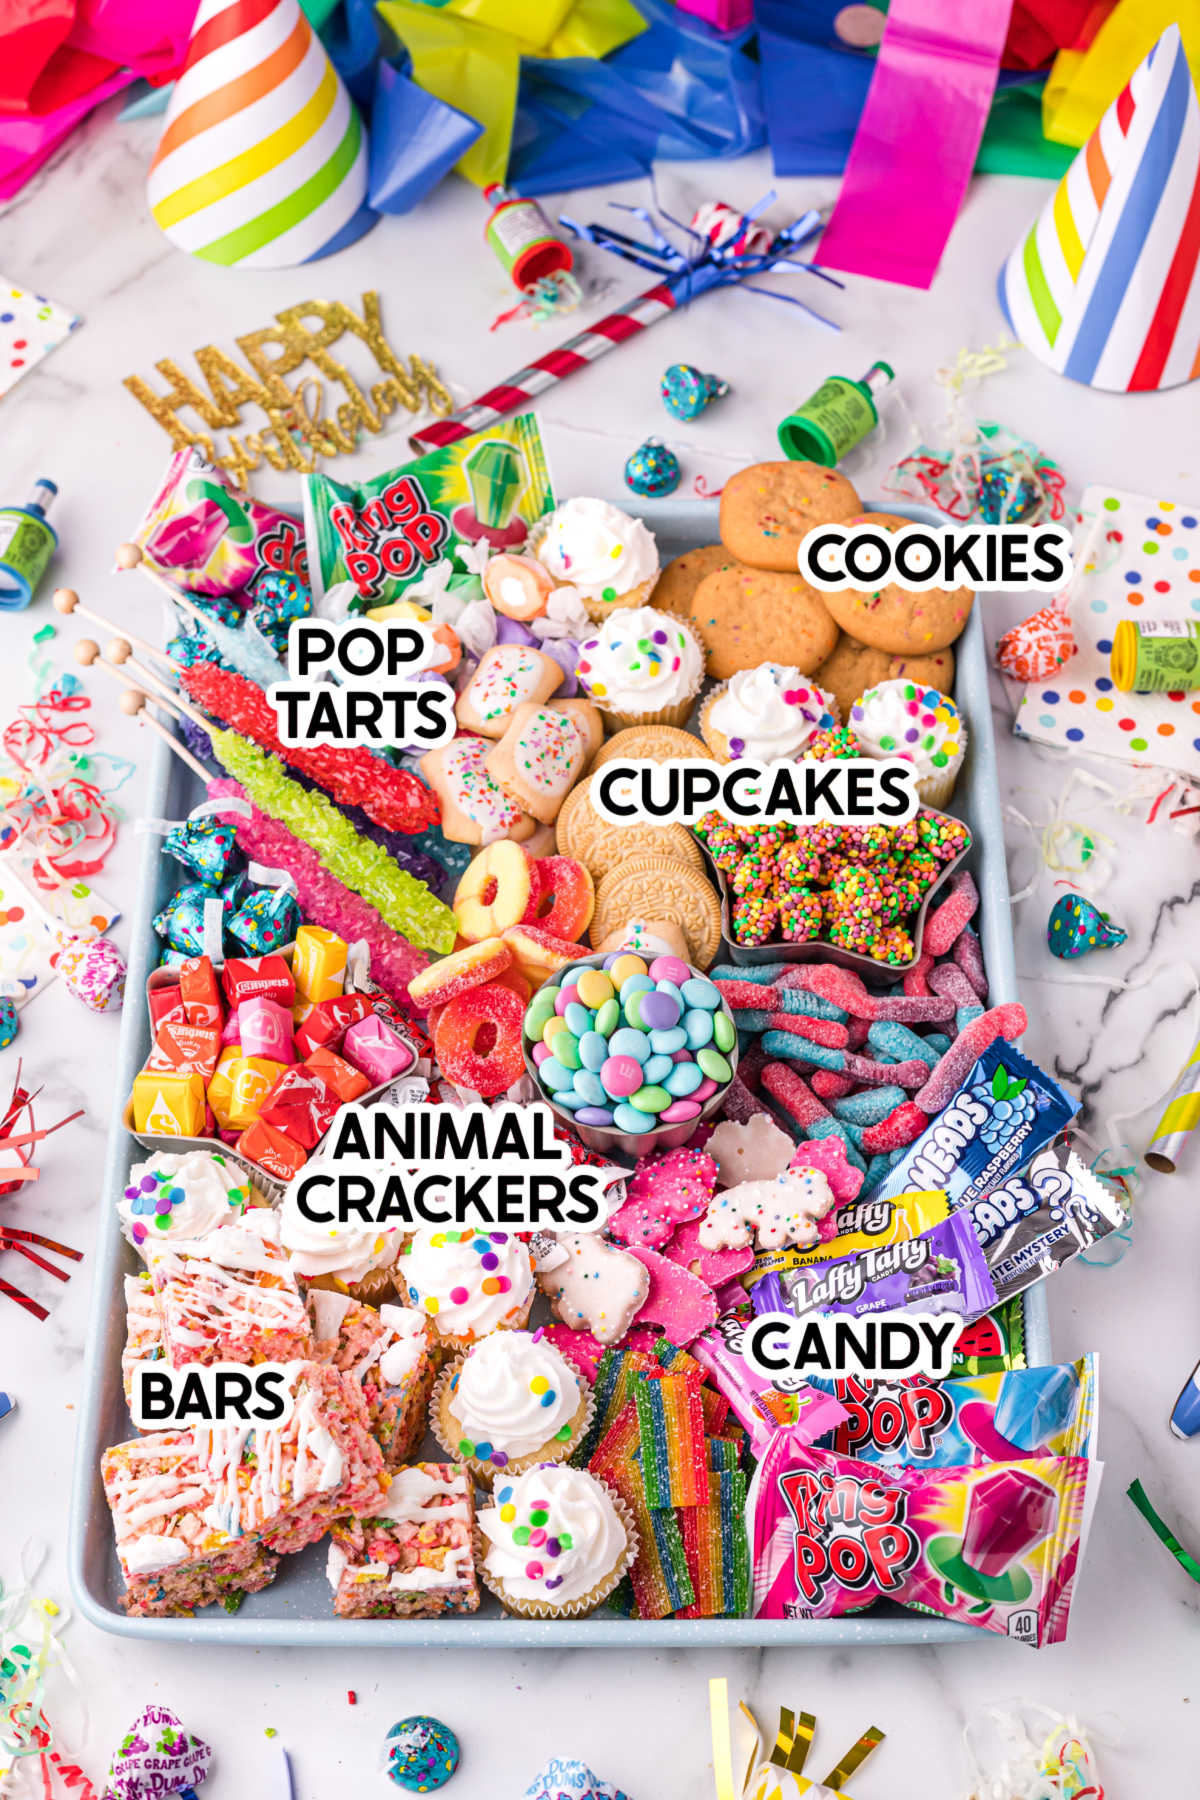
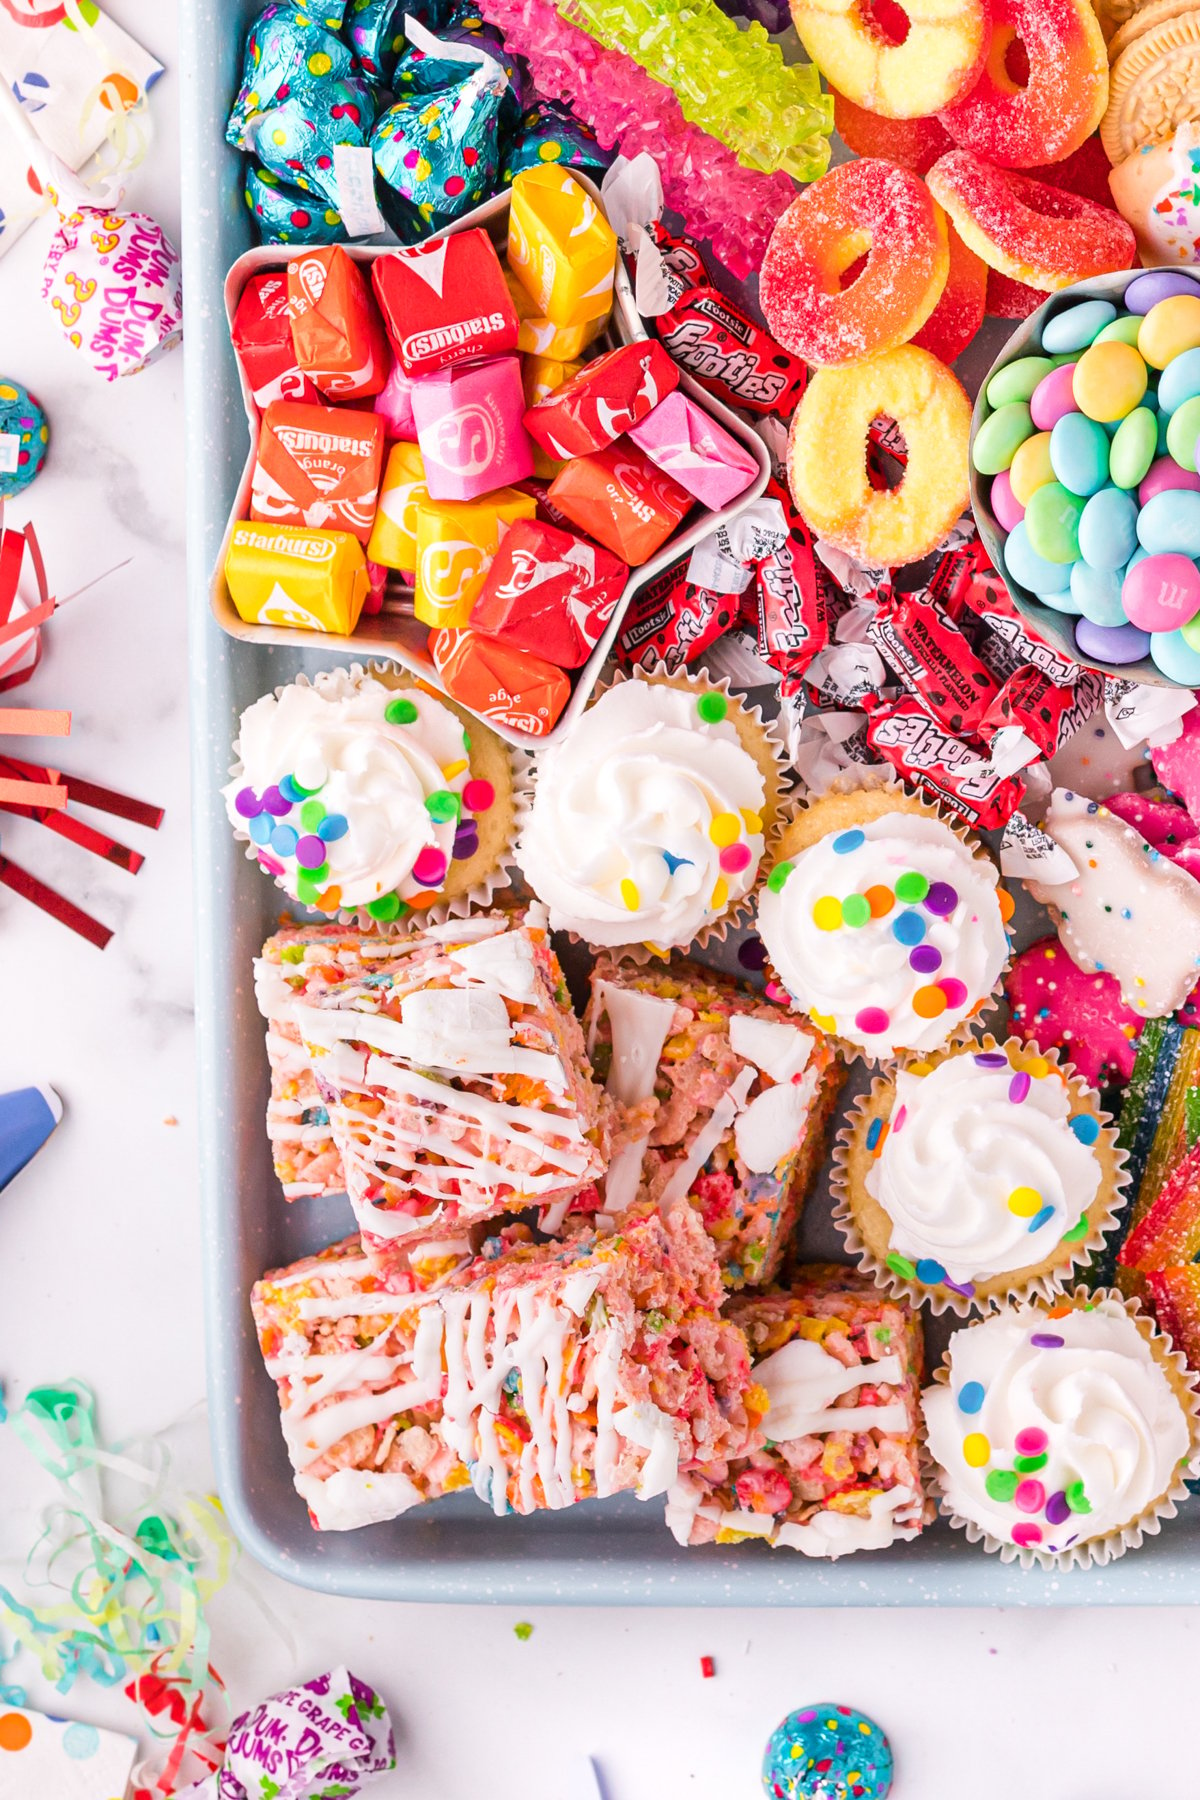
- Baked goods – use a variety of baked goods so they don’t turn into candy boards. Things like sugar cookies, pop-tarts, cake pops, sugar cookie bites, mini cakes, and rice krispie treats work great for this board. Since it’s a birthday board, anything with sprinkles is always a win! You could even make this chocolate chip cookie cake and cut it up into small pieces!
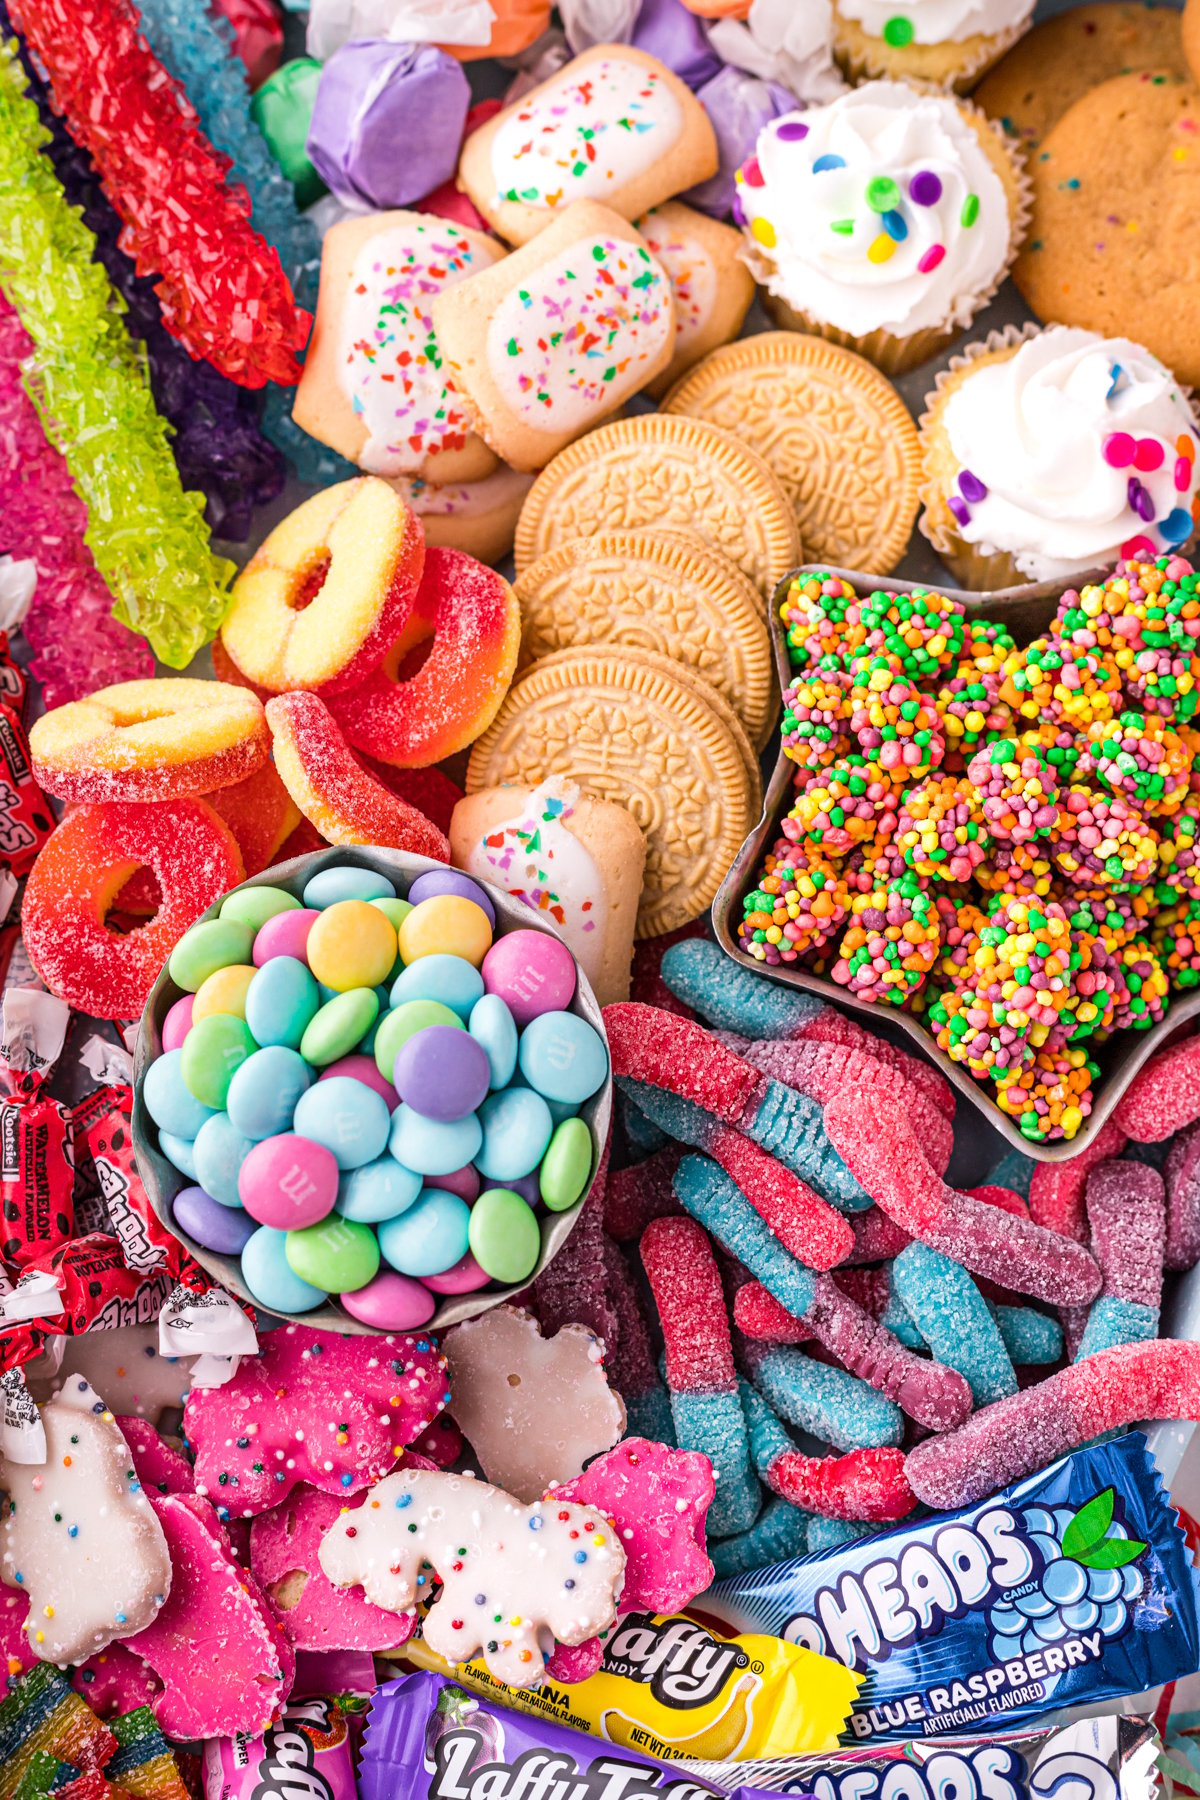
- Candy – I used a lot of fruity candies for their bright colors but you can easily add in chocolate as well. Try to get candy in a variety of different sizes so you can use them differently throughout the board. You can do a variety of wrapped and unwrapped candies or just stick with one or the other.
- Fruits – while I stuck to the candy version of fruits, you can easily swap them for fresh fruit if you are wanting to give some healthy choices on your dessert charcuterie board. It makes it a bit less of a dessert board, but you do whatever makes your birthday person happy! If you do add fruits, this funfetti dip or this dunkaroo dip would be a great addition as well!
How to make a birthday charcuterie board
Writing a good charcuterie board recipe can be tricky. It’s hard to know whether or not to write a lot of details so you can recreate it exactly or general instructions that prompt you to make it your own.
This recipe is more of the latter. There are so many tasty treats that can go into this board it will be easy to fill the whole board.
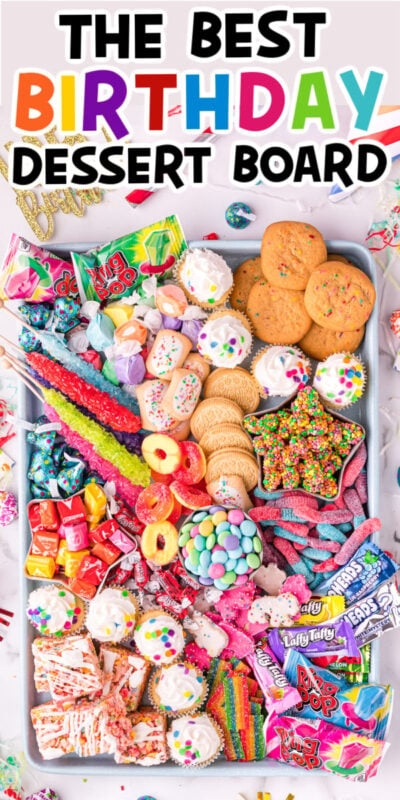
If you are wanting your board to look exactly like the one above you are more than welcome to recreate it! I included some pictures to help you along the way. But have fun with it, and make changes to make it perfect for your special day.
1 – Get Your Ingredients
The first thing you need to do is buy or make all the goodies. You can follow my list of ingredients entirely, use a few of my ideas, or come up with your own.
Since this is a happy birthday charcuterie board I suggest getting the guest of honor’s favorite sweets. Or if you are doing something like a rainbow theme you could use that as your buying guide.
2 – Pick the Right Board & Bowls
Pick out the best serving tray for your event. I’d consider how many people you are serving and how much other food is being served.
Depending on your needs you might want to make a small or larger board. If you don’t own a charcuterie board yet no worries. Use a sturdy cutting board or baking sheet, they work too!
For this particular one, I actually ended up using a patina cookie sheet because I thought it went well with my birthday funfetti theme!
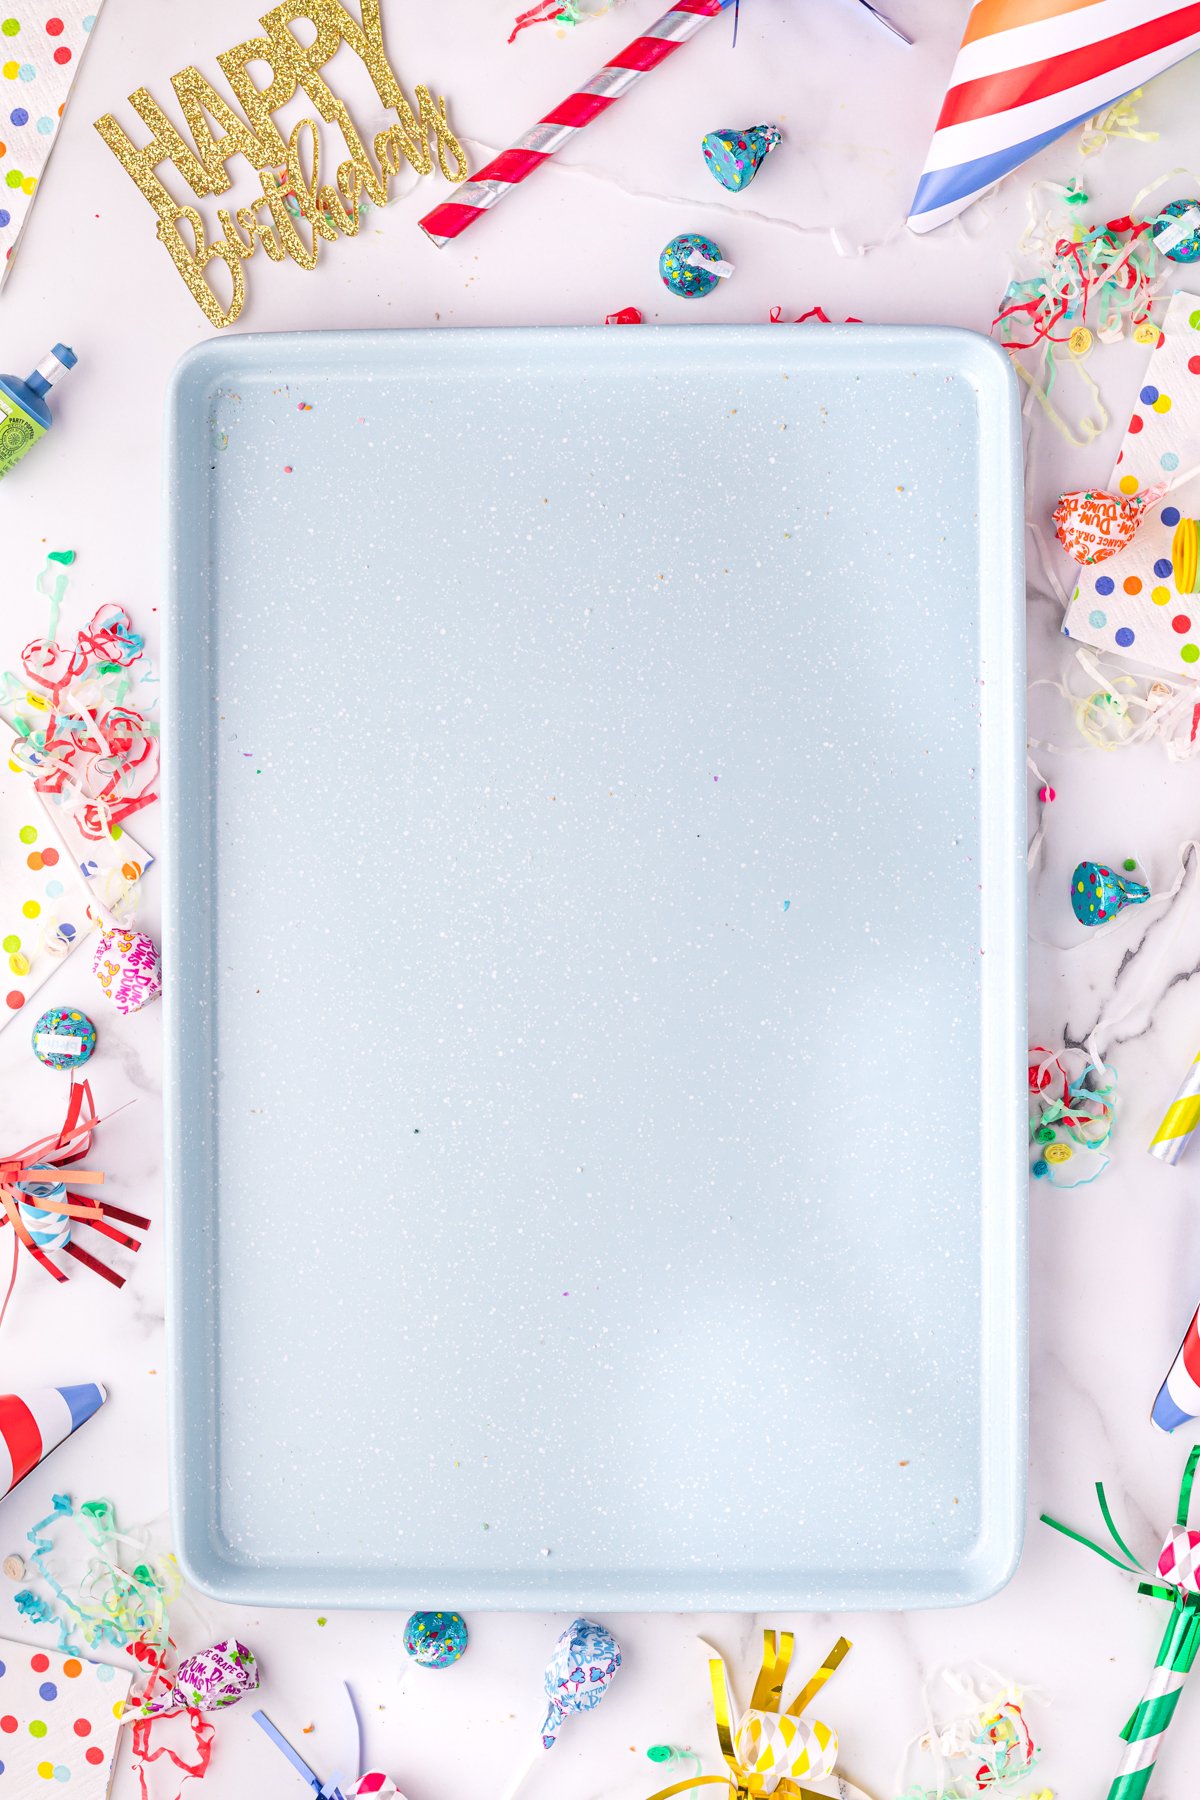
Next, pick out three small bowls to put on your board. Depending on the size of your board you may need to use more or fewer bowls. Make whatever adjustments you need to make it work for you.
As mentioned earlier, I like to try and use fun bowls. I love the cool shapes and bright colors you can see when you use them.
2 – Make the Board
Since sweets can get sticky, I suggest cutting a piece of parchment paper to place on the bottom of your board. Makes clean up easier and prevents things from getting stuck to the board. You can skip this if you’d like.
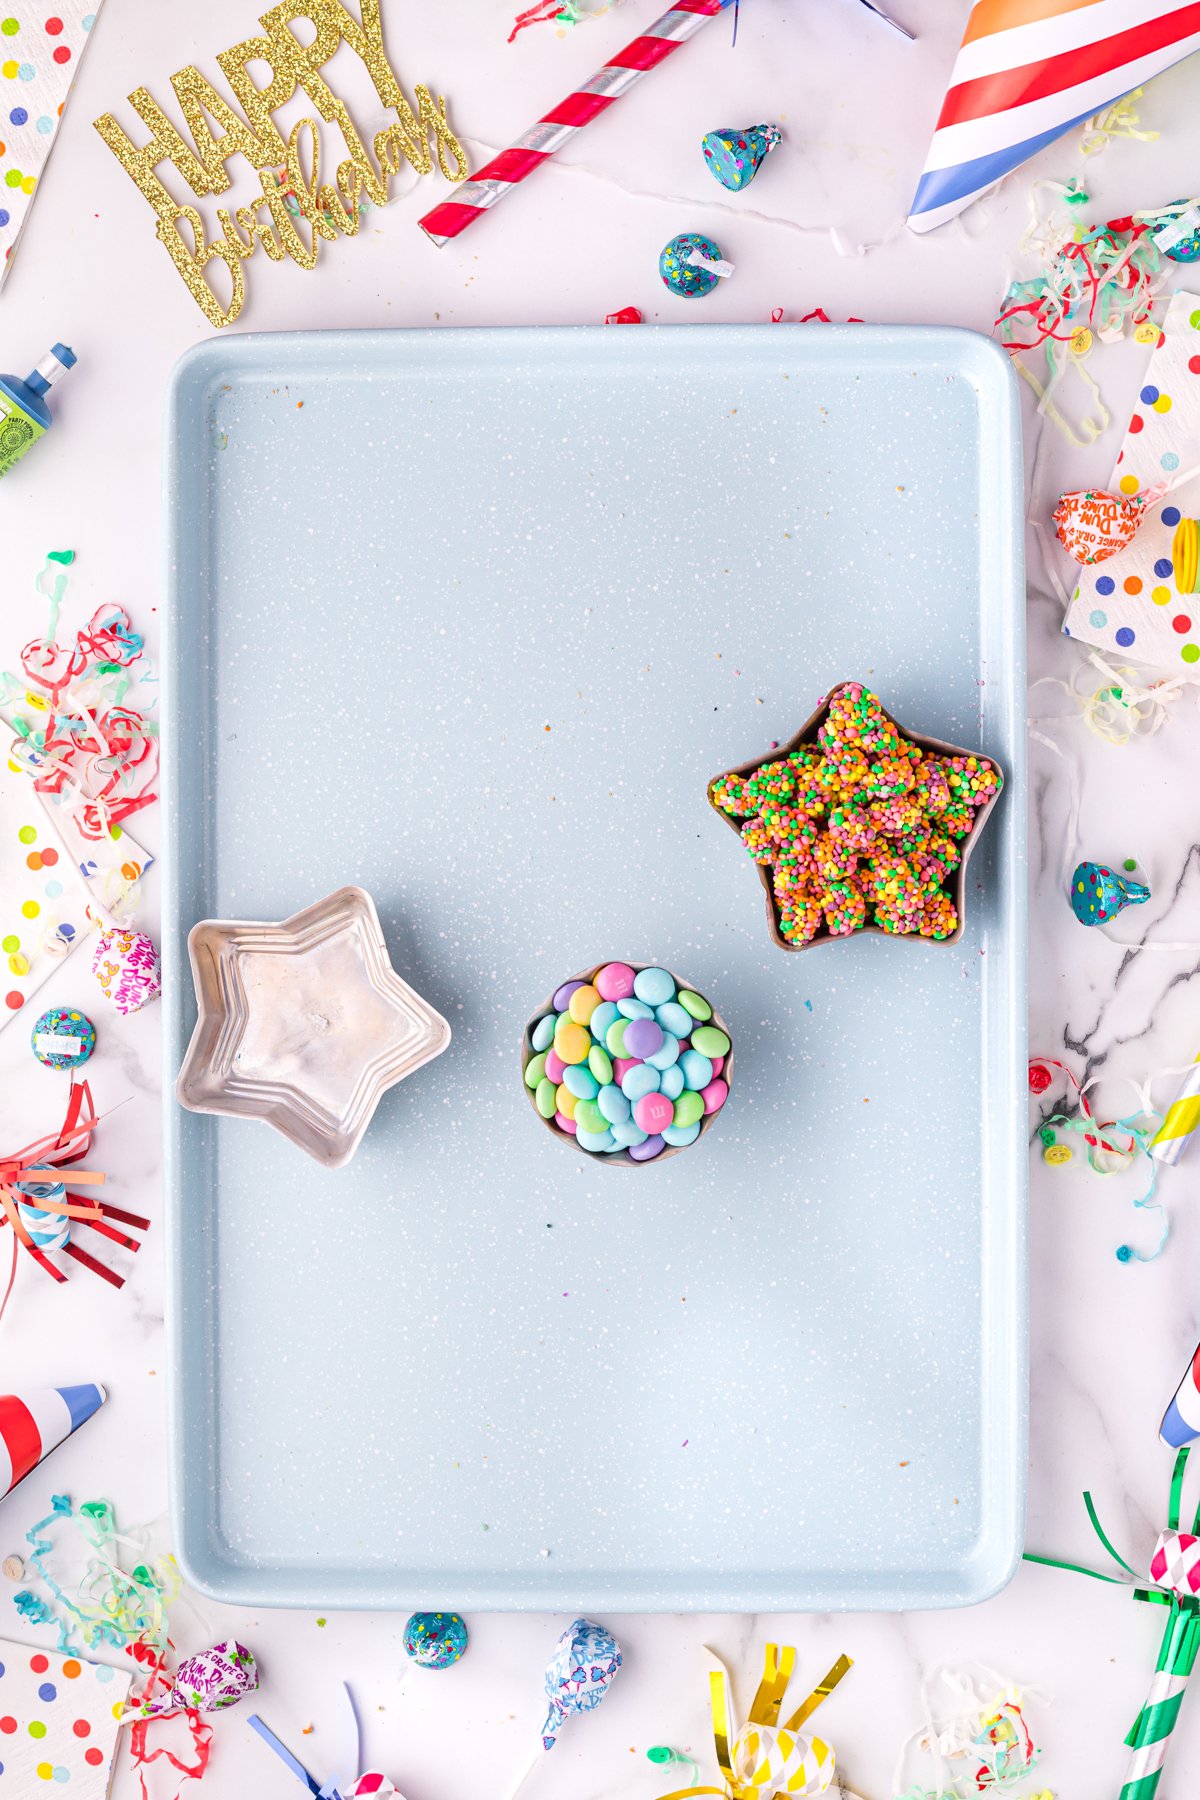
Start laying out your board by placing three small bowls on the board. I like to spread them out of the board so they aren’t all lined up. I also try to avoid using all the corners. You do what looks best on your board. These also may shuffle around once you start adding food.
Fill the bowls up with the smallest candies like nerds clusters, jelly beans, M&M, or Skittles.
Begin filling the board by placing your largest items first. Separate the biggest items, like cupcakes or mini cakes, into small groups and place them onto opposite sides of the boards so they don’t overwhelm the plate.
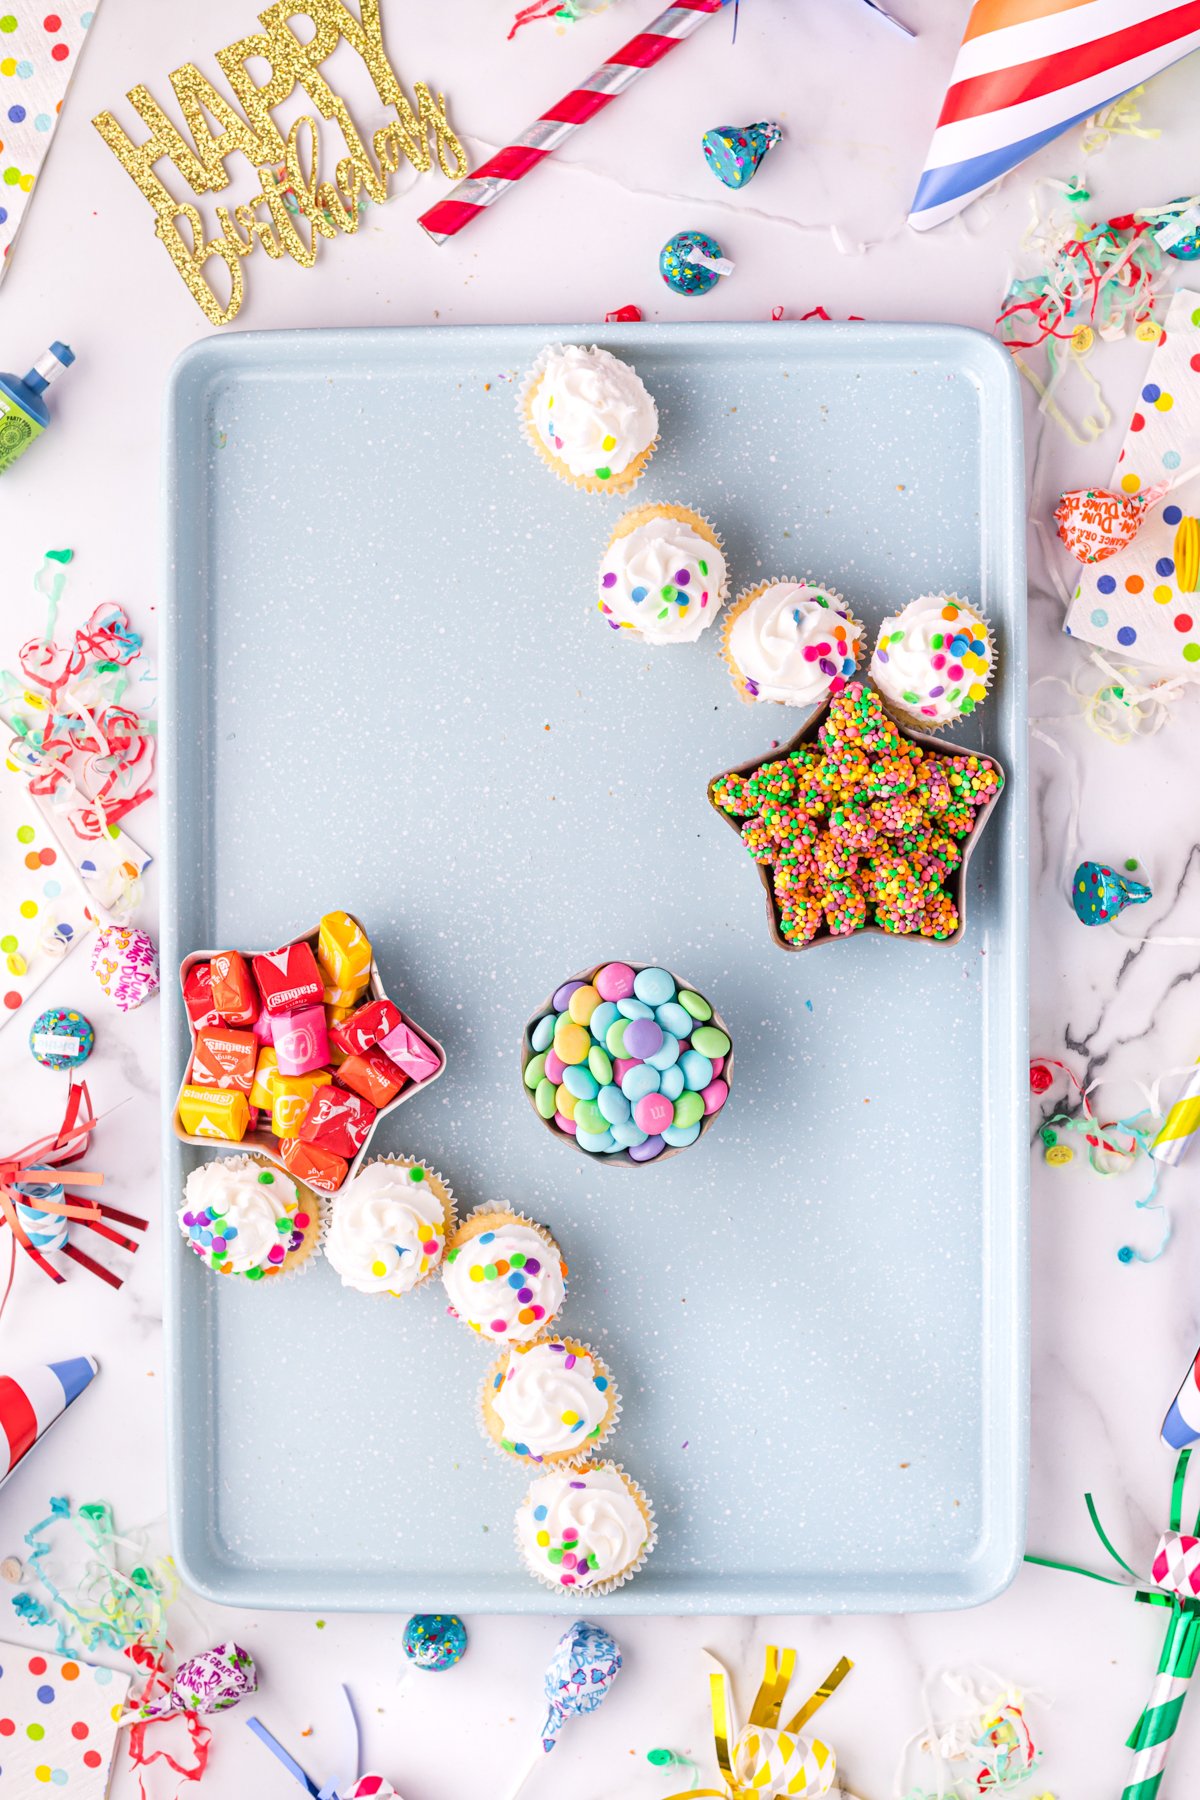
It’s also easiest sometimes to work from the outside in, at least with the larger items! I like to add the big items around the edges of the board, trickling them toward the center slightly but still focused on the outside.
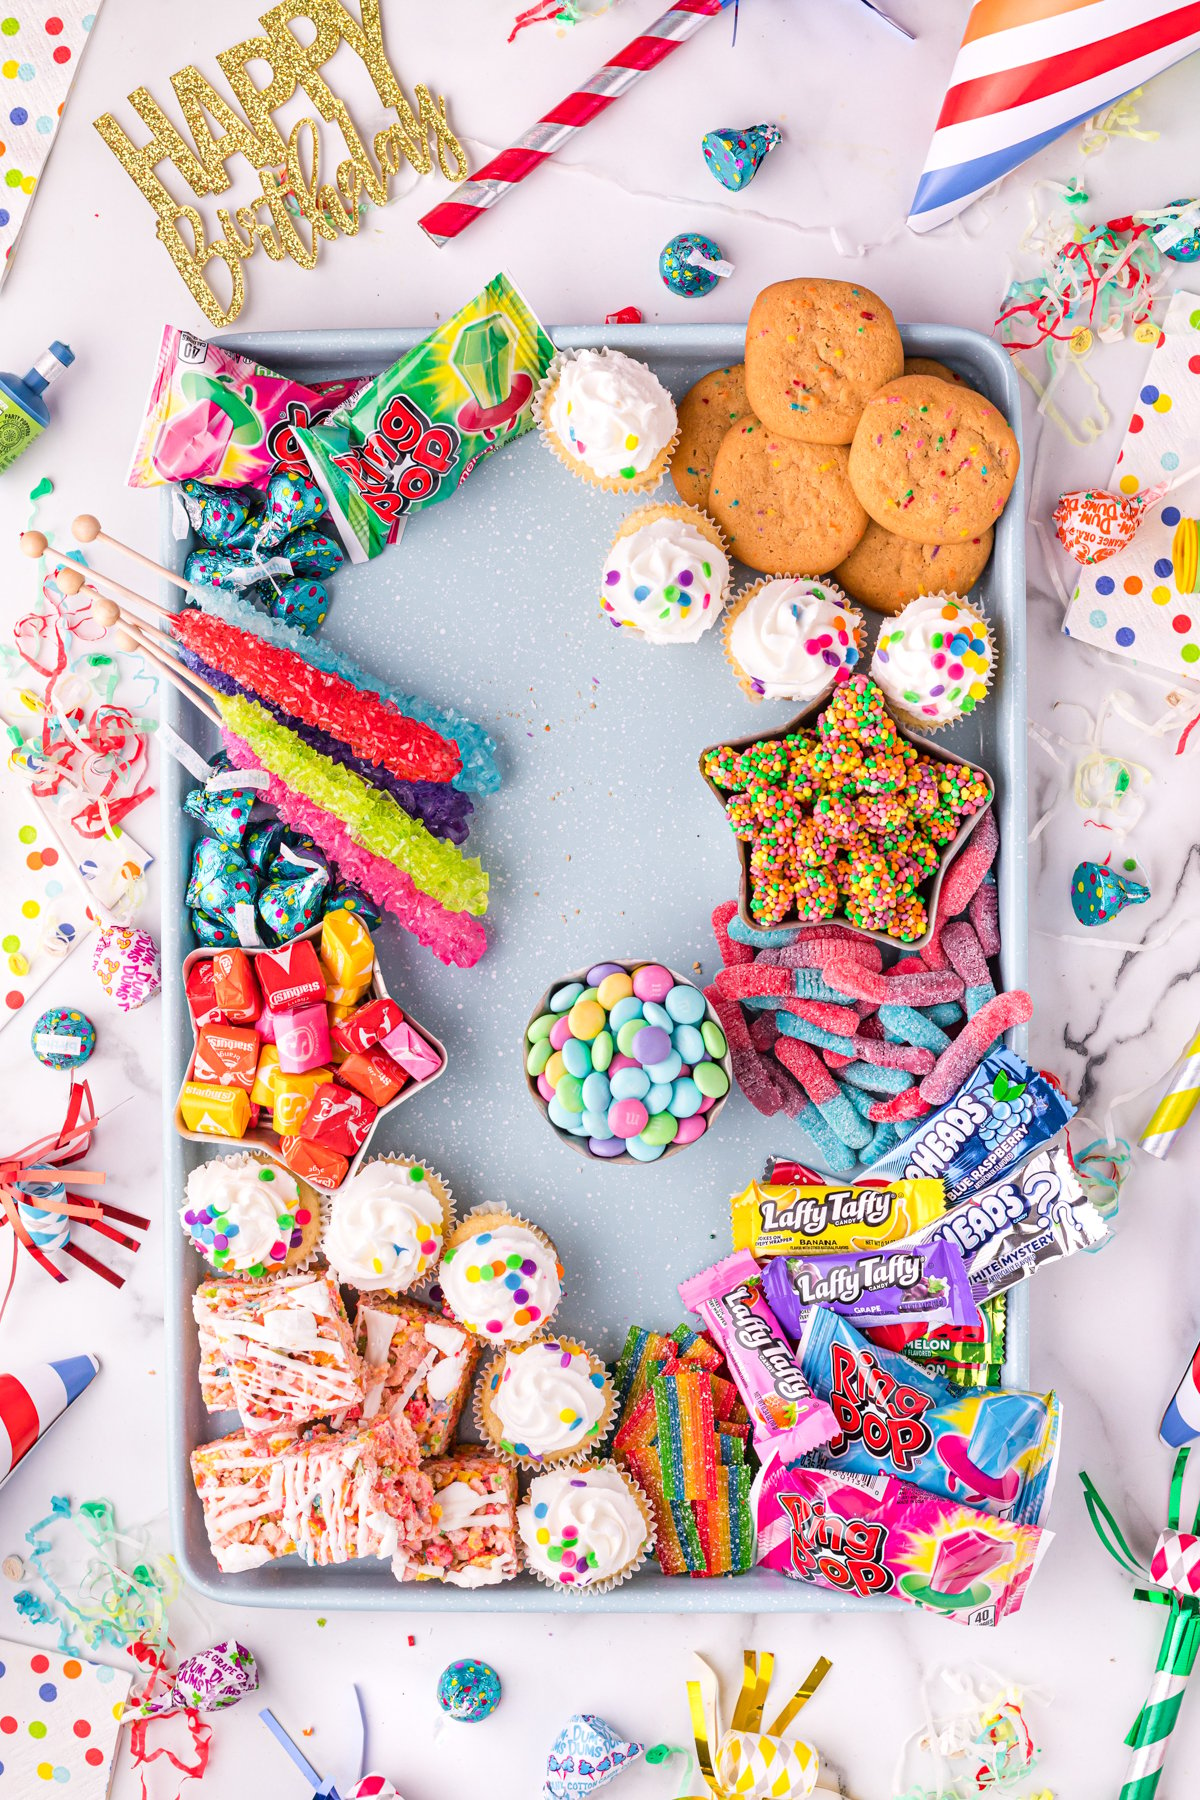
Fill the rest of the board with the remaining treats. As stated earlier you can always restock so begin by putting in less of each item. Go for five to eight of each thing then add more as you go.
Smaller candies and items like taffies, Hershey kisses, Starbursts, and jelly beans make great fillers for small spaces in the center of the board.
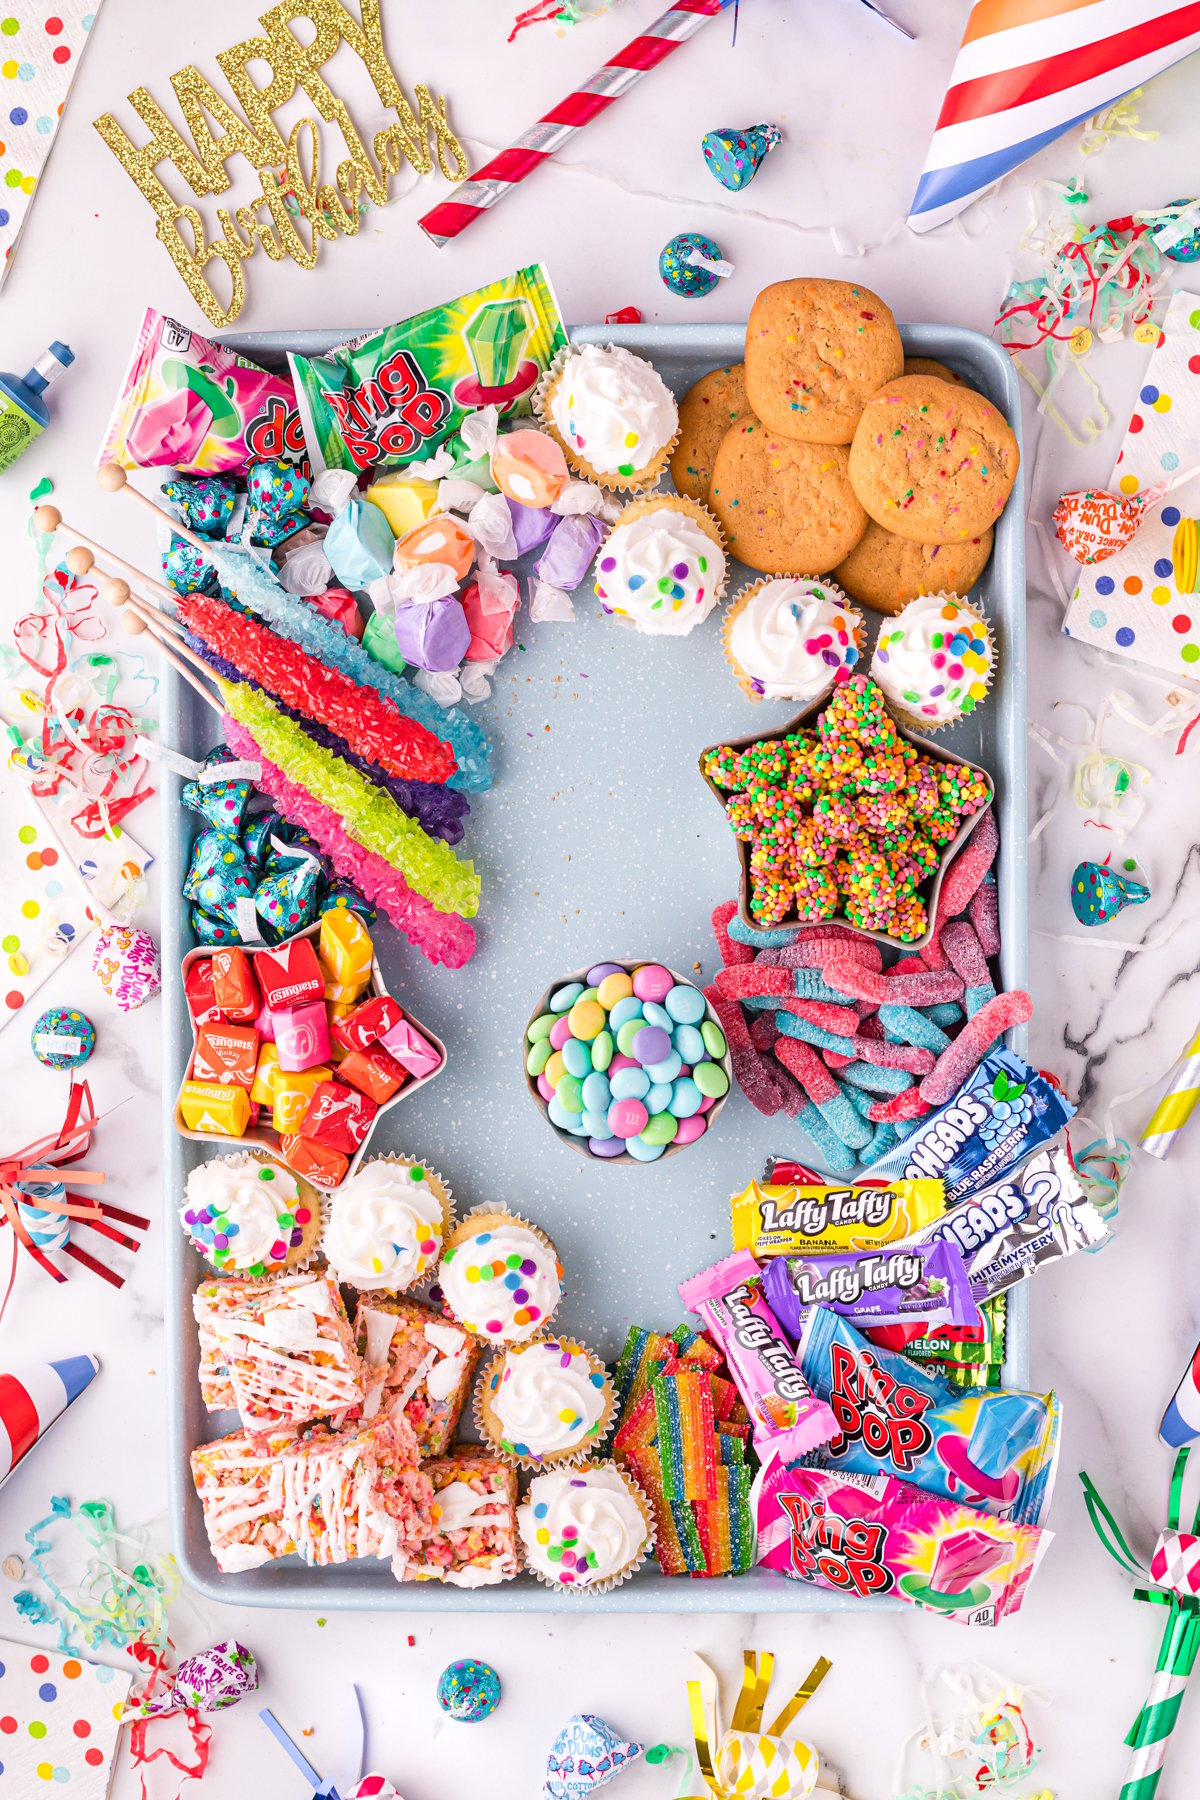
Note that my board doesn’t include any fresh fruits or homemade baked goods. If you are using those you are going to want to prep those before you begin building your board. Since I opted to only use store-bought things it requires no additional prep.
Whether you copy my board exactly or make it your own, there is no wrong way. Try to have fun creating the board – I always do!
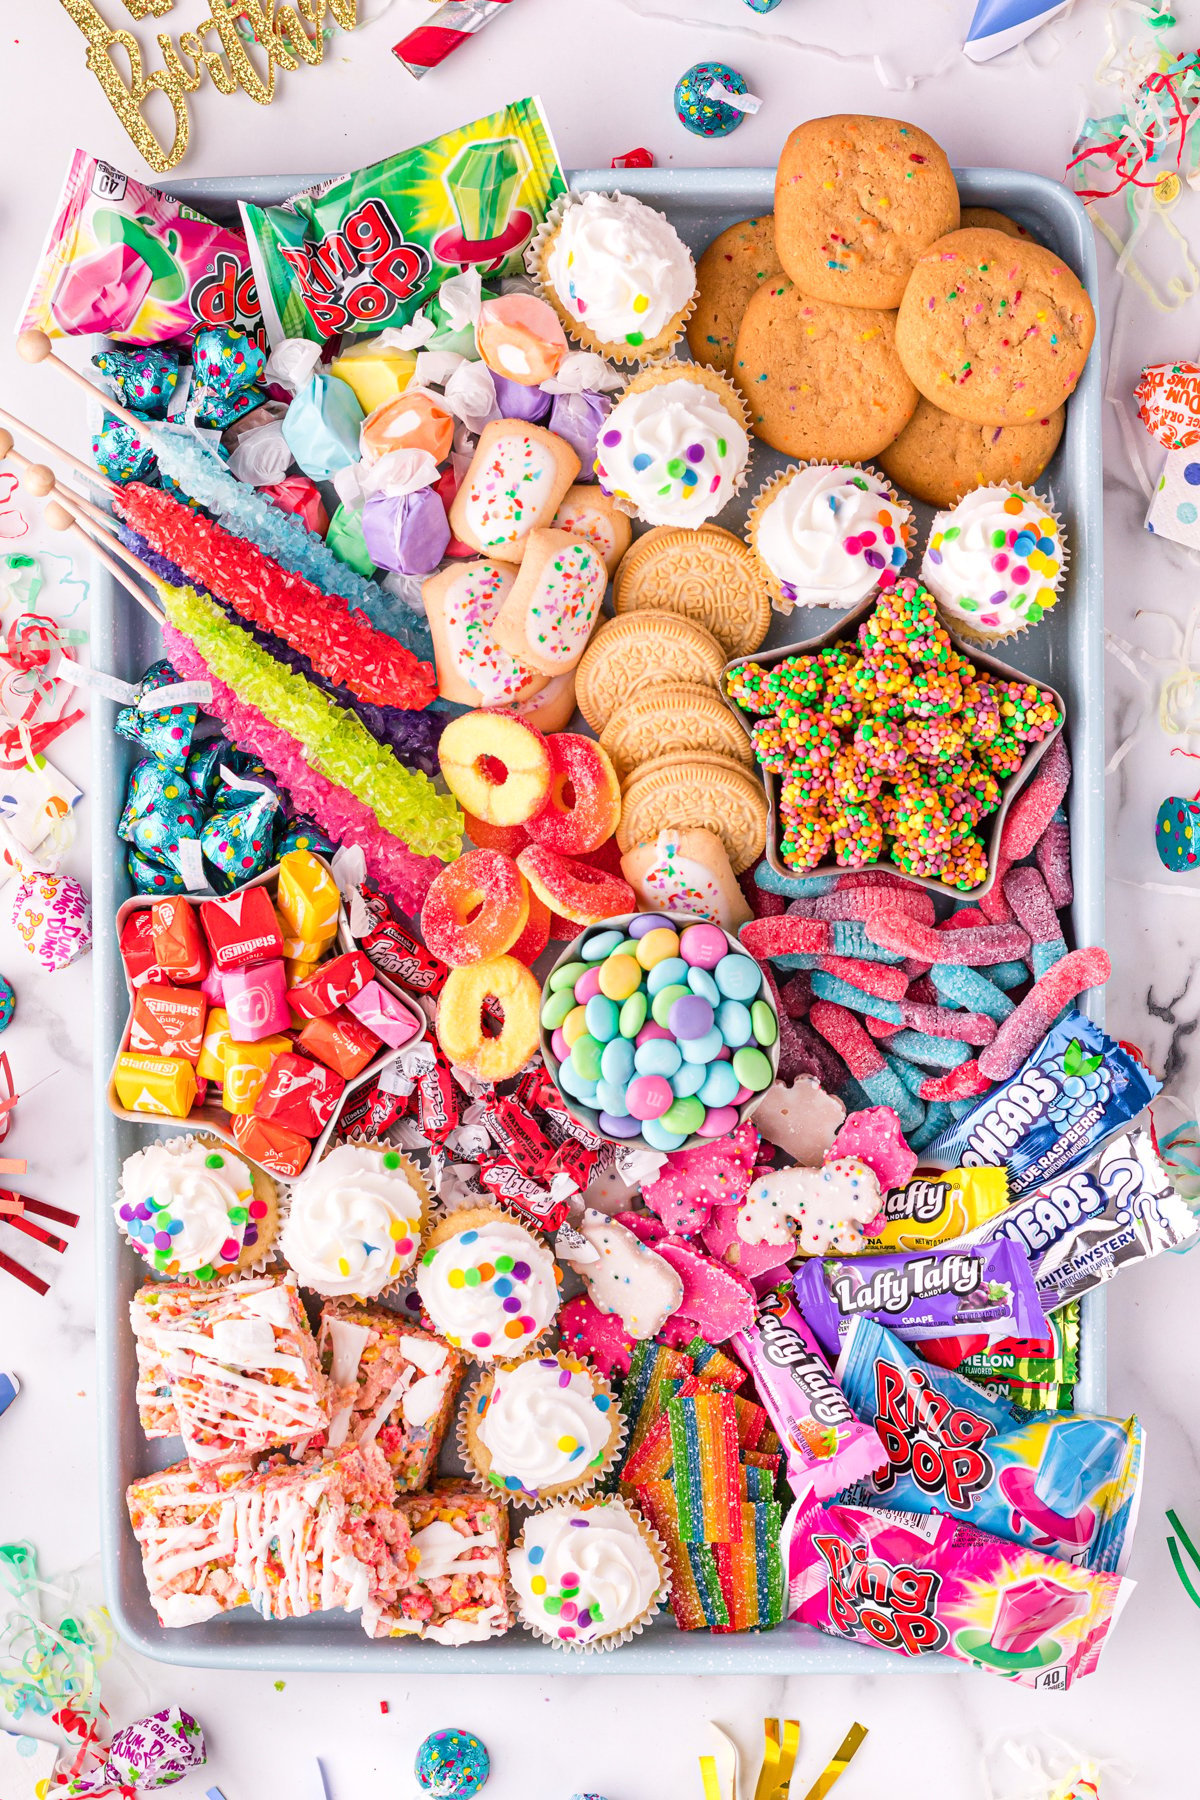
3 – Serve!
Once you have finished placing the items on your board you can serve it immediately or cover it with plastic wrap for later. I suggest serving it within a day. This may vary if you made your own treats or use fresh items, so make the appropriate adjustments.
When ready to serve place any needed utensils in the appropriate places and serve! Don’t forget to pair it with plates of some sort so people won’t crowd around the yummy birthday board.
Expert Tips And Storage Info
Use fun bowls to add interest to the board. I love how the star-shaped bowls were an easy way to add another layer of playfulness to this birthday treat.
It’s easier to work with smaller quantities and restock as needed than fit everything on the board at once. Imagine trying to fit twelve chocolate-covered strawberries, five kinds of candies, and everything else onto one plater. It just doesn’t work. Go for more variety and less quantity then restock.
Place a small cake in the center of the charcuterie board and fill the rest of the board around it with treats as a fun way to incorporate a birthday cake without having to serve it separately.
Divide treats throughout the plate. There is no reason all of the same items have to be in the same spot. Instead, try spreading them out as I did with the mini cupcakes.
This board can be stored at room temperature for up to a week when covered in plastic wrap. After that, it will likely get stale. However, if you add fruits or anything perishable, make sure to follow those storage instructions.
Recipe FAQs
How soon before a party can you make a charcuterie board?
A birthday charcuterie board can be made a day before if stored with plastic wrap.
What do you put on a birthday charcuterie board?
A birthday charcuterie board can have all sorts of things, but I filled mine with cupcakes, cookies, sprinkle pop-tarts, and lots of colorful candies and treats! Use baked goods and store-bought treats to make it easy or make homemade treats!
What goes with a charcuterie board at a party?
A birthday dessert board goes well with salty snacks like chips or crackers. You could also serve it with a cheese board on the side or with some fresh fruit and fruit dip.
More Charcuterie Board Ideas
Don’t want to make a dessert board for your birthday charcuterie board? Try one of these unique board ideas instead!
- Summer charcuterie board – have a summer birthday, try this fun board filled with summer fruits and snacks!
- Mexican charcuterie board – having a fiesta? Serve a Mexican themed charcuterie board instead!
- Breakfast charcuterie boards – having a breakfast party or pajama party? Try one of these breakfast boards!
- Ice cream sundae bar – try out a non-traditional ice cream sundae bar with this ice cream charcuterie board!
- Smores ideas – setup this fun s’mores charcuterie board for people to enjoy all sorts of gourmet s’mores!
- Caramel apple bar – make a fall birthday fun with this caramel apple board full of yummy caramel apple ideas!
Want more Goodies?
Want more delicious recipes just like this one? Enter your first name and email address in the form below to join the Play Party Plan community! You’ll receive weekly recipes and party ideas directly to your inbox!
Birthday Charcuterie Board
Ingredients
- ½ Cup M&Ms
- 1 Cup birthday hershey kisses
- 1 Cup nerd clusters
- mini cupcakes
- 6 confetti soft baked cookies
- 6 funfetti mini poptarts
- 5 rock candy suckers
- 5 golden oreos
- 5 mini airheads
- 5 mini laffy taffys
- 4 ring pops
- 3 fruity pebbles rice crispy treats cut into bite size pieces
- 1 pack Airhead Xtreme Belts cut into pieces
- 1 Cup saltwater taffy
- 1 Cup Sour worms
- 1 Cup watermelon Footies
- 1 Cup Starbursts
- ½ Cup iced animal crackers
- ½ Cup Peach Rings
Instructions
- Prepare your favorite serving tray, or you can use a large baking sheet if you don’t have a serving tray. Plan out what colors you want on the board.
- Then use 3 small bowls and place them in three different areas on the board.
- Fill each bowl with the smallest candies such as M&M’s, chocolate kisses, and nerd clusters.1/2 Cup M&Ms, 1 Cup birthday hershey kisses, 1 Cup nerd clusters
- Next use the large food items to place around the tray.mini cupcakes, 6 confetti soft baked cookies, 3 fruity pebbles rice crispy treats, 6 funfetti mini poptarts
- The final step is to fill in the empty space with any leftover treats.5 rock candy suckers, 5 golden oreos, 5 mini airheads, 5 mini laffy taffys, 4 ring pops, 1 pack Airhead Xtreme Belts, 1 Cup saltwater taffy, 1 Cup Sour worms, 1 Cup watermelon Footies, 1 Cup Starbursts, 1/2 Cup iced animal crackers, 1/2 Cup Peach Rings
- Serve immediately or you can cover the tray until it is ready to serve.



Leave a Reply