These fun chocolate covered Peeps pops make a fun Easter treat for any age! Dip in chocolate, cover in sprinkles, and turn into a pop with the addition of a colorful straw for a simple Easter treat that’s great to eat or give away to friends!

A couple of weeks ago when I was filming videos for my Easter series on TikTok (watch it here!), my dad texted me a picture of this cute little dessert shop in Newport, Rhode Island selling Peeps pops. He mentioned that it was kind of a fun idea.
I had just put the finishing touches on my Easter trifle and happened to have some Easter bunny rabbit Peeps and some colored straws (from making Easter cake pops) sitting around so thought I’d try them out.
You guys, I’m not a fan of Peeps. Like at all.
So much not a fan that one of my favorite Easter games is all about destroying peeps.
Anyway, chocolate covered Peeps are totally different than regular Peeps. You’d never ever know they were Peeps at all.
That sugary coating on the outside that just makes them too sweet for me to eat regularly, it’s masked when you dip it in chocolate.
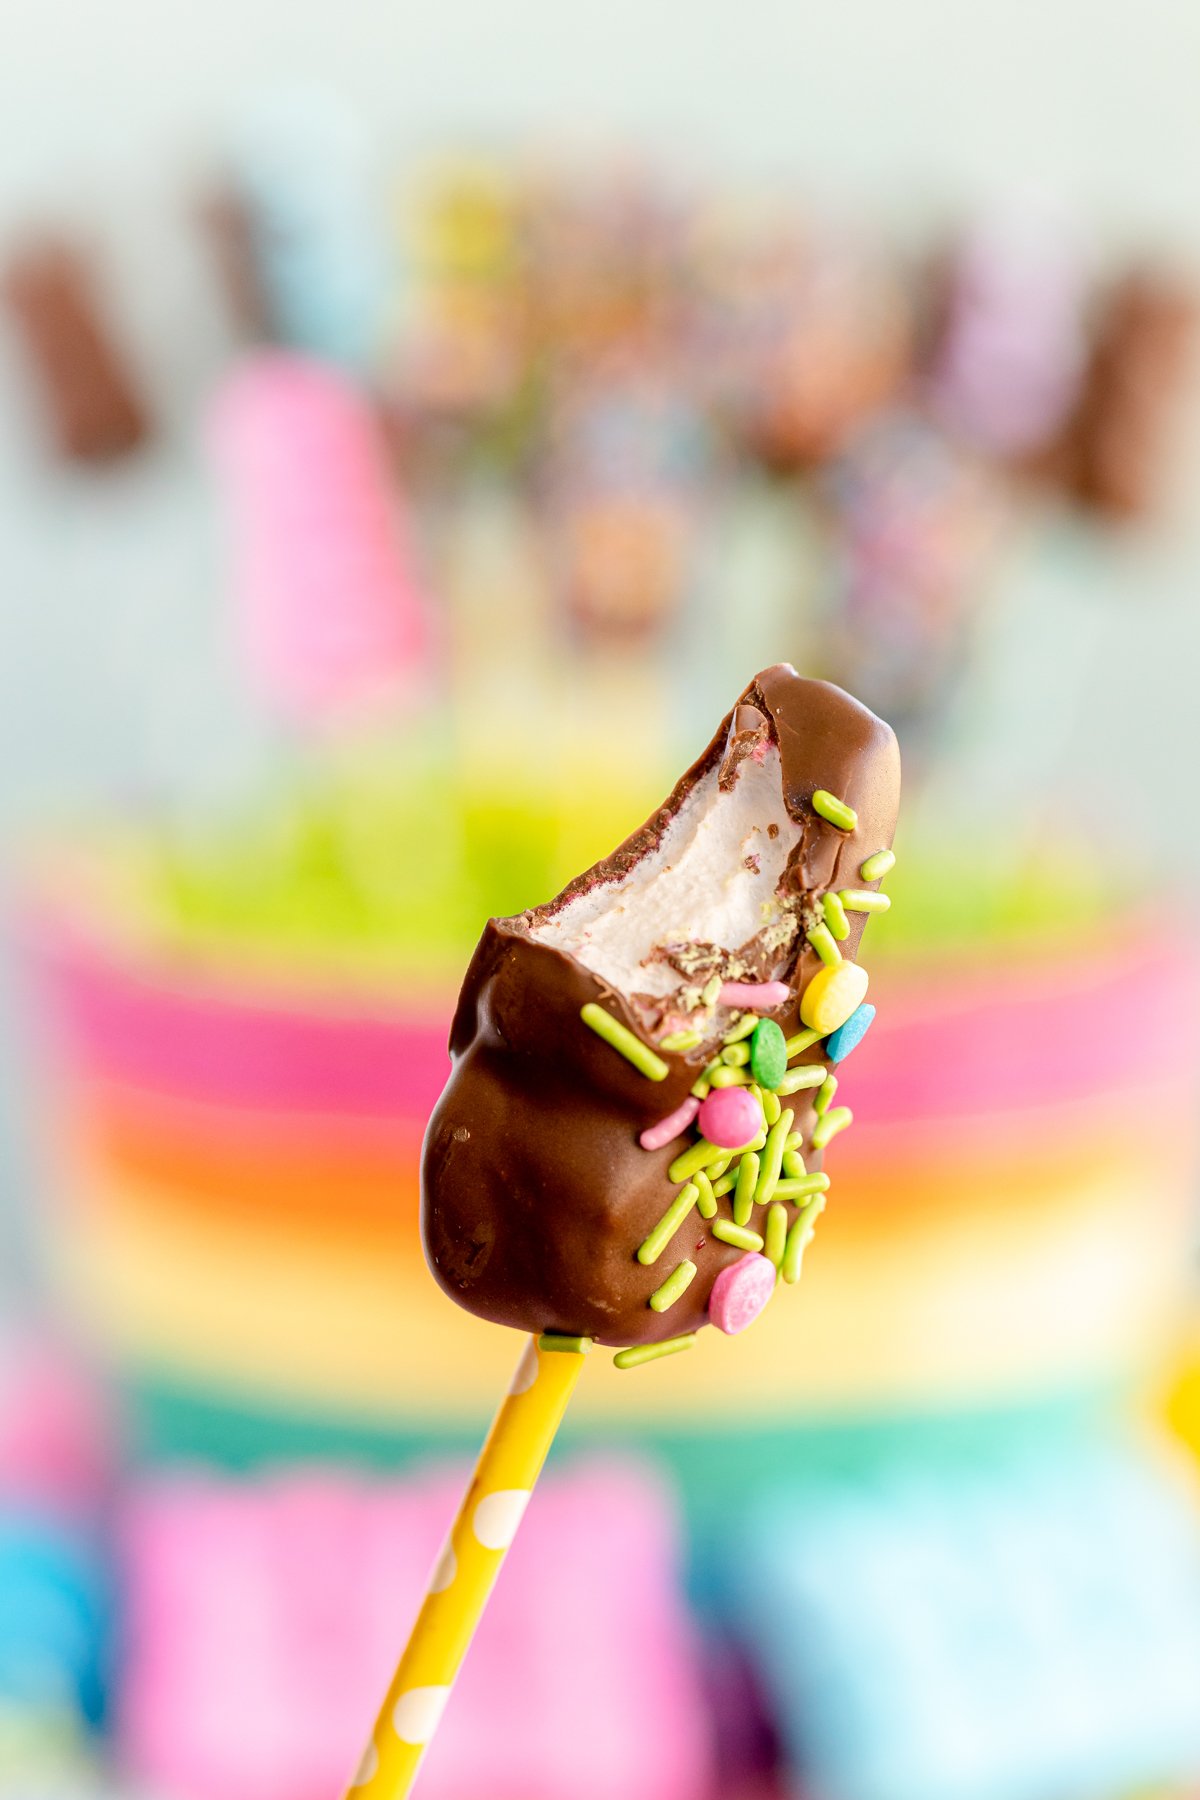
These taste just like chocolate covered marshmallows, but the good kind.
So not only are they delicious, they’re adorable too. My guess is that cute shop in Rhode Island sells a lot of these. And if they don’t, they should.
But luckily, if you’re not near that shop (if you know what it is, leave me a comment so I can credit them!), I’ve put together step by step instructions for these chocolate covered Peeps so you can make them at home!
Why You’ll Love This Recipe
- Fun – these are fun not only to make and decorate but also to eat. Plus, they make kind of a showstopping dessert centerpiece when you plate them in a fun way!
- Easy – these couldn’t be easier. You just melt some chocolate, dip, and decorate. It’s seriously my favorite kind of recipe, and I wish I’d been the one to originally think of it!
- Versatile – you can change this recipe up however you want. Use milk chocolate, dark chocolate, white chocolate – any sprinkles you want.
The other thing that I think is super fun about this recipe is that these chocolate covered Peeps would make really fun Easter favors! Just let them dry completely then place in a treat bag with a bow at the bottom and add some cute tag about a treat for your peeps!
Ingredients
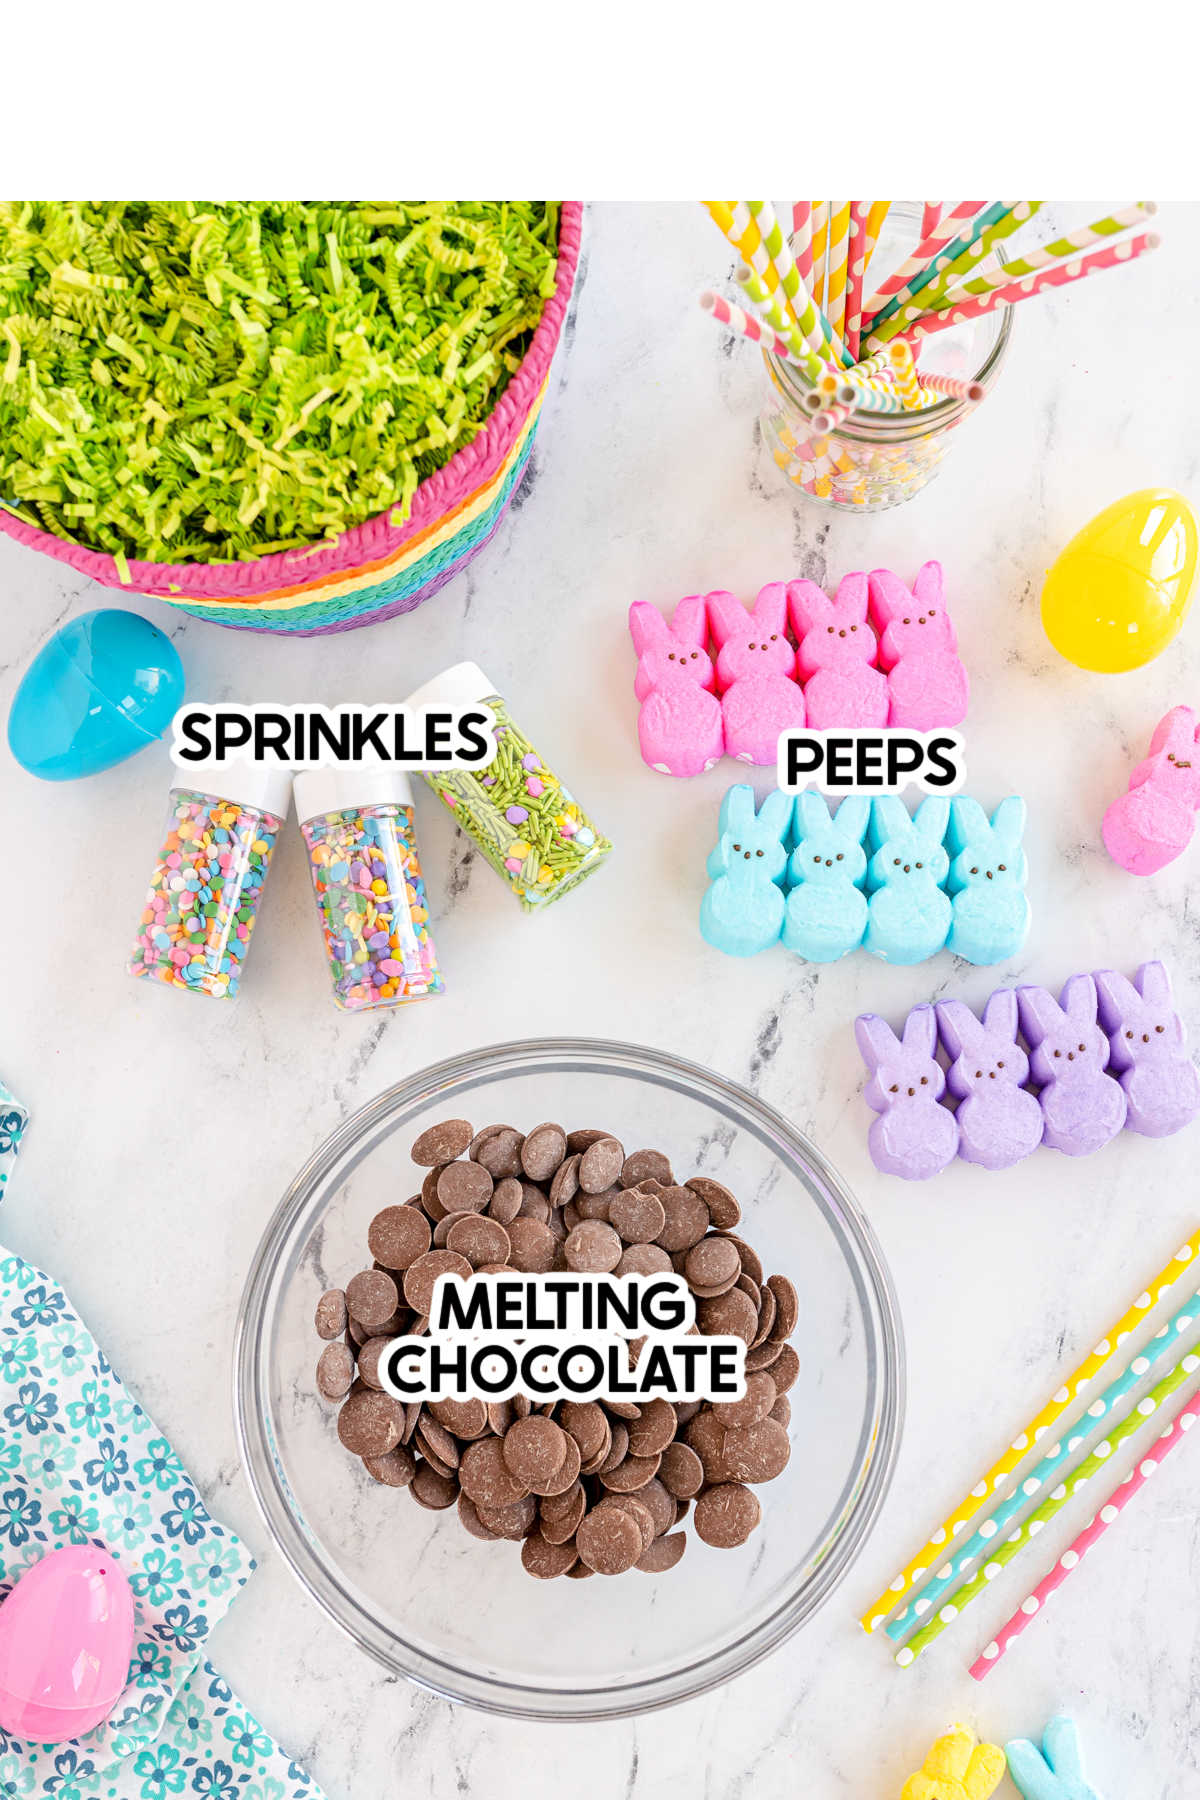
Ingredient Notes
- Peeps – my recommendation for these is to use the Peeps rabbits that are flat for easier dipping. You could technically use regular Peeps (like the little chick ones), but they won’t get coated quite as well.
- Melting chocolate – my personal recommendation (and what’s written into this recipe) are Ghiradelli milk chocolate melting wafers because they not only melt extremely well, they dry quickly. Plus, they taste so much better than say candy melts. You could also use regular chocolate chips or chocolate almond bark if you want, it’s just not my personal preference.
- Sprinkles – any sprinkles work great. I went with Easter colors but you could really do anything you want.
You’ll also need colorful straws or colored lollipop sticks to turn these into pops as well as somewhere (a styrofoam block, a cardboard box, etc.) to place your pops while they dry.
Tip!
I recommend having two sets of straws per Peep you’re going to be dipping. Use a plain colored or boring one to dip the Peeps (it’ll get messy), then switch it out once they dry with a fun colorful one!
How to make chocolate covered Peeps
These are super easy to make and really don’t take much time at all if you’re using chocolate that dries quickly.
Oh and if you’re more of a visual learner than a reader, you can watch my TikTok video here for a step by step process!
1 – Dip the peeps
Start by getting your drying zone (aka a styrofoam block or cardboard box or cake pop holder) ready to go. You’ll want it nearby before you start the actually dipping process so you can just place the peeps in one you’re done dipping.
Once your drying area is ready, gently push a straw or lollipop stick into the bottom of each of your Peeps, being careful to stay as straight as possible so you don’t accidentally push the straw through the back or front of your Peep.
Place the pops on the parchment paper so that they’re all ready to go once the chocolate is melted.
Once all of your pops are ready, go ahead and melt the chocolate either in the microwave or on the stove using a double boiler.
If you’re melting in the microwave, place the wafers in a microwave safe bowl, ideally one that’s wide enough to dip the Peeps into, then heat in the microwave for 30 seconds on high heat. Stir then repeat, continuing in 30 second intervals until the chocolate is completely melted and smooth.
If you’d like to use the double boiler method, you can follow these instructions how to melt chocolate on the stove.
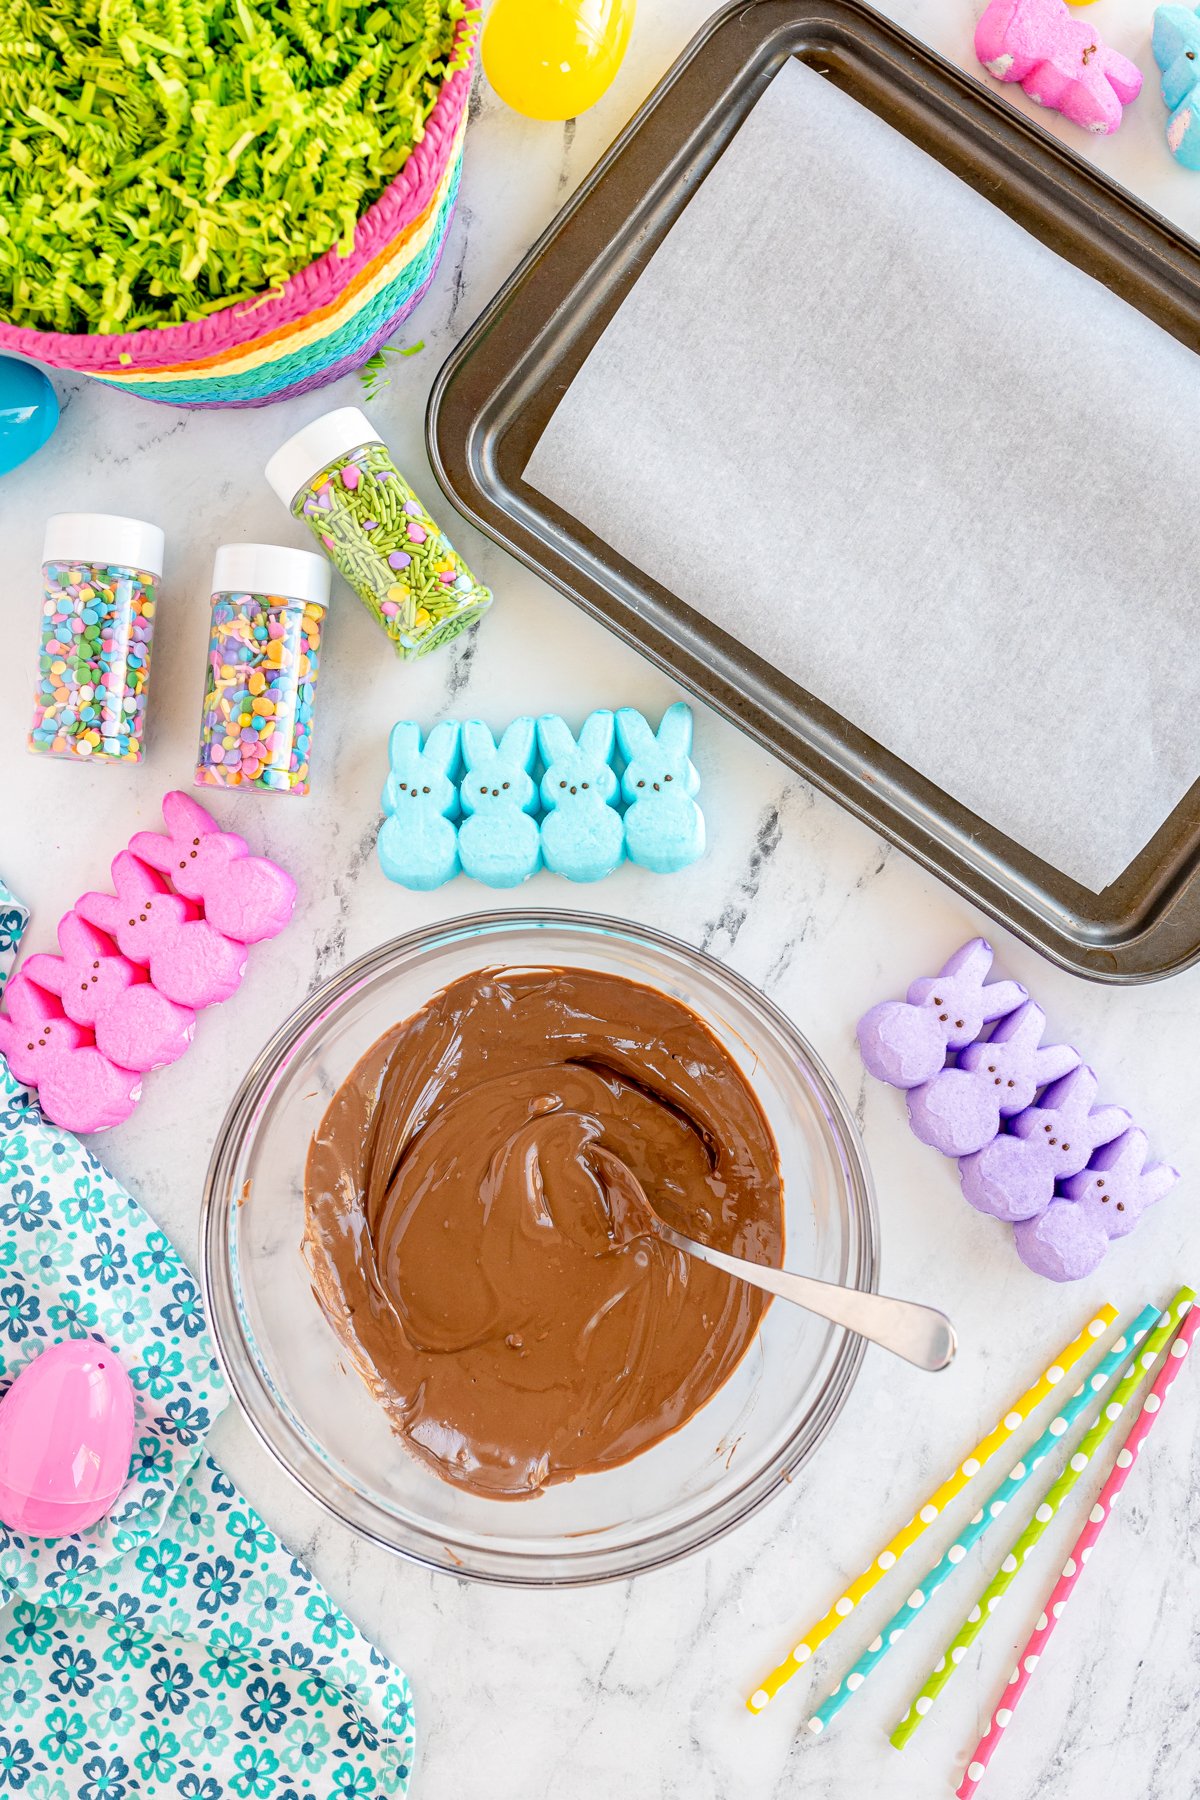
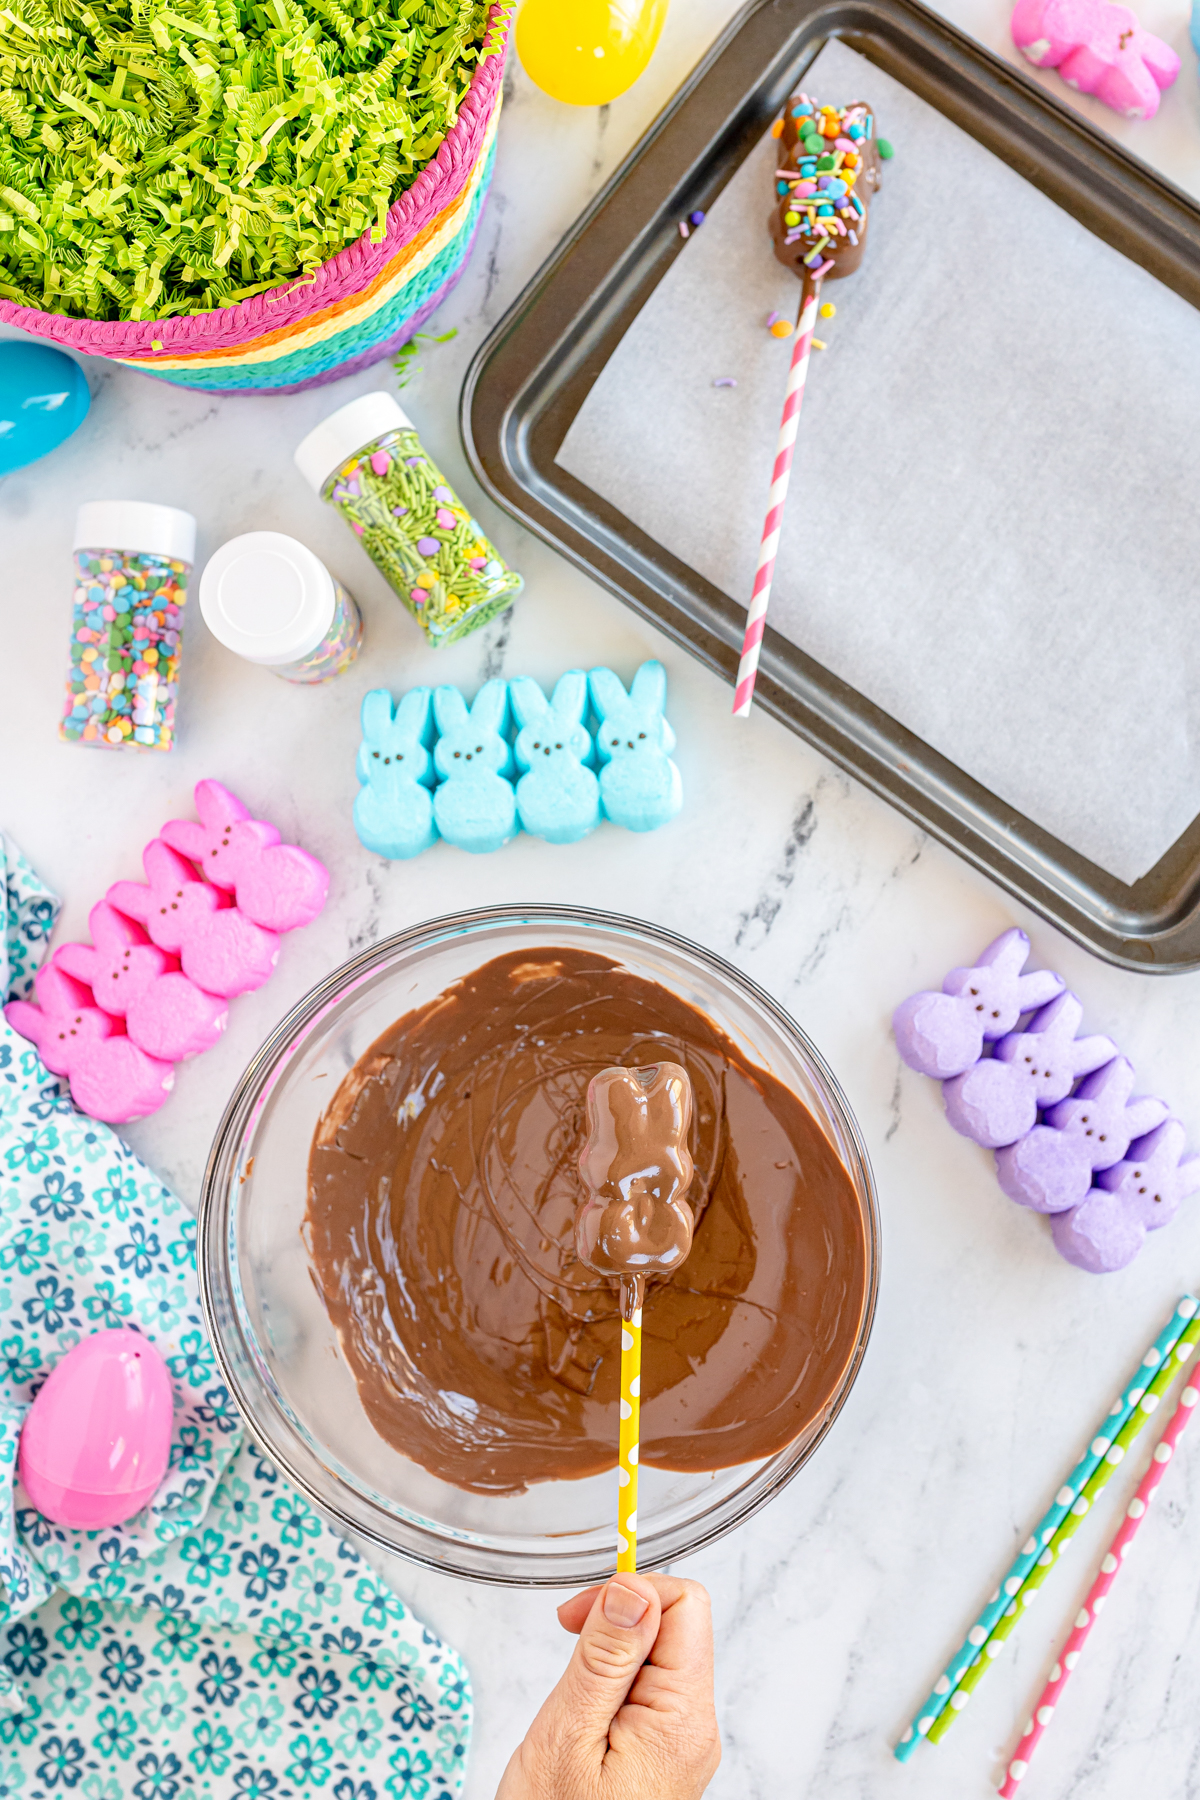
Now it’s time to dip! Using the pops you created earlier, gently dip one of the Peeps into the melted chocolate and swirl around to completely coat. Tap gently on the side of the bowl to get rid of any excess chocolate and create a smooth finish.
Once coated, place straight up wherever you’re using to dry the Peeps or if you don’t care about the backs being coated, you can place them directly onto the parchment paper like I did with these Oreo Easter egg truffles.
If you want to get creative with the Peeps, now’s the time! Do half dips, angle dips, or even just leave some of them plain and do drizzled chocolate instead!
I personally prefer them completely dipped because like I said, I don’t love the taste of regular Peeps, but you can totally get creative here!

2 – Decorate the Peeps
Once the initial layer of chocolate on the Peeps has hardened completely, it’s time to decorate your Peeps!
Place the cooled Peeps on the parchment paper lined baking sheet, keeping them a few inches apart as much as possible so you can decorate without overlapping.
Then it’s time to decorate! Melt some more chocolate and drizzle it over the Peeps, then immediately sprinkle them with sprinkles, colored sugars, and anything else you want before the chocolate hardens, so it has something to stick to!
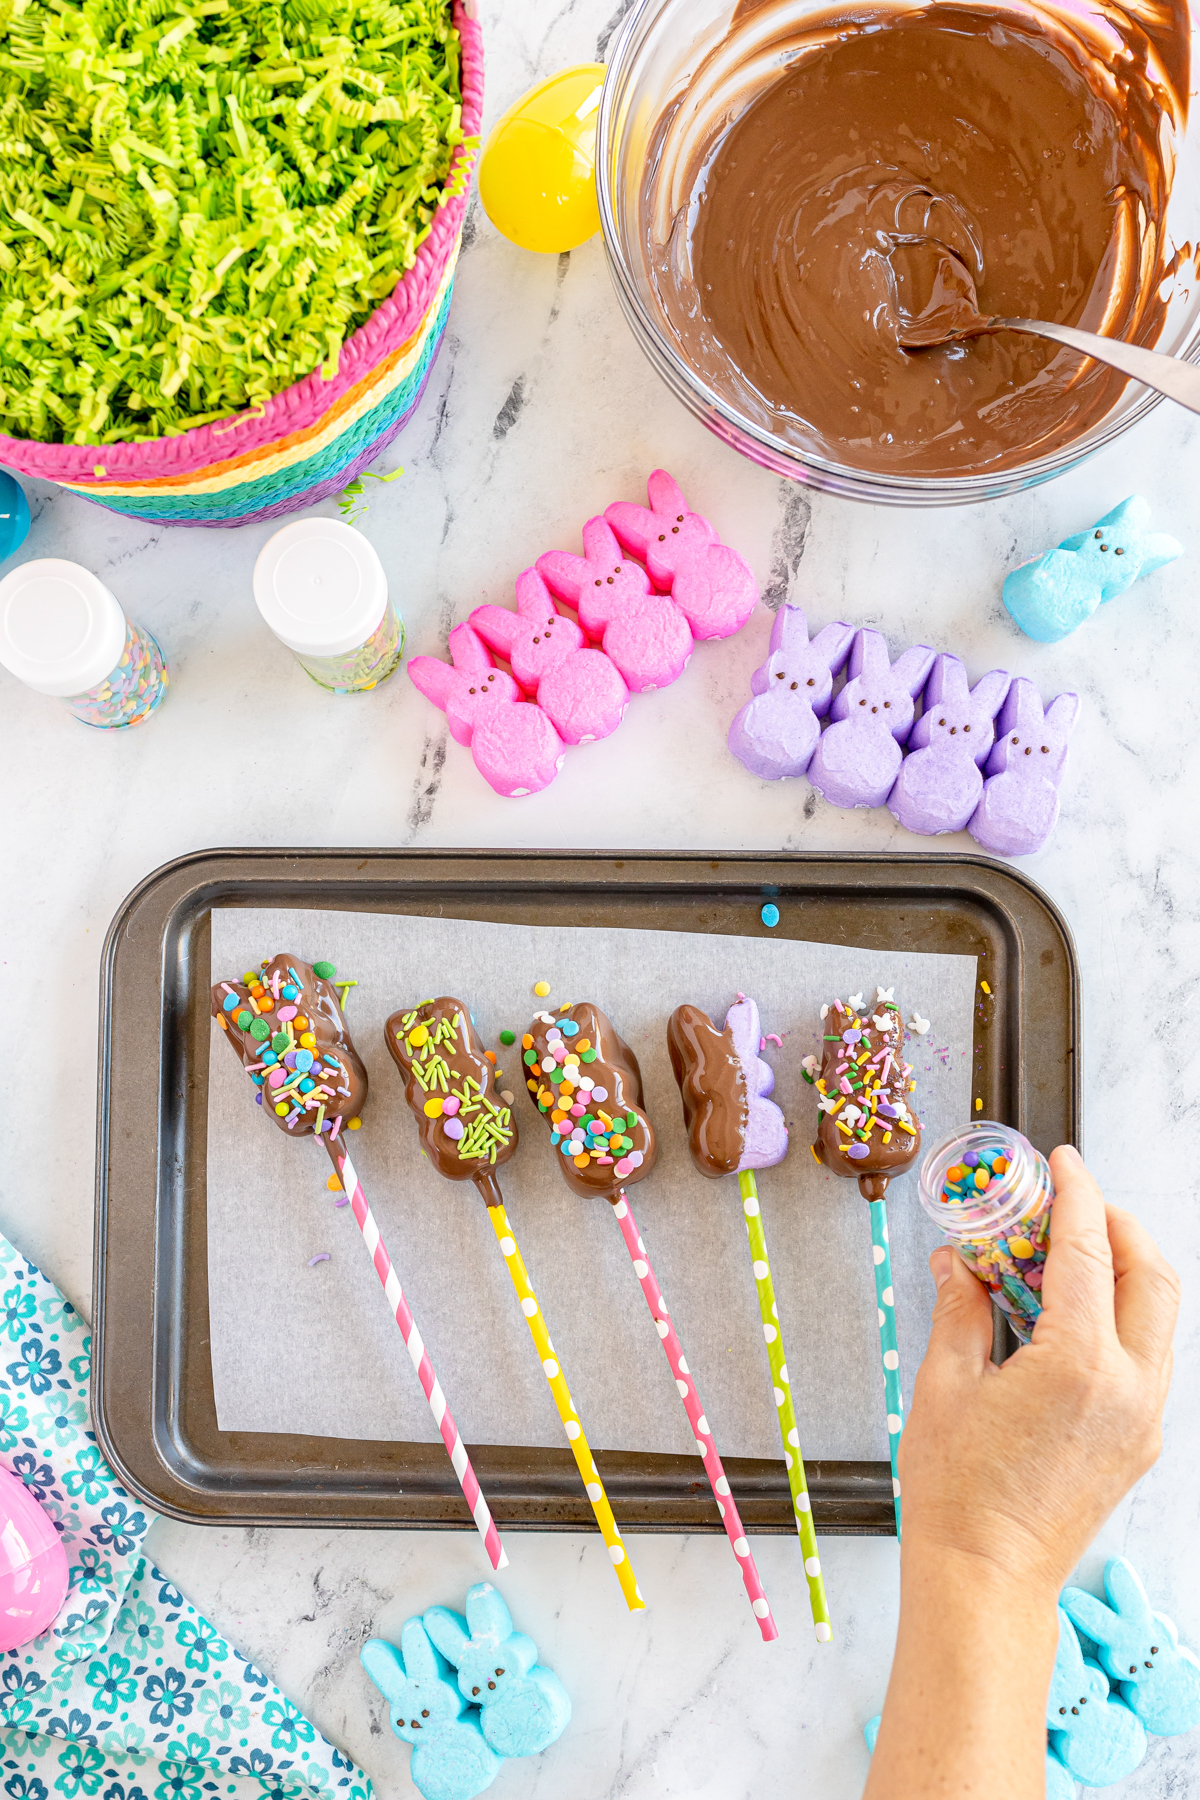
Let the chocolate harden (sticking the sprinkles to the Peeps) then switch out any of your straws that may have gotten a little messy. Do this gently to keep from breaking the chocolate seal and Peeps!
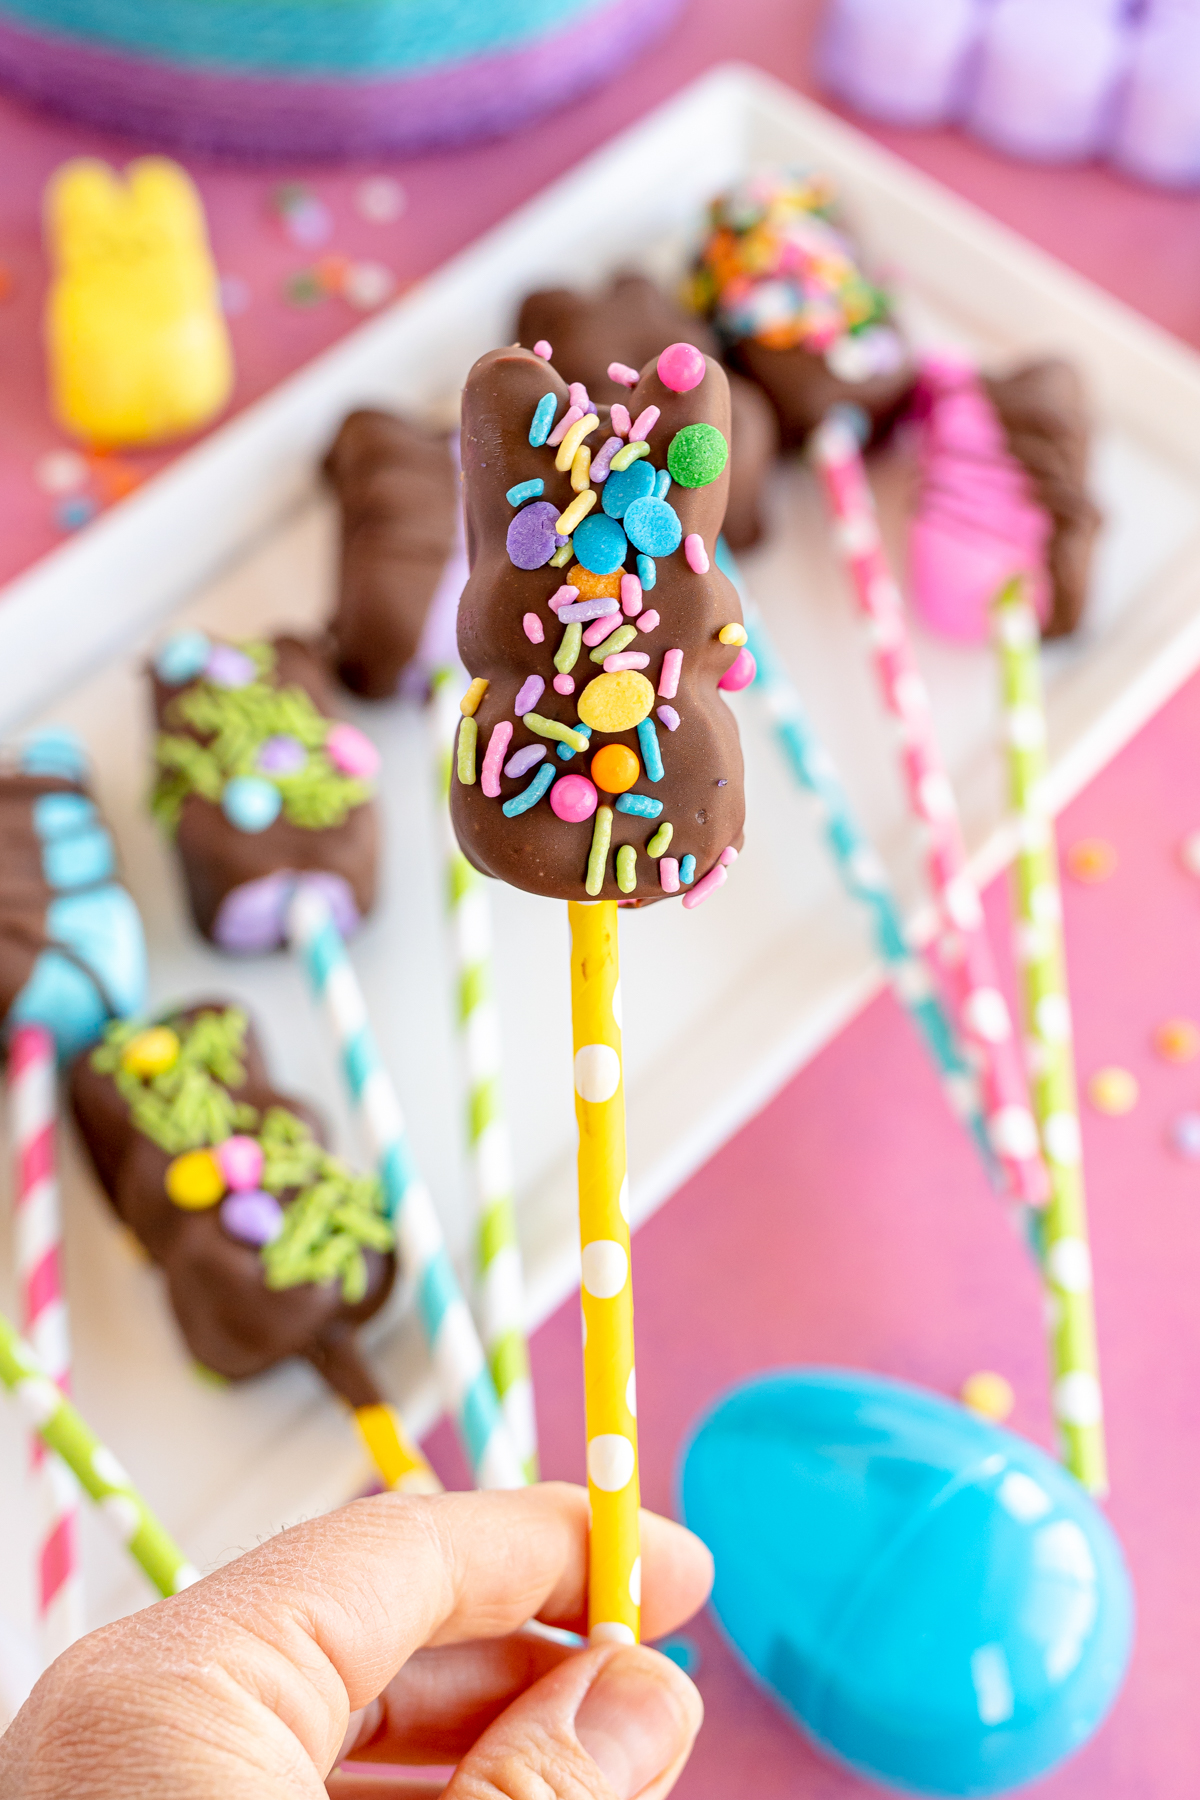
And that’s it – your chocolate covered Peeps pops are ready to go!
You can either serve them right away or place them in a zipper bag or airtight container to enjoy later.

Or like I mentioned earlier, these would make a really fun Easter treat to give to friends and family! Place a couple in a bag tied off with a ribbon and a cute printable tag – they’ll love it!
Plating Tip!
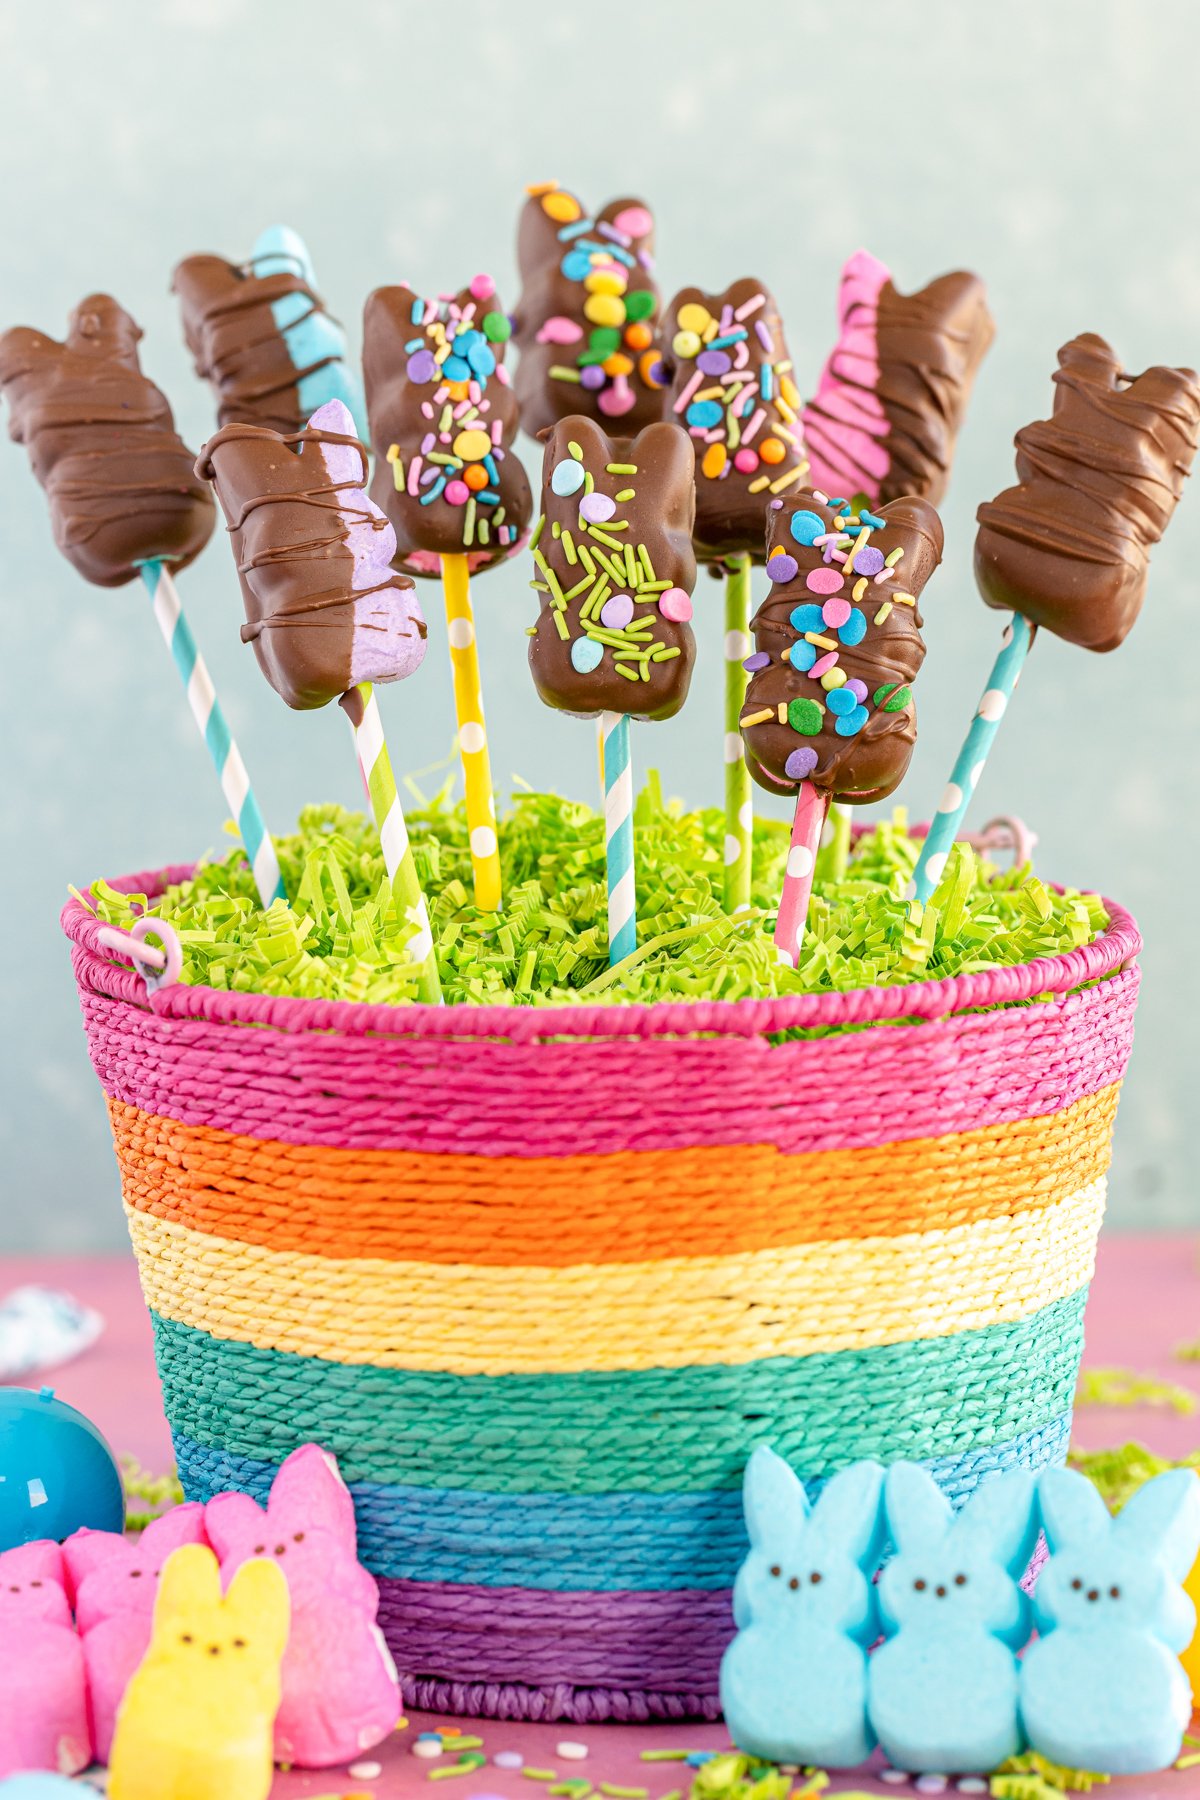
Place a round styrofoam block in the bottom of an Easter basket and cover with Easter basket grass (or edible grass). Then stick the Peeps pops down into the styrofoam block for a really fun Easter dessert idea! You could even combine these with some traditional Easter cake pops for a little variety!
Expert Tips
Store in an airtight container for up to five days. After that, they’re probably not going to be super tasty anymore, although they likely won’t be bad or anything.
Add a tsp of coconut oil if you’re using candy melts, almond bark, or chocolate chips if you’re having an issue getting it to melt smoothly.
Try these even if you don’t really like Peeps. I’m telling you – chocolate covered Peeps are TOTALLY different than regular Peeps.
Serve and store these in a cool location. The chocolate on the outside will begin to melt (just like any chocolate) if you have them in warm temperatures.
Recipe FAQs
What chocolate do you use to melt?
I recommend Ghirardelli milk chocolate melting wafers. You could also use chocolate chips or chocolate almond bark, but the melting wafers are the best.
How long do they need to dry?
They just need to dry until the chocolate on the outside has hardened. How long that is will depend on what type of chocolate you use to melt, but the melting wafers only took about 10-15 minutes to completely dry.

More Easy Easter Treats
Combine these Peeps pops with some of these other Easter treats for the ultimate Easter dessert menu!
- Lemon cookies with swirl frosting – these soft and chewy Easter cookies get topped with swirled frosting for a colorful cookie!
- Easter egg cake – a fun layered cake that’s filled with all sorts of Easter candy surprises!
- Swirled Easter cake – a super colorful Easter cake that’s super simple to make and really fun to eat!
- Mini egg cheesecake – the best mini cheesecake recipe gets an Easter upgrade with fun mini nests on top!
- Easter bark – the best chocolate bark ever gets improved with some Easter candy toppings!
Want more Goodies?
Want more delicious recipes just like this one? Enter your first name and email address in the form below to join the Play Party Plan community! You’ll receive weekly recipes and party ideas directly to your inbox!

Chocolate Covered Peeps Pops
Ingredients
- 16 Peeps
- 10 oz Ghirardelli milk chocolate melting wafers
- Easter sprinkles
Instructions
- Line a baking sheet with a piece of parchment paper.
- Gently push a straw or lollipop stick into the bottom of each of your Peeps.16 Peeps
- Melt the chocolate wafers either in the microwave or using a double boiler. If melting in the microwave, place the wafers in a microwave safe bowl, ideally one that’s wide enough to dip the Peeps into, then heat in the microwave for 30 seconds on high heat. Stir then repeat, continuing in 30 second intervals until the chocolate is completely melted and smooth.10 oz Ghirardelli milk chocolate melting wafers
- Using the pops you created earlier, gently dip one of the Peeps into the melted chocolate and swirl around to completely coat. Tap gently on the side of the bowl to get rid of any excess chocolate and create a smooth finish.
- Once coated, place the pops either into a piece of styrofoam, a cardboard box, or a cake pop holder to allow the chocolate to dry.
- Place the cooled Peeps on the parchment paper lined baking sheet, keeping them a few inches apart from one another.
- Melt some more chocolate and drizzle it over the Peeps, then immediately sprinkle them with sprinkles, colored sugars, and anything else you want before the chocolate hardens, so it has something to stick to!Easter sprinkles
- Let the chocolate harden completely then enjoy.




Leave a Reply