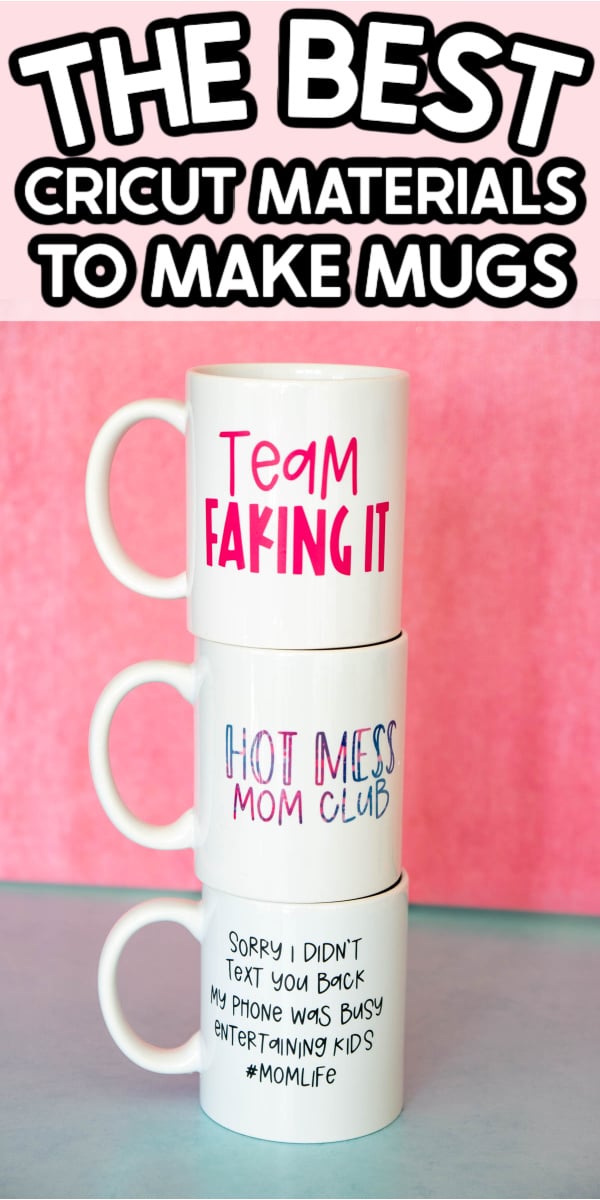
If you’re looking for the best Cricut vinyl for coffee mugs or even the best Cricut material for mugs, you’re in luck! We’ve compared all of the top options for Cricut materials to provide our recommendation for the best Cricut material you can use to make mugs!
Sponsored by: Cricut. All opinions are honest and my own. This post also contains affiliate links. If you purchase via these links, I may receive a small commission at no additional cost to you.
I’m going to be honest – I love mugs. I don’t actually drink out of mugs a lot other than during the winter to enjoy my favorite hot chocolate, but I love using mugs to hold things and love using custom mugs to decorate.
And after doing our fun Christmas mug exchange last year, I’ve been obsessed with making my own mugs so I can make one that everyone will want to win in the gift exchange.
As I’ve been making and sharing my favorite Cricut mug designs, I’ve had a number of people ask me the same question – what is the best Cricut vinyl for coffee mugs?
Or if they’re not specifically talking about coffee mugs, people often ask a variation on the question – what is the best Cricut material for mugs?
So I’ve done a comparison of a number of different types of Cricut materials (including various types of vinyl) and come up with my own winner of which one is best.
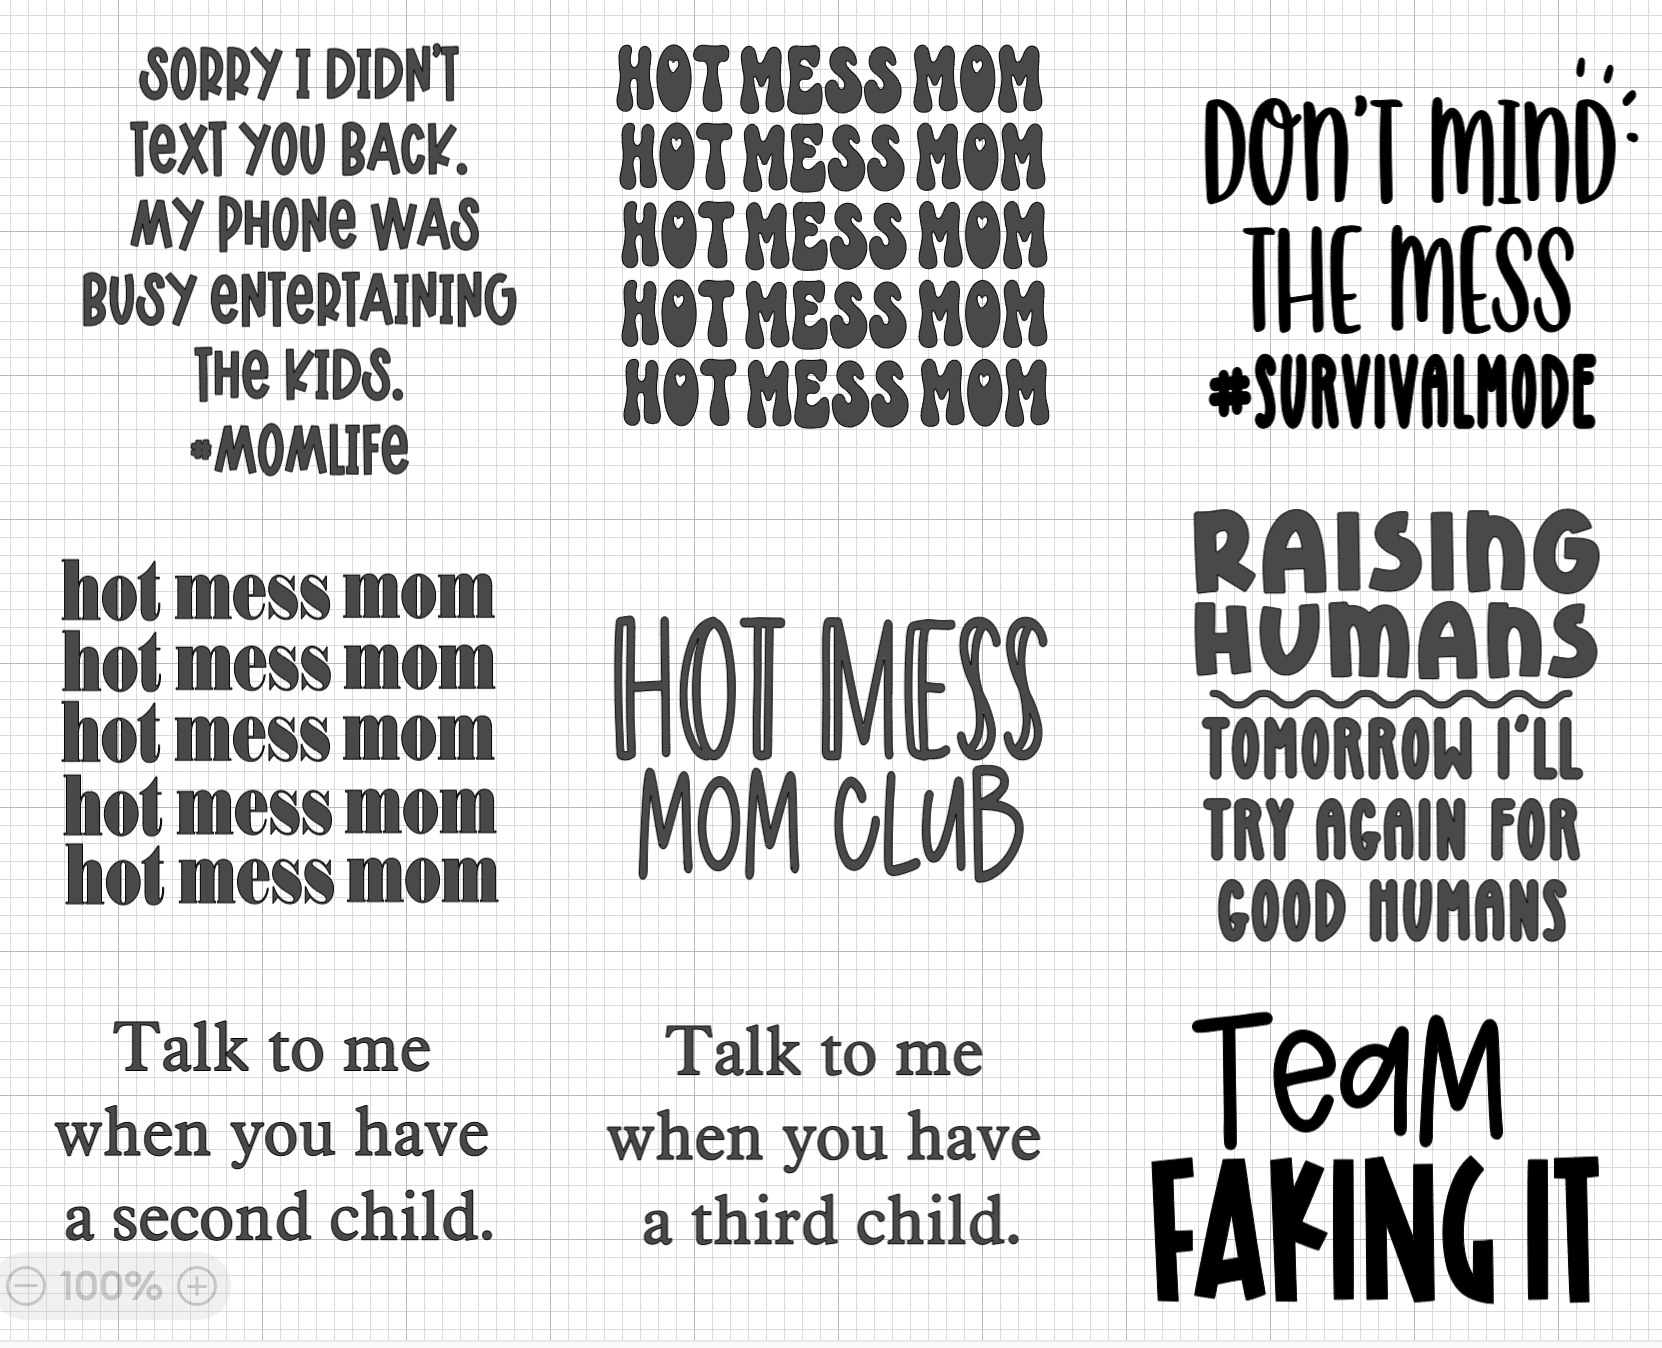
Plus, I have some super fun mom life Cricut Design Space files you can download at the bottom to make your own custom mug!
Ready to get started? Here we go!
What Kind of Vinyl Did I test?
Cricut has so many different types of vinyl from permanent adhesive vinyl to foil vinyl to removable vinyl and even a whole bunch of their own vinyl decals and vinyl stickers.
Since this test was all about making my own custom mug design and not about adding a sticker or pre-made decal to a mug, I skipped the vinyl decal options for my tests.
I instead focused on the best type of vinyl that I could use with a Cricut machine to cut my own vinyl design. If it’s your first time making vinyl mugs, you may want to start with a vinyl decal, but I knew I wanted something more custom than that!
The final list of vinyl options that I tested included:
- Permanent adhesive vinyl
- Removable vinyl
- Iron-On Vinyl (heat transfer vinyl)
Each kind of vinyl includes a variety of colors, a variety of textures (matte, foil, etc.) as well as a different kind of vinyl (outdoor safe, etc.).
But in the end, those were the three kinds of Cricut vinyl I tried out for my custom coffee mug test.
Which Was the Best Type of Vinyl?
So out of the three vinyls that I tested, which one was the best? Let’s start with the loser.
1 – Least Favorite
I first tested out doing a mug with iron-on vinyl and while I know it’s doable and some people really enjoy that method, I personally found it to be my least favorite out of all of the vinyl mug methods I tried out for this project.
Why?
Because you have to iron on the design to a small mug which means you either need a Cricut MiniPress or a mini iron of some sort.
You also have to be extremely careful because the mugs are glass and breakable so putting that much pressure onto the mug just wasn’t my favorite.
The design did go on fine, but I felt like the process for creating it was cumbersome and felt a little more fragile than the others.
Iron-on vinyl does come in a variety of colors, patterns, and textures, but it is in general more expensive than just adhesive vinyl, which was another strike against it if you’re looking for make more than just one or two custom mug.
If you want to make great gifts for cheap, iron-on is not going to be the ideal choice.
2 – Second Choice
The next best vinyl that I tested out was the removable adhesive vinyl, and it was a close second when it comes to cost, the process (I’ll show step-by-step instructions in a minute), and the final product.
The biggest issue with using removable vinyl to make your favorite Cricut mug ideas is that it’s designed to be removable. That means that while the permanent is designed to stay where you put it, the removable is meant to be removed.
It’s much more likely that the removable will come off with a lot of washing, whether hand washing or dish washing) and even with just a lot of use.
No one wants to go through the process of creating your own design and making your own mug if the design is going to come off.
So that being said, I don’t recommend removable adhesive vinyl either even if I really do like the mug I made.
3 – Best Vinyl to Use for Cricut Coffee Mugs
Out of the three types that I tested, the clear winner was the permanent vinyl (I use a black Cricut premium permanent vinyl for my mug) for a number of reasons.
- It’s easy to apply (I’ll show you a step by step tutorial below).
- It’s relatively affordable making it a great option for making mugs in bulk.
- It comes in all sorts of colors, patterns, and designs. I mean just look at the options.
- It works with any Cricut machine whether you have a Cricut Joy, Cricut Maker, or even a Cricut Explore Air 2.
- It holds up well to a lot of washing whether it be hand or dishwashing (Cricut has great dishwashing instructions here).
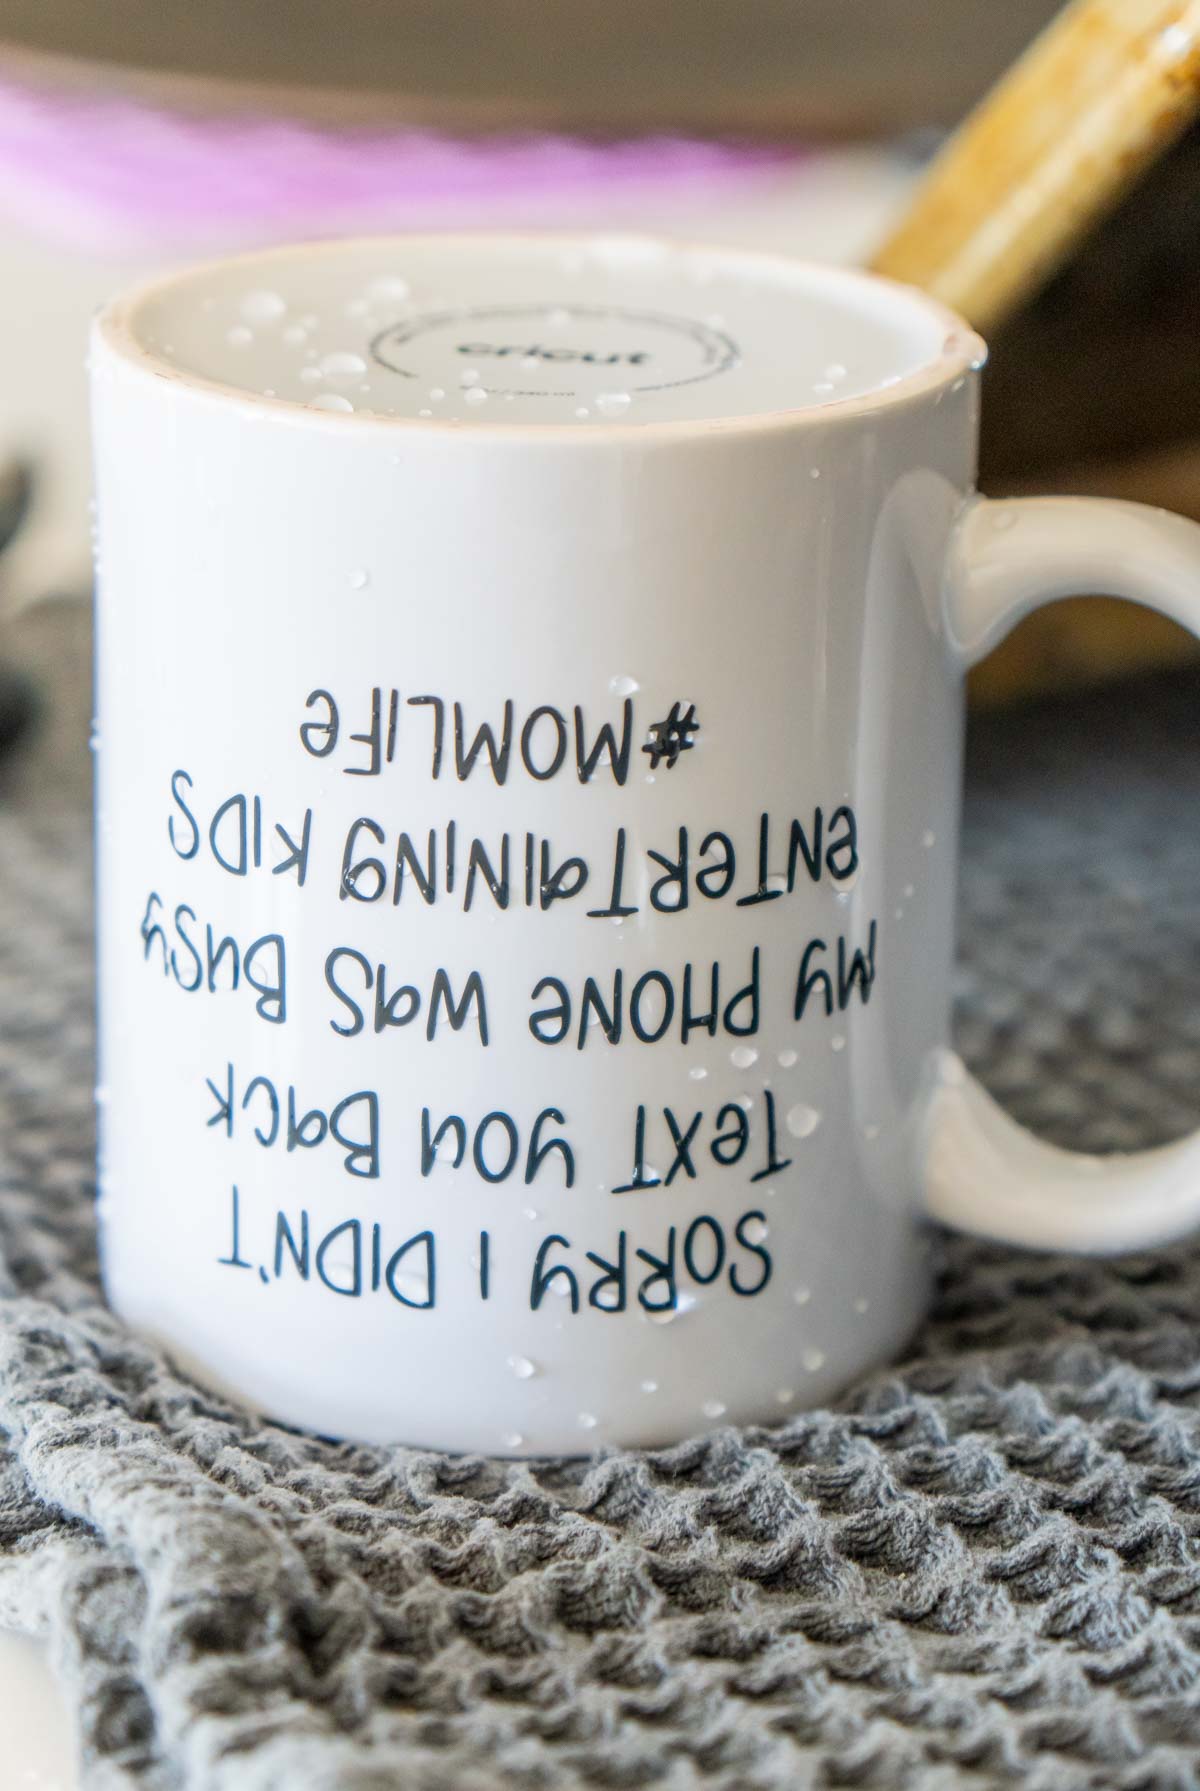
How to make a custom mug with cricut vinyl
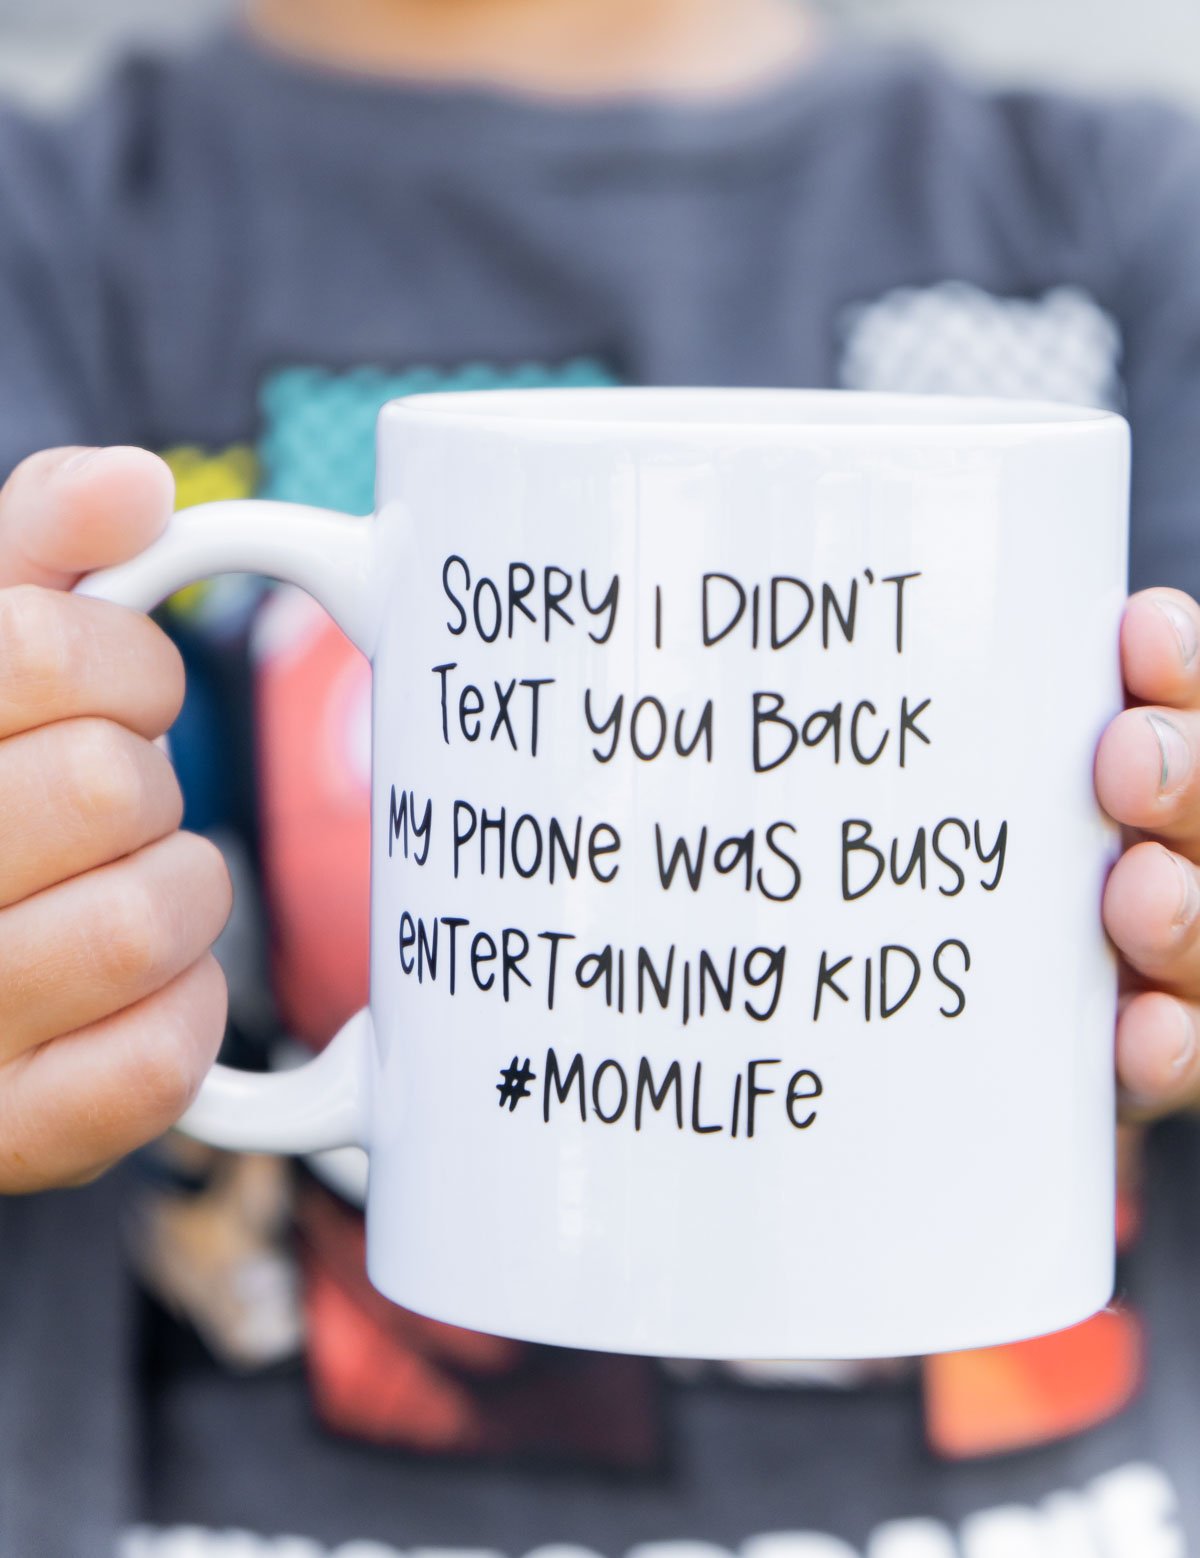
In my opinion, permanent adhesive vinyl is the best Cricut vinyl for coffee mugs!
However, that doesn’t necessarily mean it’s the best Cricut material to make mugs. You’ll have to keep reading to get that answer but first, the tutorial I promised for making a mug with vinyl!
Supplies
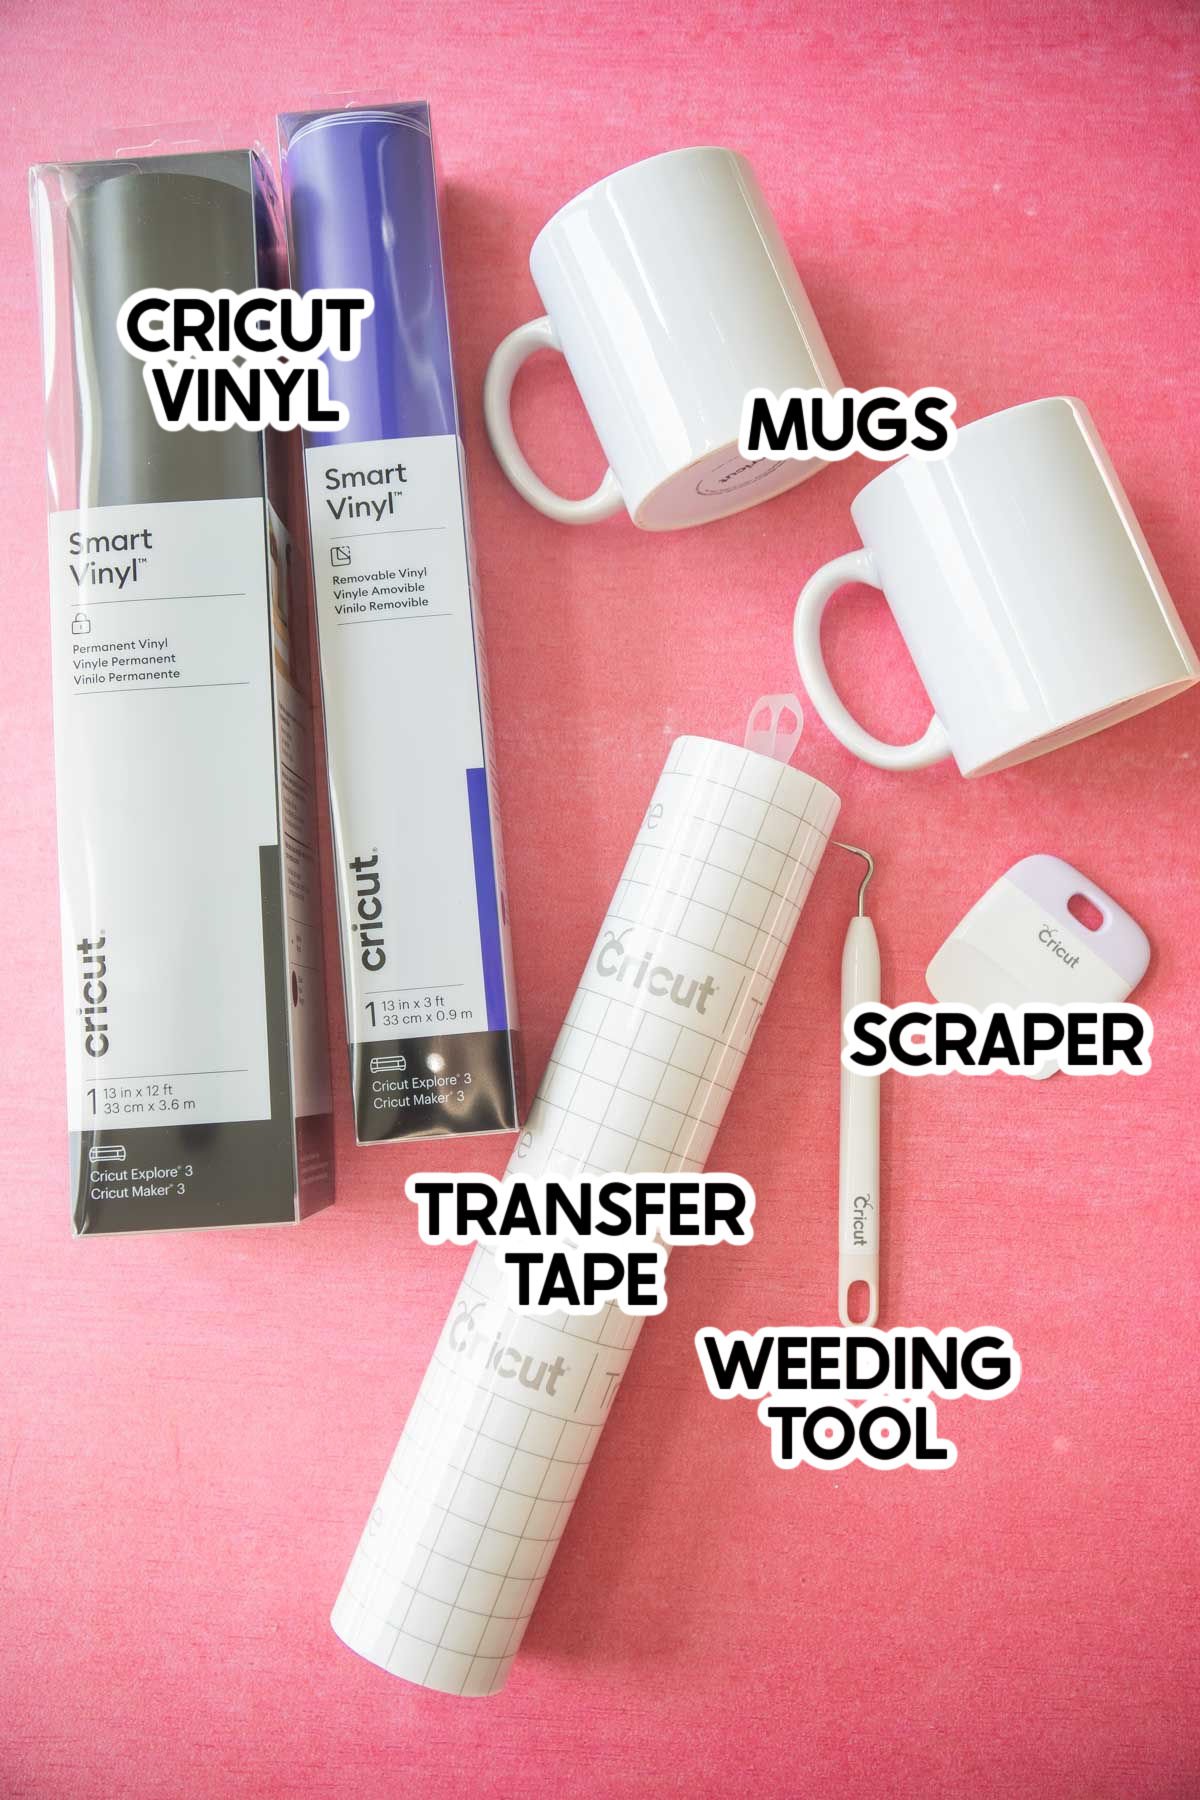
Whether you’re making a mug using Cricut removable vinyl or Cricut permanent vinyl, you’ll need the following:
- Cricut Machine – pretty much any of the Cricut cutting machine options will cut vinyl, which is great because you don’t need one of the newer machines to do it. If you want to use Smart Vinyl, you will need either a Cricut Maker 3 or Cricut Joy.
- Cricut Vinyl – I highly recommend using permanent vinyl for mugs as mentioned above. You can use either regular vinyl or smart vinyl (with a Cricut Joy or Cricut Maker 3)
- Standard Grip Cutting Mat – it’s not pictured below because I used Smart Vinyl (doesn’t nee a cutting mat) but if you’re using regular vinyl, you’ll need a Standard Grip Cricut Cutting mat as well to load the vinyl into the machine.
- Cricut Transfer Tape – this will help ensure that your design stays in place as you transfer it from the vinyl sheet to the mug.
- Cricut Weeding Tool – one of my all-time must-have Cricut accessories, this will help you get little pieces out of your design, especially important for small intricate designs or fonts.
- Cricut Scraper – if you don’t have one of these, you can also use an old gift card, credit card, or even your nail to help get the material from the vinyl sheet to the transfer tape and then onto the mug. I personally love the scraper, but it’s definitely optional in this scenario.
- Mugs – I used a pack of these Cricut Mug Blanks for this project that were white, but they also have some colored options here. If you’re using vinyl for your project, you can also use really any mug.
- Cricut Design Space File – if you want to make one of the mugs using our mom designs, you can get those right here.
Step by Step Tutorial
If you ever made any projects like my ghost luminaries, that use vinyl, this process will probably feel pretty familiar. It’s just going to be on a mug instead of a different project.
- Open and customize your design in Cricut Design Space. Once your design is the size you want it (size it to fit your mug), click Make It.
- Place the vinyl with the colored/patterned side up on your Cricut Mat (or not if using Smart Vinyl).
- Choose Permanent Vinyl for your material type then follow the prompts in the Cricut Design Space window to load the mat/vinyl, then cut the vinyl.
- Use the weeding tool to remove the excess vinyl from your design, leaving the design on the backing.
- Place a similar sized piece of transfer tape on top of the cut out vinyl (still on the back) and use the scraper to transfer the vinyl from the backing to the transfer tape.
- Carefully place the transfer tape and the design onto your mug wherever you want it and use the scraping tool to transfer it to the mug.
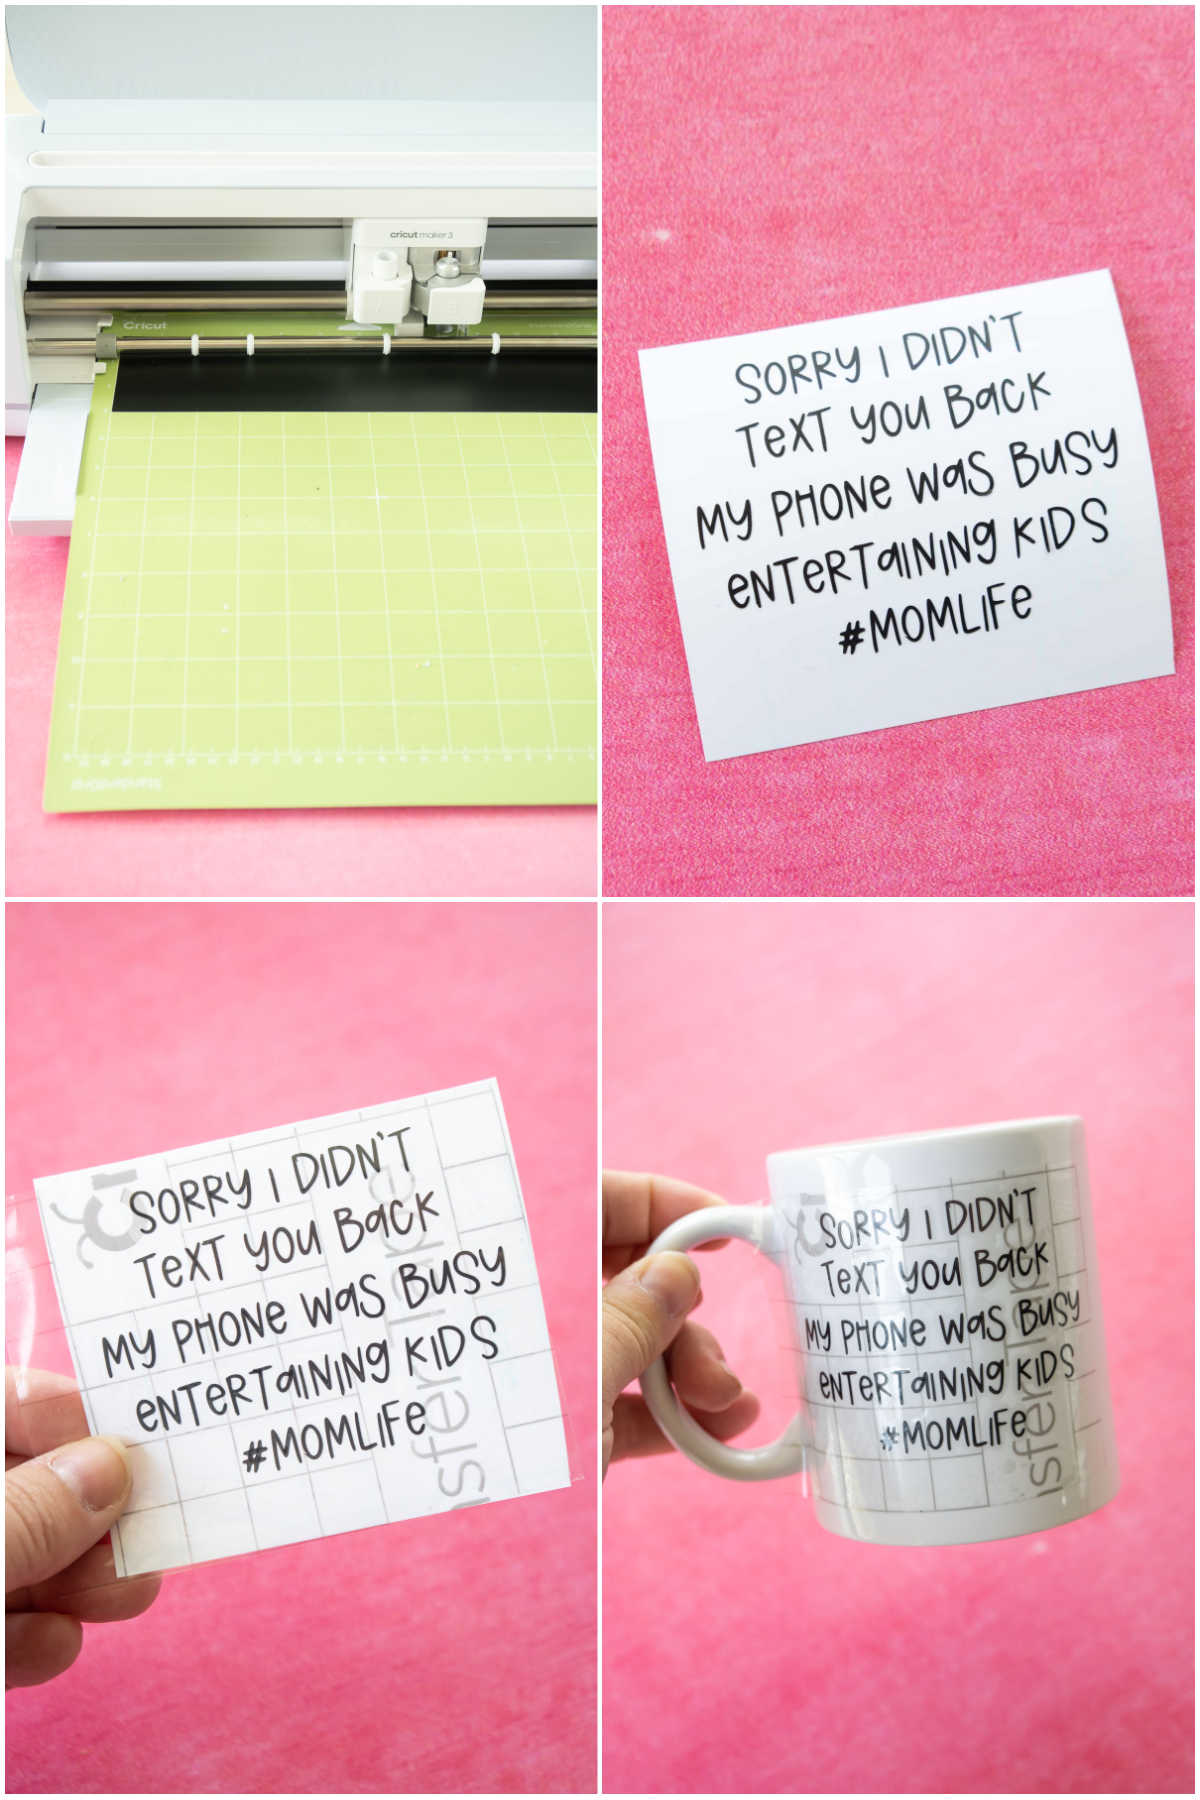
The only thing left is to remove the transfer tape carefully and your mug is complete and ready to use! I’m already in love with this mug and excited to add it to the collection in office!
The Best Cricut Material for Mugs
Okay so now let’s talk about what I think is the actual best Cricut material for mugs. You probably noticed that I didn’t say the best Cricut vinyl because if we’re talking vinyl – permanent is still the best.
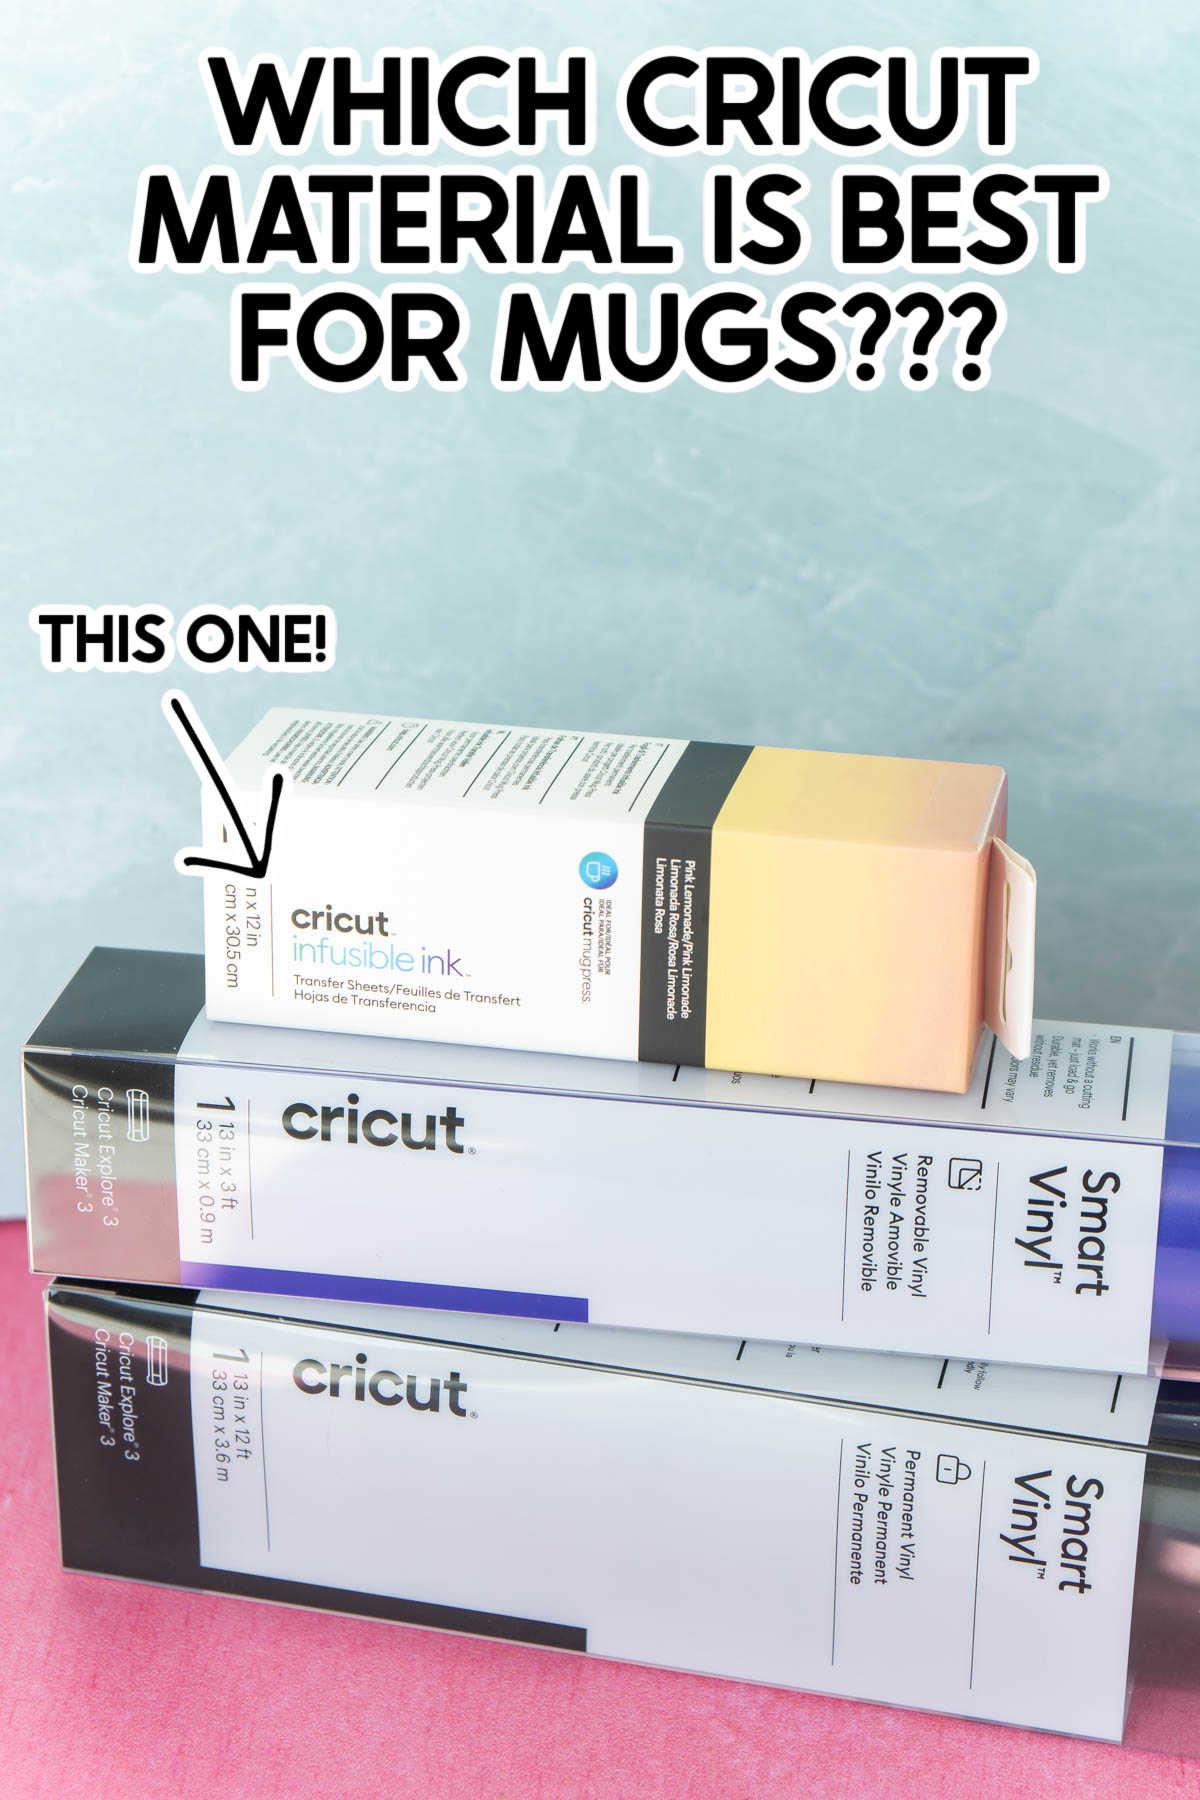
But if we’re talking about materials in general, my favorite Cricut material for coffee mugs is definitely infusible ink in collaboration with a Cricut Mug Press.
The Cricut Mug Press is designed to make mugs. While it can do other things as well, it was literally designed just to make Cricut mugs.
I tried out a couple of different ones using my testing process and the quality of the designs I made with the infusible ink plus the Cricut Mug Press were far and away better than the ones I made with vinyl.
What’s Great About Infusible Ink Mugs
- The colored designs are actually transferred onto the mugs, it’s not just vinyl added on top of the surface. If you feel the mug, there’s nothing to feel – it’s literally transferred into the surface of the mug.
- They last longer. While the permanent vinyl is great and lasts a long time, there’s still the possibility of the vinyl eventually coming off. With the design infused into the mug, it’s not going to peel off at any point because there’s nothing to peel. Plus, hello dishwasher safe!
- The process to make the mugs is simple (even easier than vinyl). I’ve done another step by step below that shows how easy it is to do.
- No weeding necessary (typically), the backing of the infusible ink transfer sheets pulls up easily.
- It’s easy to create a mug wrap using infusible ink that will allow you to create a colored mug with the design subtracted out of it, something that would be extremely tough to get straight and clean with vinyl because of the curved surface and shape of a mug. Here are some great examples of mug wraps made with a Mug Press.
- Cricut is constantly adding additional colors and patterns of infusible ink to use in different designs.
At the end of the day, it’s #1 that is the real seller for me. The difference between a mug made with vinyl and a mug made with infusible ink and the Mug Press is night and day for me, and I would take the infused mug every single time.
If you’re planning to make mugs regularly (they make awesome gifts), the Mug Press with Infusible Ink transfer sheets is definitely the way to go.
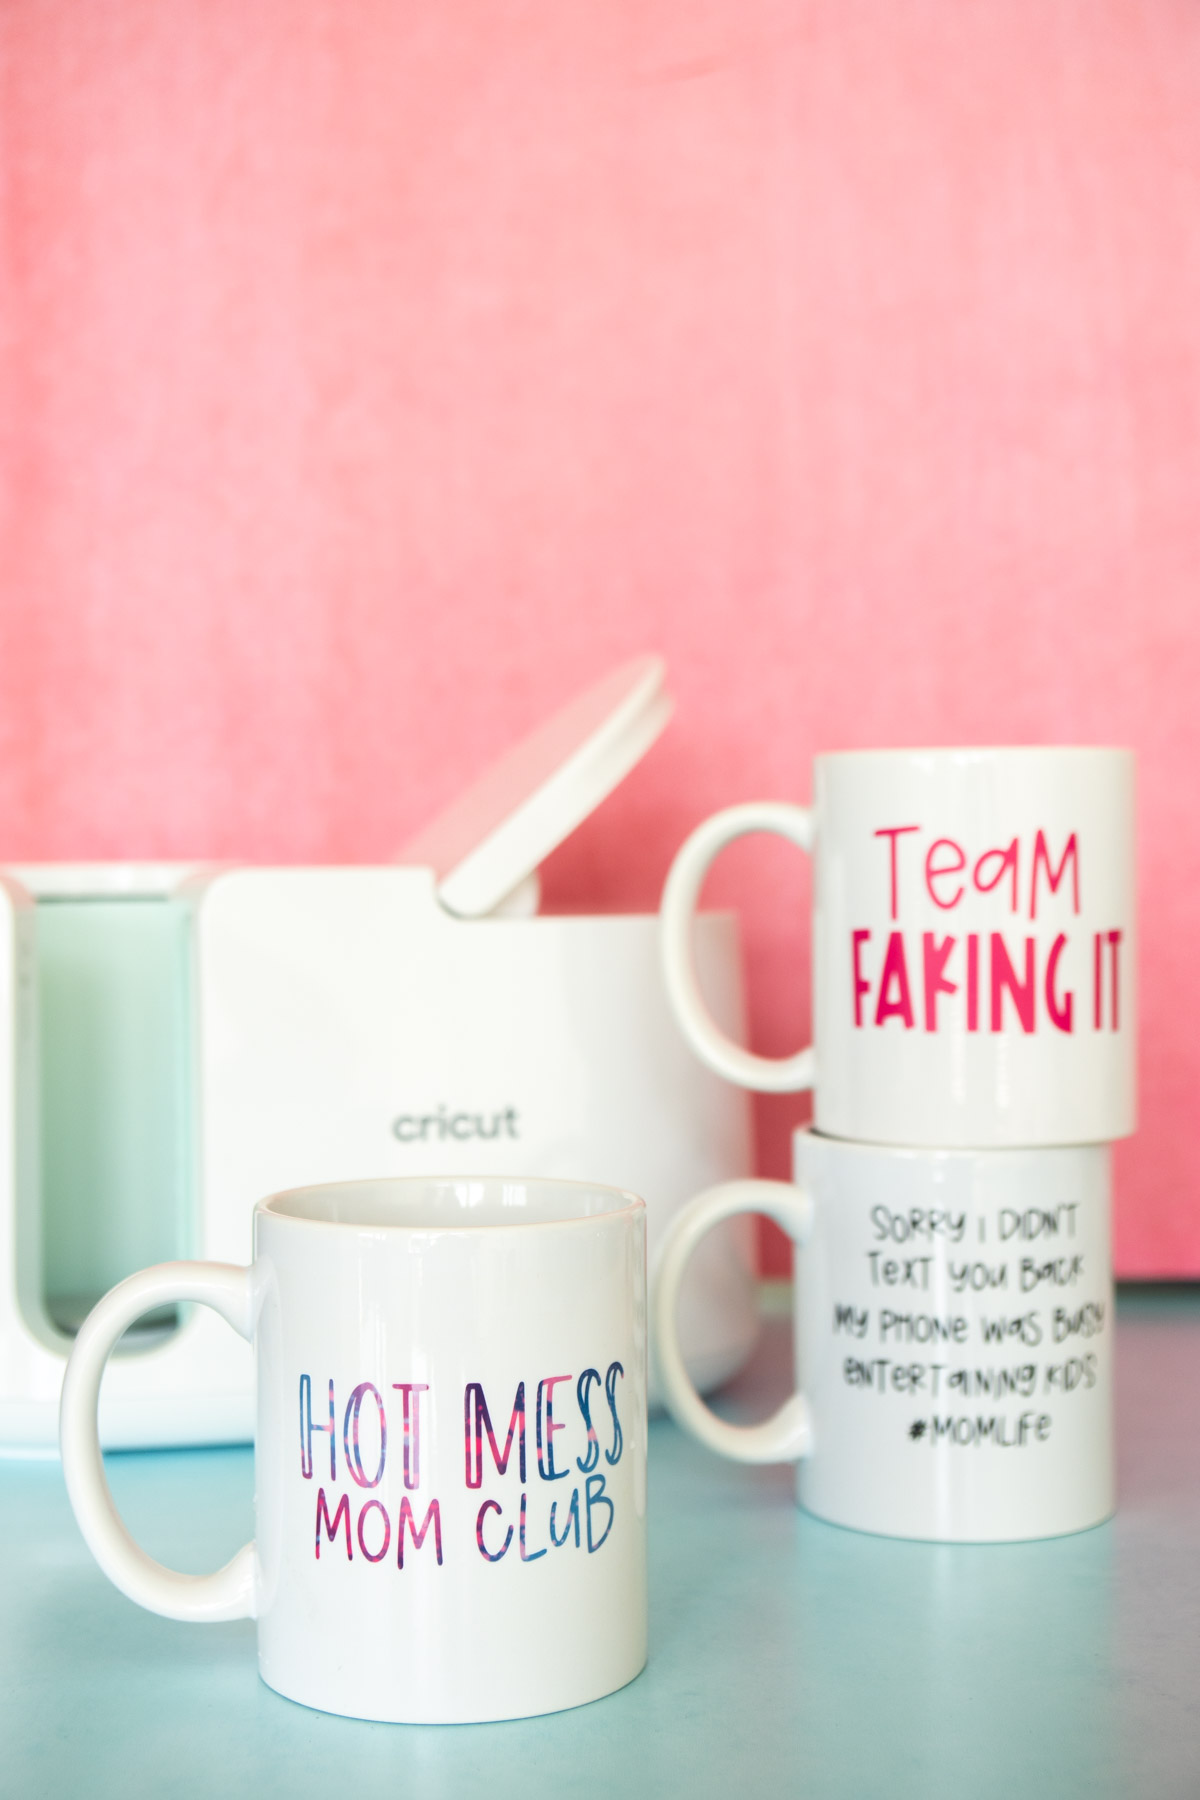
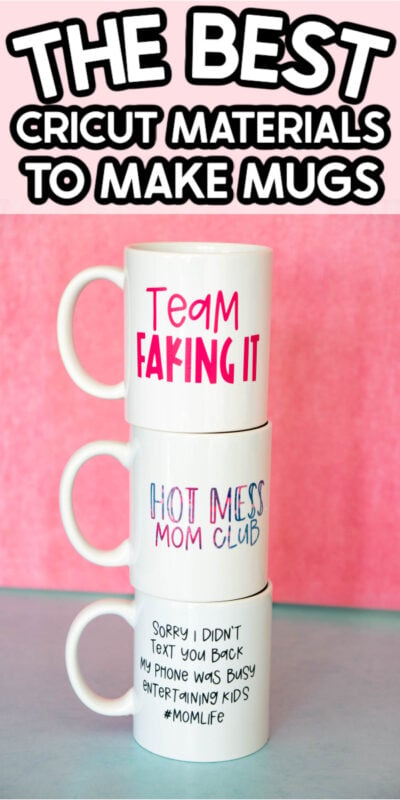
In the photo below, the first mug is made with this infusible ink and the others are made with vinyl. The one with infusible ink is bold, bright, and just looks like the design was printed on the mug. It makes me wish I’d made all of them in my Mug Press!
How to Make a Mug with Infusible Ink
Since I told you that the process was easy, I wanted to show you how easy is it (so you can compare to the Cricut vinyl mug tutorial above).
Supplies
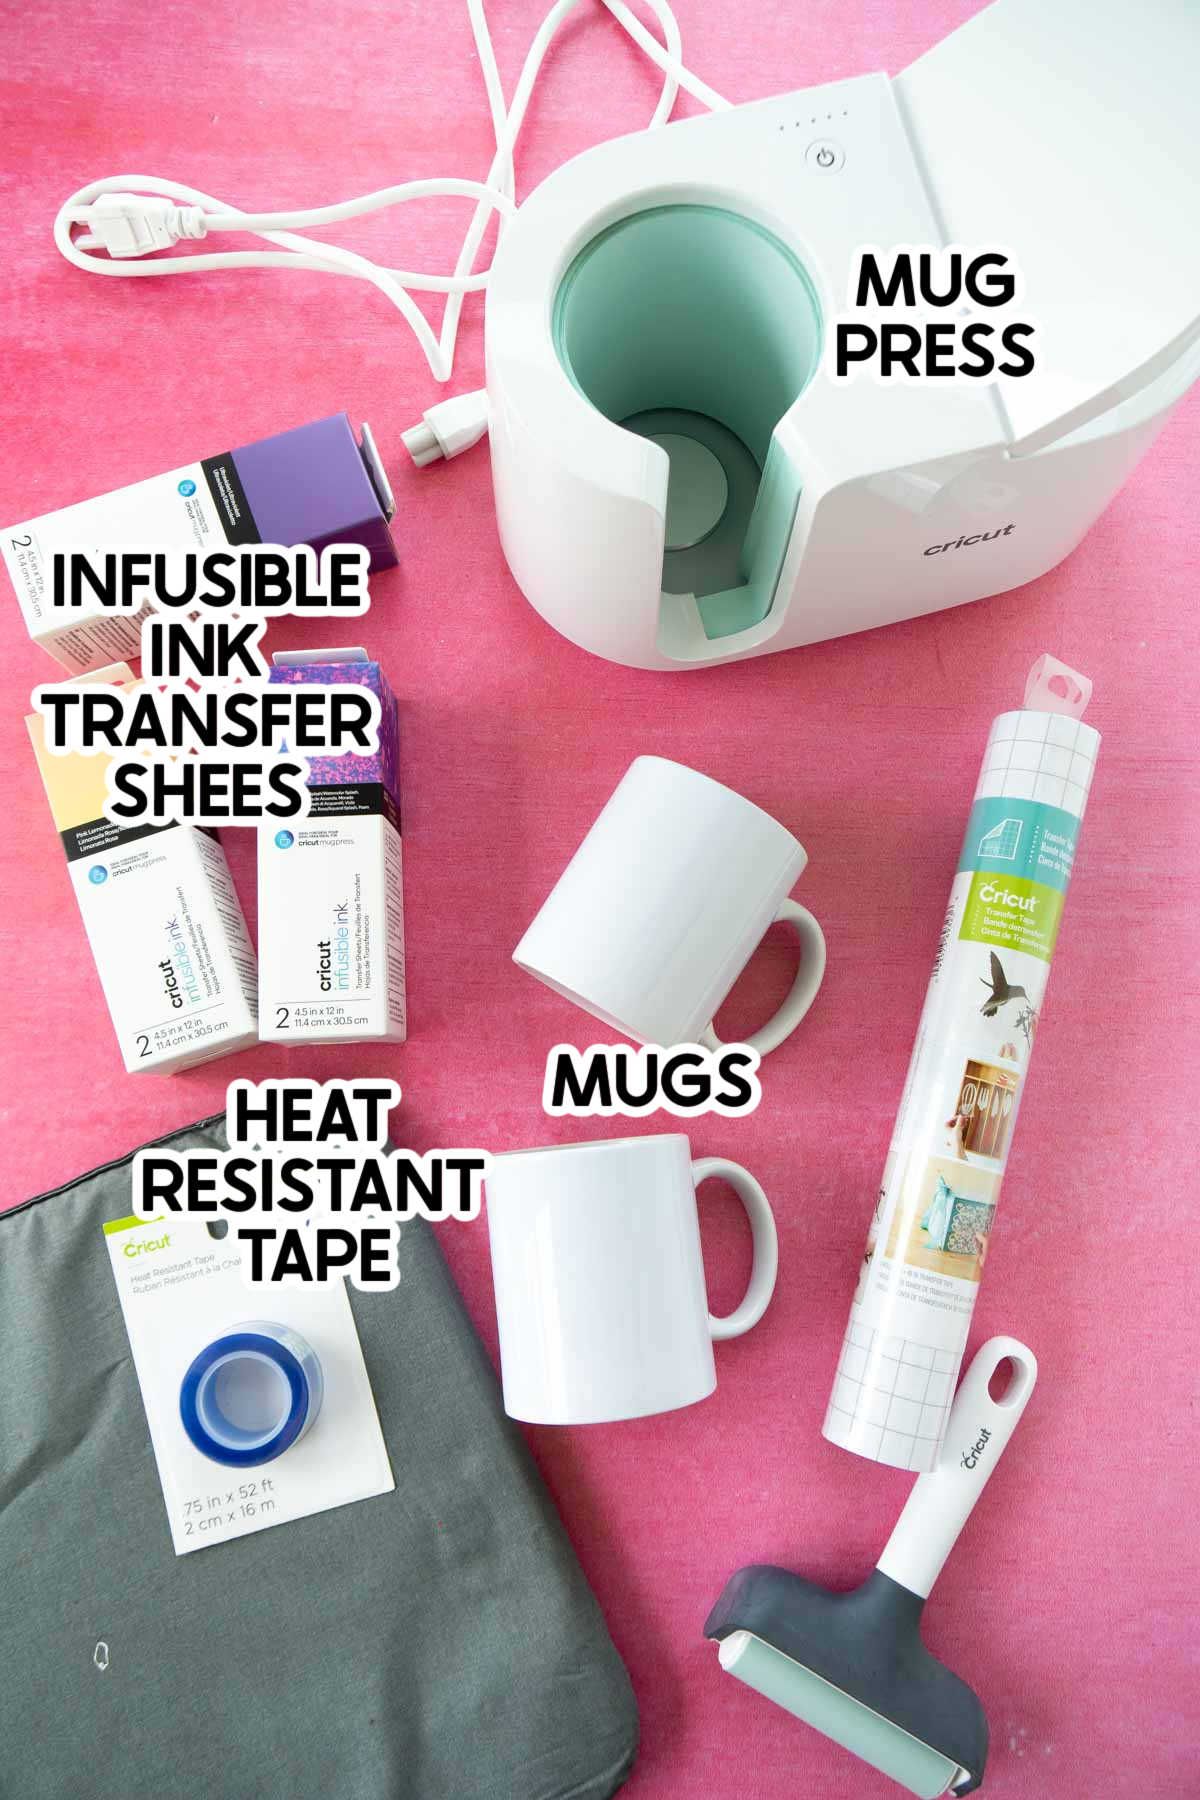
In order to make a mug using the Mug Press, here are the things that you need:
- Cricut Mug Press – we’re talking about making a mug with the Mug Press, so this is definitely needed.
- Cricut Machine – in addition to the Mug Press, you also need an actual cutting machine to cut the design in the transfer sheets.
- Infusible Ink Transfer Sheets – you could also use infusible ink markers, but that’s a whole other post. I really like the ones that are designed specifically for the Mug Press, especially if you want to do mug wraps.
- Cricut Mug Blanks – these are essential, you can’t use just any other mugs because they’re not designed to accept the infusible ink. I bought ones that are just white but there are ones with different colored handles and rims as well.
- Heat Resistant Tape – this tape is designed specifically to withstand the heat of the Mug Press, which gets really hot.
- Cricut Standard Grip Mat – you’ll use this to put the infusible ink sheets on when cutting them in your Cricut machine.
In addition to those require items, you’ll also need somewhere to put the mugs to cool (they’re super hot) after they come out of the Mug Press like a trivet, a heat press pad, or an EasyPress Mat, and I’ve found a Cricut Brayer can help you put the infusible ink onto the mat.
To make mugs with the Mug Press, you don’t need transfer paper as you’ll actually be taping the designs directly onto the mugs for the color to be infused into the surface of the mug!
Infusible Ink Mug Tutorial
Here’s a quick step-by-step tutorial for making a simple mug with infusible ink. Before you get started cutting your transfer sheets, I recommend making sure your Mug Press is activated, plugged in, and heating up. It takes a few minutes to heat up, kind of like preheating an oven!
Cricut also recommends you clean the mugs before using – rubbing alcohol works great for this!
- Customize your design in Cricut Design Space just like you would if you were cutting vinyl.
- Click make it. In the make it window, choose to mirror you image, then choose Infusible Ink Transfer Sheets as your material.
- Place the Infusible Ink transfer sheet of your choice on a Standard Grip cutting mat with the colored/patterned side up.
- Follow the prompts to load the mat into your machine and cut the transfer sheets.
- Carefully remove the excess transfer sheet from the backing, leaving your design intact.
- Tape the design to your mug using the heat resistant tape with the colored portion attached to the mug.
- Insert the mug into the Mug Press with the handle portion out. Press down the level and let it do its thing.
- When the Mug Press signals, your design is done. Very carefully grab the handle (you can use hot pads or a heat resistant glove for this) and set the mug on top of either the EasyPress mat or a trivet and allow it to cool for 15-20 minutes or until cool to the touch.
- Carefully peel off the tape and the transfer sheet, leaving your beautiful design behind.
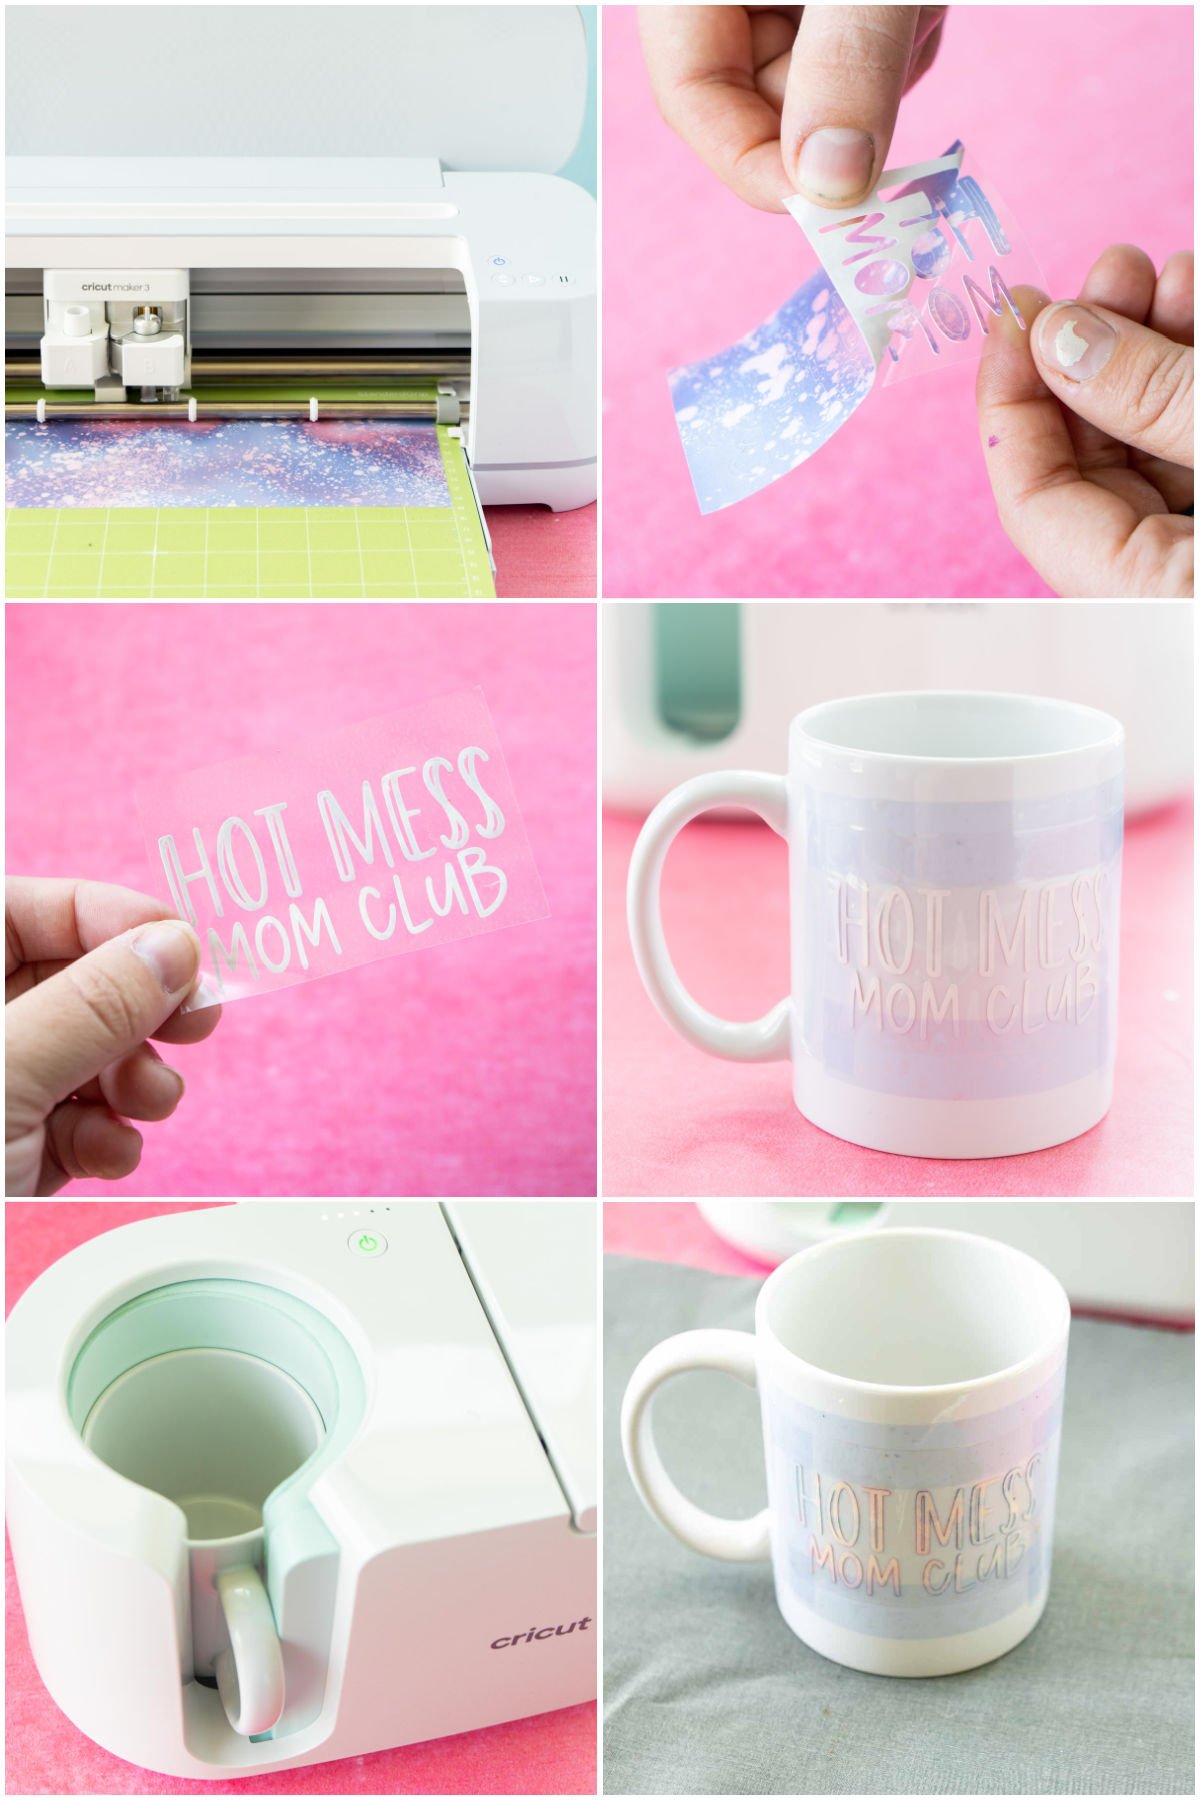
Making a mug with the Mug Press and infusible ink takes a little bit longer because of the cooling time, but the process is super simple, and in my opinion, the final result is a much higher quality and long-lasting mug!
I know it’s personal preference but in my opinion, the combination of infusible ink transfer sheets and the Mug Press is the best Cricut material for mugs! Permanent adhesive vinyl is also a good choice, but infusible ink is the best.
Note!
If you want to add an intricate design to a mug, infusible ink isn’t a great idea. I feel like because the material is very different than vinyl, it doesn’t weed as cleanly for small and intricate designs. Permanent outdoor vinyl would be the best choice in this case.

Cricut Mom Mug Designs
Like I promised, I design six different mom life mom designs in Design Space that you can use to create your own mugs! You can see all six and use the files in Cricut Design Space here.
FAQs
What type of Cricut machines can I use to create mugs?
You can use any Cricut cutting machine to cut the vinyl or infusible ink needed to create a custom mug. Anything from the Cricut Explore to the newest Cricut Maker 3 and even the small Cricut Joy can all cut designs to apply to custom mugs!
Are custom mugs made with Cricut materials dishwasher and microwave safe?
If you’re using a Cricut mug blank along with permanent vinyl or infusible ink, custom Cricut mugs can go in the dishwasher on the top shelf as well in the microwave.
Should I use permanent or removable vinyl for my mug design?
If you’re using vinyl to make your Cricut mug design, I highly recommend using permanent vinyl for the most long-lasting results!
More Cricut Projects
Have more questions about how to use your Cricut for easy Cricut projects, check out these tips and tricks!
- DIY dice – see how to make this simple sewing project using your Cricut and some pretty fabric!
- DIY space party decorations – a simple tutorial on creating a print and cut party set!
- Family superhero costumes – an easy DIY project that also teaches some simple tips for sewing felt!



Leave a Reply