These DIY Incredibles shirt ideas are perfect for anyone who is excited about the release of Incredibles 2 this summer or anyone that just loved the first movie! Make them with the help of the brand new Cricut patterned iron on for the perfect Incredibles inspired look!
Want to save this Idea?
Enter your email below and we’ll send this idea straight to your inbox (plus you’ll receive tons of fun weekly ideas from us!)

DIY Incredibles Shirts
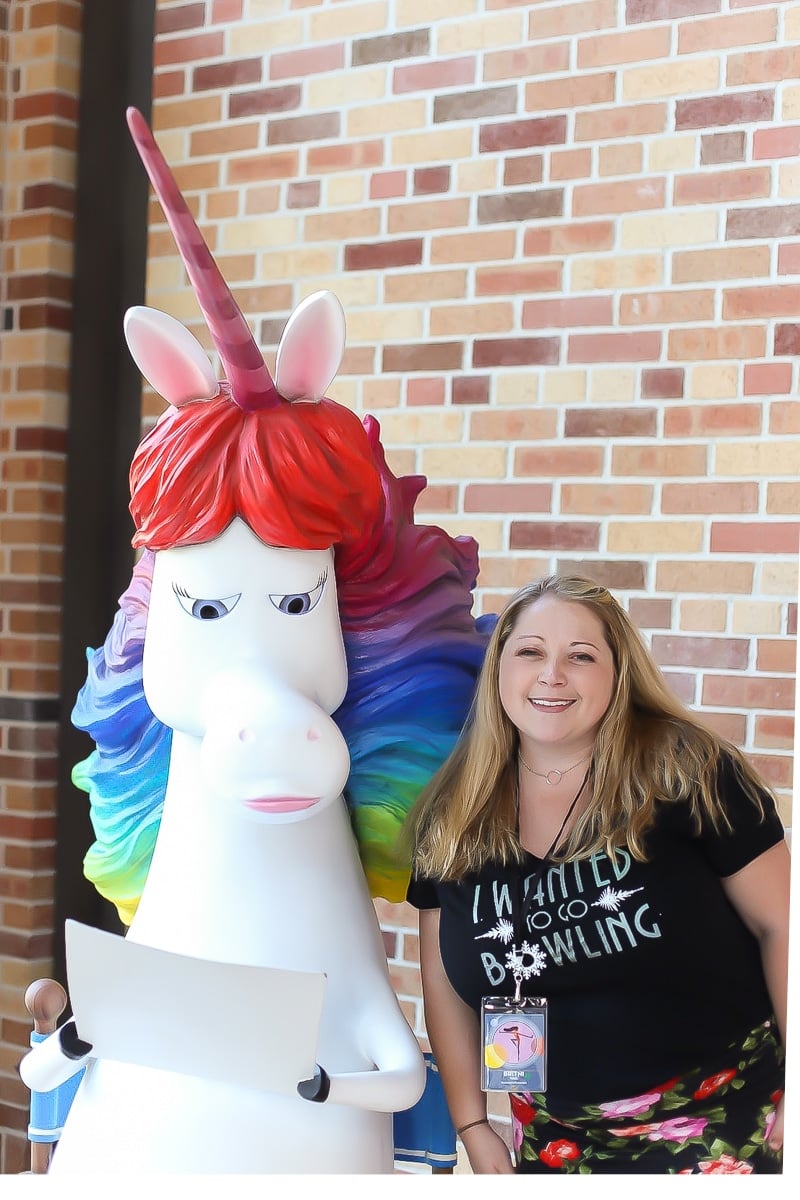
Okay so let’s start at the very beginning when I was invited to an Incredibles 2 press event at Pixar in San Francisco a couple of weeks ago. Of course the first thing I did was say yes then I proceeded to watch The Incredibles like ten times over the course of the past two weeks.
Fast forward one week to the big announcement that Cricut is now offering 9 different packs (3 different designs in each) of game-changing patterned iron on vinyl! No more just using plain colors, you can now add awesome patterns to your designs. As soon as I looked at the website and saw the different patterned iron on vinyl options available, I knew exactly what kind of shirt I wanted to make for the press event.
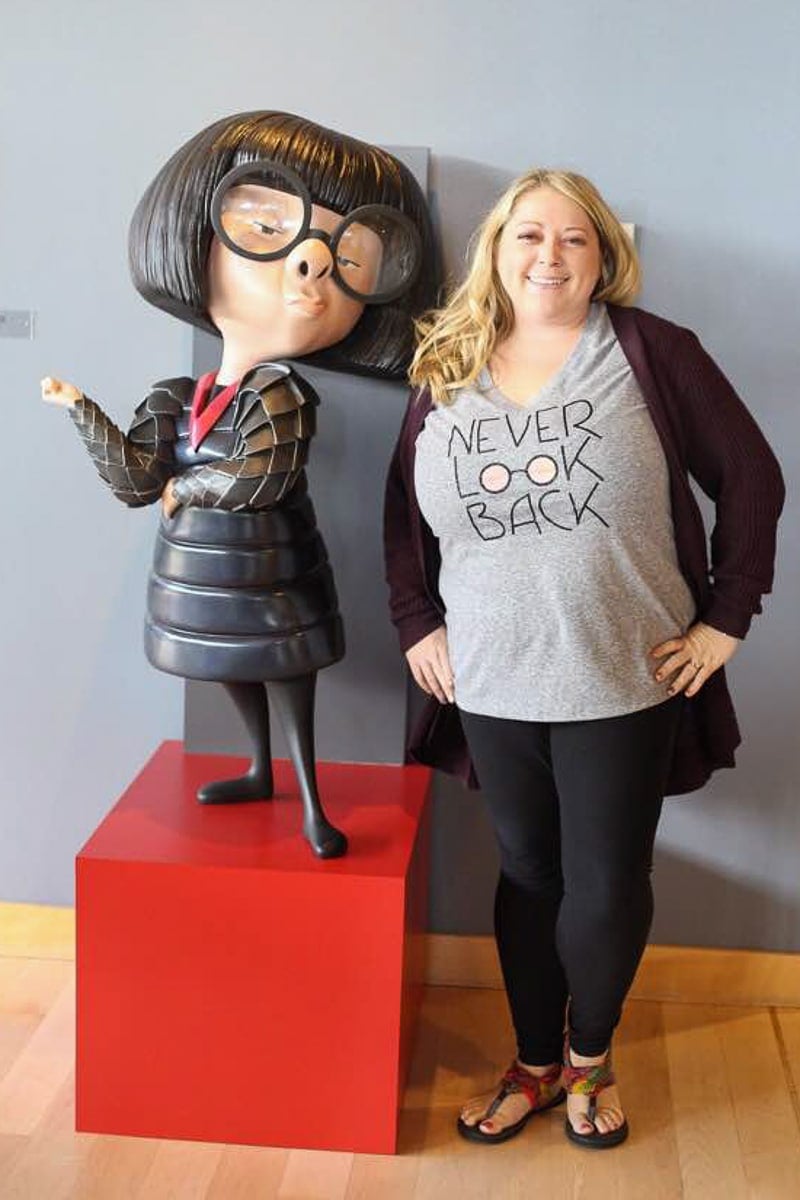
Since I got invited to the Incredibles 2 press event, my friend and I have been dropping this Edna Mode gif in pretty much every tweet we’ve sent out. It’s the scene where her glasses get all orange and pink and one of the most iconic Edna Mode scenes from the first Incredibles movie.
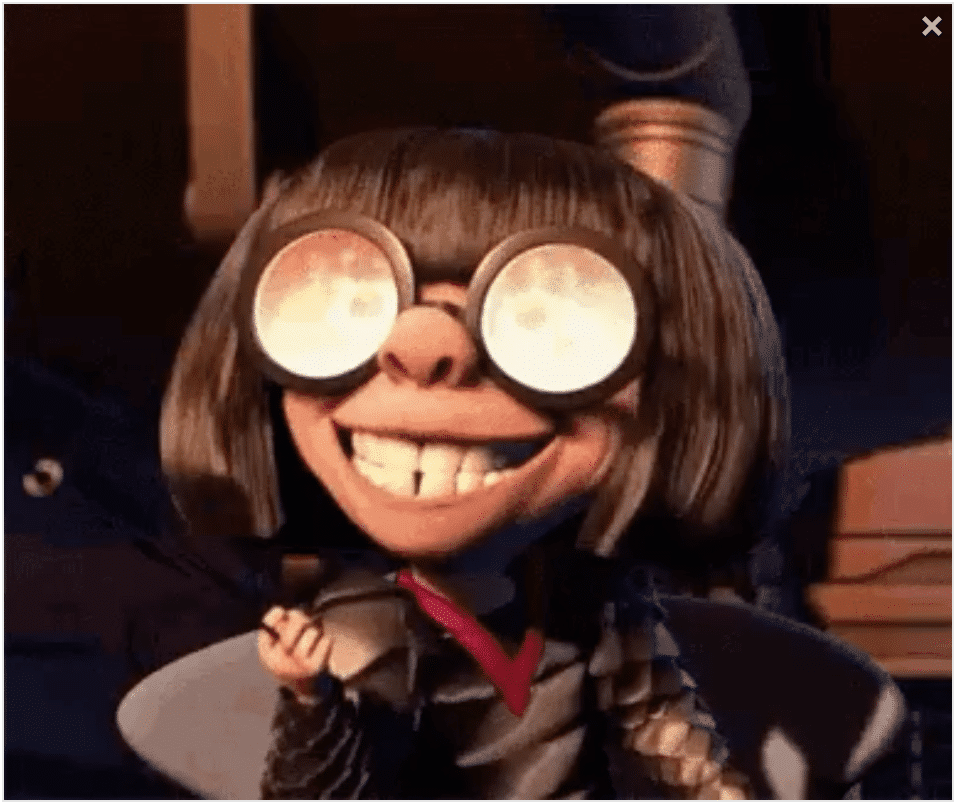
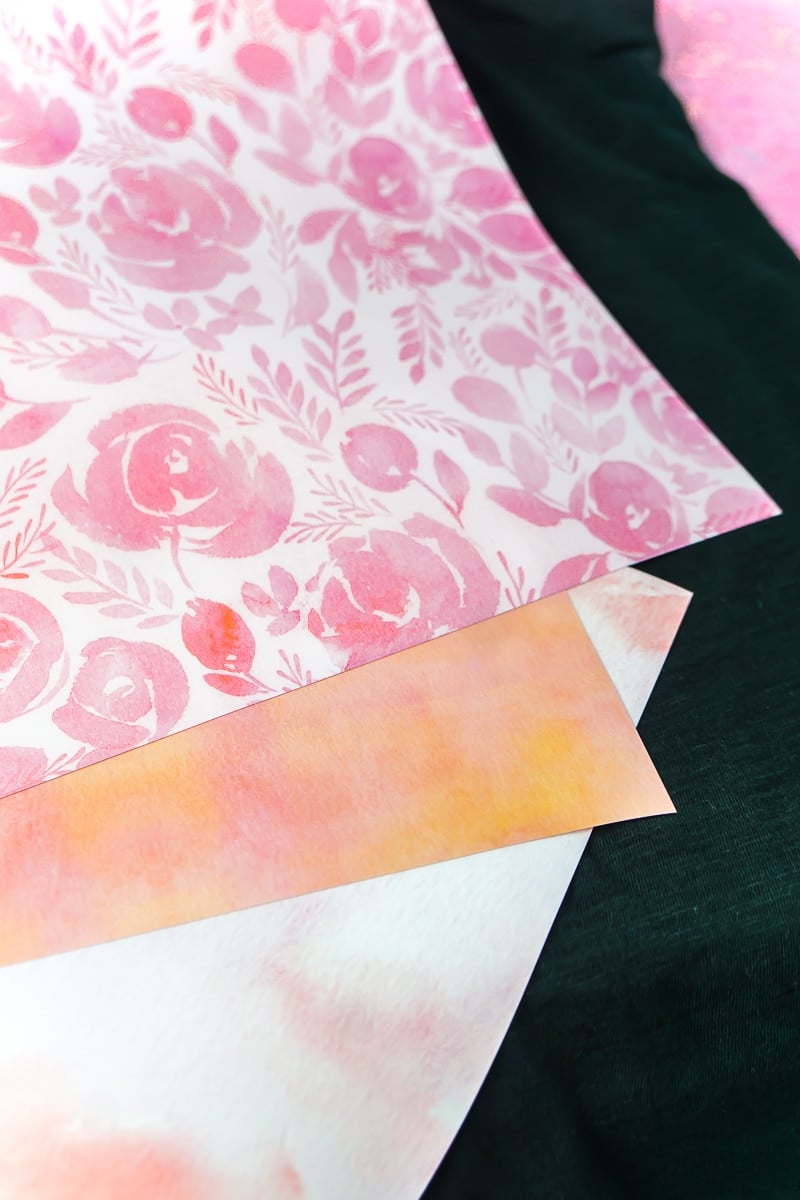
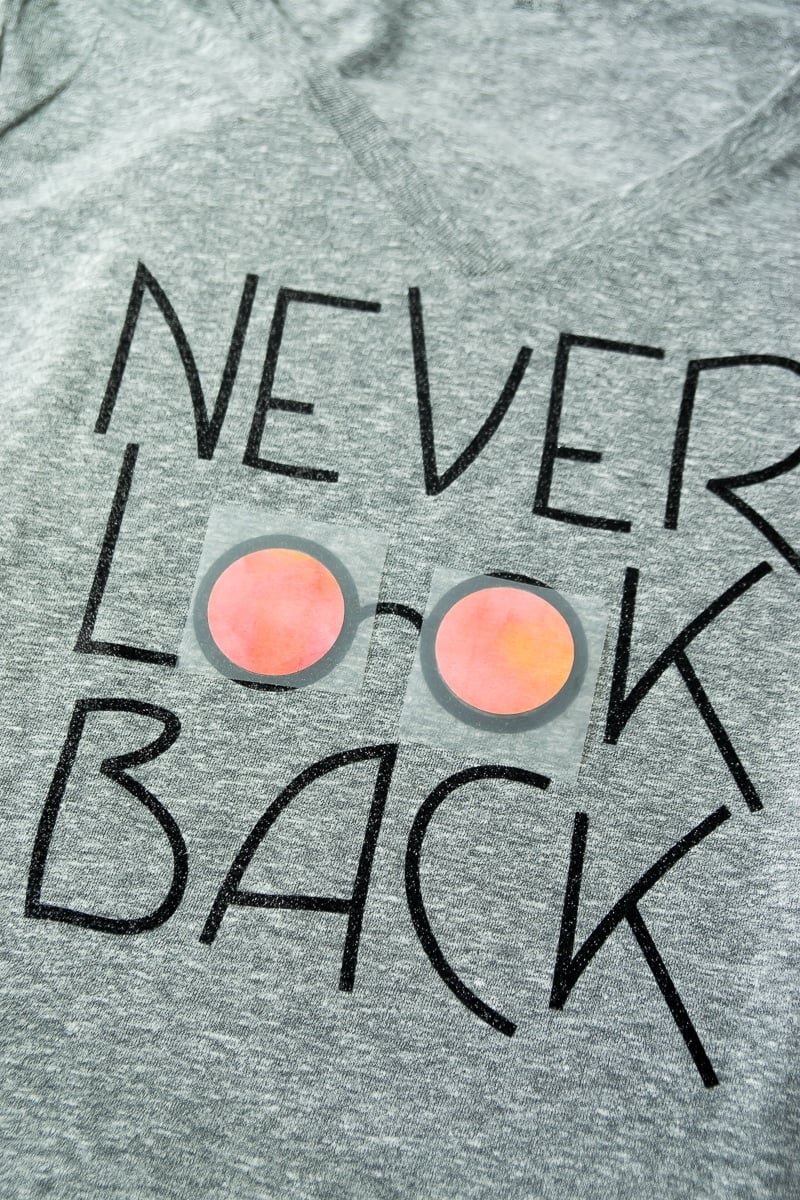
When I saw the pink and orange watercolor type patterned iron on in this package, I knew I wanted to make a shirt that incorporated the patterned iron on with Edna’s glasses along with one of Edna’s all wise and powerful quotes.
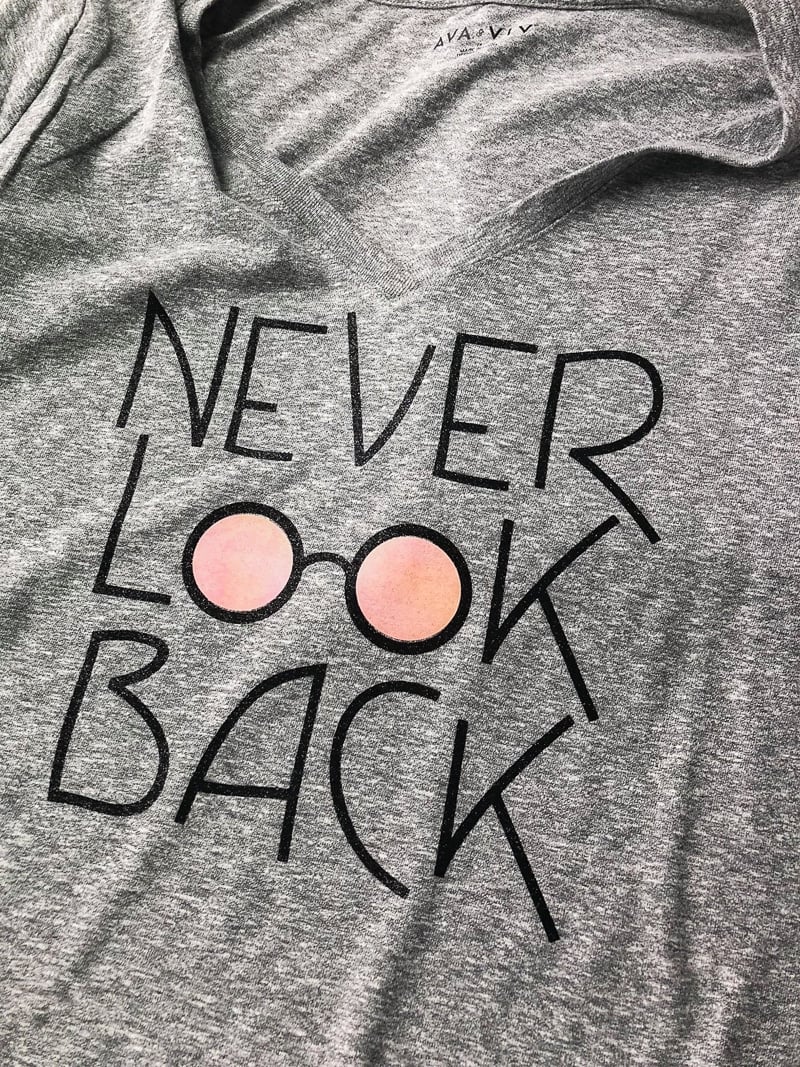
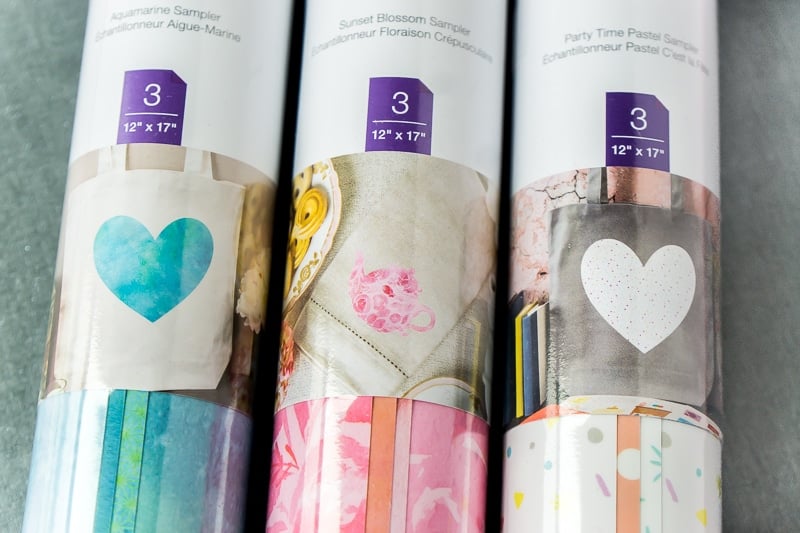
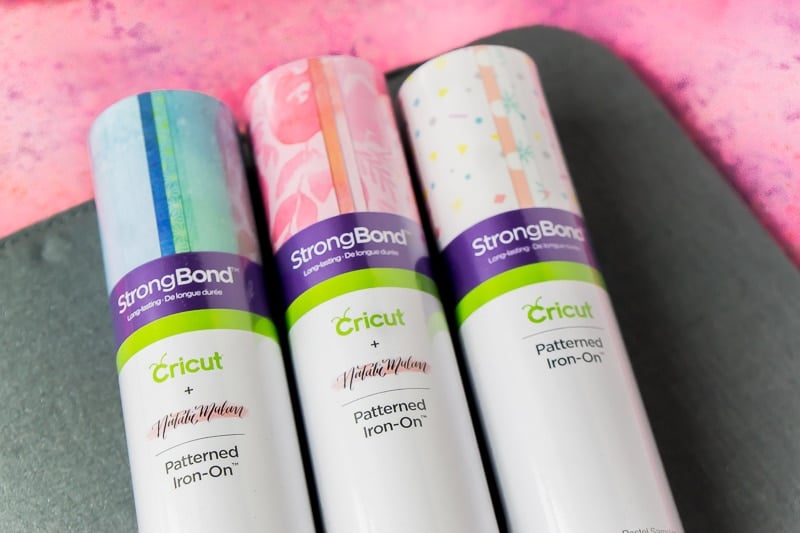
Here’s what I came up with, using her quote about how she never looks back. And here’s a picture of the patterned iron on that inspired this shirt in the first place. Isn’t that middle one perfect for Edna’s glasses? And I can’t wait to use the other pinks on another project soon!
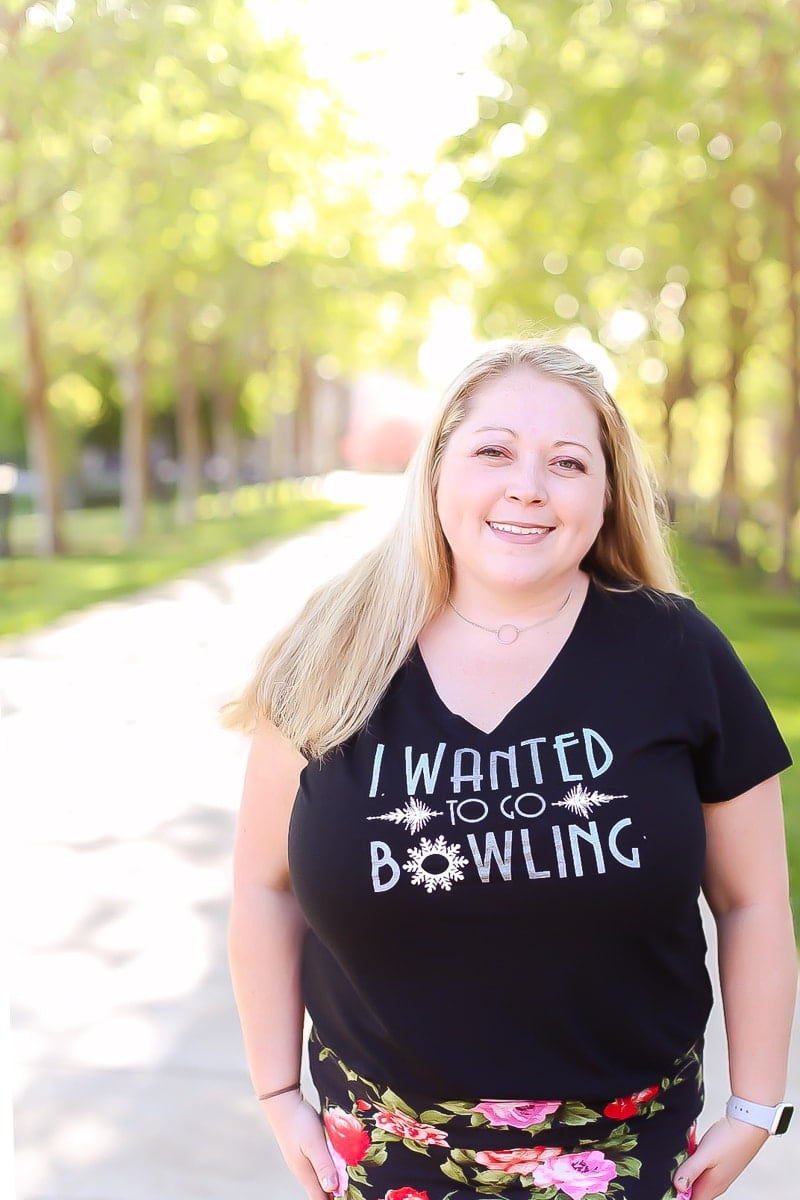
And let’s not forget about one of my other favorite characters in the movie – Frozone. The next shirt designed is dedicated to him and one of my favorite lines in the movie – “I wanted to go bowling.” Well that and where is my super suit, but I thought the bowling quote worked well for a t-shirt so went with that one instead.
For this shirt I used a blue/green patterned iron on that up close looks like it has it has snowflakes on it. There’s also a great light blue + white patterned iron on in this pack that would work as well. I paired it with a simple white iron on vinyl for the ice designs and snowflakes.
Incredibles Shirt Ideas with Cricut Patterned Iron On
I mentioned it before but the Cricut Patterned Iron On is a serious game-changer when it comes to iron on vinyl. Before you had to layer a bunch of different iron on colors to try and get a pattern effect. Now you can simply buy one of the patterned iron on packages available and use that in your design. In fact, you’re not actually supposed to layer the patterned iron on at all. It’s so much easier!
I was a little hesitant at first because I wasn’t sure how well it would work. But the designs went on so well with the Cricut EasyPress that they almost look like screen printed patterns. I made two fairly simple shirts but the possibilities are seriously endless – baby shower favors, DIY Disney shirts, and more! And the watercolor type patterns are gorgeous; I can’t wait to incorporate them into another project!
DIY Shirts Supplies
- Your favorite t-shirt
- Cricut Maker (or Cricut Explore Air)
- Cricut StandardGrip Map
- This cut file for the Edna shirt
- This cut file for the Frozone shirt
- Cricut Patterned Iron On – this one for Edna and this one or this one for Frozone
- Cricut EasyPress
- Cricut EasyPress Mat
- Regular Iron On Lite – or glitter iron on – black or Edna and white for Frozone
- Cricut Weeder (optional)
How to Make These Incredibles Shirts
Making these shirts couldn’t be easier. I’ve already designed both cut files for you in Cricut Design Space so all you have to do is open Design Space and click the “Make It” button. Once the make it screen opens, make sure to click the option to mirror your image on both parts of the image.
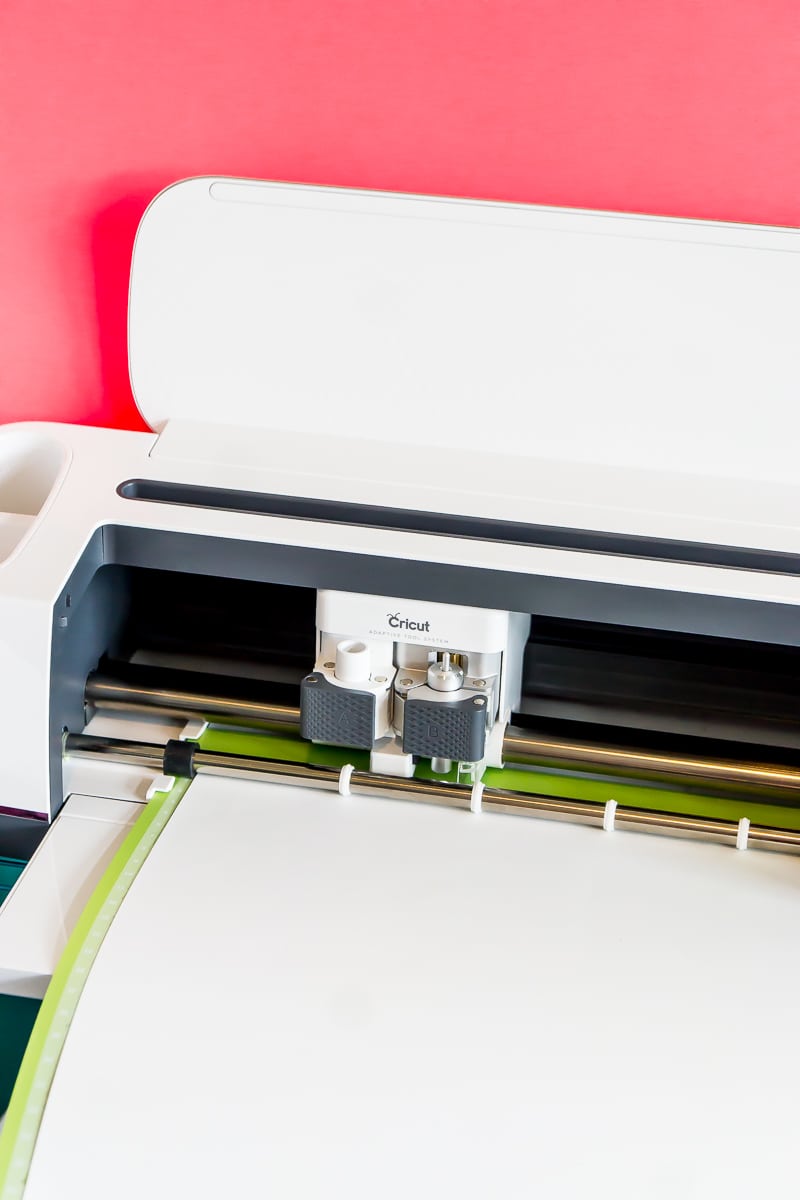
Place your patterned iron on on the mat with the pattern side down. Follow the prompts in the make it screen to load your iron on into your Cricut then cut.
There are a couple of rules you need to follow when it comes to using the Cricut Patterned Iron on to make sure they stay as long as possible.
- Don’t layer the patterned iron on with anything. Splice your shapes instead. So for instance with Edna’s glasses, I simply cut out small circles for the glasses rather than cutting out a little bigger circles and layering the black on top of the pink/orange pattern.
- When you are using multiple types of iron on, such as patterned + iron on lite, make sure to put on whichever uses a higher temperature first then follow it up with the second type of iron on.
Once your iron on is cut, use a weeder to weed around the designs, which will be really easy with the Edna glasses since they’re simple letters and small circles. The Frozone design definitely takes a bit more patience with the ice so just go slow.
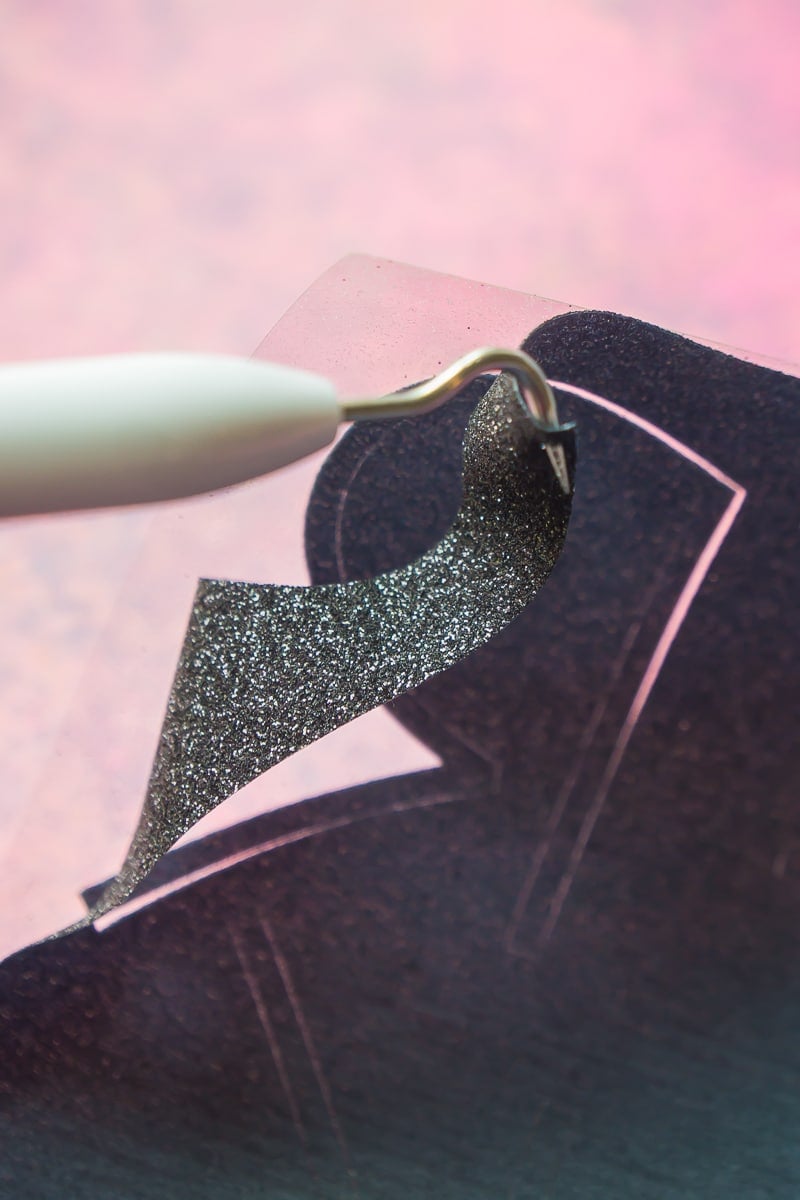
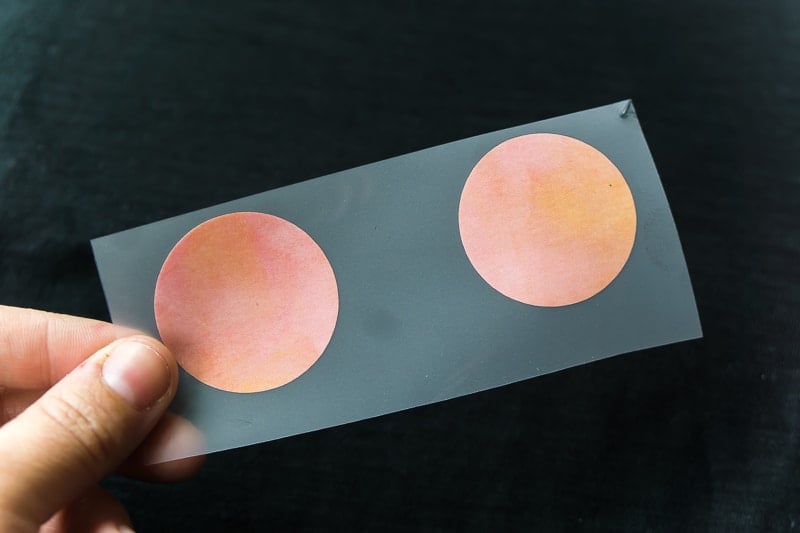
While you are weeding your designs, heat up your Cricut EasyPress to the recommended settings. For the patterned iron on, it is 340 degrees for 50 seconds with a cool peel.
While your EasyPress is warming up, place your shirt on top of a Cricut EasyPress Mat. The EasyPress Mat is the newest release from Cricut, and it’s awesome. It’s specifically designed for using with the Cricut EasyPress with a cover that provides even heat distribution, an inner liner that that traps any moisture, a foil member that prevents the moisture from transferring to your project, and a silicone foam that protects your surface from any damaging heat!
It’s way better than using a towel under my shirt like I used to!
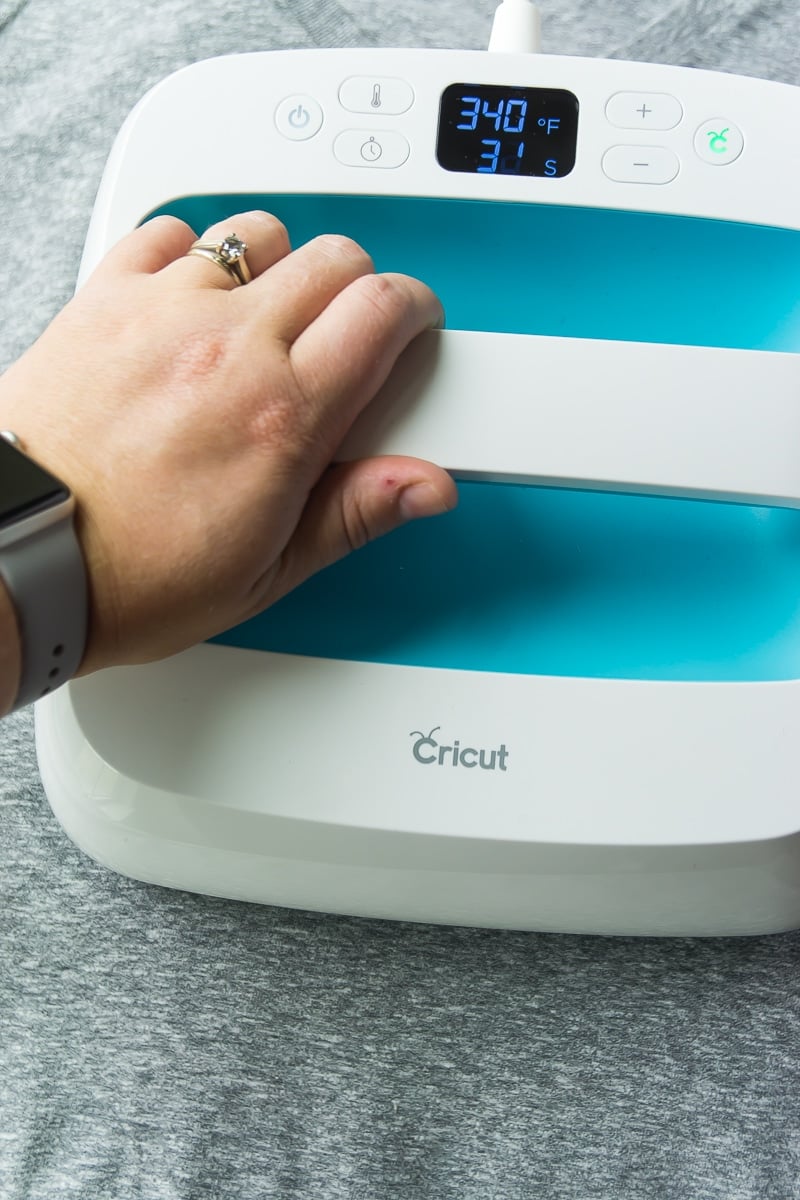
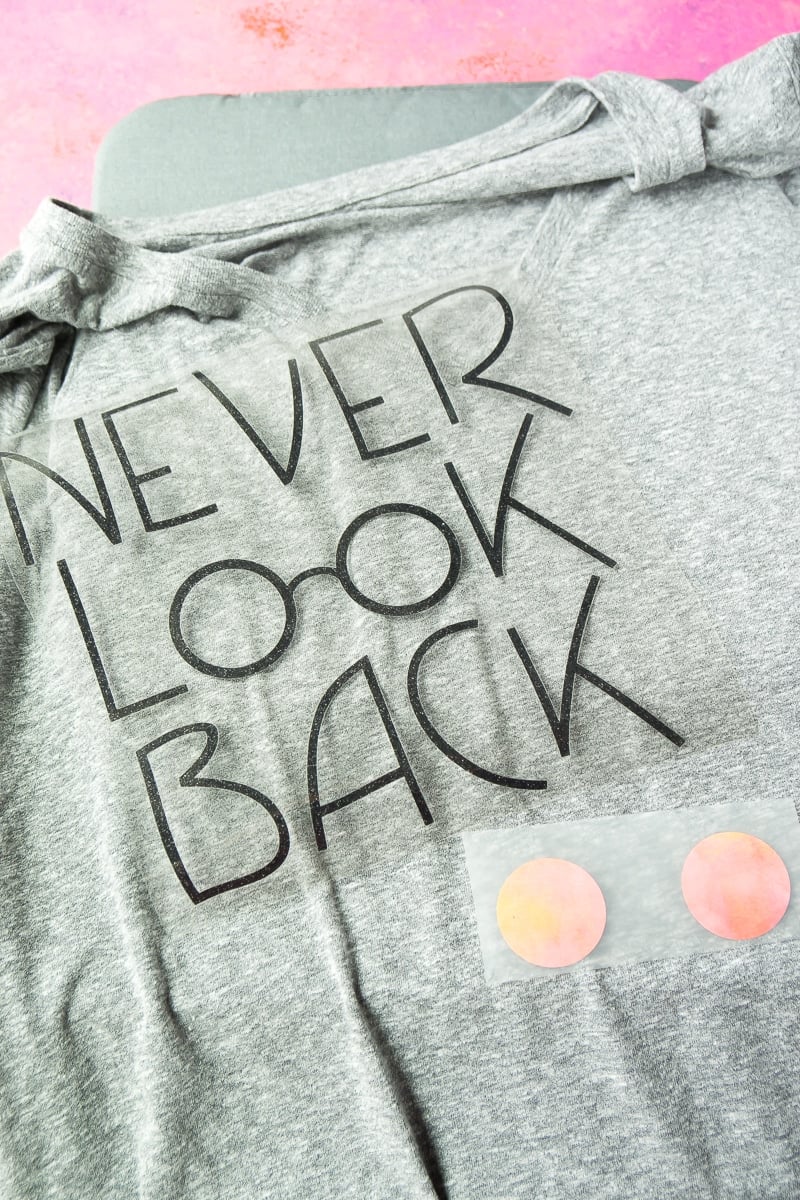
The rule of thumb for the patterned iron on is to first warm the area for 5-10 seconds and then press firmly at 340 degrees for 50 seconds on the front. Once you’re done, flip it over and do another 15 seconds heat press on the back. Then let your project cool completely before peeling it off (aka a cool peel). If you’re layering iron on like I did, make sure to press on the highest heat iron on first then finish with the other one.
And you’re done. That’s really it – it’s super simple and with the help of the brand new patterned iron on designs, you can make some amazing shirts! They’re perfect for vacations, movie premieres, or even just a birthday party at your own home!

Don’t forget to pin these DIY Incredibles shirts for later!
This is a sponsored conversation written by me on behalf of Cricut. The opinions and text are all mine.
Want More Fun Ideas?
Want more fun ideas like this one? Enter your first name and email address in the form below to join the Play Party Plan community! You’ll receive weekly recipes, party ideas, games, and more directly to your inbox!



Leave a Reply