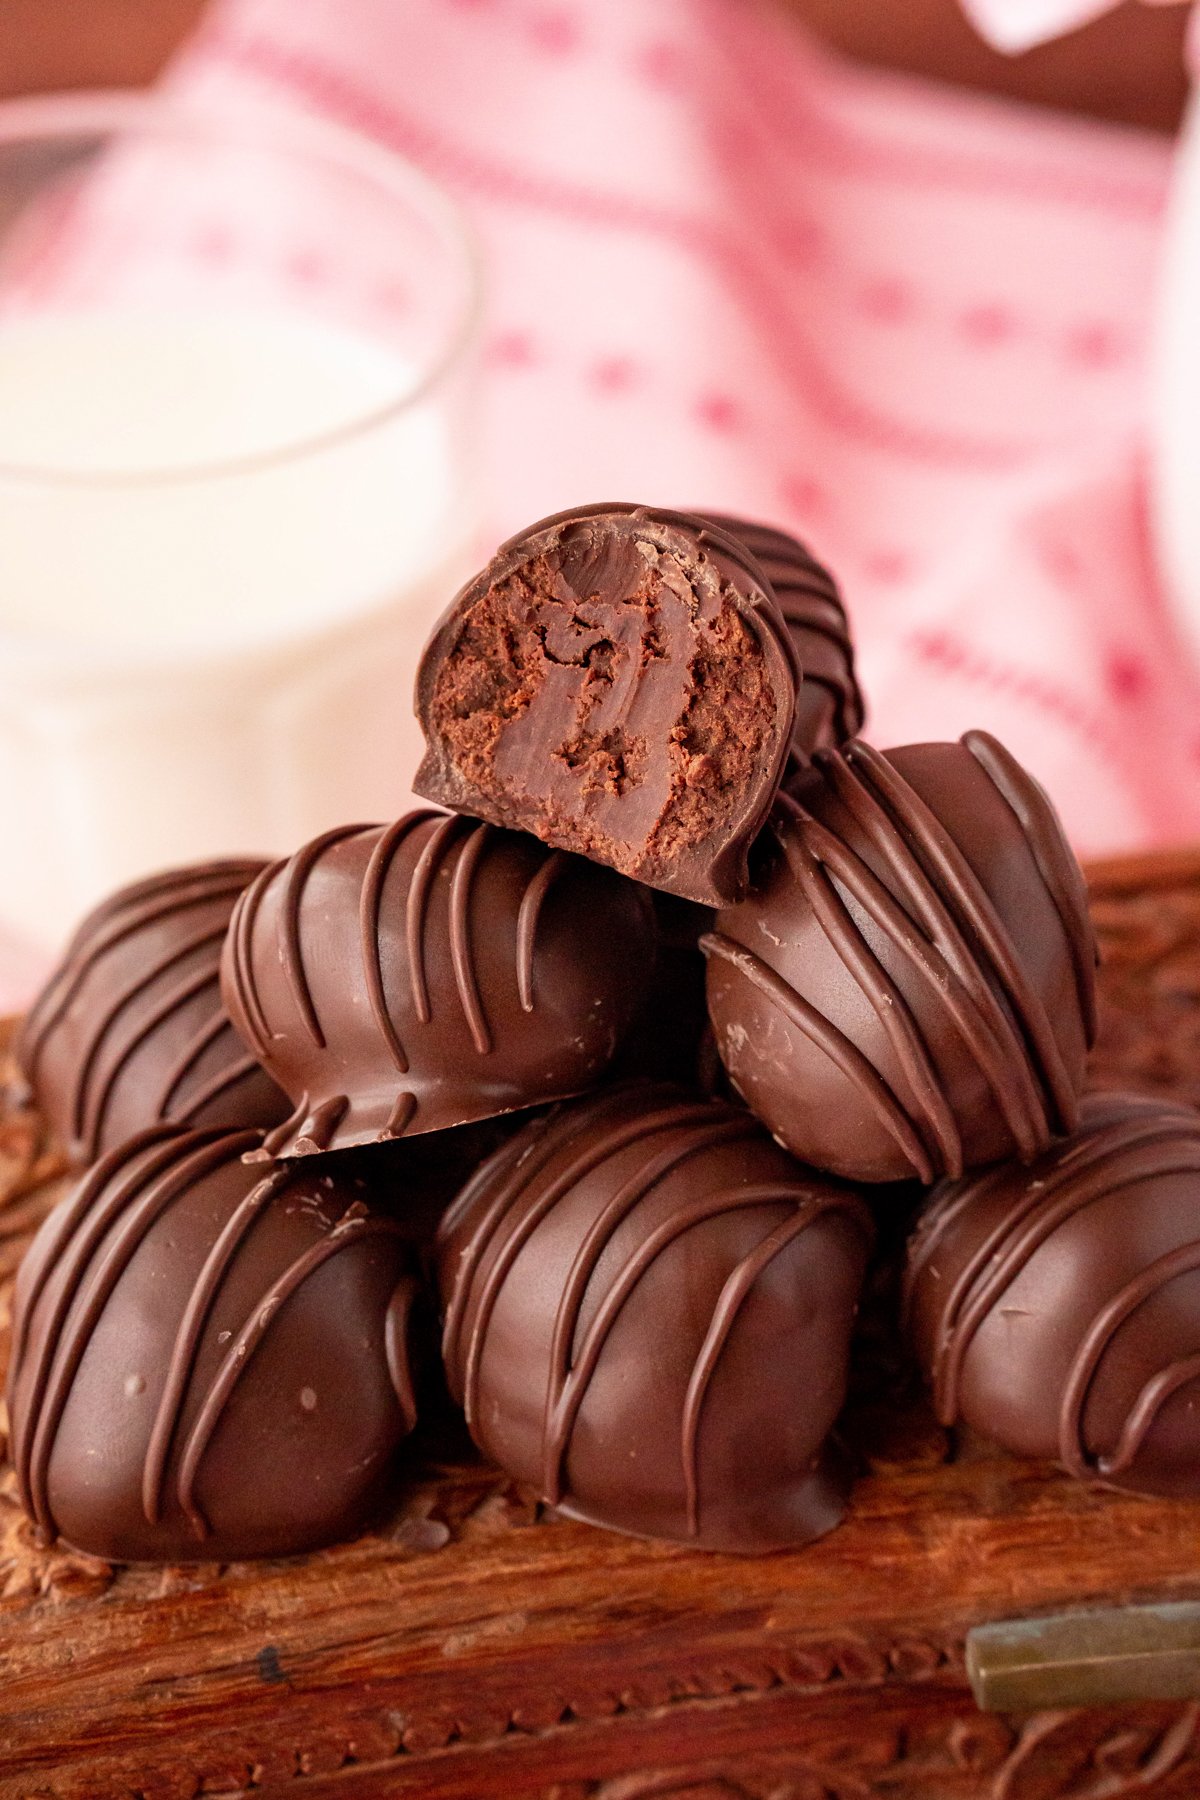
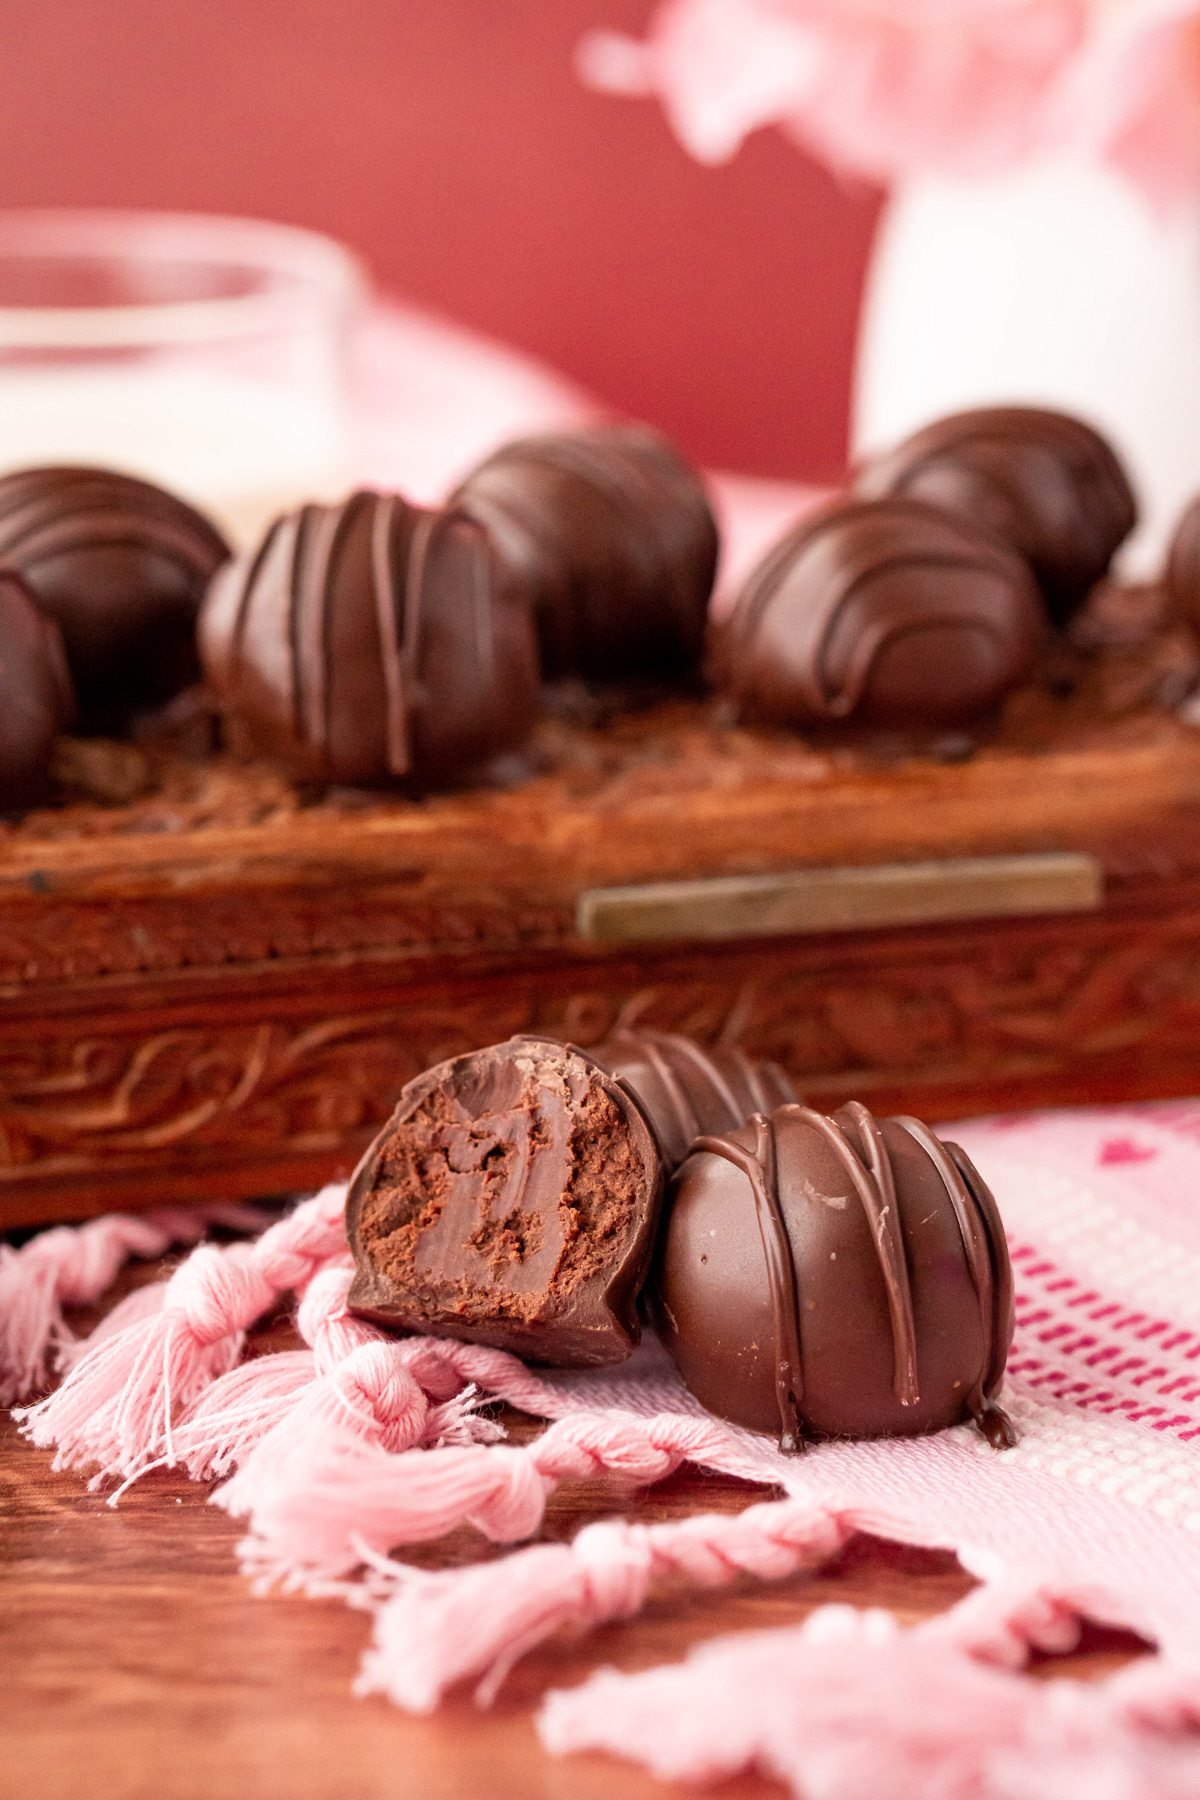
This easy chocolate truffle recipe is full of creamy chocolate flavor that’s perfect for Valentine’s Day or any day of the year that you just want some chocolate! With just four ingredients you can find at home, these chocolate truffles are super easy to make and absolutely delicious!
Want to save this recipe?
Enter your email below and we’ll send this idea straight to your inbox (plus you’ll receive fun weekly ideas from us too!)
With Valentine’s Day coming up soon, I thought it’d be fun to share my favorite chocolate truffle recipe because as much as I love store-bought chocolate truffles, homemade chocolate truffles are even better!
These chocolate truffles are perfect for chocolate lovers or anyone who just likes chocolate on occasion! They’re made with simple ingredients that you probably already have at home, and they’re the creamiest and delicious truffles ever!
They’re fun little chocolate indulgent treats like the ones you pick up at a chocolate shop, and they’re one of my favorite things to enjoy at night after a long day or in the afternoon as a sweet pick me up!
Give them out as a prize for the winner of these Valentine’s Day games, hand them out with these thanks for making the day sweet favors, or just serve them at your next Valentine’s Day party!
Why You’ll Love This Recipe
- Easy Treat – if you’ve never made chocolate truffles before, they’re actually really easy. You’re just going to melt some chocolate with cream and butter to create the truffle then dip that mixture into even more melted chocolate!
- Great gift – I mentioned this already but these make a fantastic gift for Christmas, neighbors, teachers (with these teacher gift tags), or Valentine’s Day of course!
- Creamy truffles – if you like your chocolate truffles to have a creamy center, you’re going to love these treats! The combination of the hot cream, butter, and chocolate make for the creamiest center!
Ingredients
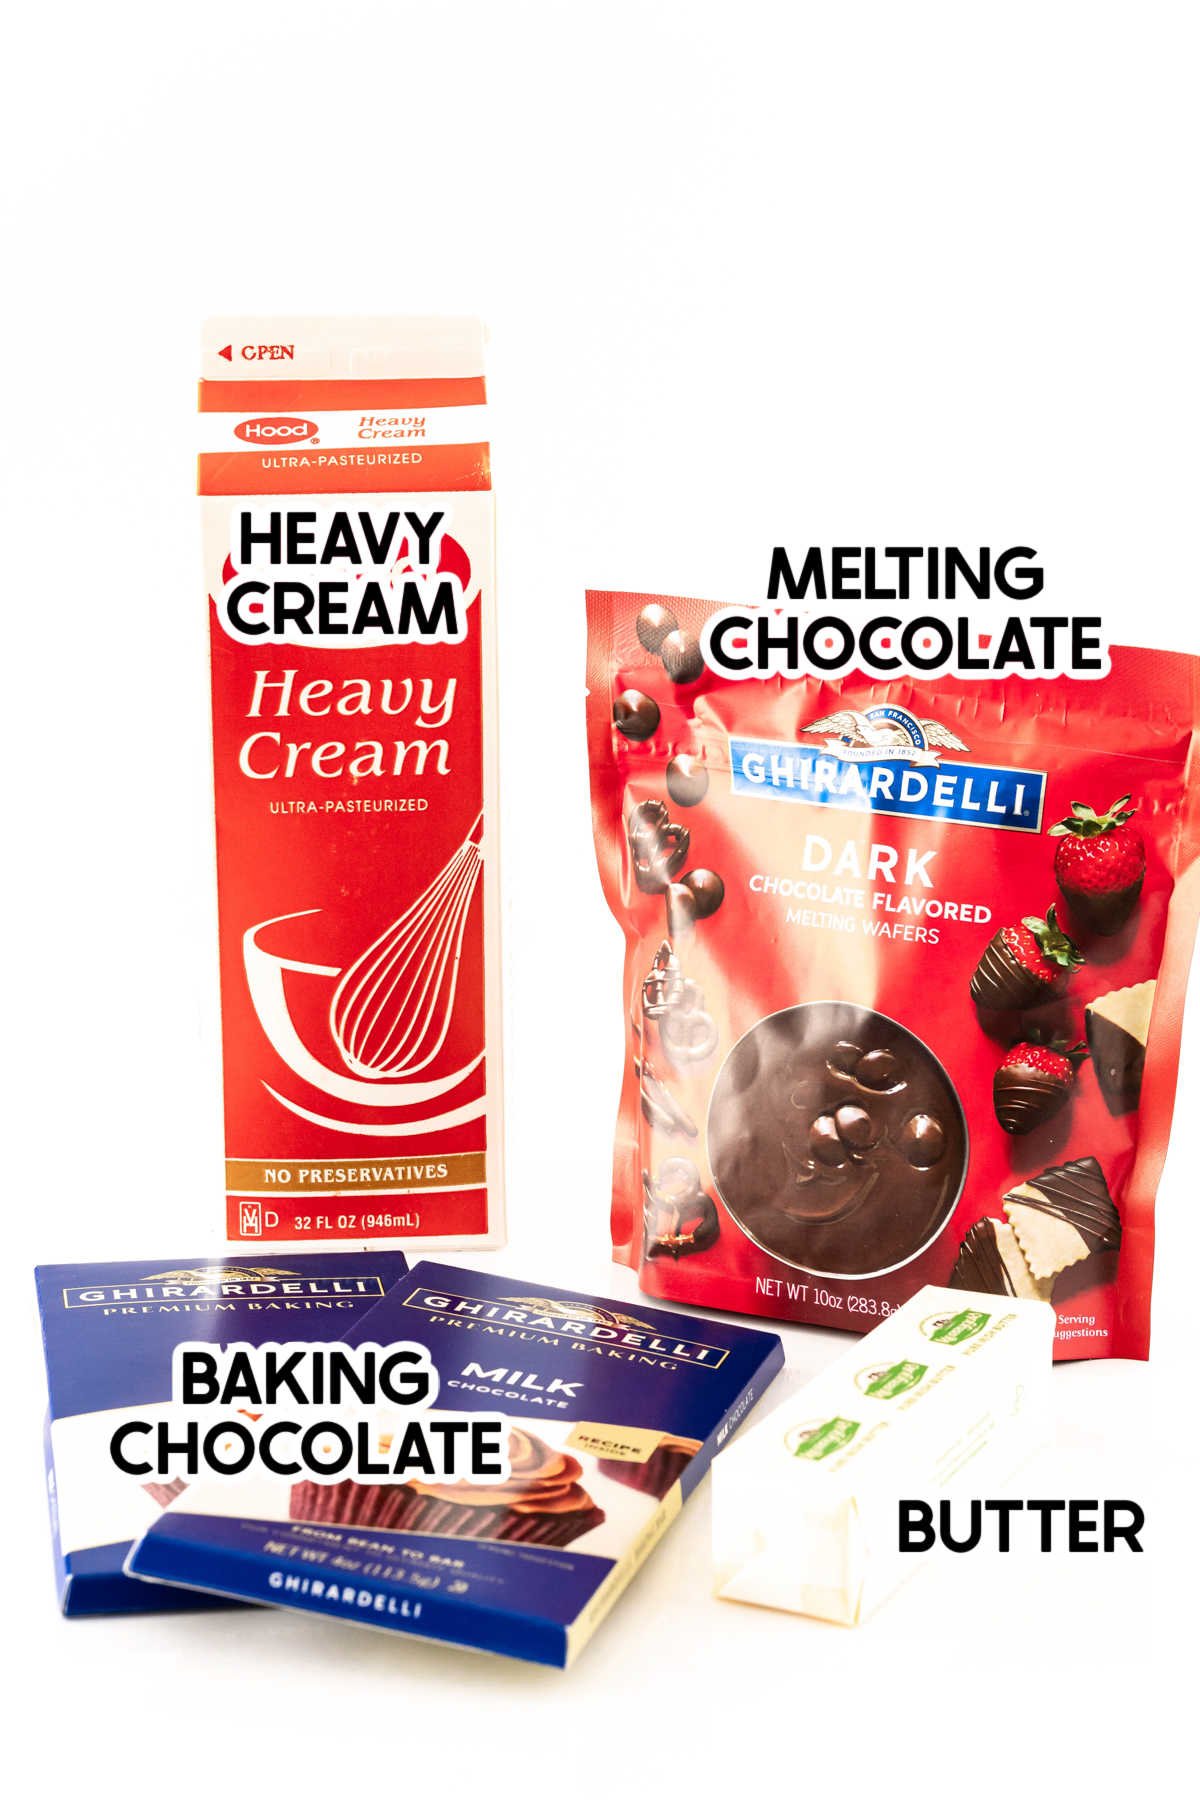
Ingredient Notes
- Melting chocolate – I personally prefer the Ghirardelli melting chocolate wafers, but you could also use high-quality chocolate chips. I also recommend dark chocolate for the richest flavor, but these are also tasty with milk chocolate and semi-sweet chocolate as well.
- Baking chocolate – I used milk chocolate combined with the dark chocolate for mine, and I really like the sweet and rich flavor, but you could really use any type of baking chocolate you want. I just recommend not doing something like milk chocolate covered in milk chocolate or they’ll end up too sweet. Also, I haven’t tried these with white chocolate, so I can’t recommend that.
- Butter – make sure to use salted butter, the salt really brings out the rich flavor of the chocolate. Also, I recommend using a high-quality butter rather than the cheap generic stuff since it’s such a big part of the chocolate flavor.
- Heavy cream – heavy cream is essential to this recipe. If you can’t find heavy cream, wait to make these until you can. It gives it the creamy truffle center!
Chocolate Quality matters
In order to make the best chocolate truffles, the chocolate quality matters! Use high quality chocolate, or at least as high quality as you can afford. There are only a few ingredients in the truffle recipes, so you want to make sure that the chocolate is good chocolate for the best results.
How to make chocolate truffles
These chocolate truffles are super easy to make, but it is important to make sure you have time to make them all at once or they won’t work out correctly.
They take about an hour from start to finish, and you need to set that time aside. It’s important to roll the truffles when they’re starting to firm up but not too hard, so you can’t just put them in the fridge and walk away for hours.
1 – Make the Chocolate Truffle Inside
Start by heating the baking chocolate bars in a small saucepan over low heat. The best way to is to break the chocolate bars up into smaller pieces so the chocolate melts quicker.
Make sure to keep it low and stir consistently so you don’t end up burning the chocolate mixture.
Alternative Option!
If you’re worried that you won’t be able to pay close attention to the chocolate as it melts, you can use the double boiler method as well where you boil water and put a bowl on top of the boiled water to melt the chocolate, and then butter. This takes longer but if can be a safer method for not burning the chocolate if you tend to get distracted and won’t watch the chocolate melt closely.
Once the chocolate is melted, add the butter and stir until the butter is completely melted. Then remove the entire mixture from the heat.
Add the heavy whipping cream to the chocolate and stir until the mixture comes back to a rich chocolate color.
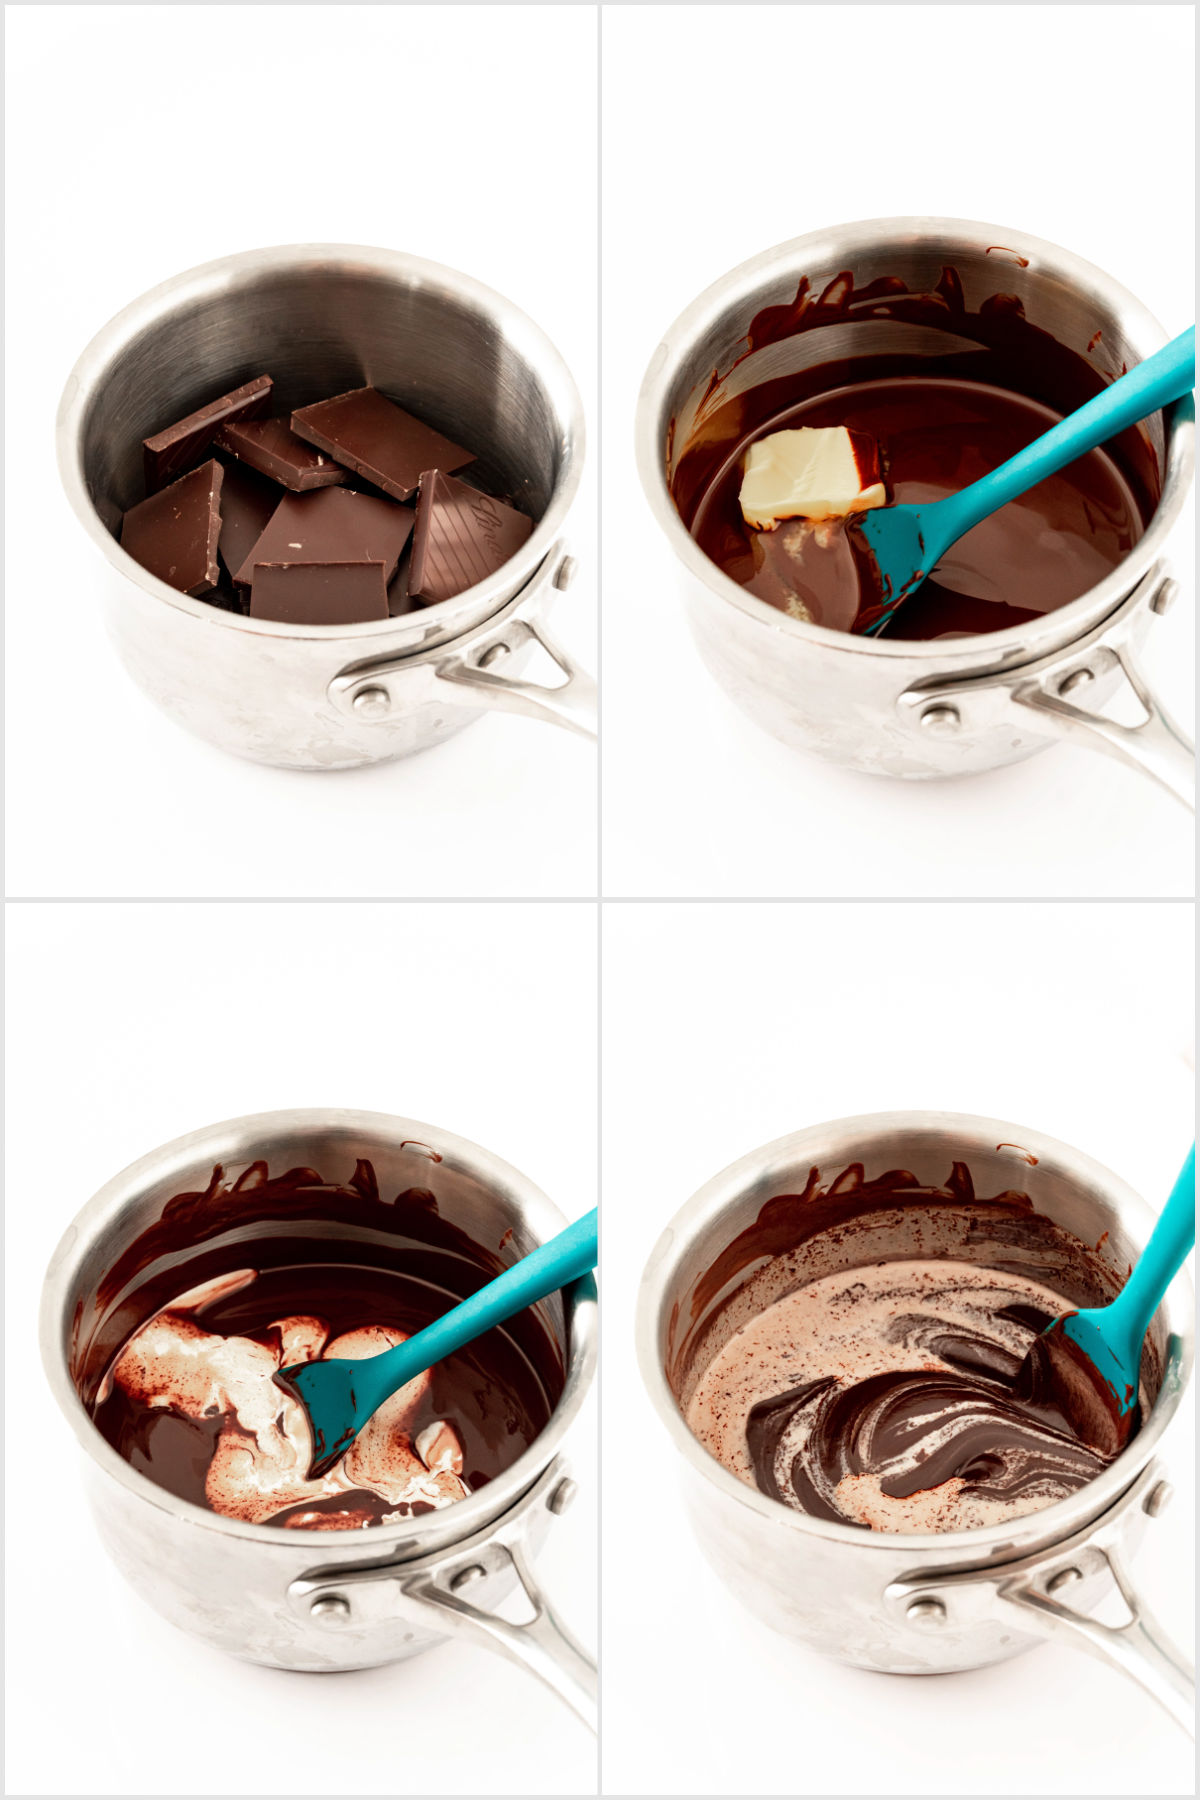
Transfer the chocolate mixture to a small bowl and put it in the refrigerator for 15 to 30 minutes, stirring it every 5 minutes, until the mixture is thickened but not firm. You want the chocolate to hope its shape when scooped so you can roll and dip it.
2 – Roll the Chocolate Truffles
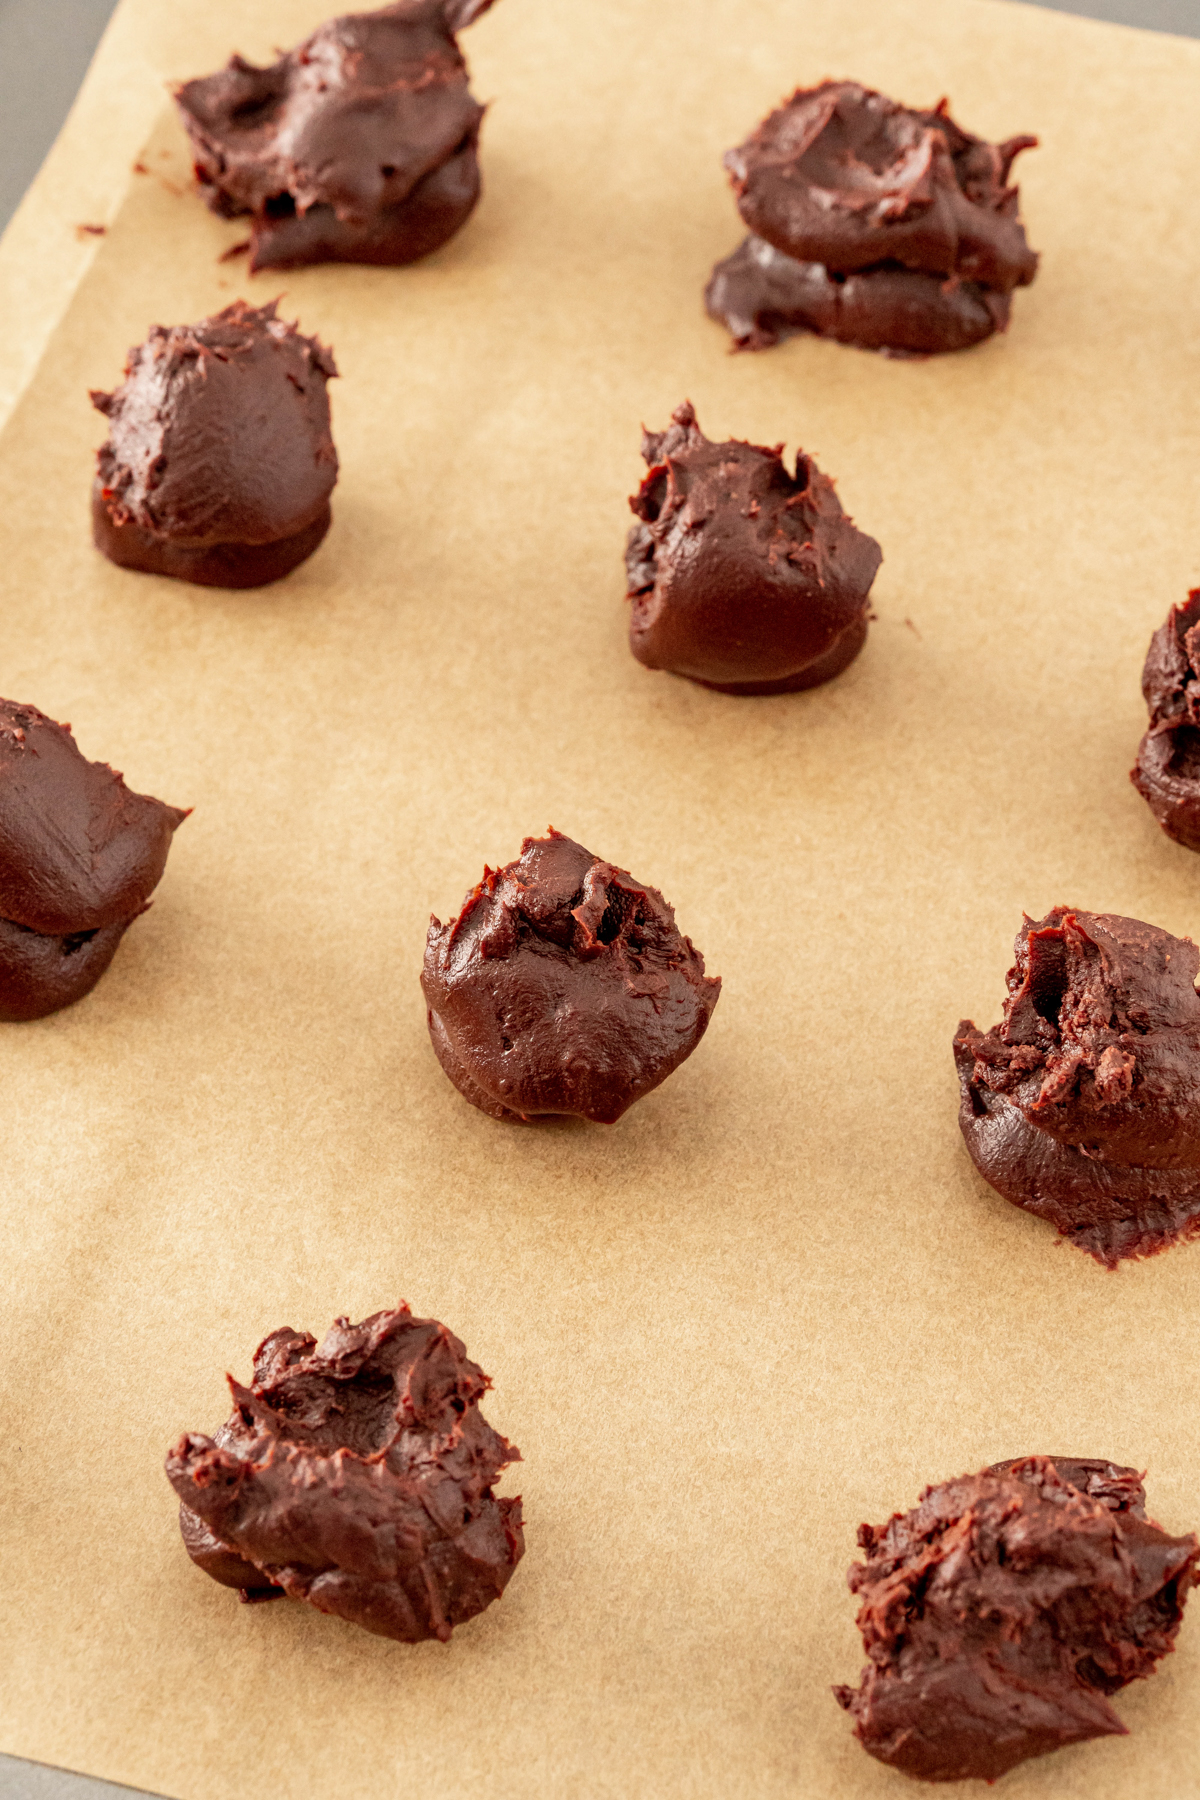
Line a baking sheet with parchment paper (or wax paper works as well) and use either a tablespoon or a small cookie scoop to scoop balls of the mixture and place them on the cookie sheet.
Put back in the refrigerator and chill the chocolate balls for another 10 minutes. This chilled ball will turn into the rich chocolate ganache centers you’re looking for in the truffles.
3 – Finish the Chocolate Truffles
While the balls are chilling, melt the chocolate wafers in the microwave in a wide mouth glass or bowl at 30 second intervals, stirring between each one. Continue doing this until the chocolate is smooth.
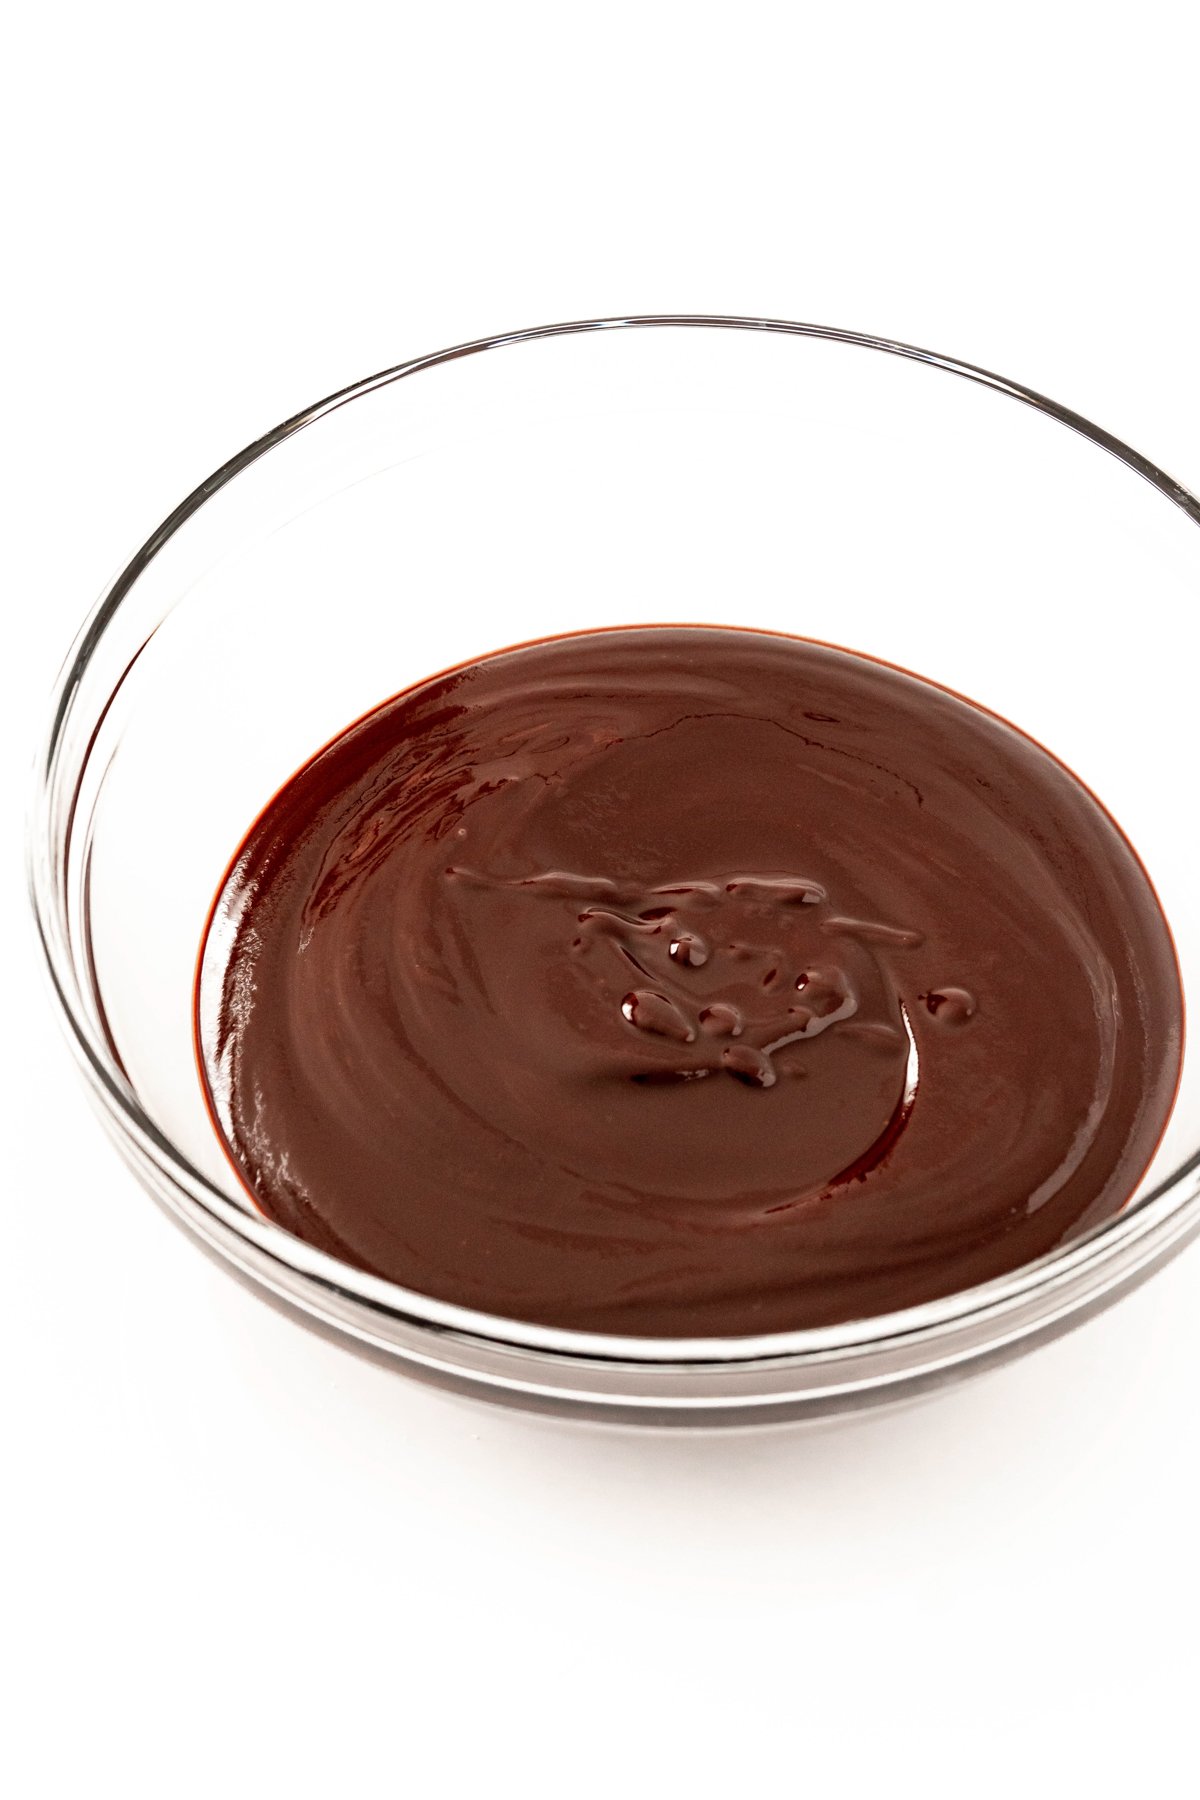
Use a fork or chocolate dipping tool to dip the rolled truffles into the melted chocolate, then place them onto a piece of clean wax paper (or parchment paper) to let the chocolate harden. This process is similar to how I make my Oreo balls!
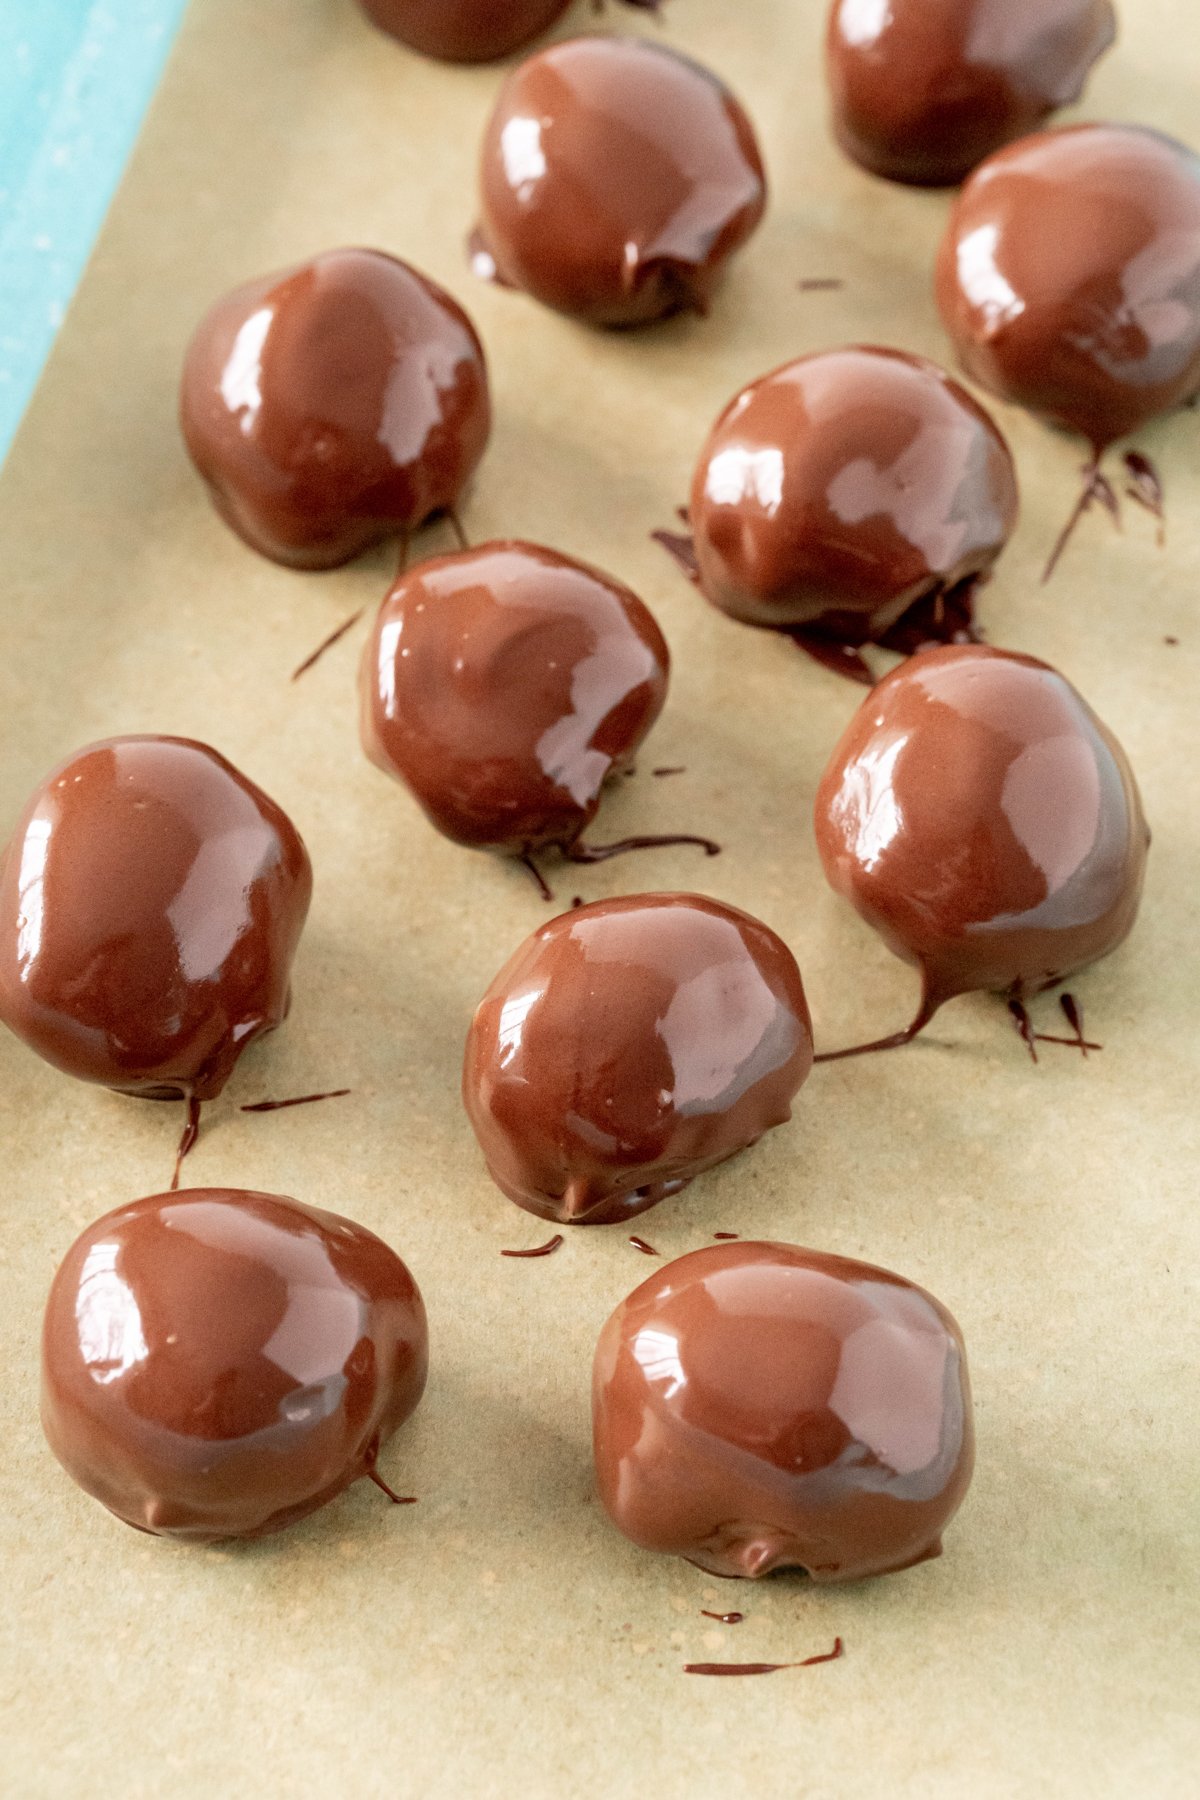
If decorating with sprinkles or additional chocolate, do this before the chocolate completely sets. Adding sprinkles is a great way to make these work for different holidays or to just add a little more chocolate on top, kind of like I did with these brownie balls. Chocolate sprinkles gives these a nice festive feel!
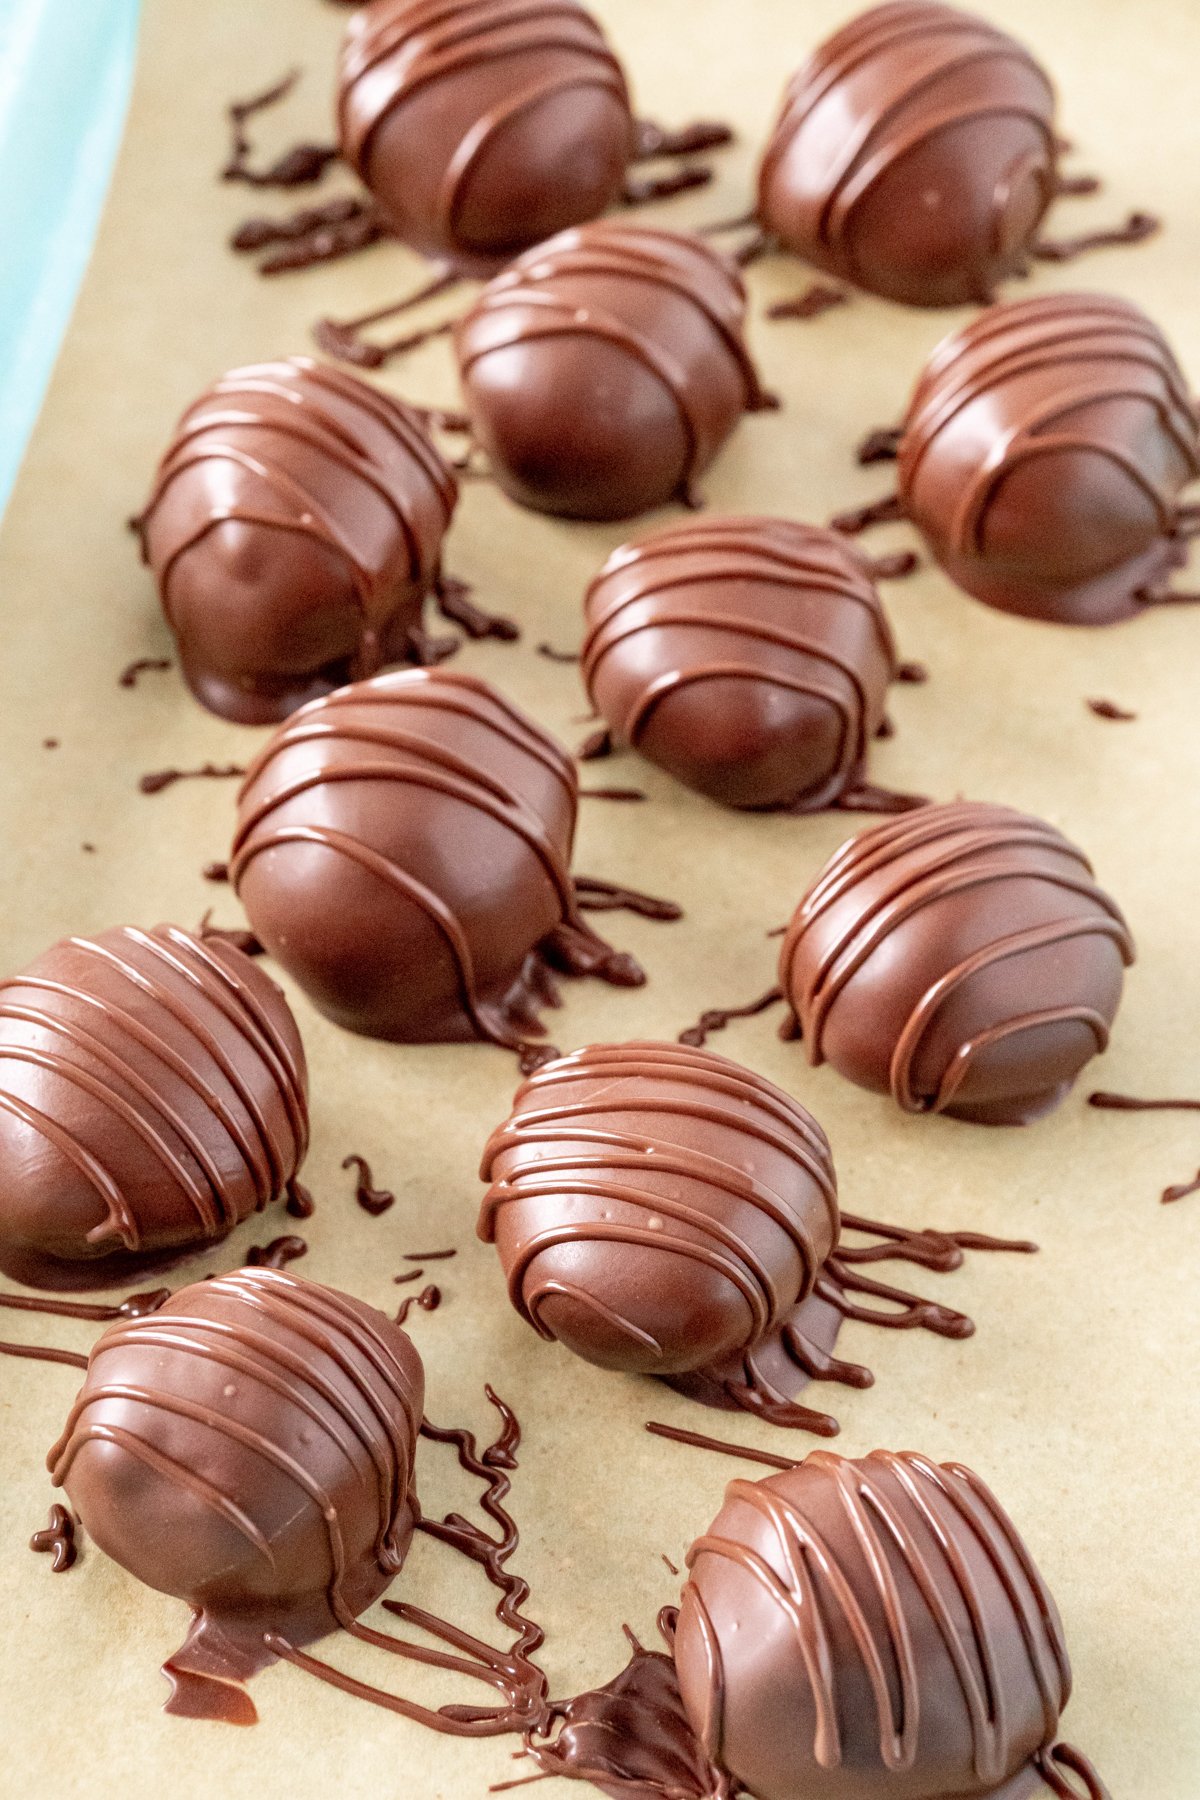
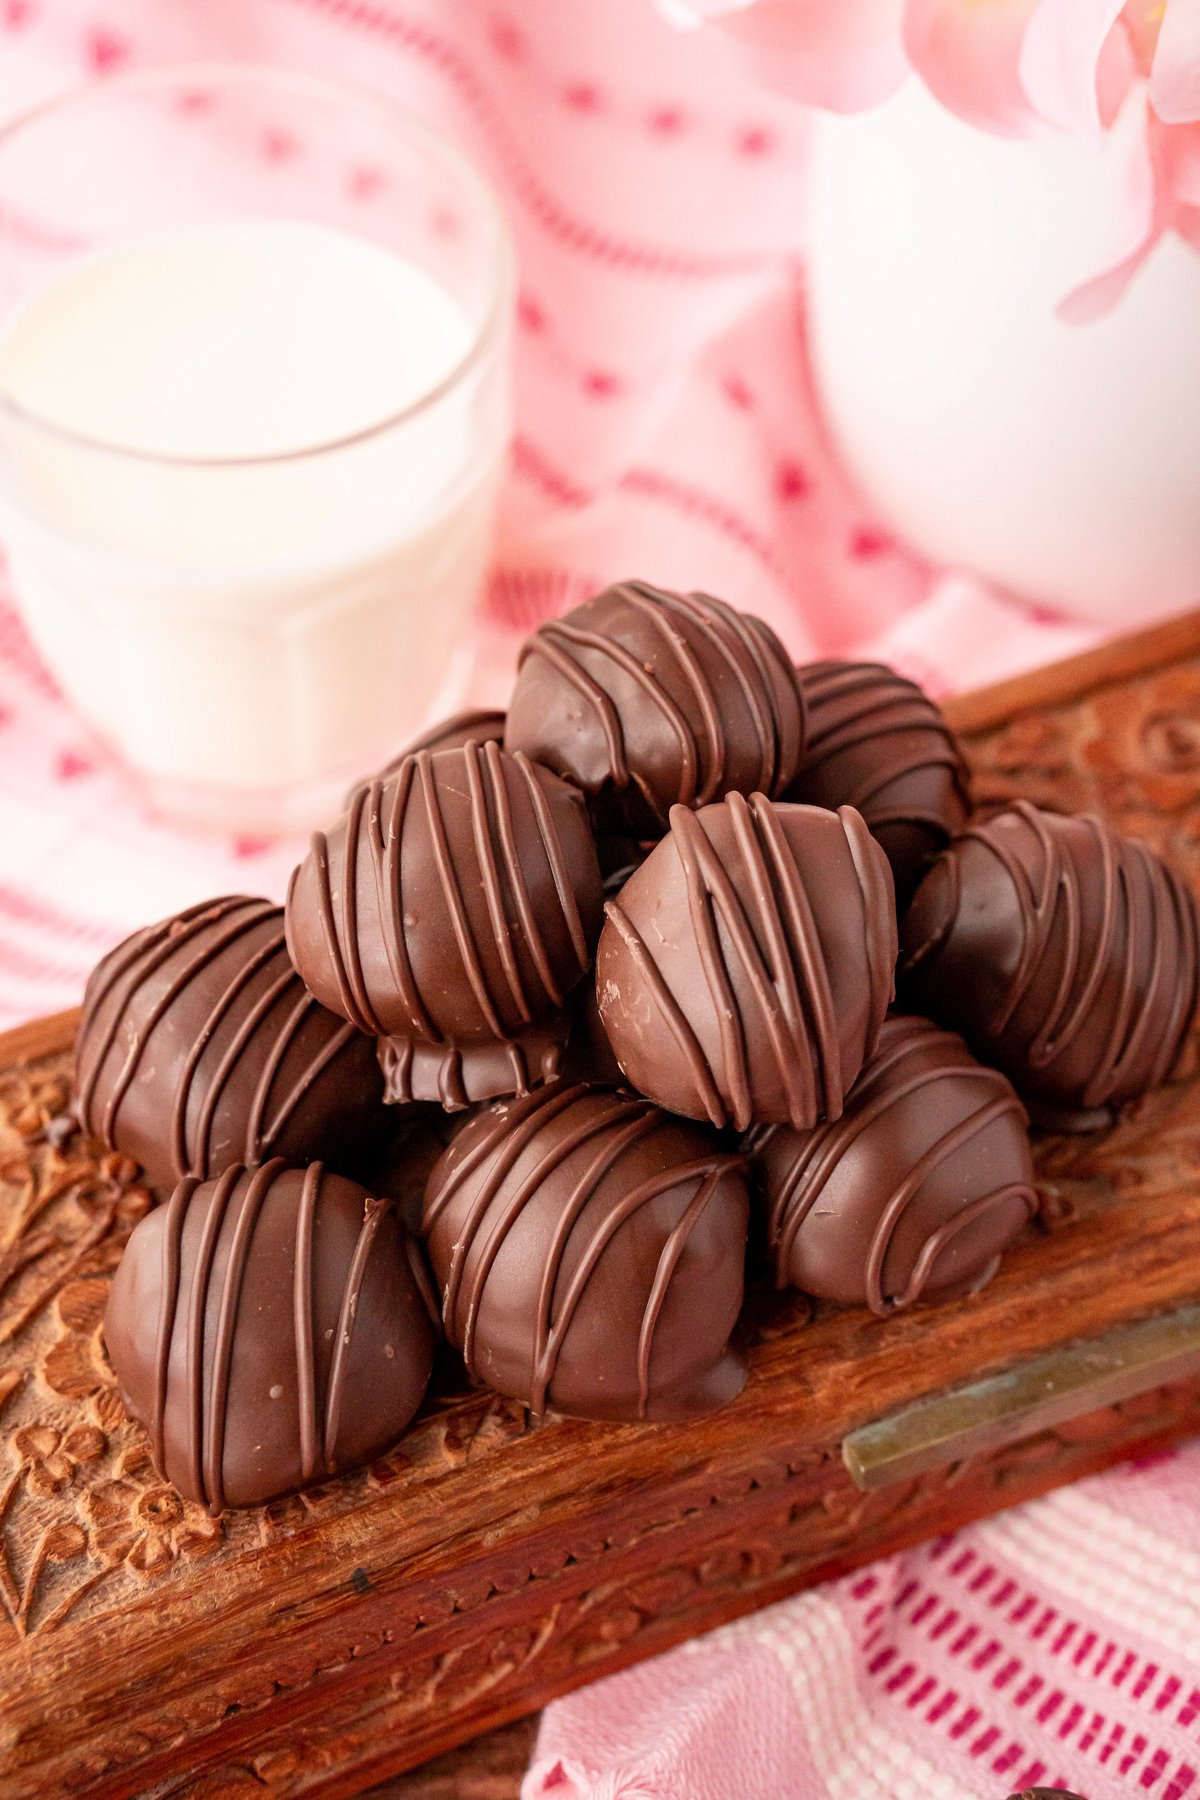
Once the chocolate coating has completely hardened, serve immediately or place in the refrigerator to enjoy later. These are so good, I wish I had another batch to enjoy right now!
Next time I’m freezing a batch to quiet those chocolate cravings!
Expert Tips & Storage Info
Make sure you have a solid hour of time to dedicate to making these truffles so that you don’t end up leaving the truffle mixture too long and ruining the truffles (or having to reheat/start over). There is some downtime in the process, but you should be ready to go with rolling and then dipping when the truffles are ready.
Reheat the truffle mixture by placing it in the microwave at 30 second intervals to soften it back up if you do forget about it in the fridge, and it becomes too hard. Then start the chilling, rolling, etc. process all over again. (This is why I recommend not forgetting it).
Switch it up and roll your truffles in toppings (like cocoa powder, sprinkles, nuts, etc.) instead of dipping them into more chocolate. This is a fun alternative and the rolling can be done right after rolling the balls, no need to chill them again on the baking sheet.
Store the truffles in the refrigerator for up to two weeks in an airtight container or large zipper top bag. If you don’t dip them in chocolate, you can just store them at room temperature for up to two weeks.
Freeze the homemade truffles in a freezer safe container for up to four months. Remove as many as you’d like to defrost and allow to defrost in the fridge before enjoying.
Try these with different flavors depending on your mood! While I liked the milk chocolate and dark chocolate combo, you could try a variety to get different types of richness and flavor.
Recipe FAQs
How long do chocolate truffles last?
These chocolate truffles will last for up to two weeks in the fridge and up to four months in the freezer. Just make sure to store them in an airtight container or zipper top bag.
How do you coat truffles in chocolate?
The easiest way to coat truffles in chocolate is to chill rolled balls of chocolate truffle mixture then carefully dip those rolled balls into melted chocolate using a fork or a chocolate dipper tool like this one. Place the dipped truffles onto a parchment paper lined baking sheet and allow the chocolate on top to harden.
More Easy Chocolate Recipes
If you like chocolate, you have to try these other easy delicious desserts! Perfect for the chocolate lover in all of you!
- Chocolate chip cookie pie – it’s a chocolate chip cookie and a pie all in one, and it’s so good!
- Chocolate chip bundt cake – a delicious cake full of chocolate chip flavor, all topped with a chocolate ganache!
- Brownie lava cake – homemade chocolate lava cake isn’t that hard to make with this easy recipe!
- Chocolate pudding cookies – these triple chocolate cookies are made with chocolate pudding and filled with chocolate flavor!
- Dirt cookies – chocolate dirt and worms cookies, fun and full of yummy surprises!
Want more Goodies?
Want more delicious recipes just like this one? Enter your first name and email address in the form below to join the Play Party Plan community! You’ll receive weekly recipes and party ideas directly to your inbox!

Easy Chocolate Truffle Recipe
Ingredients
- 7 ounces milk chocolate baking chocolate broken into cubes
- 2 TBS salted butter
- ⅓ cup heavy cream
- 10 ounces dark chocolate melting wafers
Instructions
- Start by heating the baking chocolate bars in a small saucepan over low heat. Stir consistently and watch the chocolate until it’s completed melted.7 ounces milk chocolate baking chocolate
- Once the chocolate is melted, add the butter and stir until the butter is completely melted. Then remove the entire mixture from the heat.2 TBS salted butter
- Add the heavy whipping cream to the chocolate and stir until the mixture comes back to a rich chocolate color.1/3 cup heavy cream
- Transfer the chocolate mixture to a small bowl and put it in the refrigerator for 15 to 30 minutes, stirring it every 5 minutes, until the mixture is thickened but not firm.
- Line a baking sheet with parchment paper (or wax paper works as well) and use either a tablespoon or a small cookie scoop to scoop balls of the mixture and place them on the cookie sheet.
- Put back in the refrigerator and chill the chocolate balls for another 10 minutes.
- While the balls are chilling, melt the chocolate wafers in the microwave in a wide mouth glass or bowl at 30 second intervals, stirring between each one. Continue doing this until the chocolate is smooth.10 ounces dark chocolate melting wafers
- Use a fork or chocolate dipping tool to dip the rolled truffles into the melted chocolate, then place them onto a piece of clean wax paper (or parchment paper) to let the chocolate harden.
- If decorating with sprinkles or additional chocolate, do this before the chocolate completely sets.
- Allow chocolate to harden before enjoying.
Tips & Notes:
Nutrition Info
Old recipe?
This post was originally written as a truffles recipe using Vital Proteins collagen. It has since been overhauled to include a regular chocolate truffle recipe. If you’re looking for the old recipe, you can find it here.





Leave a Reply