
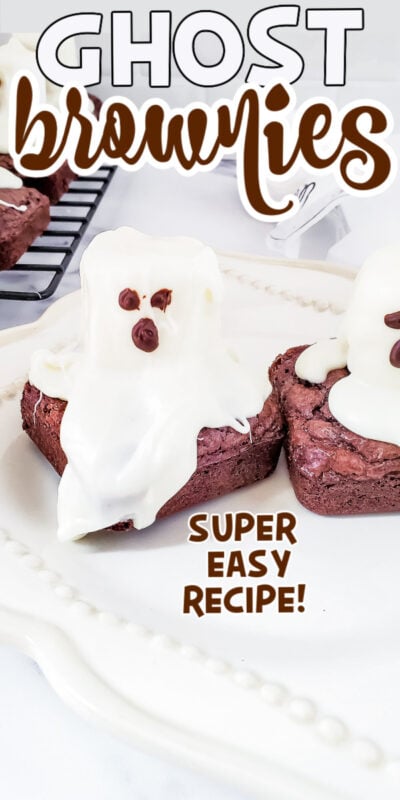
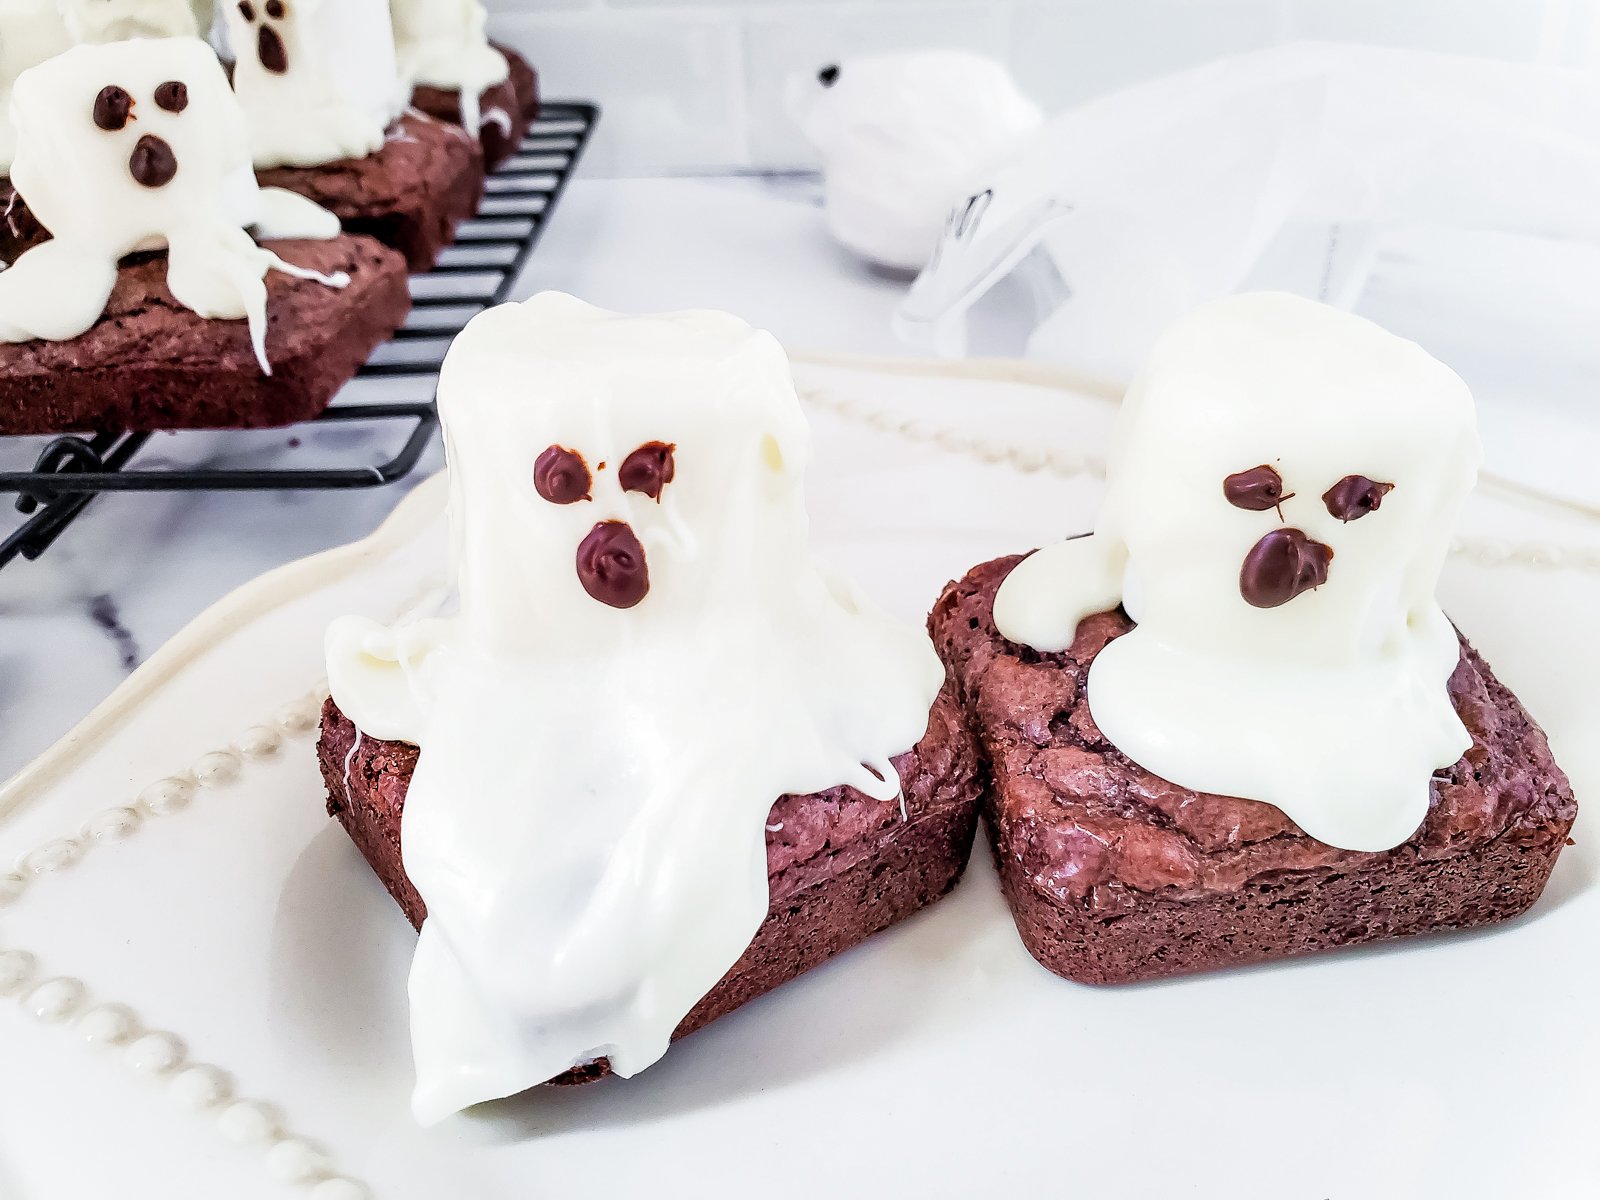
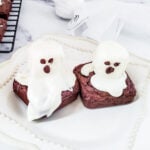
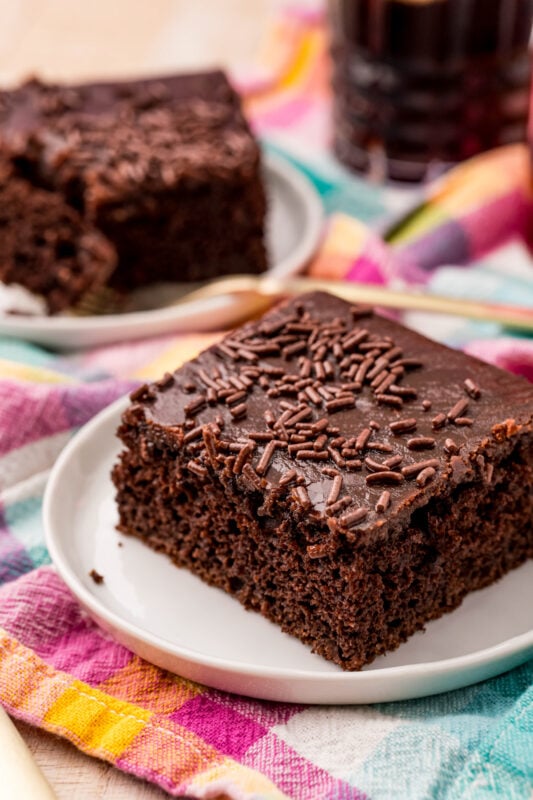
These darling ghost brownies will have everyone around you saying anything but boo! They’re simple to make with just boxed brownie mix, marshmallows, and melting chocolate but impressive all the same!

Want to save this recipe?
Enter your email below and we’ll send this idea straight to your inbox (plus you’ll receive fun weekly ideas from us too!)
I’m all about cute Halloween food these days. From witch rice krispy treats to pumpkin pizzas, there’s just something fun about making adorable Halloween treats!
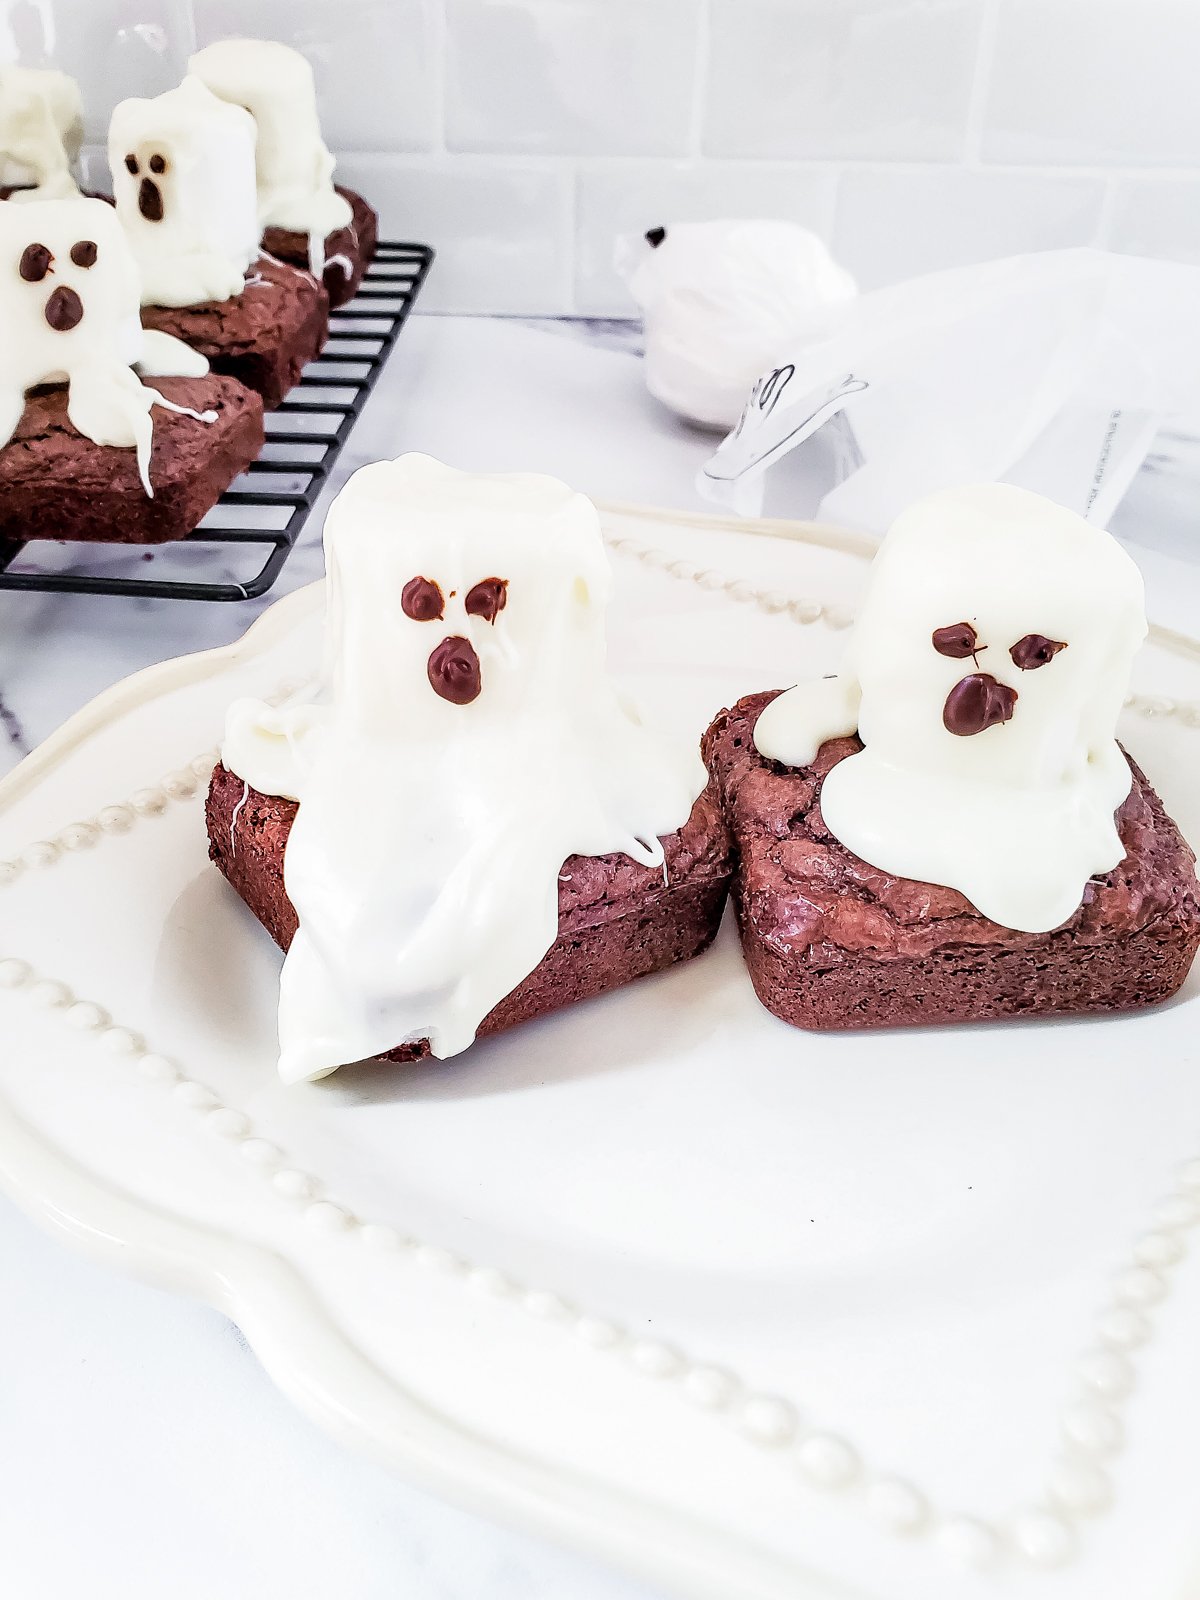
I’ve made these ghost brownies a number of times and one of the best things about them is that they’re a little different every time. The chocolate melts a little different, bends a little different over the marshmallow, flows off the side of the brownie or doesn’t.
It’s super simple to keep them from all looking like cookie cutter treats, and I love that about them. It’s like how every ghost out there from Casper to Peeves looks totally different even though they’re all ghosts!
These also make one of the best Halloween party ideas since you can make them ahead of time and they’ll still be yummy!
Why You’ll Love This Recipe
- Fun for kids – kids will absolutely love helping you make these ghost brownies whether it be making the actual brownies, the ghost, or the ghost faces!
- Make ahead of time – like I mentioned earlier, these are a great make ahead treat because the brownies, marshmallows, and melted chocolate all last for a few days! Make them the day before a Halloween party or right before you want to enjoy and they’ll still be delicious!
- Mysterious – these are so fun because you just need a ghost but don’t know what’s underneath it! It’s kind of like with these Mickey cake pops, they’re cute but no one knows what the ears are made of until biting into them!
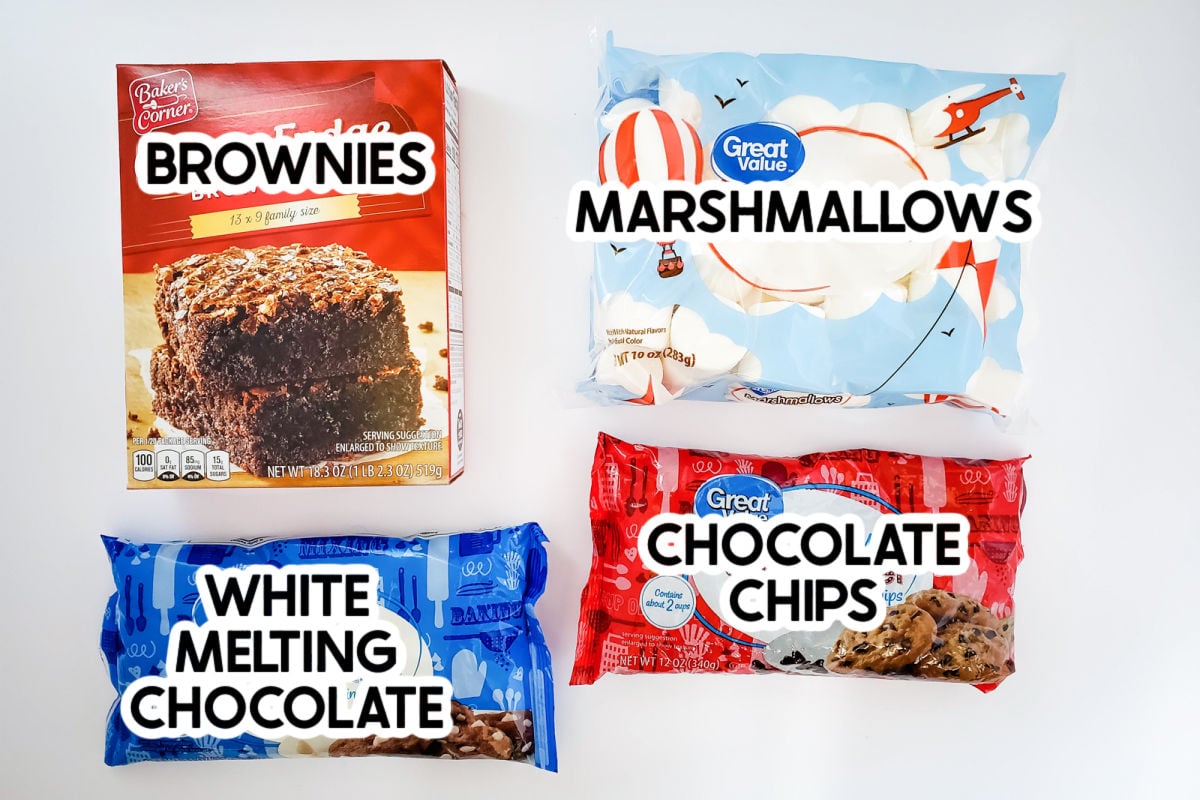
Ingredients
Ingredient Notes
- Baking chocolate – the baking bars work best, but chocolate chips will yield the same results; they are just more finicky to melt. If you want richer brownies use dark chocolate instead of semi-sweet.
- Powdered sugar – don’t skip this, it’s what makes it thick and chewy.
- Oil – this recipe was developed with vegetable oil but any flavorless oil will work. You can also use melted butter for the same results.
- Marshmallows – make sure you get the regular size and regular shape (not s’mores) marshmallows. Nothing else will work for these!
- White chocolate – you’ll need some sort of white chocolate that melts. I personally recommend white chocolate melting wafers because they melt and harden the best. But in a pinch, you can use white chocolate chips or white baking chocolate.
- Chocolate chips – there are a number of options you can use to draw the faces on the ghost brownies, chocolate chips is just one that I know most people have in their homes. So you can either use melted chocolate chips, chocolate melting wafers, or even just chocolate frosting.
How to Make Ghost Brownies
Start by lining a 8×8 or 9×9 glass pan with parchment paper. Parchment paper is best for these but you can get away with spraying non-stick spray if that’s what you have.
Or you can go all fancy and get perfect brownie squares by using a brownie pan like this one! I used a brownie pan just to get the good perfect edges for all of my pictures. It would be great for these if you’re planning on taking them somewhere to share and don’t want the brownies to fall apart!
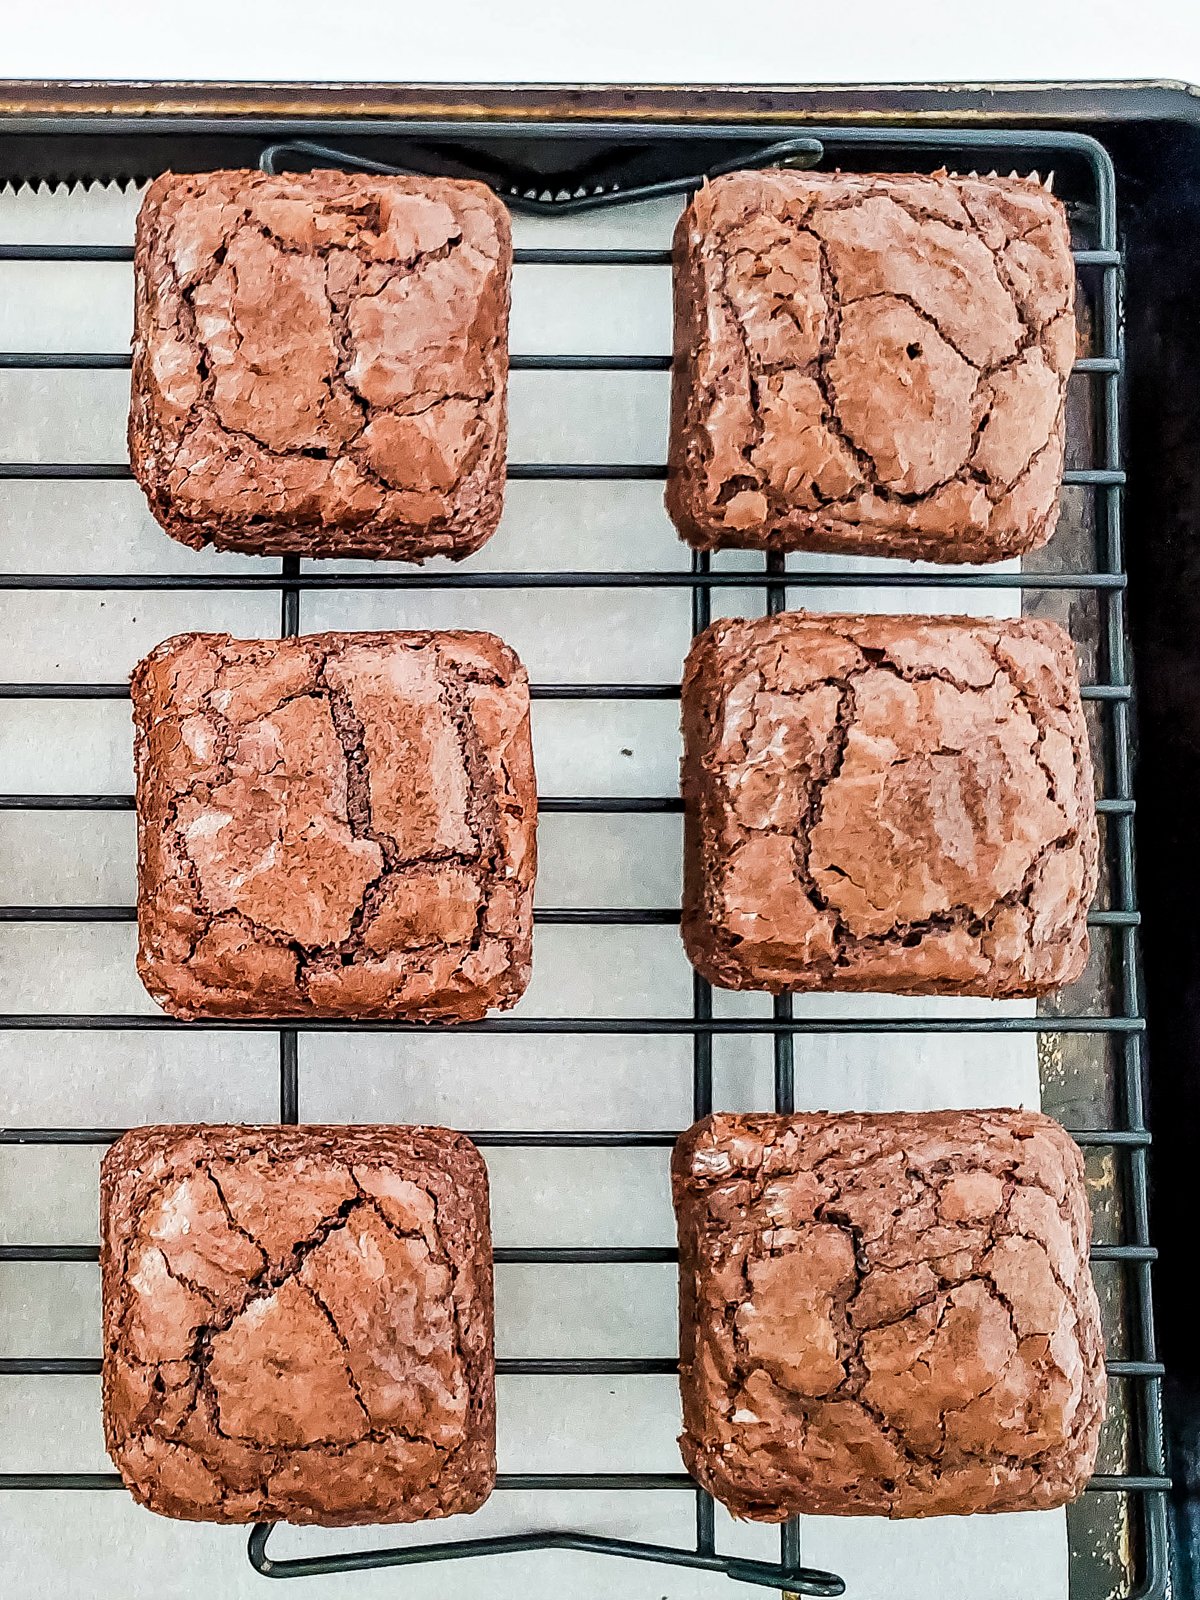
1 – Make the brownies
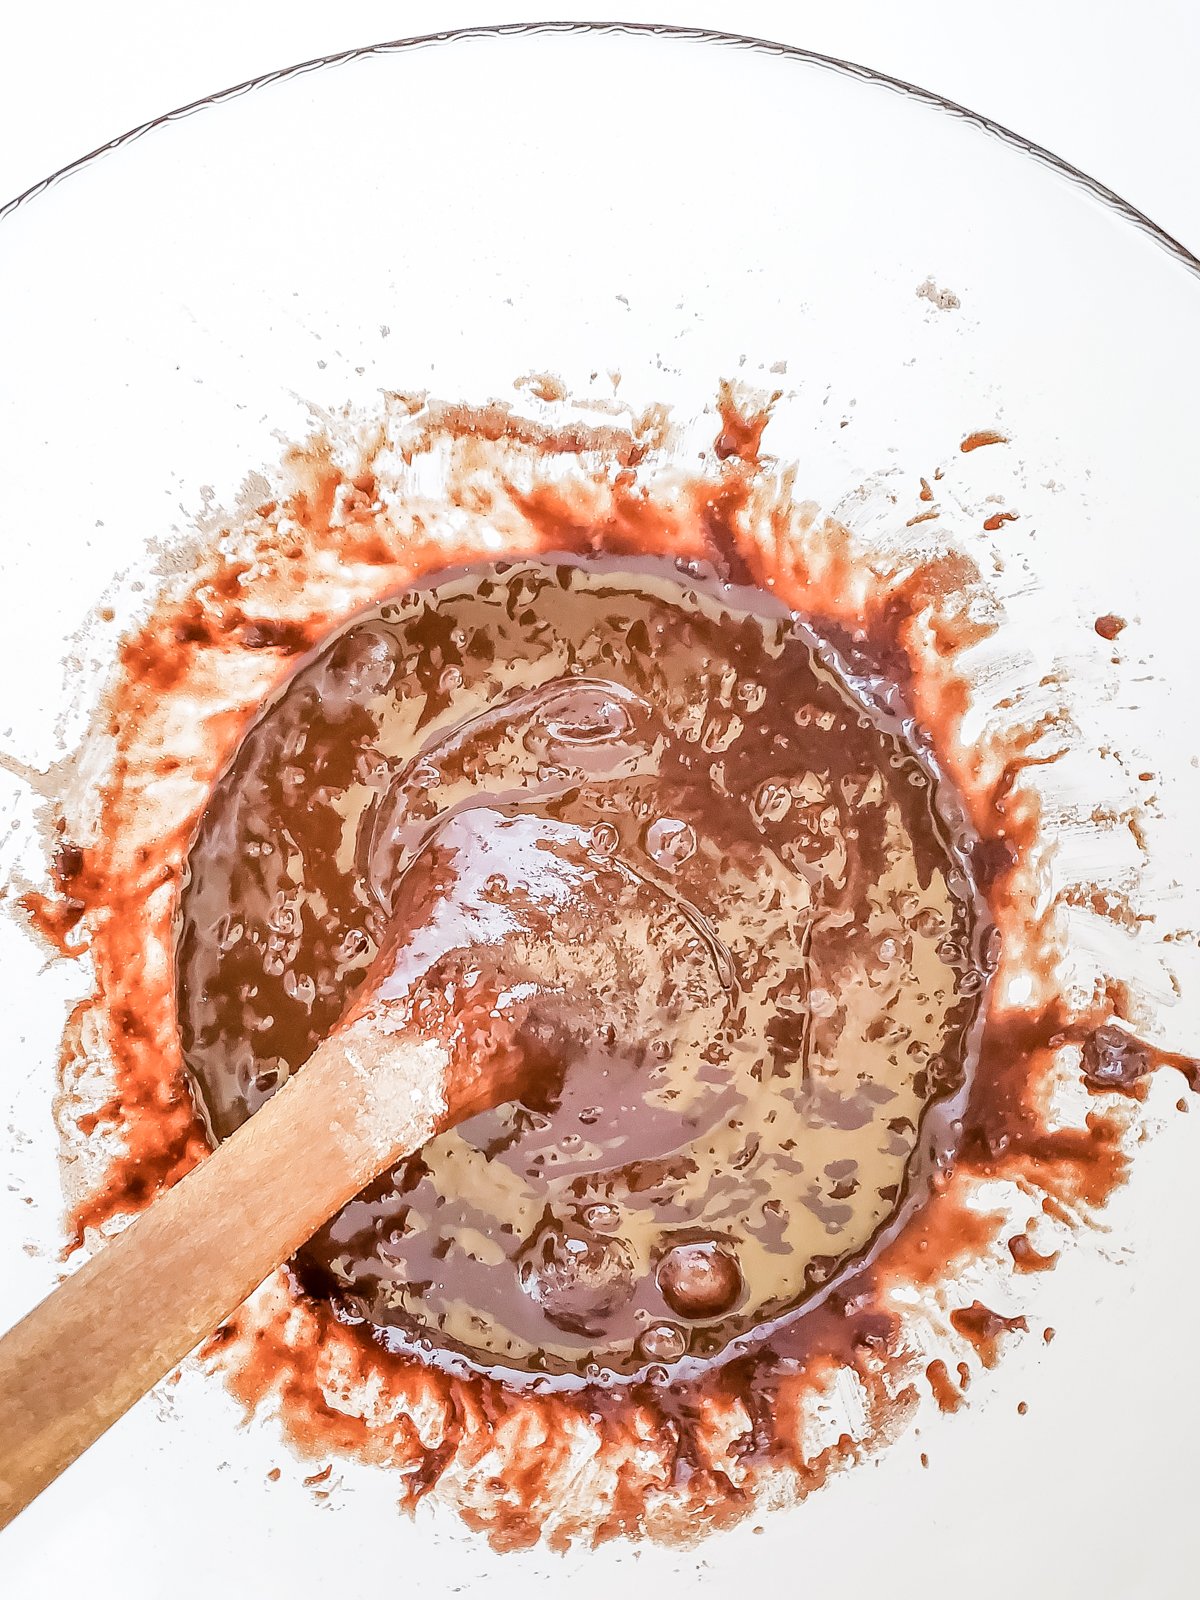
To start the batter, you need to melt the baking chocolate. You can do this in the microwave by heating it in thirty-second increments, making sure to stir in between each one until smooth. You can also use the double broiler method by placing a heat-proof pan over a pot of hot water on the stove.
Once the chocolate is melted, set it aside to use later.
Next combine the flour, cocoa powder, powdered sugar, sugar, and salt in a large bowl. Whisk together until there are no lumps.
In a separate bowl mix eggs, water, oil, and vanilla until combined.
Now pour the wet ingredients into dry ingredients and mix until you no longer see dry patches.
Finally, fold in the melted chocolate until just combined.
Transfer brownie batter to the prepared baking dish and bake for 45 minutes at 325 degrees.
Remove the brownies from the oven and let them cool completely before moving onto the ghosts. If you try to put the ghosts on while they’re still hot or warm the white chocolate is likely to just run off. Feel free to make these the night before so they are ready to decorate when you are.
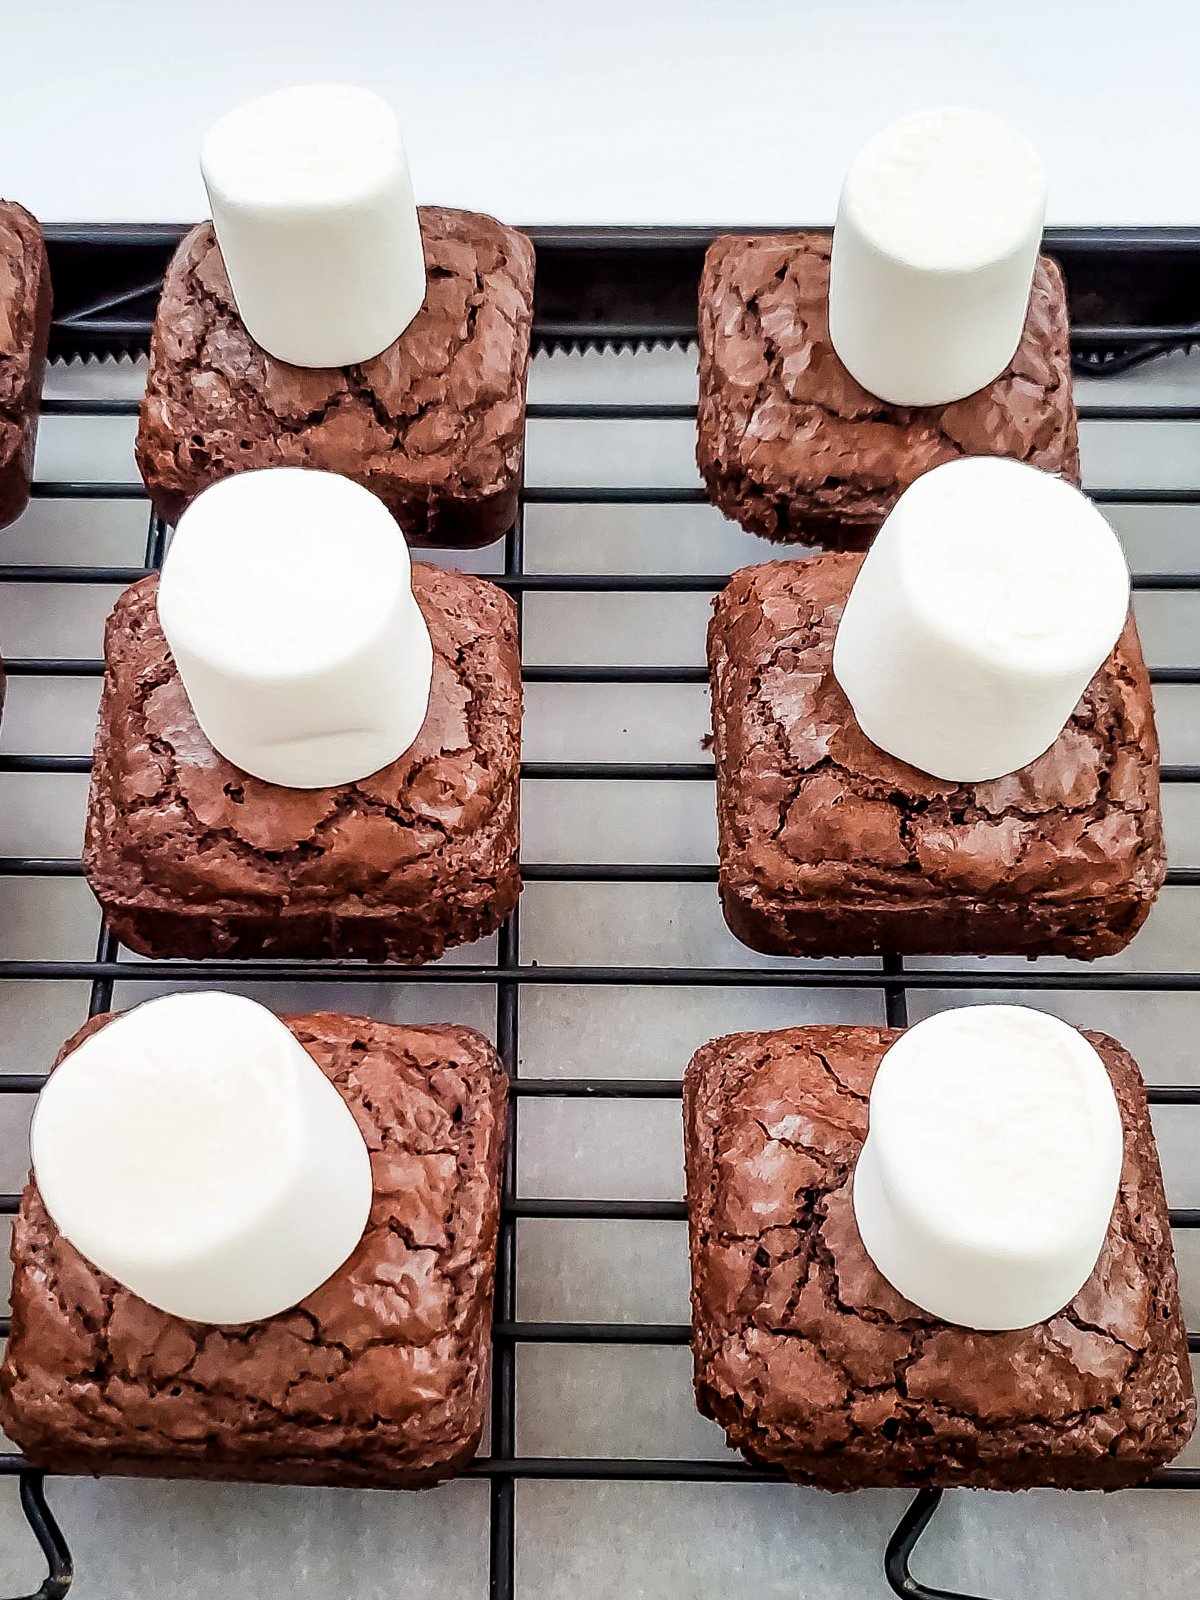
2 – Make the ghosts
Once cooled, start assembling the ghosts by placing one marshmallow in the center of each brownie. You want to make sure you do this first so that you can just start drizzling the chocolate ghosts as soon as your chocolate is melted.
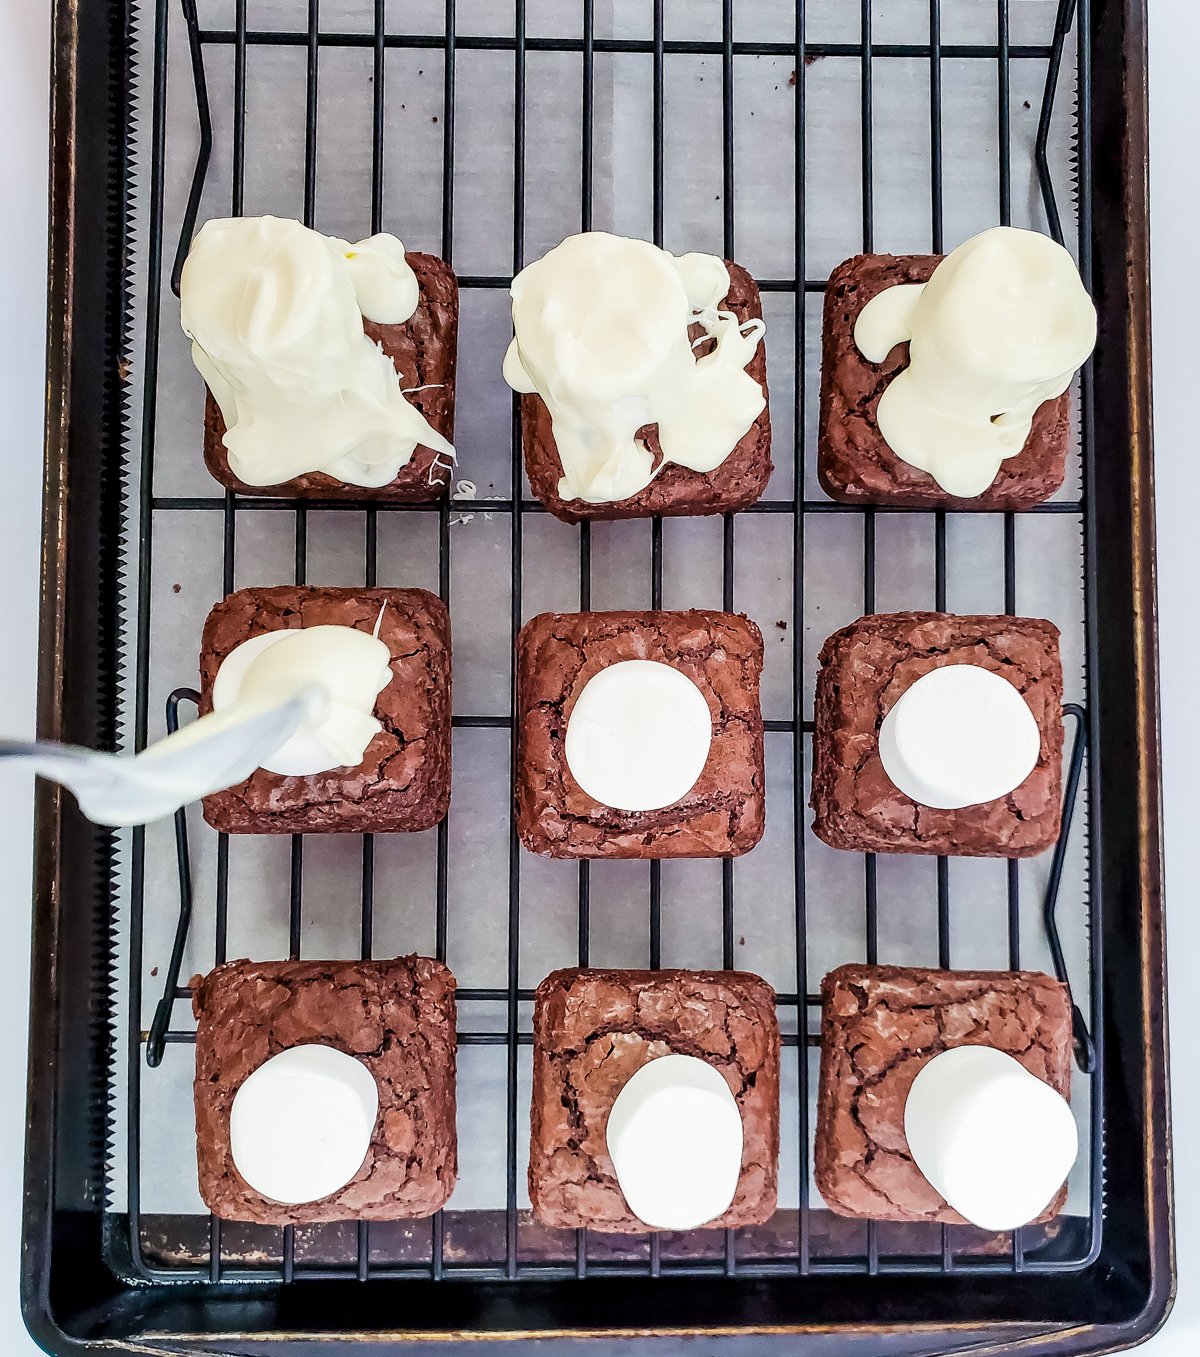
Melt the white chocolate either in the microwave on 1 minute increments, stirring between each increment, or by using a double boiler on the stove. I typically prefer the double boiler method simply because it gives me more control, but it does take more time than the microwave!
Once the chocolate is melted, pour melted white chocolate over top of each of the marshmallows. You want to make sure that the chocolate is a pretty thick layer being poured. If you drizzle a small amount like you would with this sugar cookie icing you won’t get the nice smooth layer you’re looking for.
If you miss any part of the marshmallow just pour a little bit more to cover that section. It’s okay if the melted chocolate goes does the sides of the brownies – that just adds to the look!
Once all brownies are drizzled, place them in the refrigerator for 10 minutes to let the chocolate cool. Make sure to set a timer though because you aren’t going to want the brownies in the refrigerator for too long or else they’ll get hard!
While brownies are in refrigerator, melt the chocolate chips in the same way you melted the white chocolate. Or if you’re using chocolate frosting, you can skip the melting step!
Place melted chocolate or frosting in a piping bag (or plastic bag with the corner cut off) with a small decorating piping tip.
Remove brownies from refrigerator and gently squeeze chocolate through the piping tip to make one dot for each of the eyes, and an oval for the mouth on each brownie.
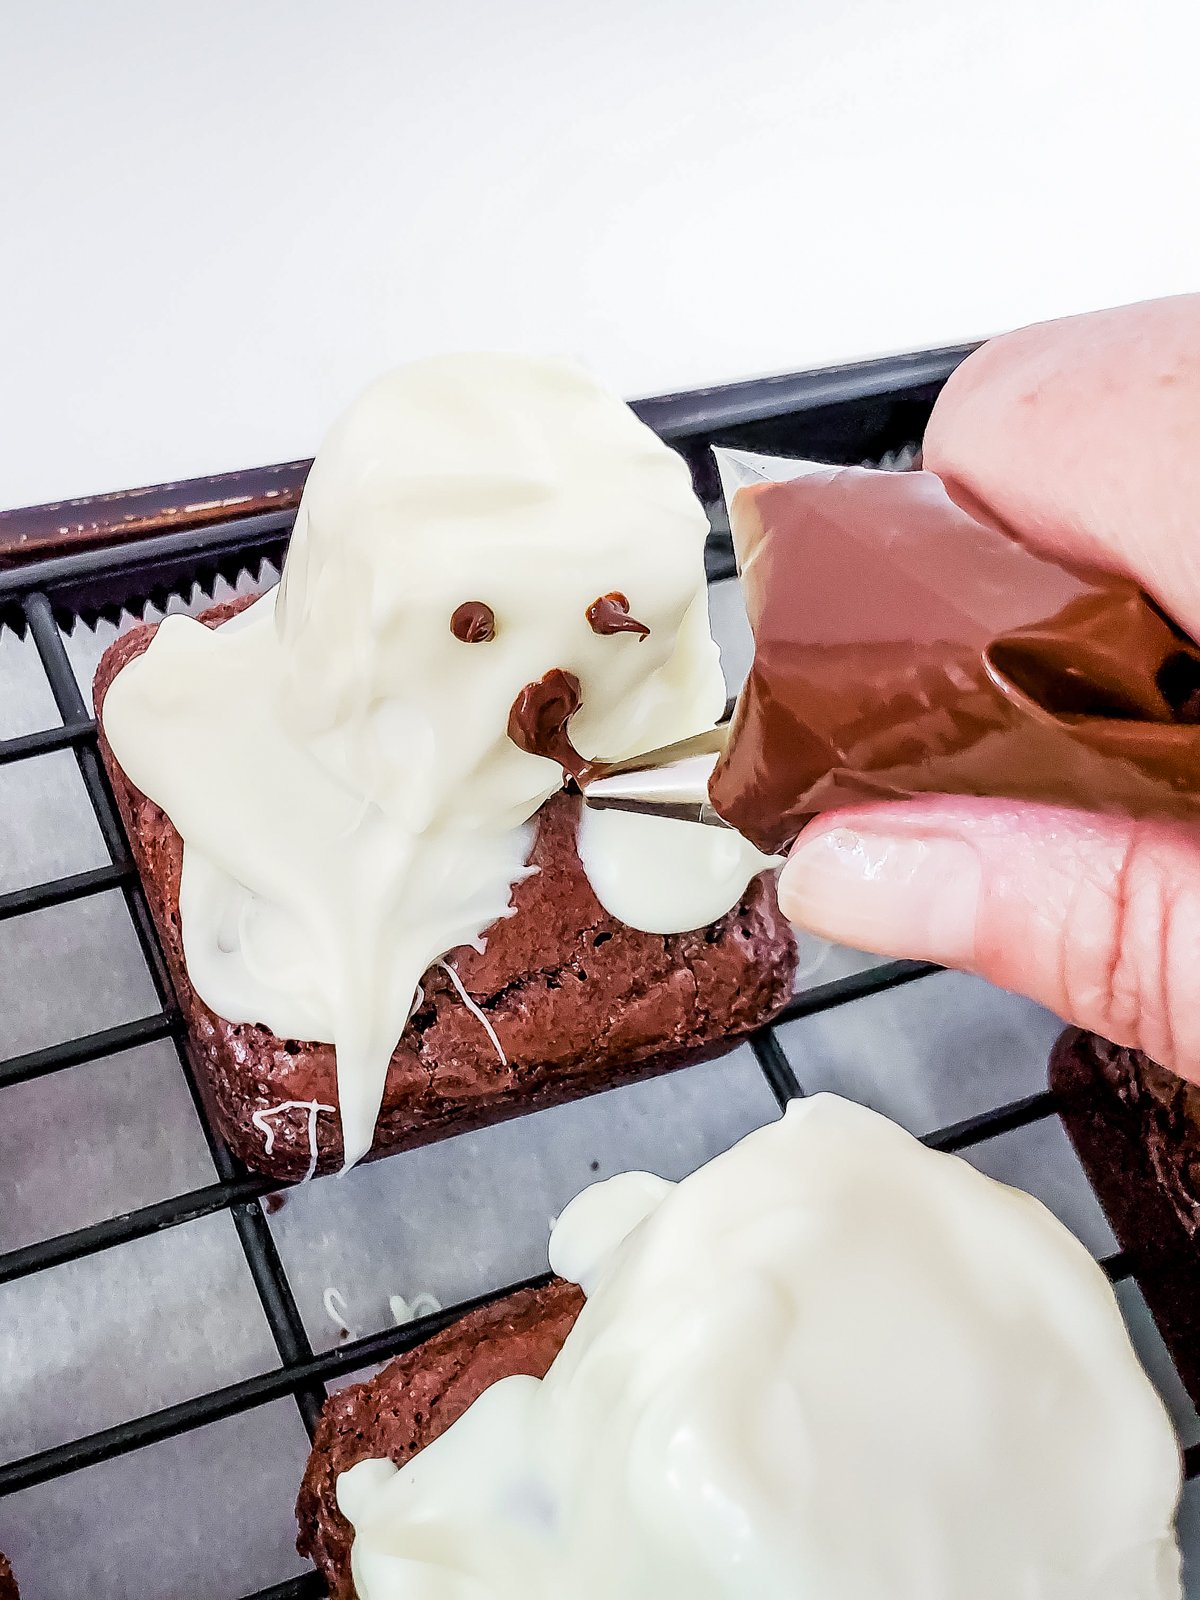
You can try to get creative with the faces, but I found the simpler the better. Some of the creative faces I made turned out to not look like ghosts at all!
Let the melted chocolate or frosting dry then enjoy immediately or within a few days!
Expert Tips
Increase the amount of marshmallows, white chocolate, and chocolate in the recipe if you’re planning to cut the brownies into more than 12 pieces. This recipe is written for 12 square brownies so you may need more if you make more brownies than that!
Use a plastic knife in a sawing motion to cut through the brownies once cooled for the cleanest lines. This will help you give a nice clean look if you’re not using a brownie pan.
Find all the tips and tricks for brownies in this brownie recipe.
Place the brownies on a piece of parchment paper before adding the marshmallows and ghosts to make cleanup of any overflowing chocolate easier.
Store these in an airtight container (or something like this cupcake carrier) for up to five days before tossing. They will not freeze well!
Recipe FAQs
Can you freeze ghost brownies?
These brownies will not freeze well with the ghosts on top. I recommend making and enjoying them fresh.
Do I have to use homemade brownies?
No, you can easily switch it out for the boxed brownies, but this brownie recipe is better than any boxed mix.
More Easy Halloween Treats
If you’re like me and love Halloween treats, you’ll love these ones as well!
- Halloween punch for kids – this zombie inspired Halloween punch is a favorite with kids because of its green color and gummy additions!
- Monster cookie sandwiches – let kids make their own monster cookies with this fun idea! Plus, a free printable to enjoy monster milk as well!
- Monster cinnamon rolls – it’s amazing how easy it is to add a set of candy eyes to a treat and get a Halloween inspired one! These do it well, turning regular cinnamon rolls into monster rolls!
- Layered pudding dessert for Halloween – layer yellow, white, and orange pudding to get these cute candy corn pudding cups!
- Halloween dessert board – this witch inspired dessert board includes all sorts of green, black, and purple treats! Great for a Halloween movie night!
Want more Goodies?
Want more delicious recipes just like this one? Enter your first name and email address in the form below to join the Play Party Plan community! You’ll receive weekly recipes and party ideas directly to your inbox!
Ghost Brownies
Ingredients
Brownies
- 4 oz semi-sweet chocolate
- 1 ½ cup powdered sugar
- ½ cup sugar
- ¾ cup flour
- ¼ cup cocoa powder
- 1 tsp salt
- 2 eggs
- ⅓ cup oil
- ¼ cup water
- 1 tsp vanilla
Ghosts
- 9 large marshmallows
- 12 ounces white chocolate chips
- 3 ounces semi sweet chocolate chips or chocolate frosting
Instructions
- Preheat oven to 325 degrees.
- Line a 8×8 or 9×9 pan with parchment paper.
- Using a microwave-safe bowl, melt ounces of chocolate. Microwave for 30 seconds then stir. Return to the microwave and heat for 15 seconds. Remove and stir. Continue to heat in 15-second increments until it is fully melted and silky. Set aside to cool slightly, not all the way.4 oz semi-sweet chocolate
- Mix powdered sugar, sugar, flour, cocoa powder, and salt in a large bowl. Whisk until fully combined and there are no lumps.1 1/2 cup powdered sugar, 1/2 cup sugar, 3/4 cup flour, 1/4 cup cocoa powder, 1 tsp salt
- In a small bowl mix eggs, oil, water, and vanilla.2 eggs, 1/3 cup oil, 1/4 cup water, 1 tsp vanilla
- Add the wet ingredients to the dry ingredients and mix just until you see no dry patches.
- Fold in the melted chocolate until just combined.
- Transfer the batter to the prepared pan, spreading the batter evenly throughout the pan.
- Bake for 45 minutes or unitl a toothpick comes out clean.
- Remove the brownies from the oven and let them cool completely before moving onto the ghosts. Cut into squares once cooled.
- Place one marshmallow on each of the brownies.9 large marshmallows
- Melt the white chocolate either in the microwave on 1 minute increments, stirring between each increment, or by using a double boiler on the stove.12 ounces white chocolate chips
- Using a spoon or pouring spout, pour melted white chocolate over top of each of the marshmallows.
- Once all brownies are covered, place them in the refrigerator for 10 minutes.
- While brownies are in refrigerator, melt the chocolate chips in the same way you melted the white chocolate.3 ounces semi sweet chocolate chips
- Remove brownies from refrigerator and gently squeeze chocolate through the piping tip to make one dot for each of the eyes, and an oval for the mouth on each brownie.
- Let the melted chocolate dry then enjoy immediately or within a few days!
Tips & Notes:
- White chocolate – I personally recommend white chocolate melting wafers because they melt and harden the best. But in a pinch, you can use white chocolate chips or white baking chocolate.
- Chocolate chips – you can either use melted chocolate chips, chocolate melting wafers, or even just chocolate frosting.


Leave a Reply