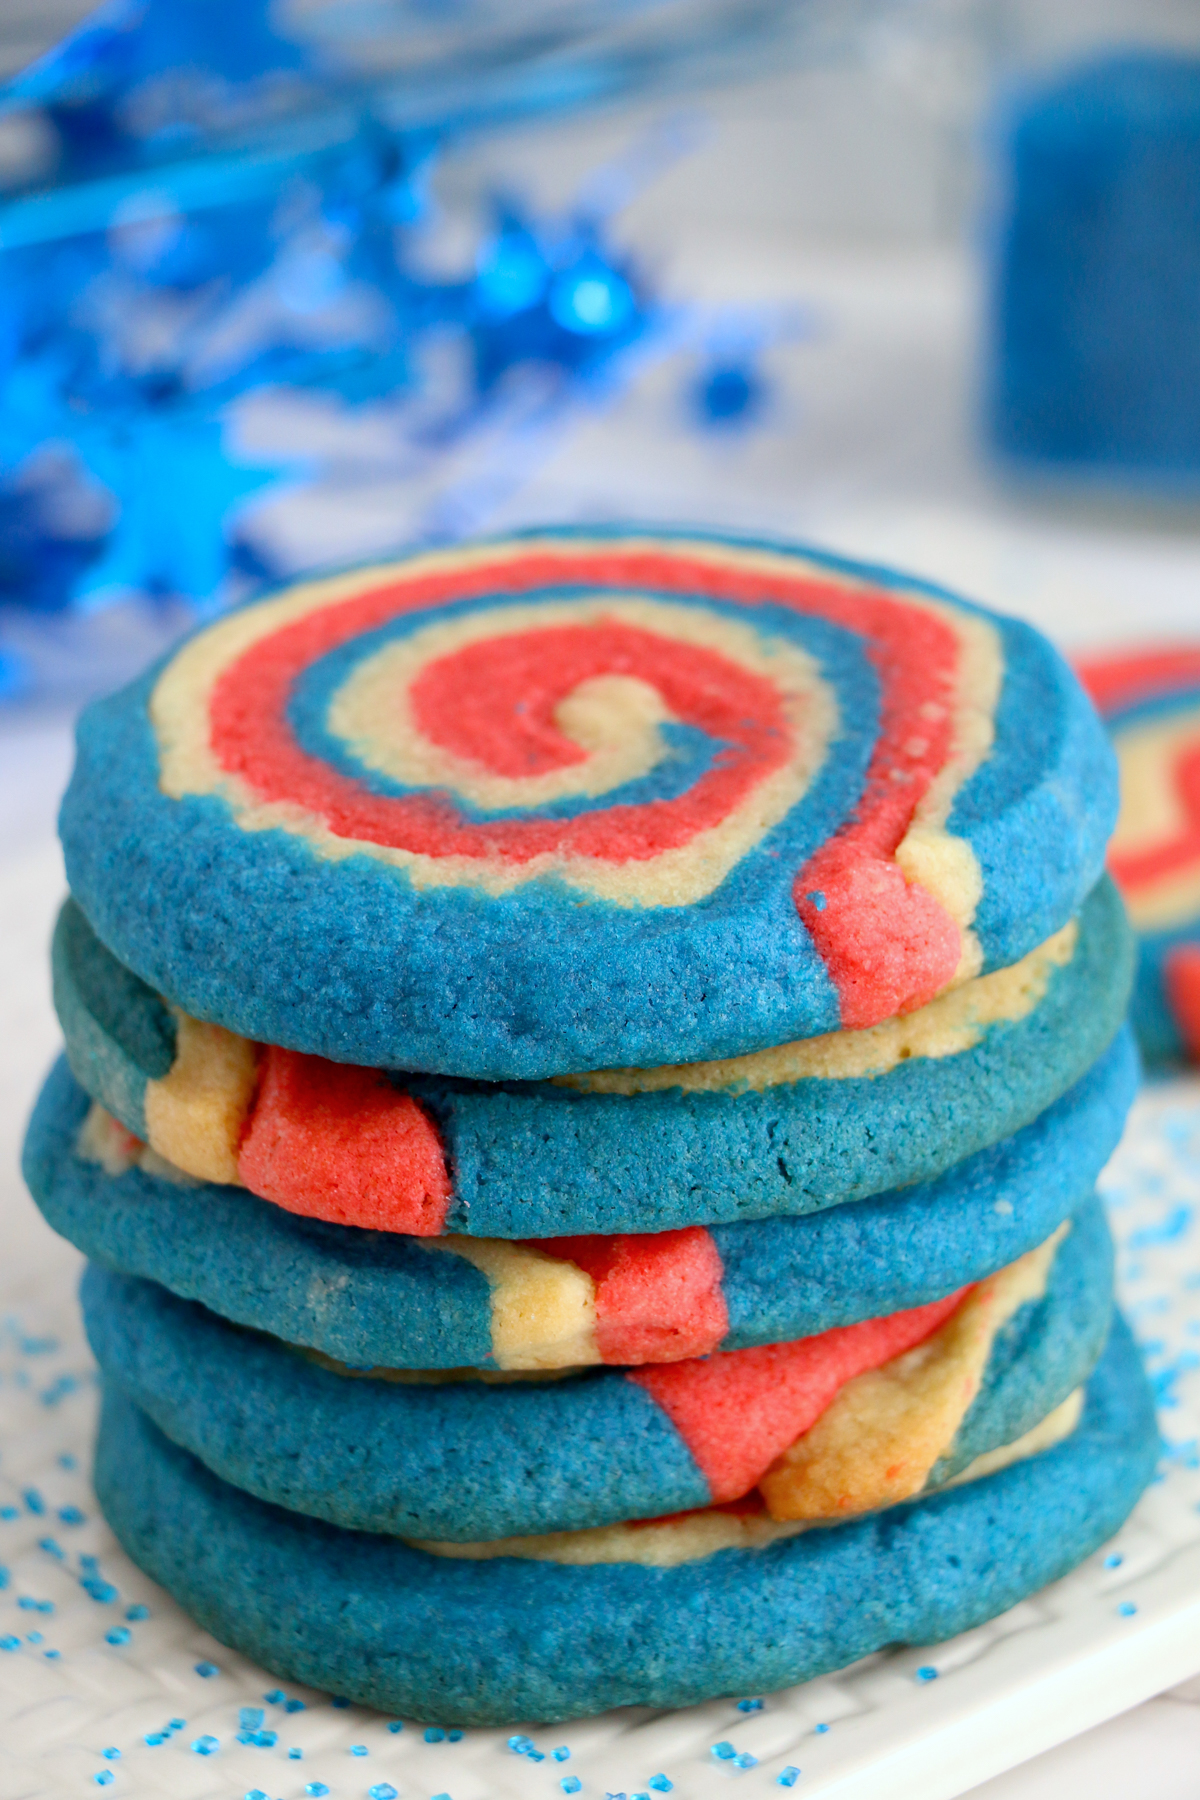
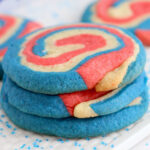
This delicious red white and blue pinwheel cookie recipe swirls three colors of sugar cookies into a tasty treat that’s as fun as it is yummy! It’s the perfect cookie for a patriotic celebration or 4th of July party!
Want to save this recipe?
Enter your email below and we’ll send this idea straight to your inbox (plus you’ll receive fun weekly ideas from us too!)
Last year I shared these Christmas pinwheel cookies using red and green, and it got me thinking – what are some other popular color combinations I could use to make more pinwheel cookies. They have to be good for something other than just Christmas cookies!
Red, white, and blue of course! It’s the perfect color combination of the upcoming July 4th holiday, and I just love how the colors come together in these cookies. They’re one of my new favorite patriotic dessert recipes!
Combine these with spiral cookies with some of these other red, white, and blue desserts like these patriotic mini cheesecake, this flag cake, and this 4th of July charcuterie board for the ultimate dessert spread!
They’d also be perfect in a sweet land of liberty table that’s full of 4th of July sweets!
Why You’ll Love This Recipe
- Easy – if you can make sugar cookie dough (and everyone can), you can make these easy pinwheel cookies. It’s actually much simpler than the final cookies make them seem!
- Delicious cookies – the taste of these is just as good as the look. They’re sweet, buttery, and oh so soft! Plus, everything that looks good tastes good.
- Can use different colors – while I’m making these 4th of July pinwheel cookies, you could use different colors and make these work for anything. Use varying shades of blue to go with any of these boy baby shower themes. Use pastel colors to use as prizes for these Easter games. You get it – the possibilities are endless.
Ingredients
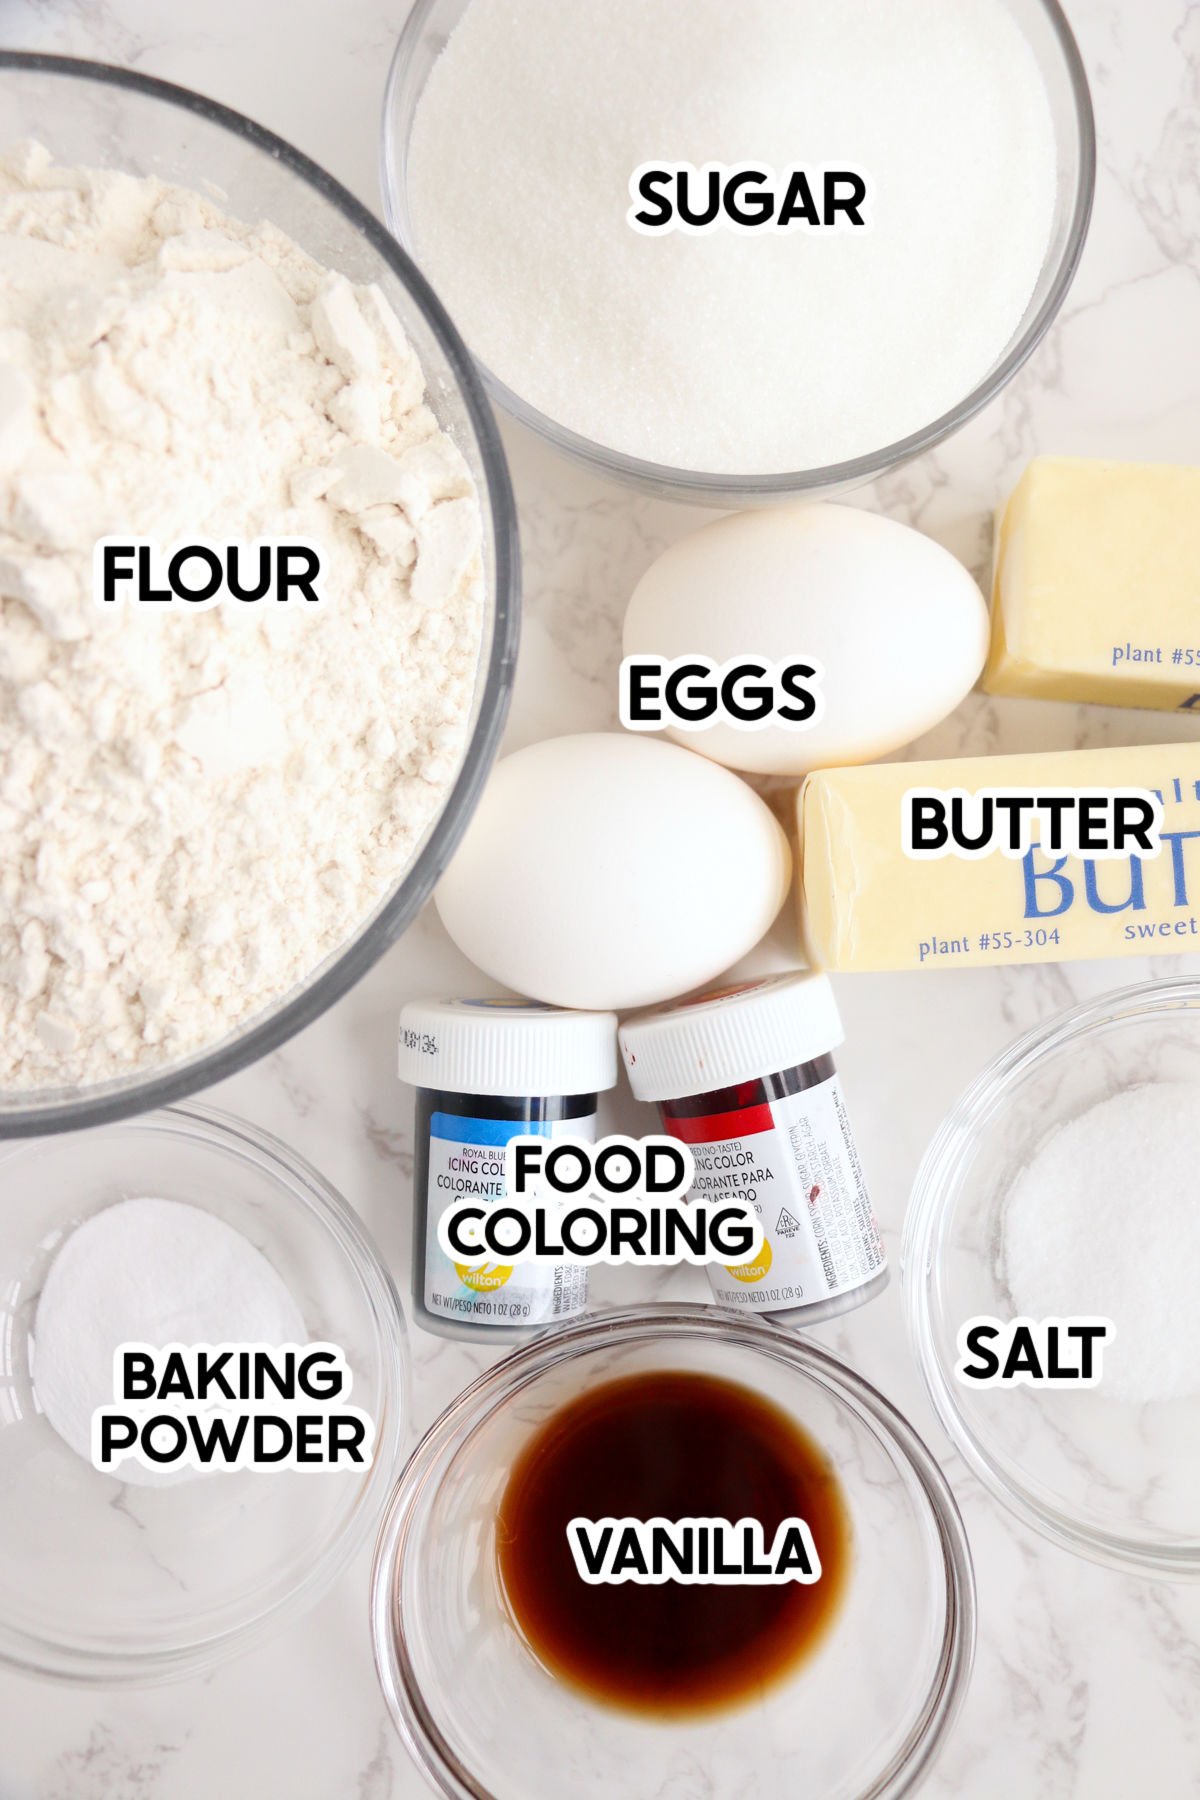
Ingredient Notes
- Butter – make sure your butter is nice and soft before you add it to this recipe! I also recommend using unsalted butter since you’ll be adding extra salt to the recipe. If you only have salted butter, decrease the amount of salt from 3/4 tsp salt to 1/2 tsp salt.
- Food coloring – I highly recommend using gel food coloring in these compared to liquid because it tends to give you a more vibrant and bold color with just a little. Liquid on the other hand can impact the consistency of the cookies because you have to add a lot of liquid food color to get the bright colors you want for these.
- Flour – these are best with all purpose flour, just like most cookie recipes!
All the other ingredients are just basic ingredients you’d find in your pantry or fridge for a simple sugar cookie recipe. If you don’t have them on hand, you can pick them all up at the local grocery store.
How to make pinwheel cookies
Like I mentioned before, these festive pinwheel cookies look impressive, but they’re actually simple cookies. That’s why they’re one of my favorite cookies – they look fun and taste great, with very little work!
1 – Make the cookie dough
Preheat oven to 350°F and line a baking sheet (aka cookie sheet) with parchment paper. Or if you’re going to make multiple batches, cookie sheets with sheets of parchment paper.
Cream butter and sugar together in a large bowl (or the bowl of a stand mixer) with a paddle attachment until smooth.
Next, add eggs and vanilla extract and beat until light and fluffy using an electric mixer.
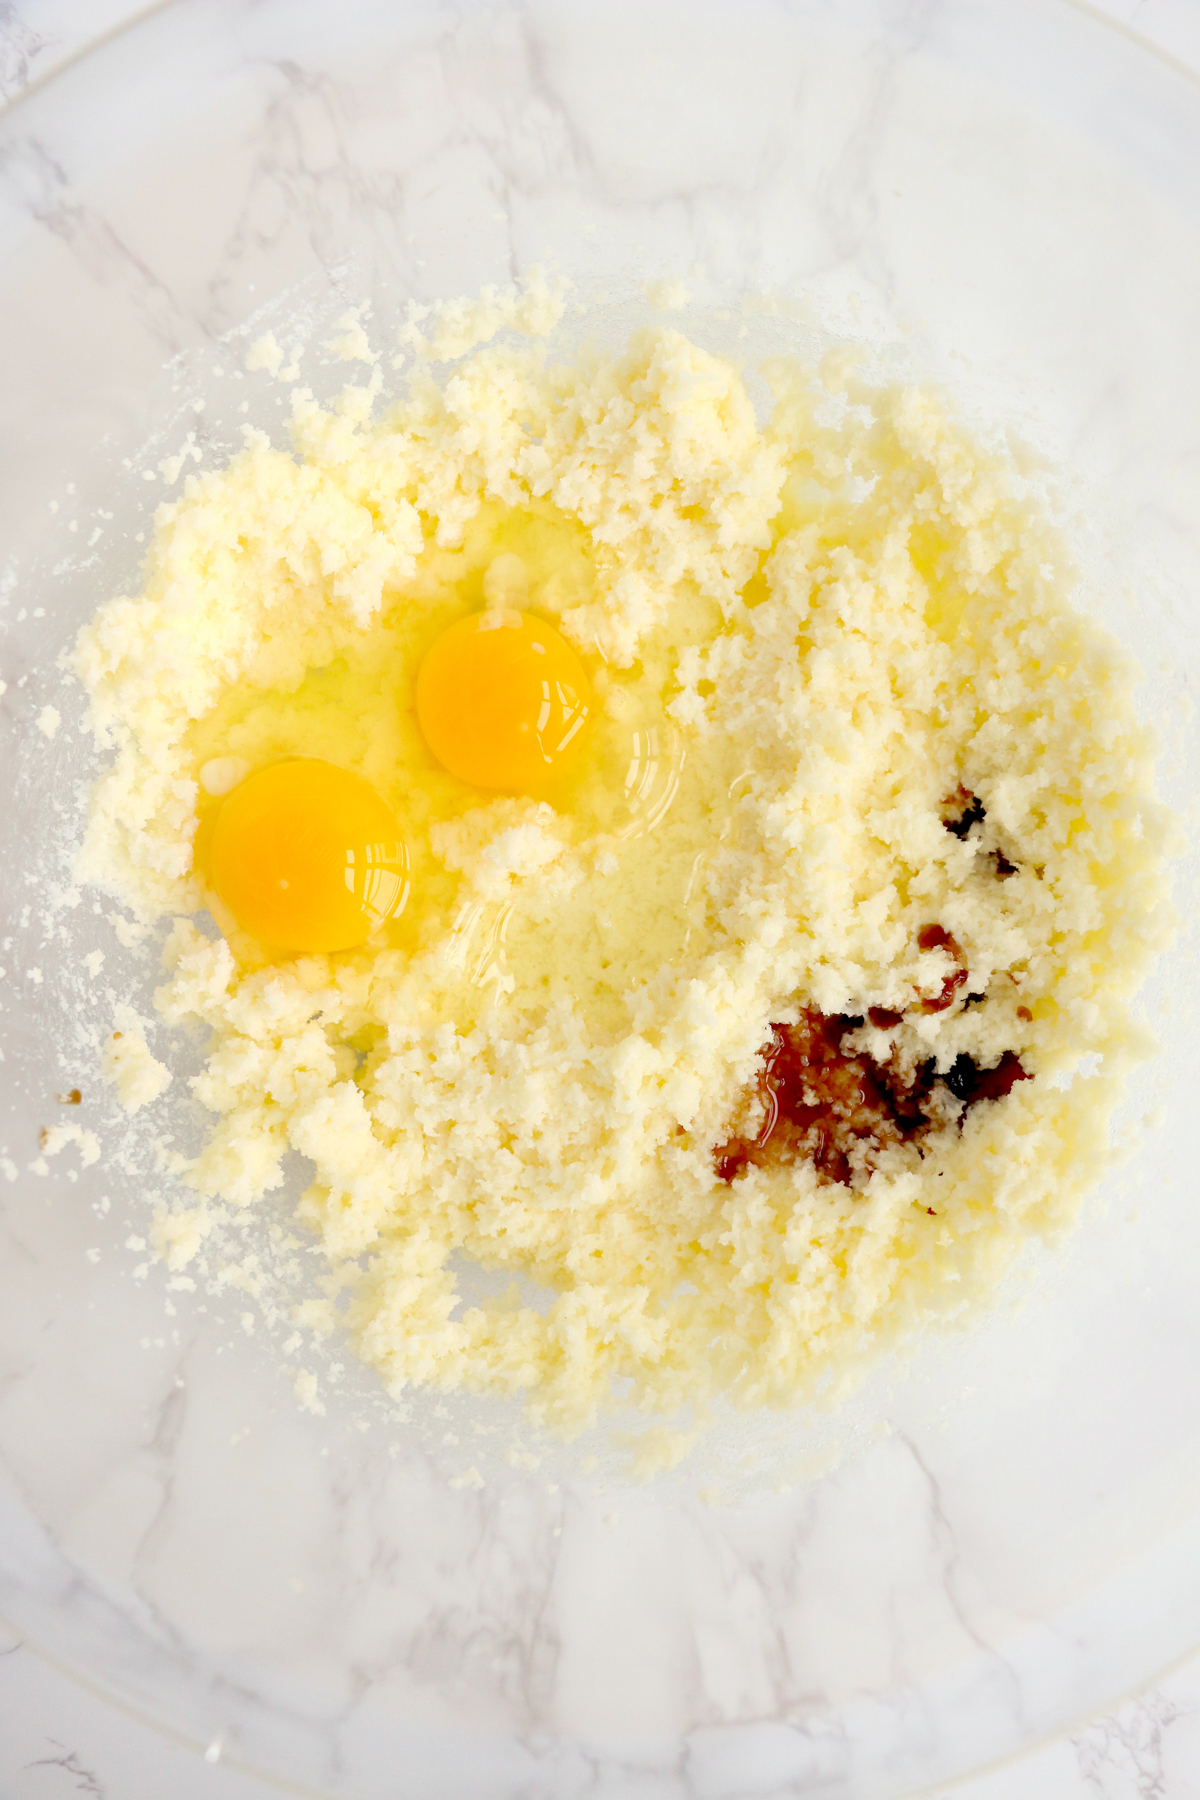
Next add flour, baking powder and salt. Beat until all the dry ingredients are incorporated into a ball of dough.
2 – Color and Chill Dough
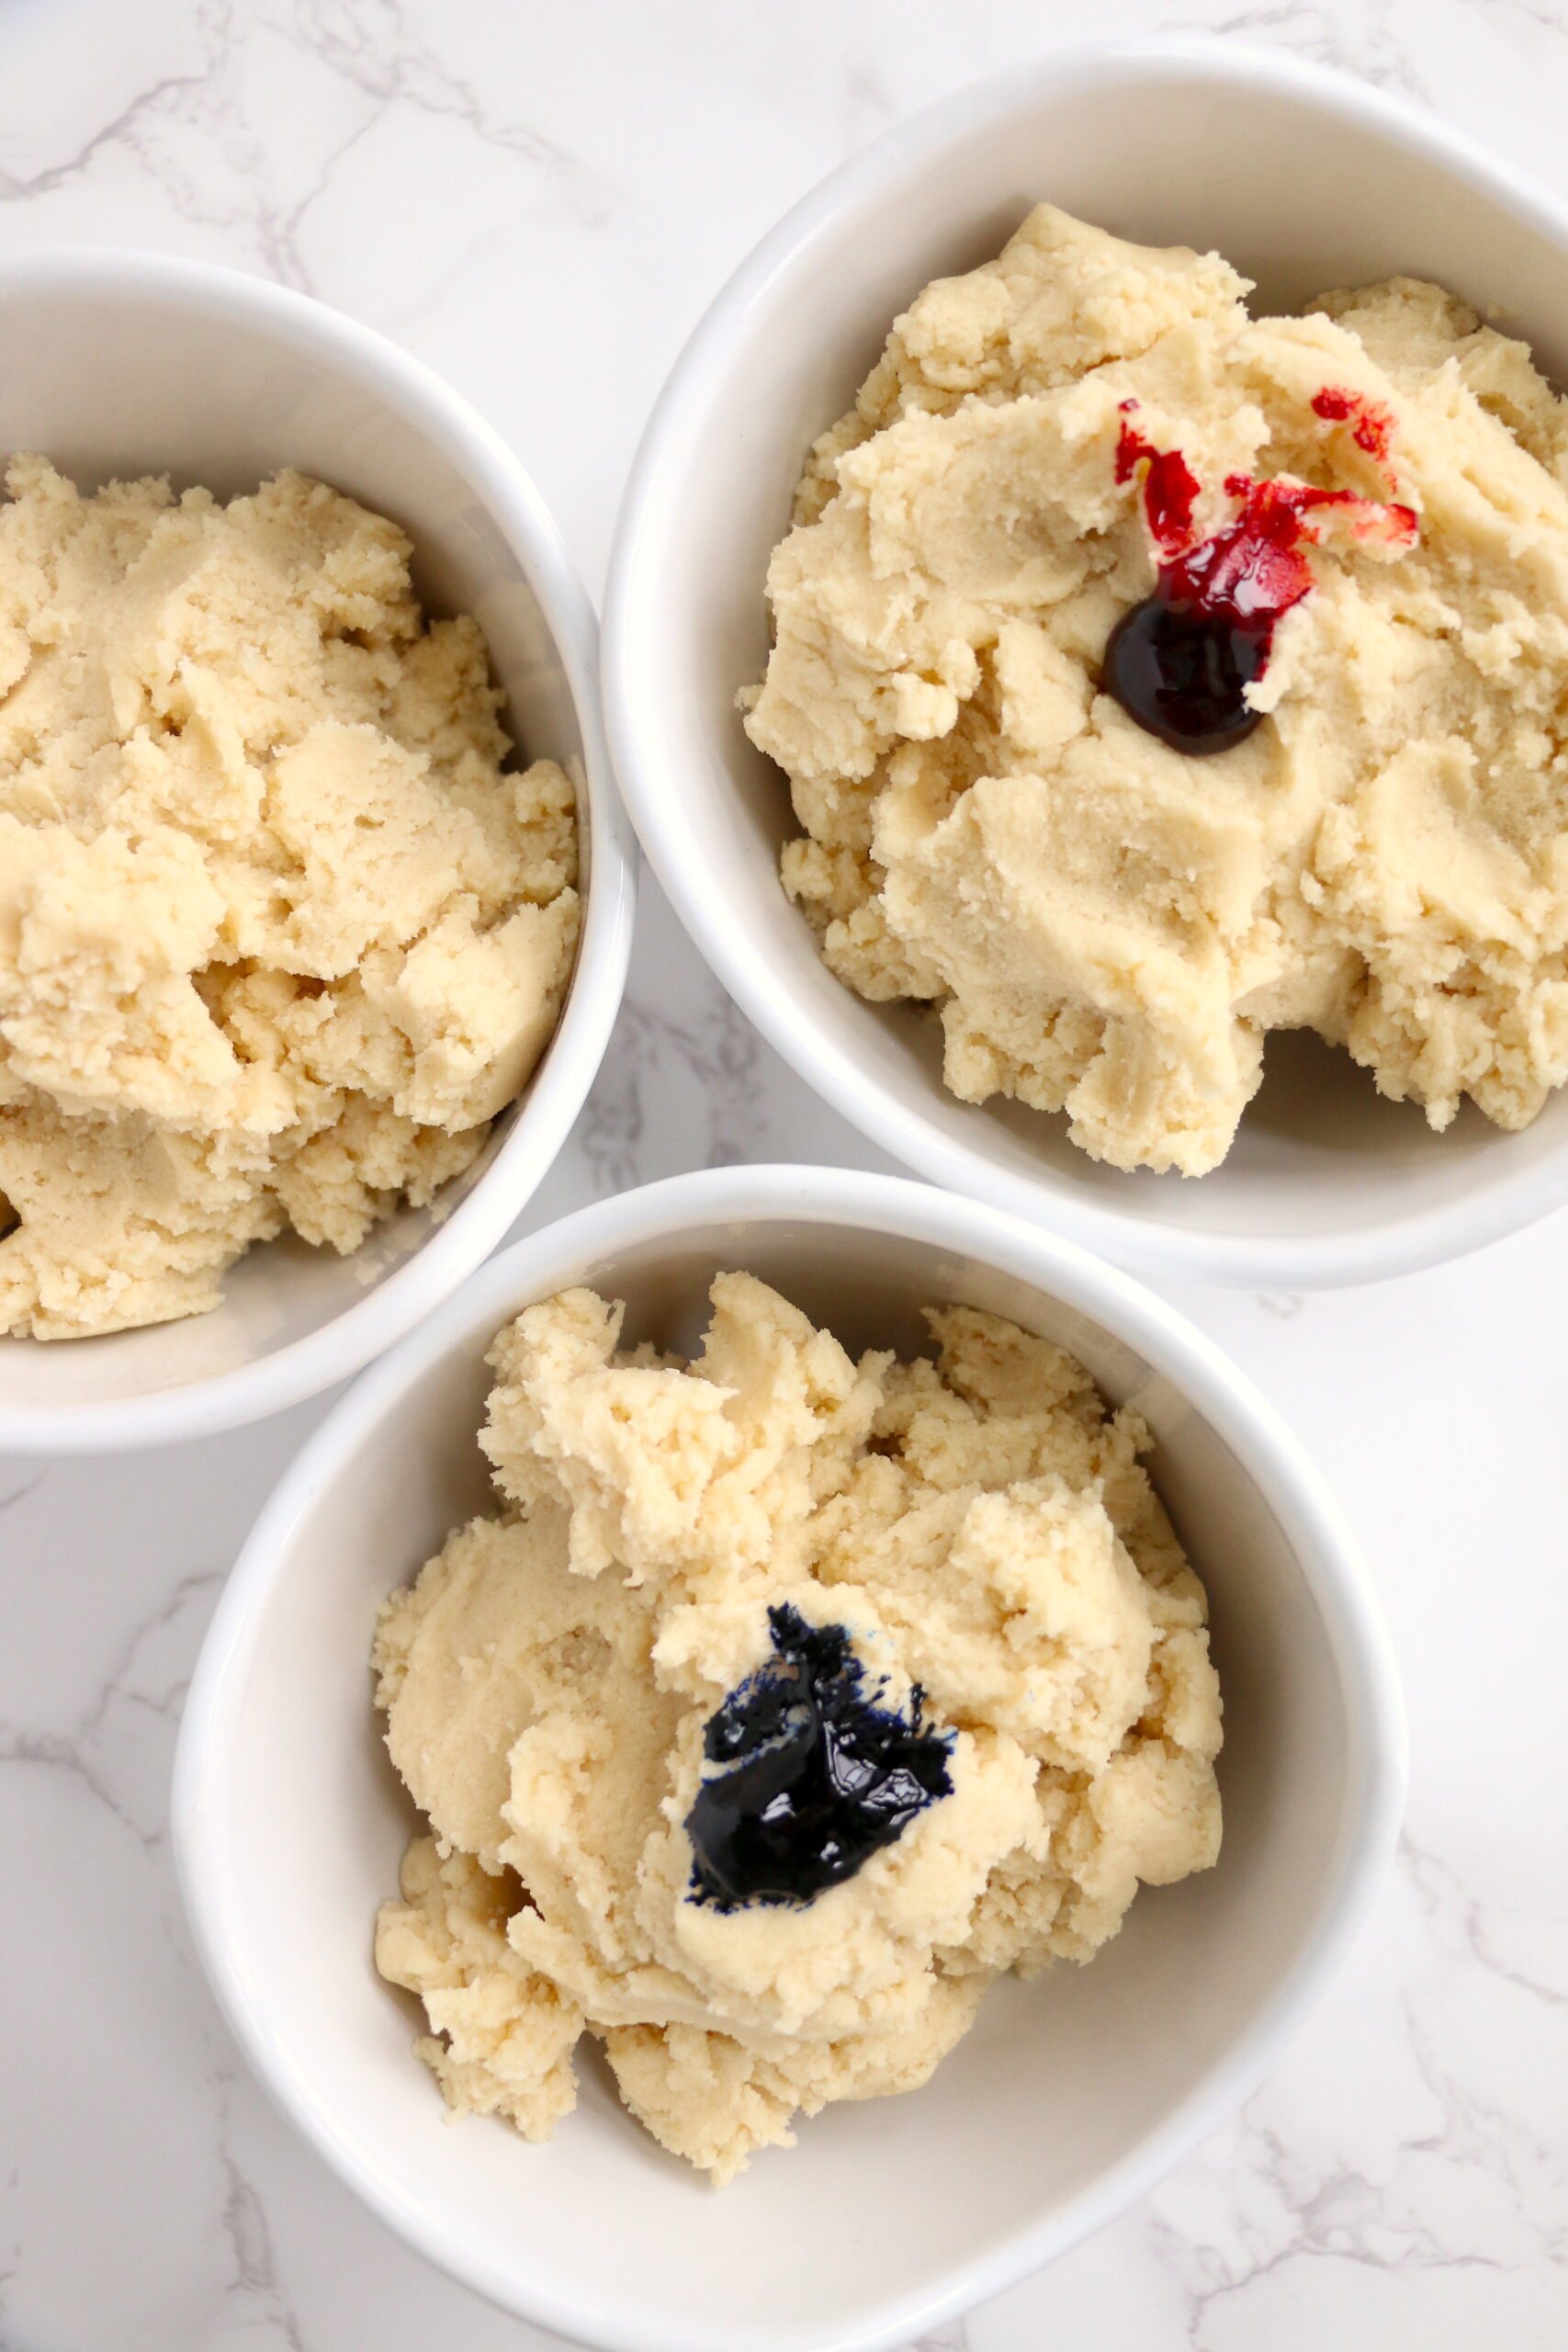
Divide dough evenly into three pieces of dough. Place one piece of dough into a medium bowl and add blue food coloring and mix well, adding more food coloring until the desired shade is achieved.
Then repeat with a second piece of dough and the red coloring.
The third piece of dough will remain white so you can just set that aside or leave it in the large mixing bowl while you’re coloring the other sections of dough
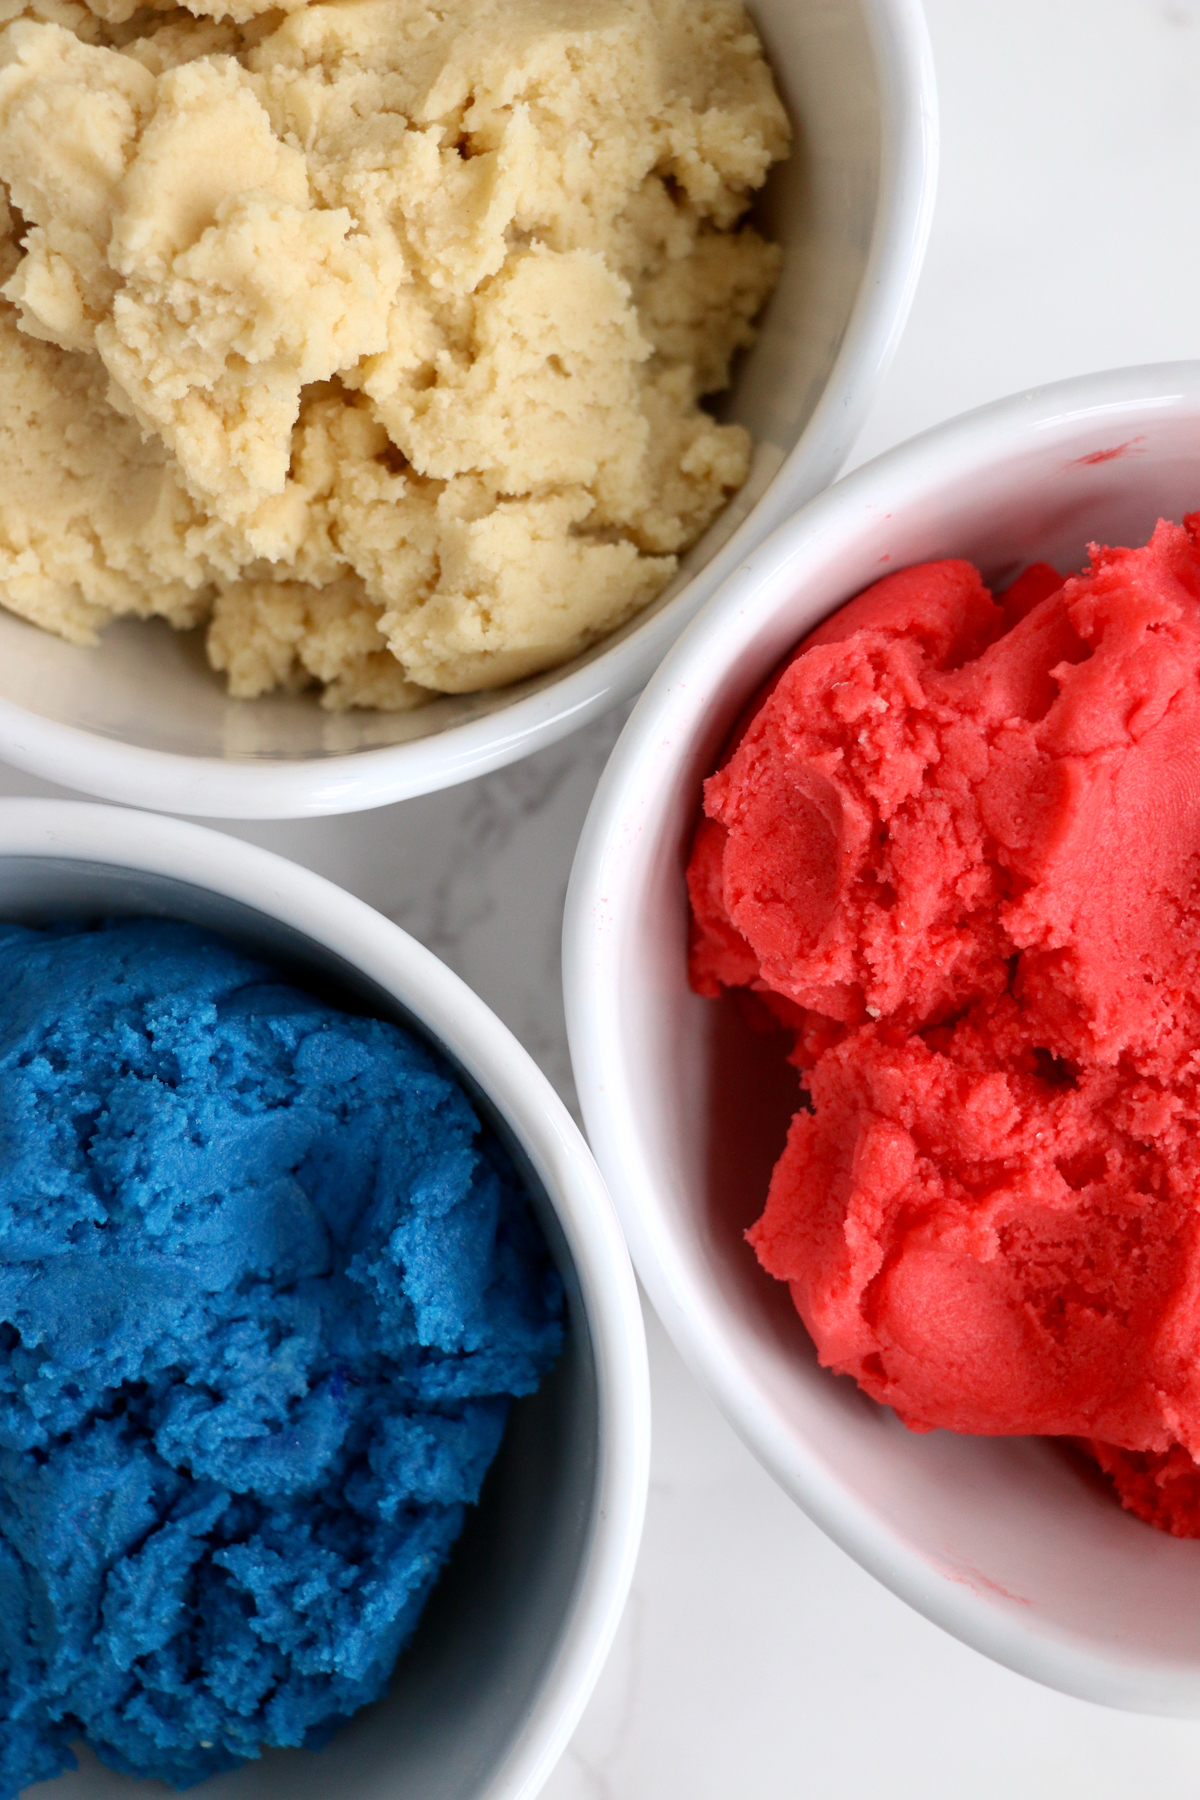
Chill all three bowls of dough for 30 minutes. Or if you don’t have room to chill the bowls, wrap each piece of dough in plastic wrap and chill in the plastic wrap.
4 – Roll the Dough Log
After chilling, roll the blue dough out into a 12″ x 12″ square shape using a rolling pin.
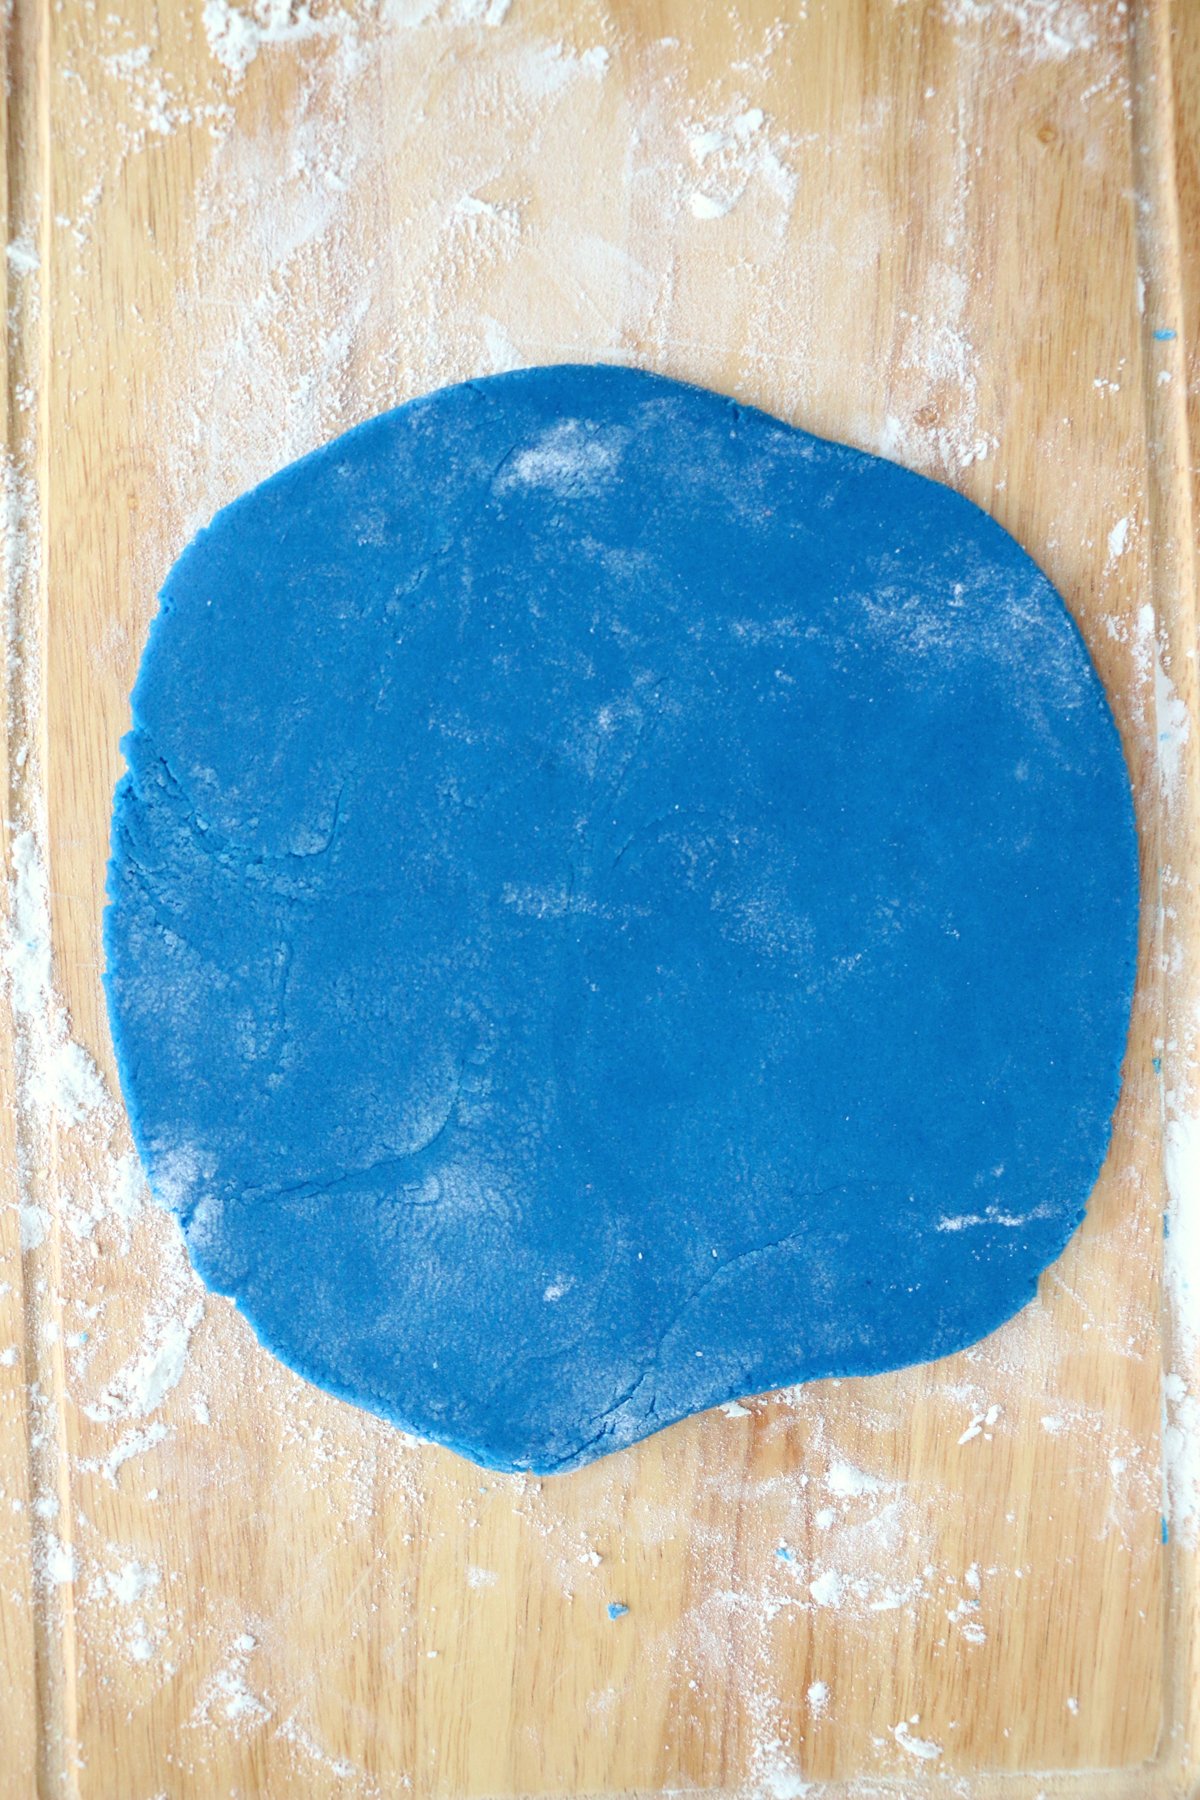
Repeat for the white dough, then carefully place it on top of the blue dough. Then roll out the red dough the same size and place it on top of the white dough.
Tip!
The easiest way to do this is by rolling out the dough on a piece of parchment or wax paper, marking how big the first piece of dough is, and then rolling out the second and third pieces of dough to that size and shape.
Place the three squares of dough on top of each other, making sure they are evenly lined up. I like to do blue on bottom, white next, and red on top to separate the two bolder colors.
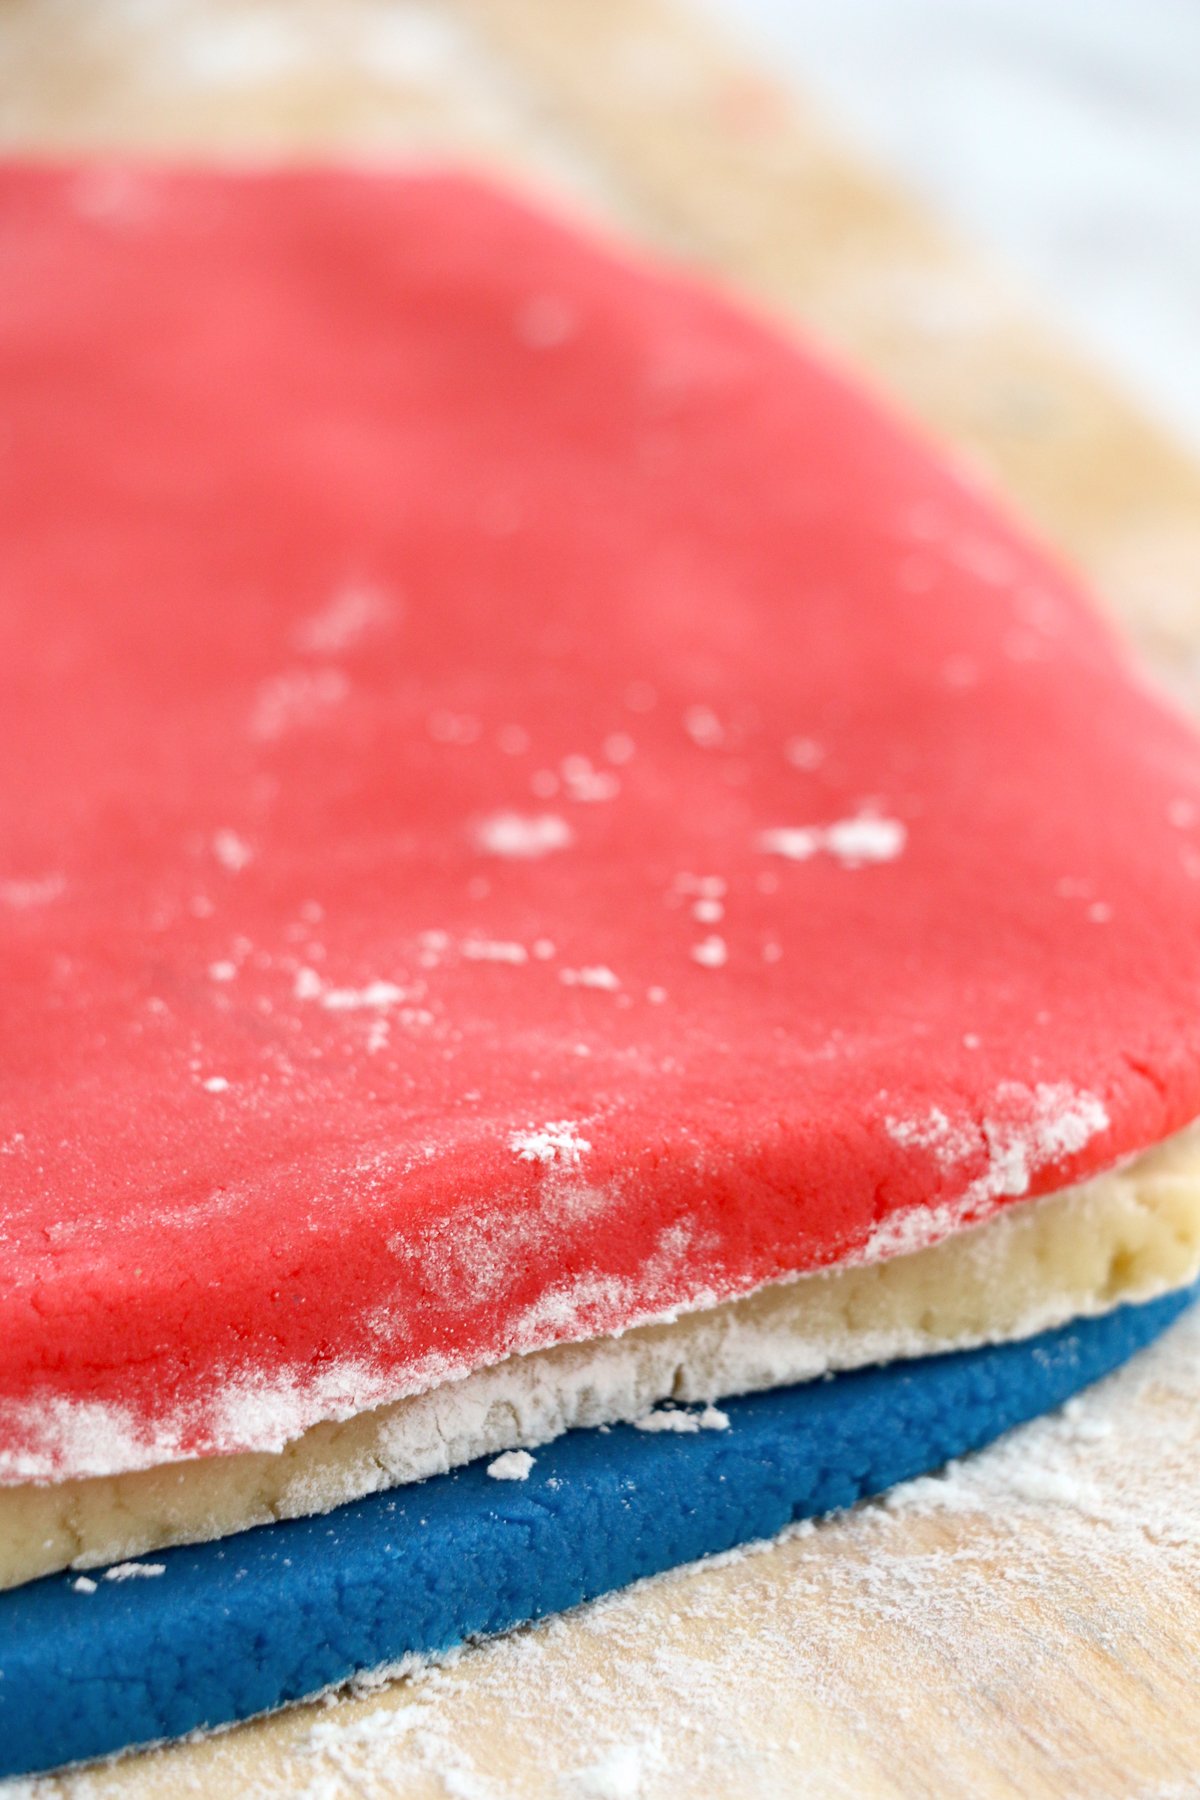
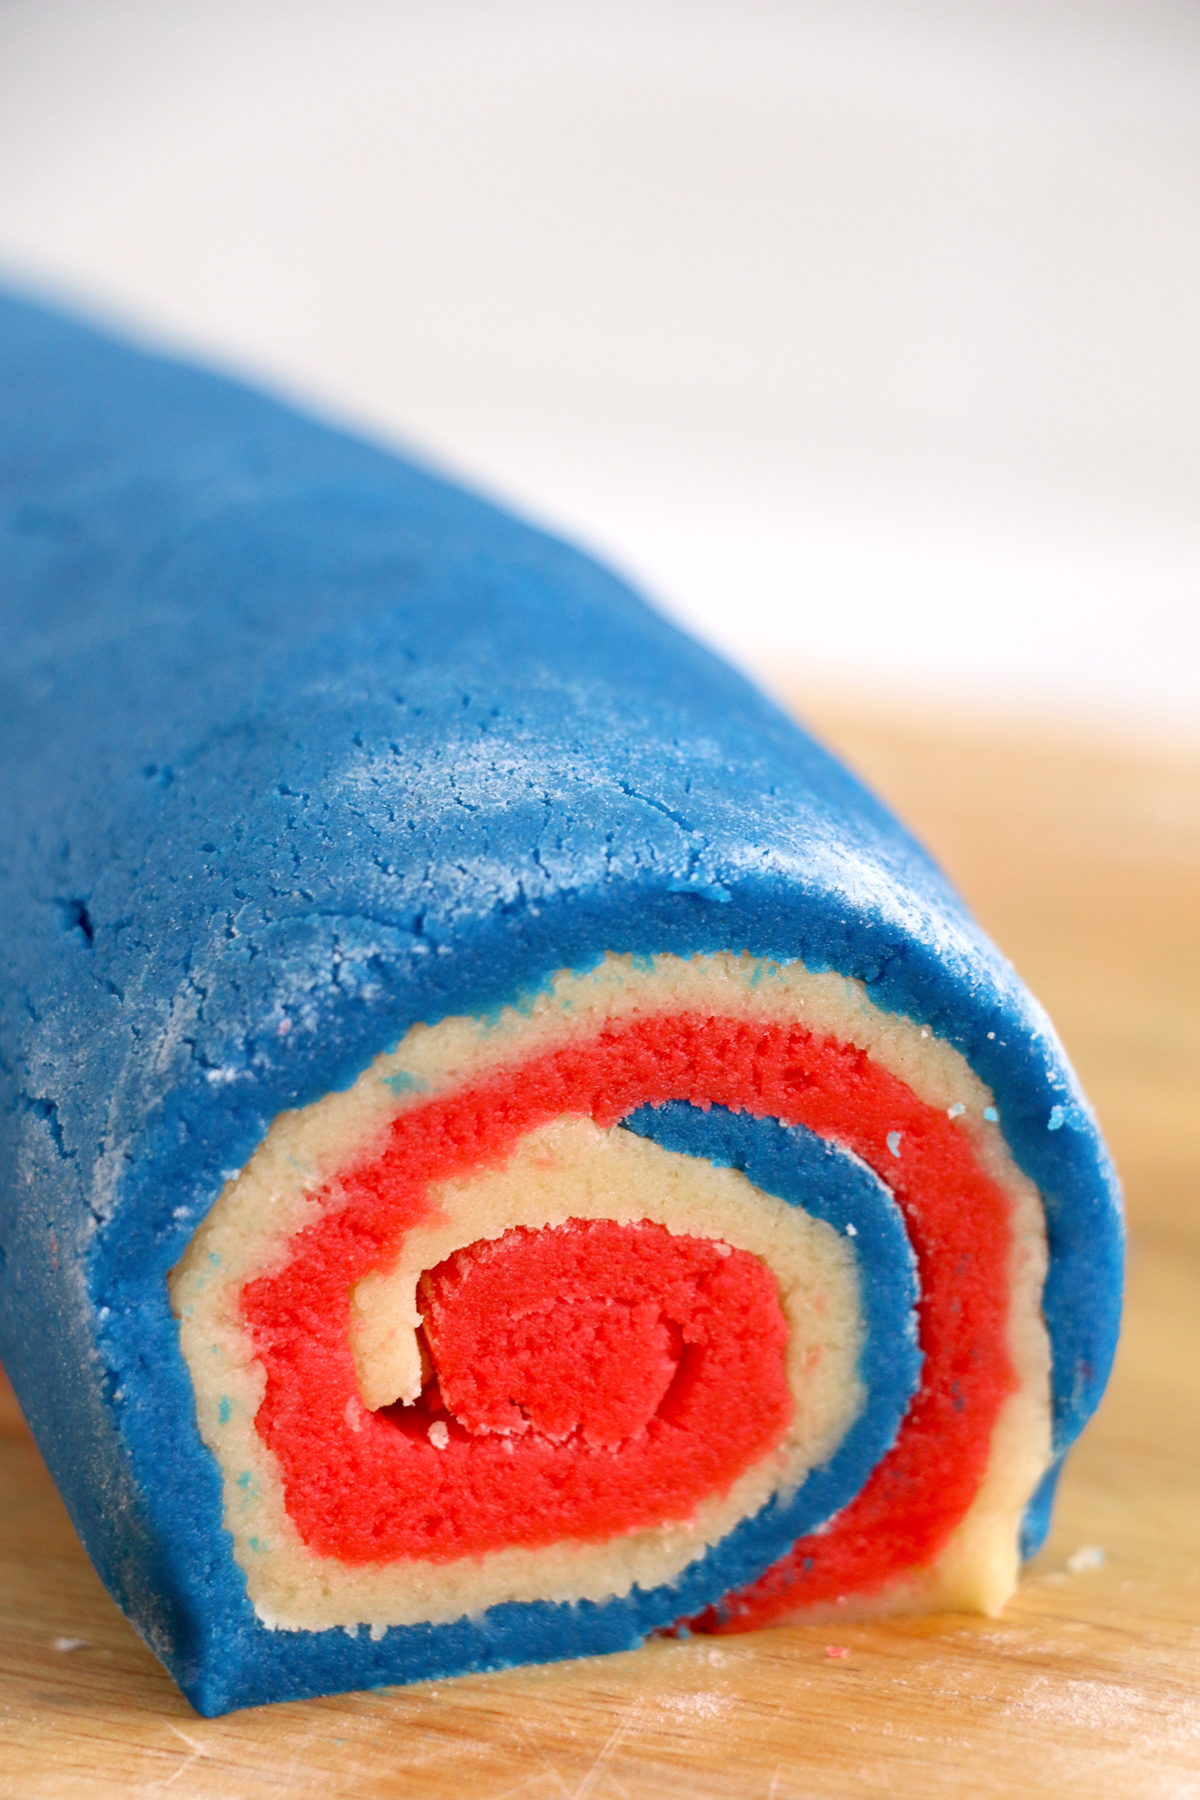
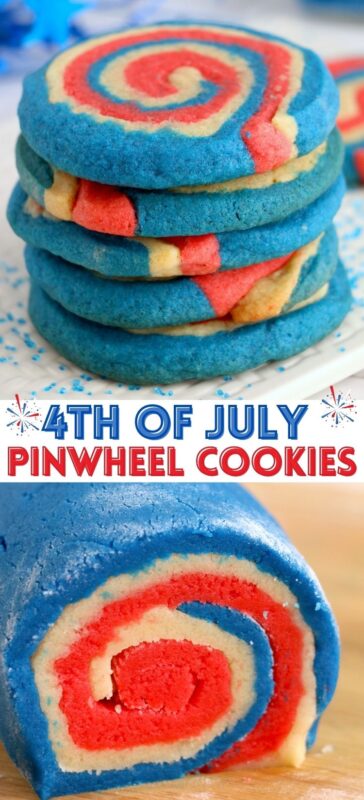
Gently roll dough (all three squares of dough) together into a large tight log, double wrap in plastic wrap, then chill for 15 minutes. This double chill process ensures that the cookie dough melds together instead of three separate sections of dough.
When you’re rolling the cookies, make sure your roll style is rolling from the longest side of the dough, not the shorter side. If you roll the other way, you’ll get much larger cookies but less of them. It should look kind of like a jelly roll and like the picture below.
5 – Bake Cookies
Once you’ve let the dough chill, use a sharp knife or a serrated knife to cut 1/2″ slices of dough and place the slices on the the prepared baking sheet about 2″ apart. There’s a reason these are called simple slice cookies and this is it!
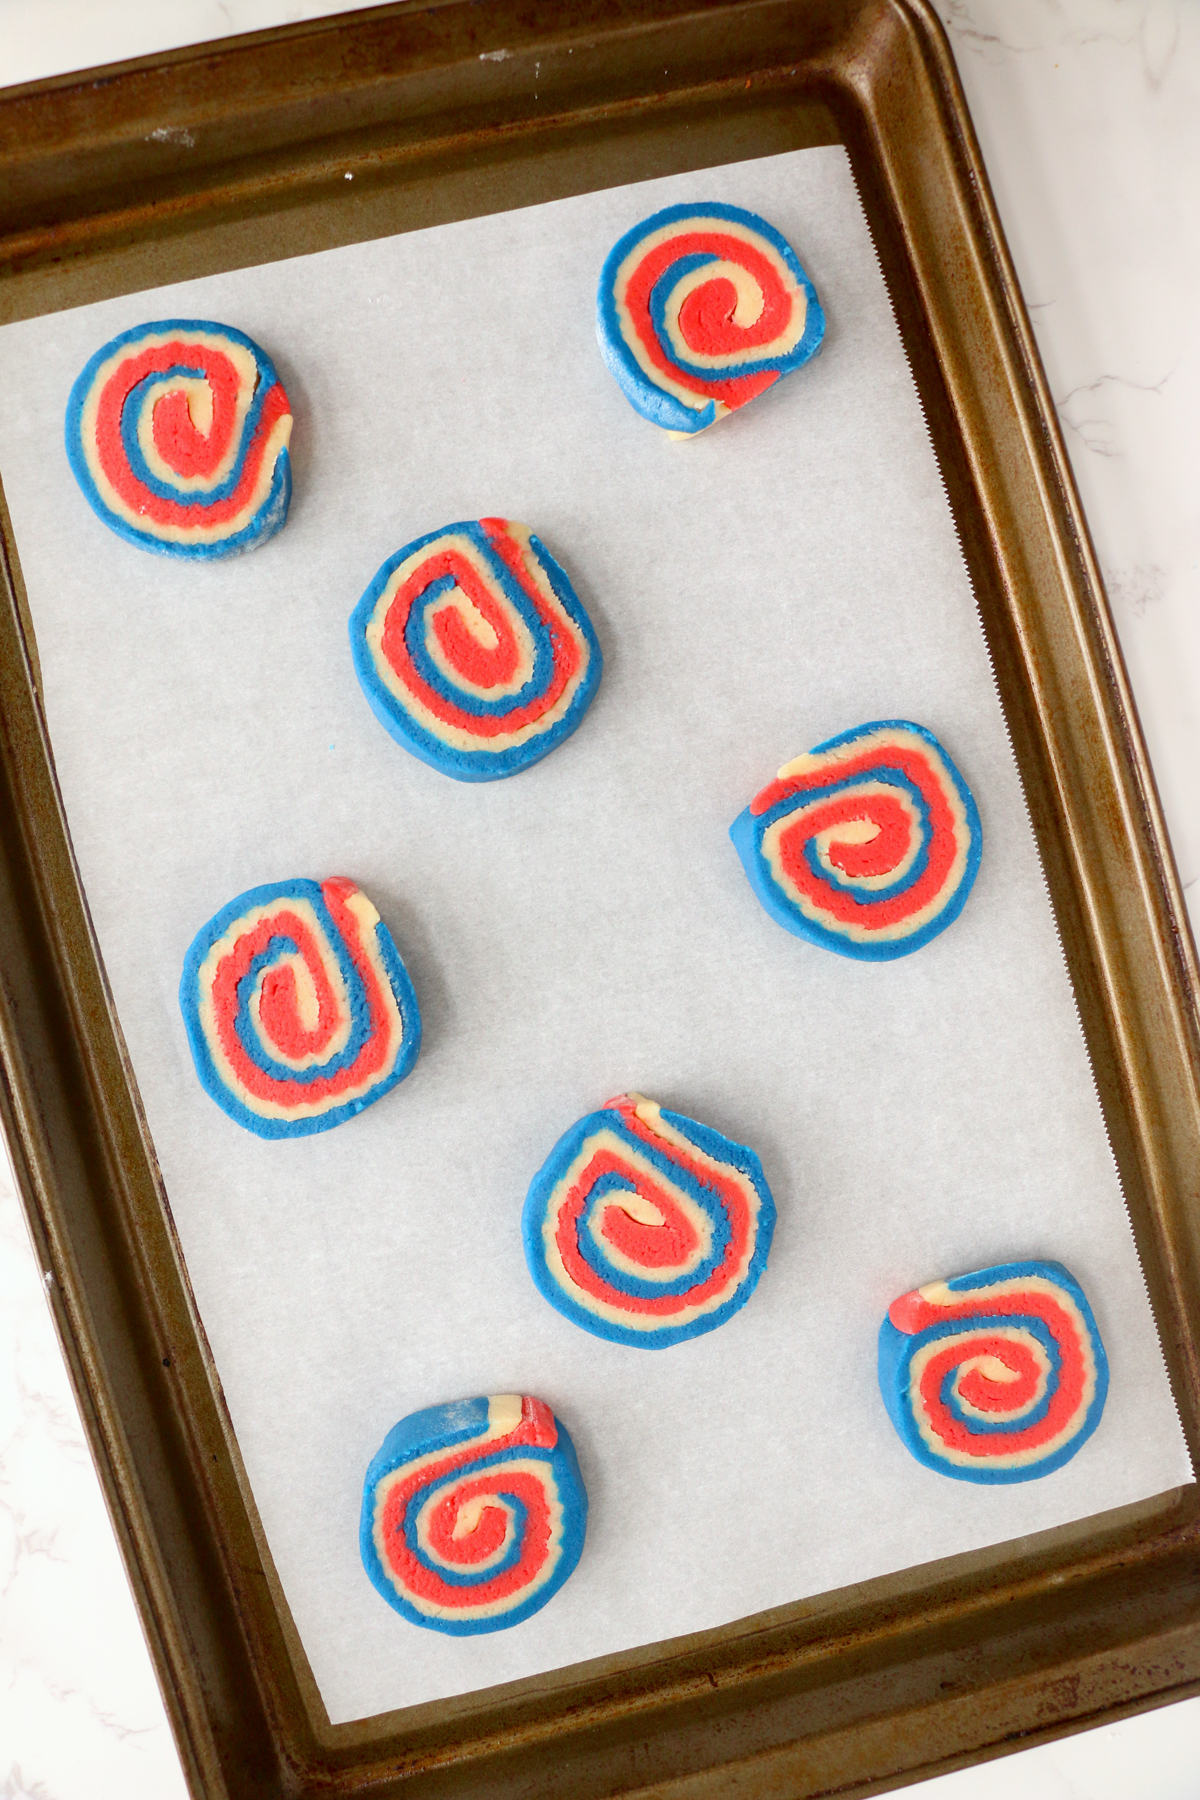
Bake for about 10 minutes, until dough is set but hasn’t browned yet. You’ll want to remove these earlier than you’d probably think! Just like with most simple sugar cookie dough recipes, if you bake too long, these will get hard.
Let the cookies cool on baking sheet for 5 minutes, then transfer to a wire rack to finish cooling.
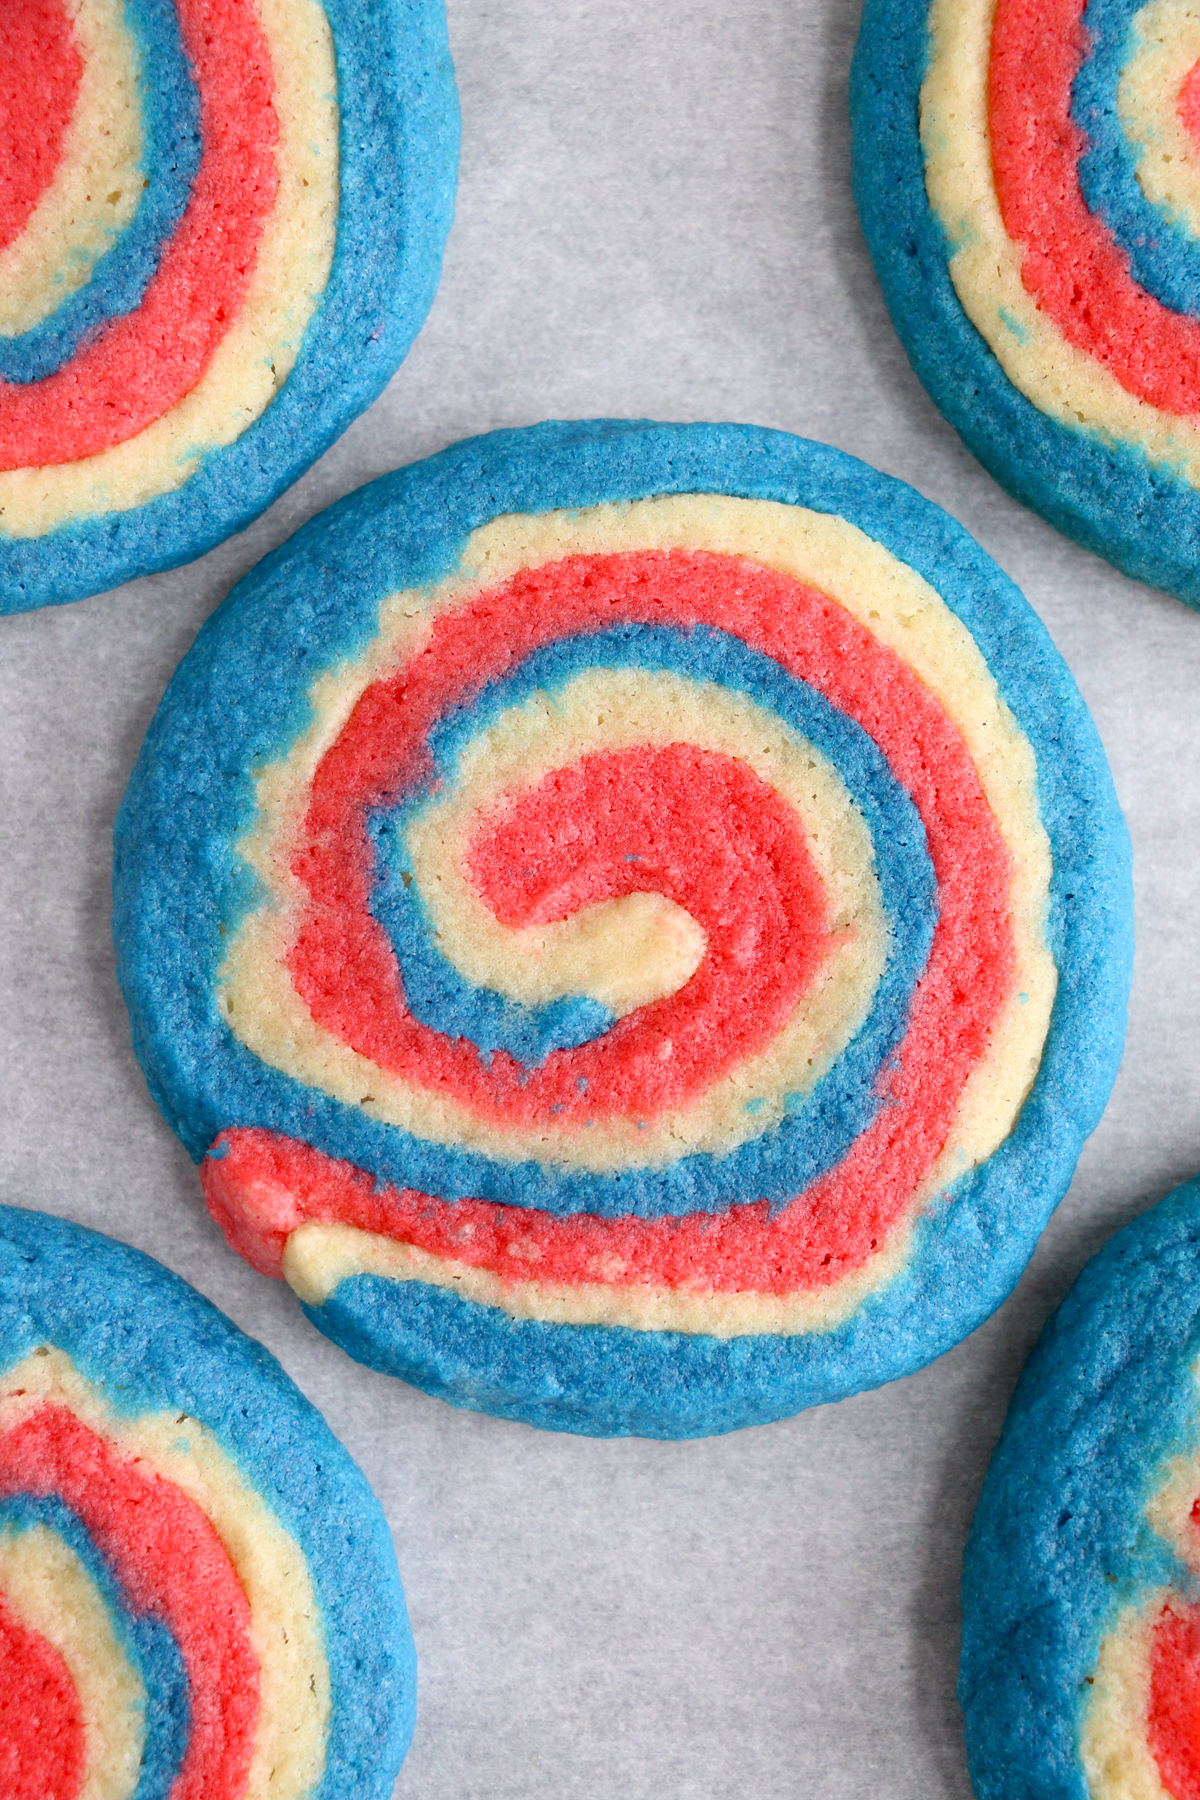
Once the cookies have cooled, it’s time to enjoy this classic holiday cookie! Enjoy it plain or you could even dip in some melted chocolate chips (like I did with these chocolate covered peeps) and add some sprinkles before serving!
I personally prefer them plain, but I know some people really enjoy chocolate dipped cookies and treats! Add them to cookie trays, dessert tables, or give out as fun 4th of July treats for friends and family!
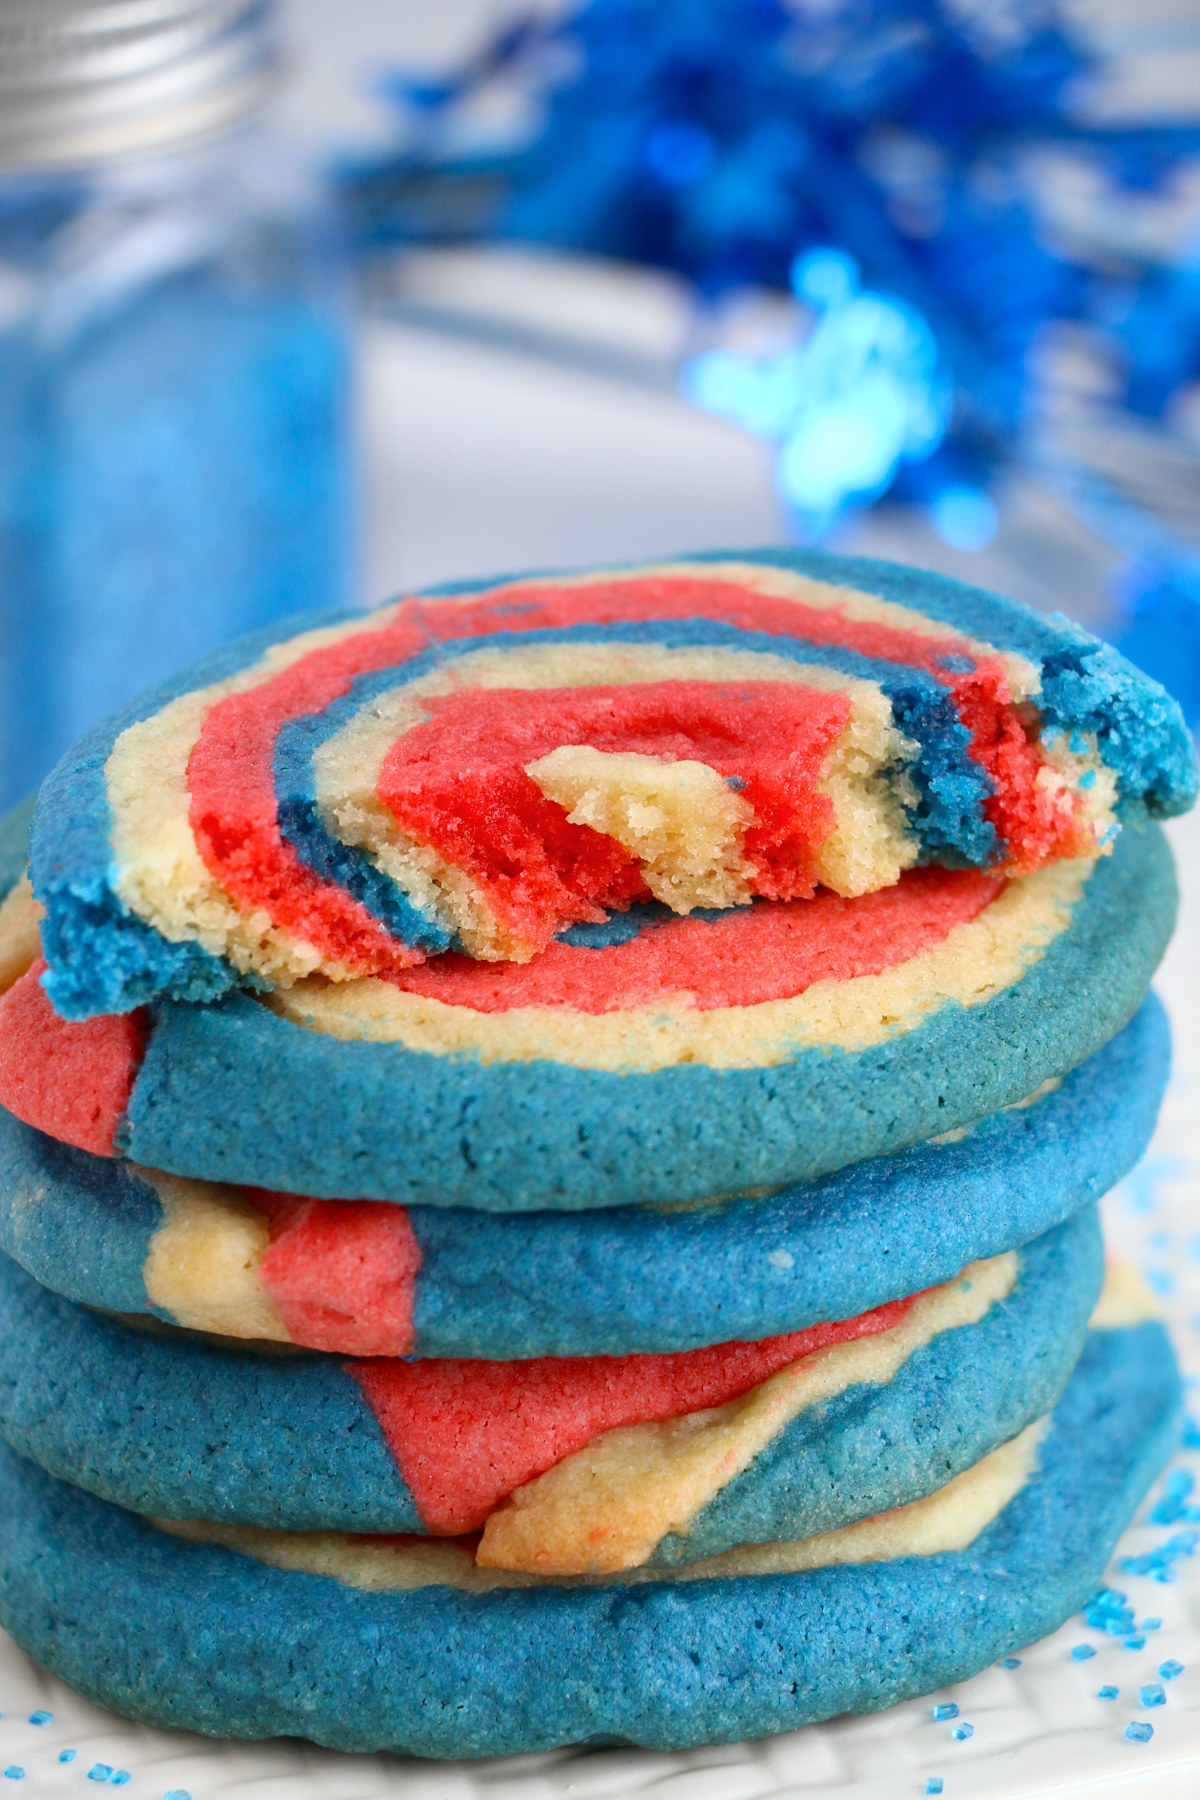
Expert Tips
Freeze the pinwheel cookie dough rolled into the log by wrapping it tightly in plastic wrap and placing the logs of cookie dough in a freezer bag. Then when you’re ready to bake the cookies, just slice from the roll of cookie dough and bake straight from frozen. No need to let them come to room temperature.
Store baked cookies in airtight containers or bags for up to five days. Then either freeze the cookies (they freeze unbaked or baked beautifully) for up to six months.
Slice and bake one sheet of cookies at at time if you only have one oven. Keep the rest of the buttery dough chilling in the refrigerator until you’re ready to slice and bake the next sheet of cookies.
Recipe FAQs
How long do you cook pinwheel cookies for?
Pinwheel cookies cook for about ten minutes but make sure to watch them closely starting around minute seven. You want to remove them from the oven when the dough is set but before they brown. Let cool on a baking sheet for a few minutes then transfer to a wire rack to finish cooling.
Can I freeze pinwheel cookies?
Pinwheel cookies freeze beautifully. You can either freeze the baked cookies by placing them in a freezer bag and freezing for up to six months. Or you can freeze the cookie dough log by wrapping it in plastic wrap and placing in a freezer bag for up to three months. When you’re ready to bake, slice and bake from frozen.
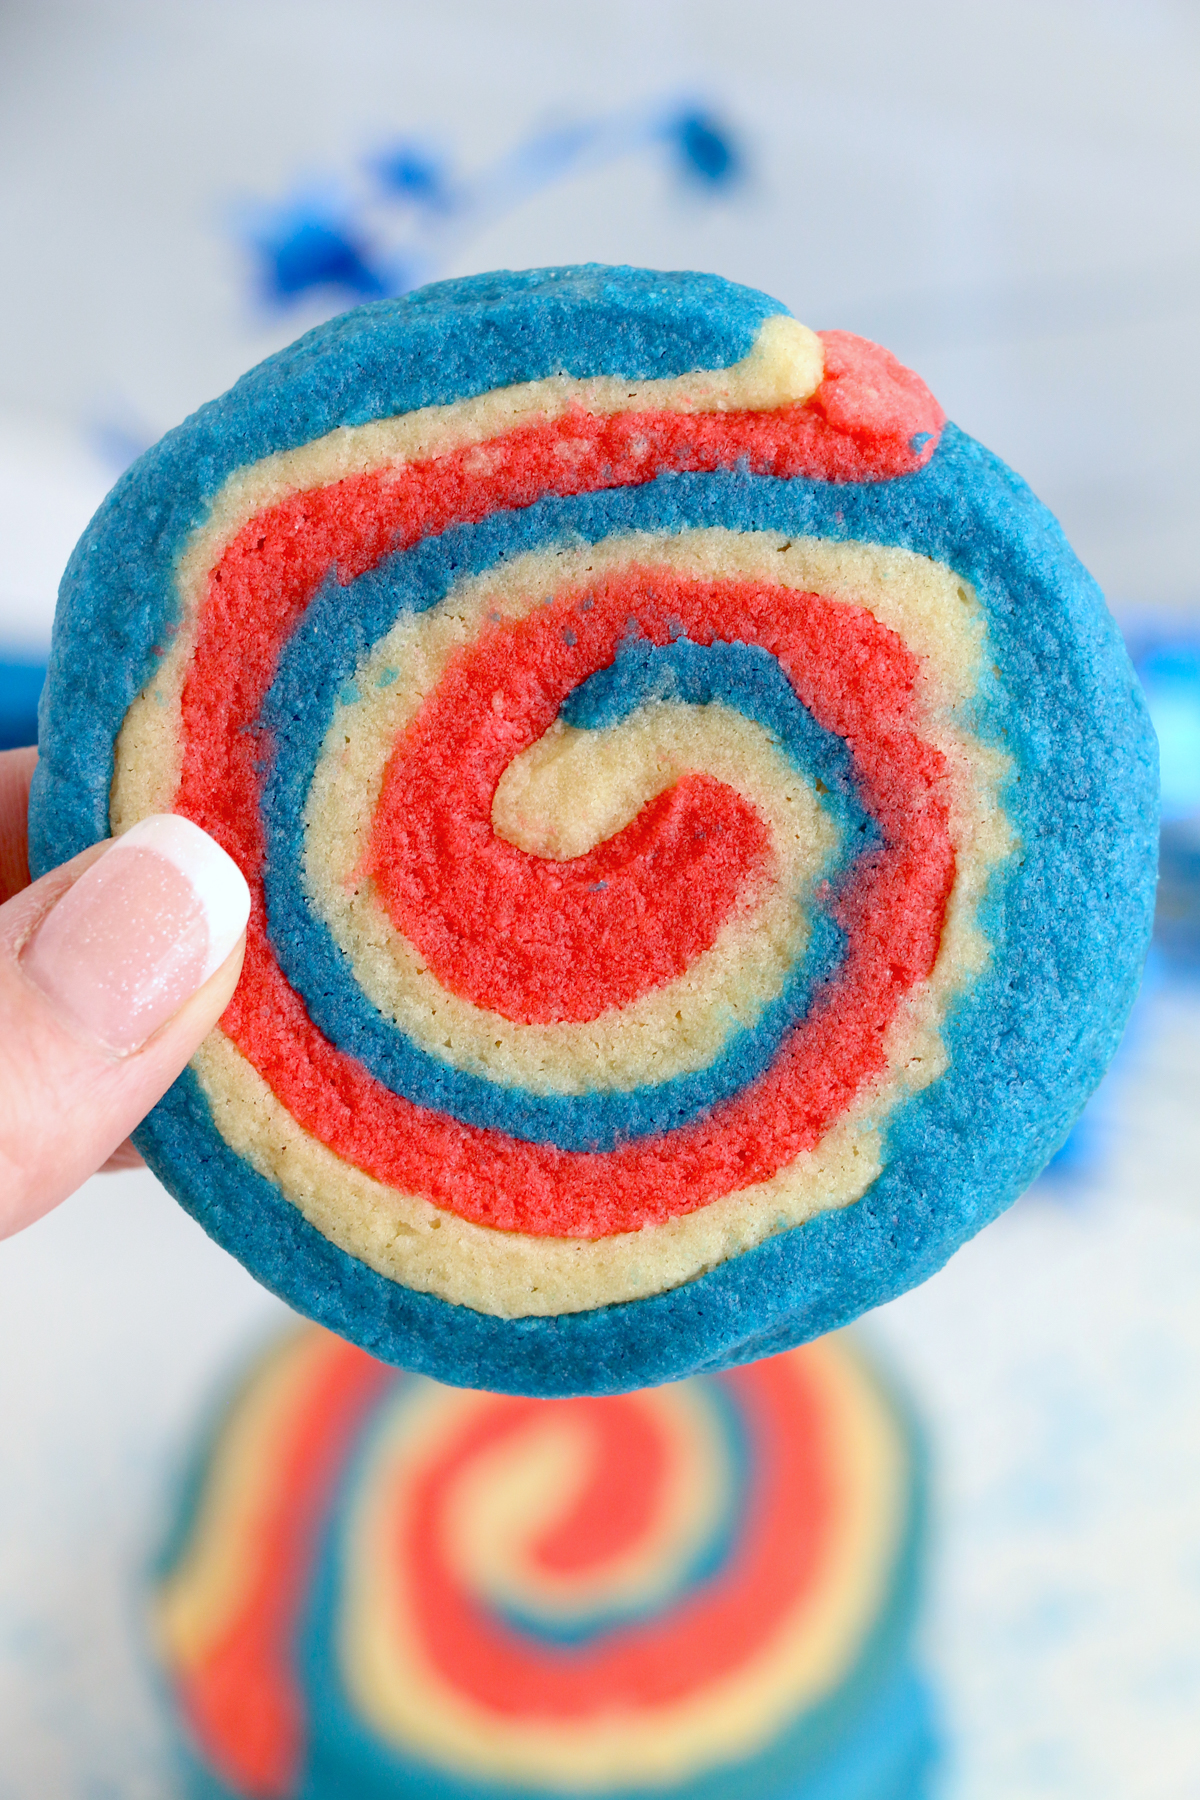
More Easy 4th of July Recipes
If you’re looking for ideas to complete your 4th of July spread, add these yummy desserts to your menu!
- Berry cheesecake fluff – this red, white, and blue dessert fluff is the perfect chilled summer dessert salad!
- Brownie fruit pizza – this isn’t your typical fruit pizza, it’s way better!
- Chocolate chip M&M cookies – classic M&M cookies with a patriotic twist!
- 4th of July rice krispie treats – sprinkles and colored chocolate gives these classic treats a 4th of July makeover!
- 4th of July chocolate covered strawberries – strawberries dipped in red, white, and blue that are both yummy and festive!
Get even more red white and blue desserts here!
Want more Goodies?
Want more delicious recipes just like this one? Enter your first name and email address in the form below to join the Play Party Plan community! You’ll receive weekly recipes and party ideas directly to your inbox!
4th of July Pinwheel Cookie Recipe
Ingredients
- 1 ½ cups sugar
- 1 ¾ sticks butter (softened)
- 2 eggs
- 2 tsp vanilla
- 2 ½ cups all-purpose flour
- ½ tsp baking powder
- ¾ tsp salt
- red and blue food coloring
Instructions
- Preheat oven to 350°F and line a baking sheet with parchment paper.
- Beat butter and sugar together in a large mixing bowl until smooth.1 1/2 cups sugar, 1 3/4 sticks butter
- Add eggs and vanilla extract and beat until light and fluffy.2 eggs, 2 tsp vanilla
- Add flour, baking powder and salt. Beat until all ingredients are incorporated into a dough.2 1/2 cups all-purpose flour, 1/2 tsp baking powder, 3/4 tsp salt
- Divide the dough evenly and place into three separate bowls.
- Add blue food coloring to one bowl and mix well, adding more food coloring until the desired shade is achieved. Then repeat with a second bowl for the red food coloring.red and blue food coloring
- Chill all three bowls of dough for 30 minutes.
- After chilling, roll the blue dough out into a 12″ x 12″ square. Repeat for the white dough, then carefully place it on top of the blue dough. Then roll out the red dough the same size and place it on top of the white dough.
- Gently roll the three colors of dough together into a large log, then chill for 15 minutes.
- Once dough has chilled, use a sharp knife to cut 1/2″ slices of dough and place the slices on the prepared baking sheet about 2″ apart.
- Bake for about 10 minutes, until dough is set but isn’t browned.
- Let cool on baking sheet for 5 minutes, then transfer to wire cooling rack to finish cooling. Enjoy once cooled!




Leave a Reply