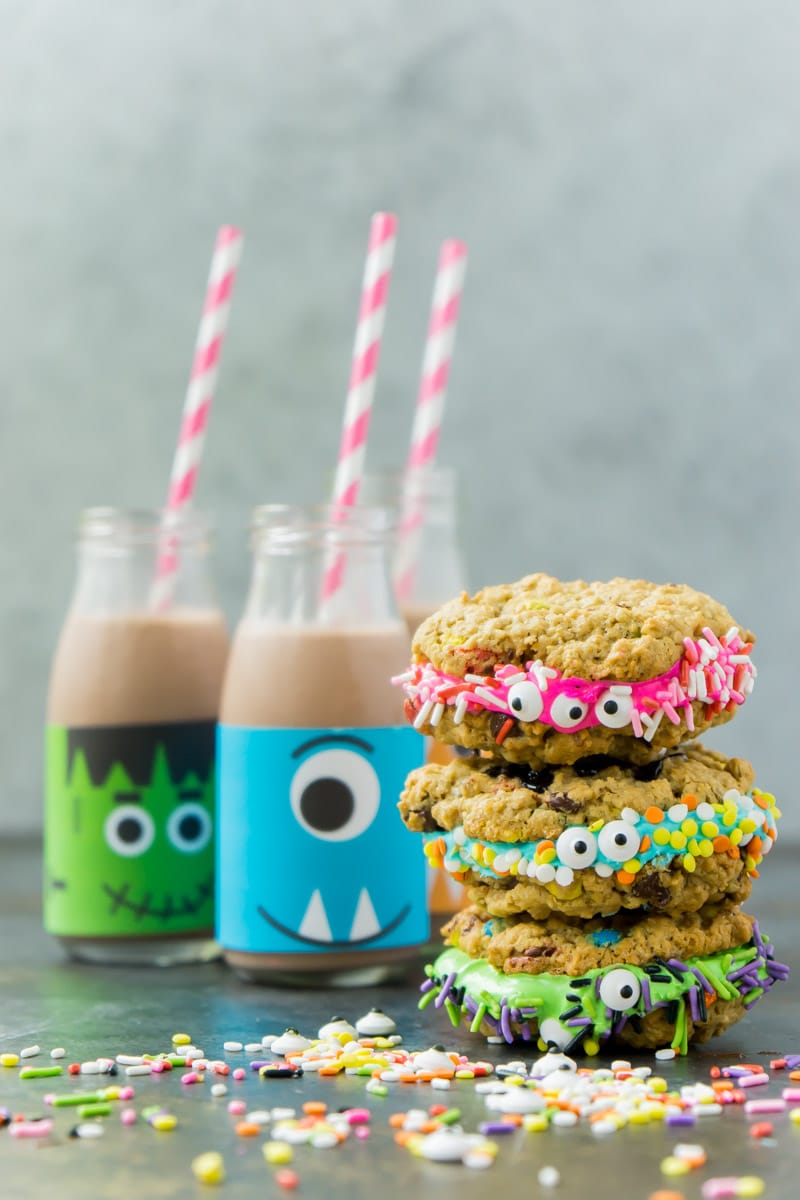
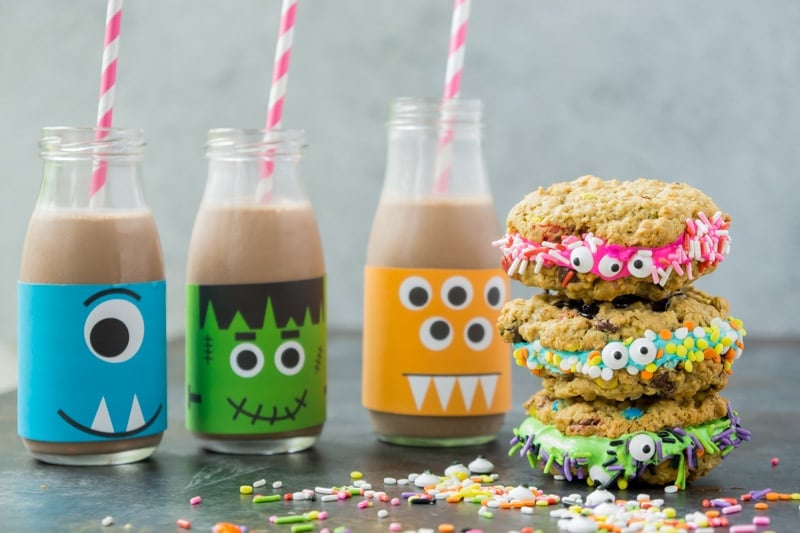
These monster cookie sandwiches are the perfect Halloween treat for kids and adults alike! And they’re even better when paired with some chocolate milk turned into monster milk with free printable monster drink labels!
Want to save this recipe?
Enter your email below and we’ll send this idea straight to your inbox (plus you’ll receive fun weekly ideas from us too!)
While this post is sponsored as part of The National Milk Life Campaign, all ideas and opinions are 100% honest and my own.
There’s just something that I adore about Halloween but I’m not really a huge dress up person.
I mean I am going to wear the DIY superhero costumes I made (or maybe the sweatshirt I made for the Not So Scary Halloween Party), but costumes aren’t really my thing.
My thing is food. All of the cute food. Give me all of the candy eyeballs, really just candy period.
I don’t want anything gross but things like these monster cinnamon rolls, and I’m all in.
My 5-year-old is just as obsessed with cute food and candy eyeballs as I am, so I thought it’d be fun to make a special like Halloween treat just for him (and me!) – milk and cookies. But not just any milk and cookies – monster milk and monster cookies.
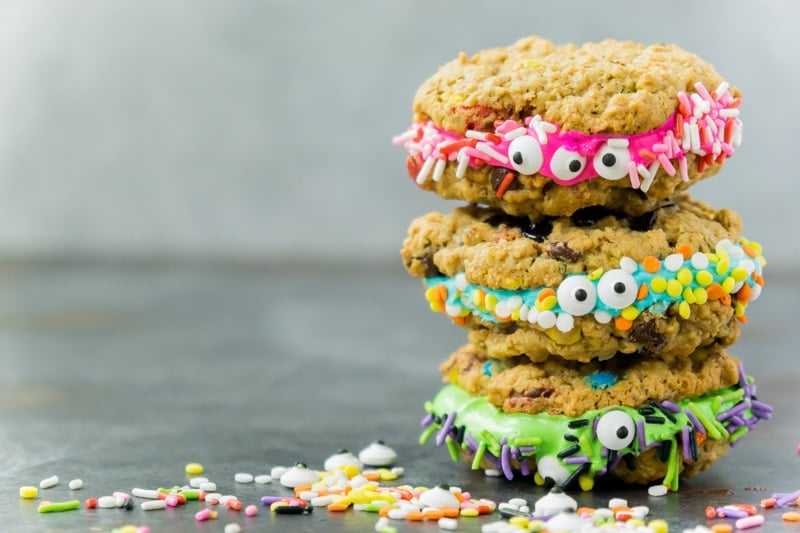
And not just monster cookies – monster cookie sandwiches, because everyone knows a cookie sandwich is better than a cookie all by itself. Add candy eyeballs, and it’s a Halloween home run!
And if you don’t want to stop there – keep the monster theme going by playing a friendly game of Monster Mash bingo after you enjoy your monster cookies and milk!
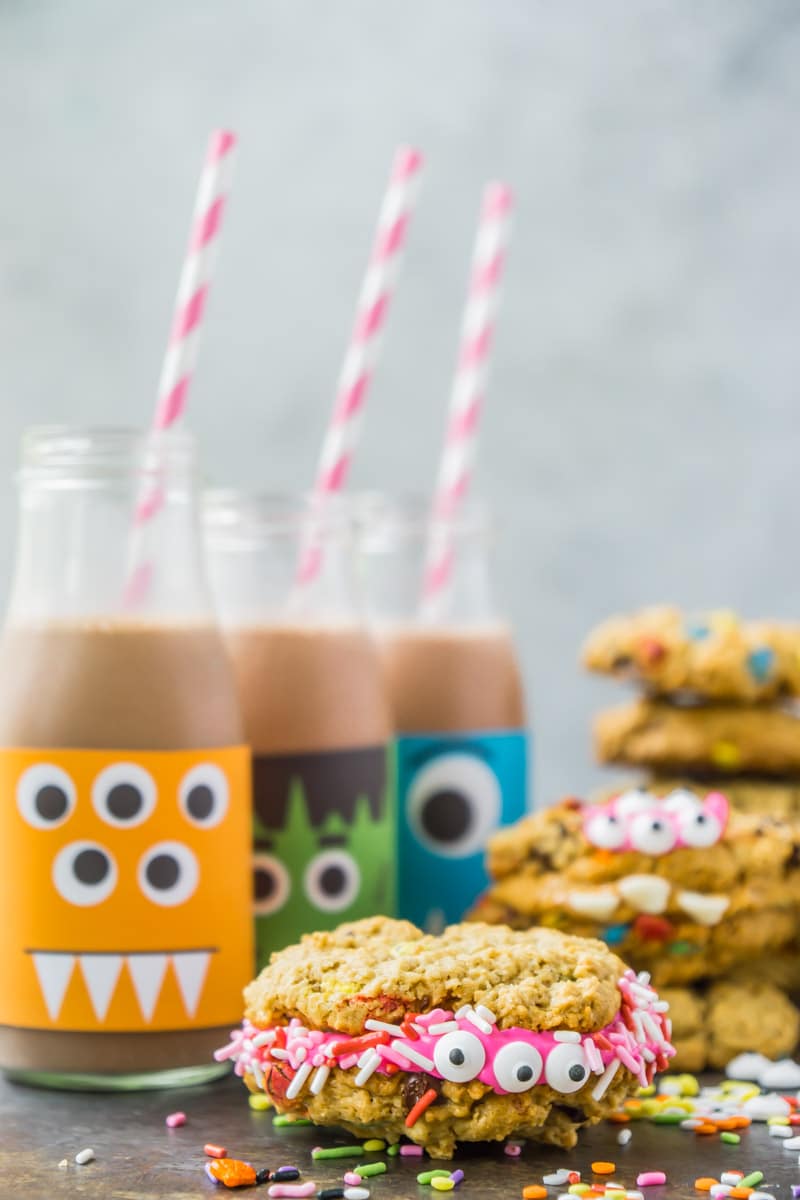
DIY Monster Milk
I’ll get to the monster cookie sandwiches in a minute but first let’s start with the monster milk. Since this is supposed to be more of a treat, I decided to go with chocolate milk instead of regular milk.
Going with chocolate instead of milk just makes these monsters feel a little bit more fun and you know I’m all about making life more fun!
DIY Monster Milk Instructions
The monster milk is so simple to make. All you need are:
- Printable monster labels (print out below)
- double-sided tape
- empty milk jars
- striped straws (optional – to add a little pizzaz)
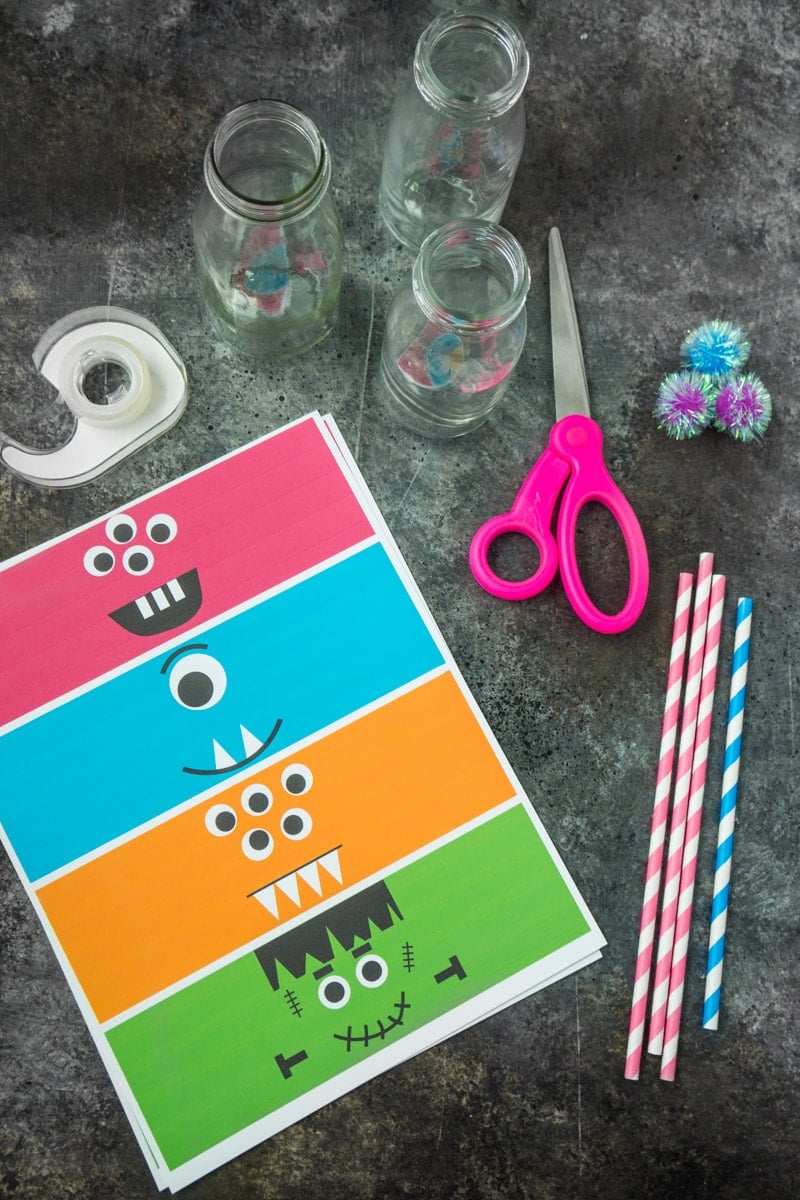
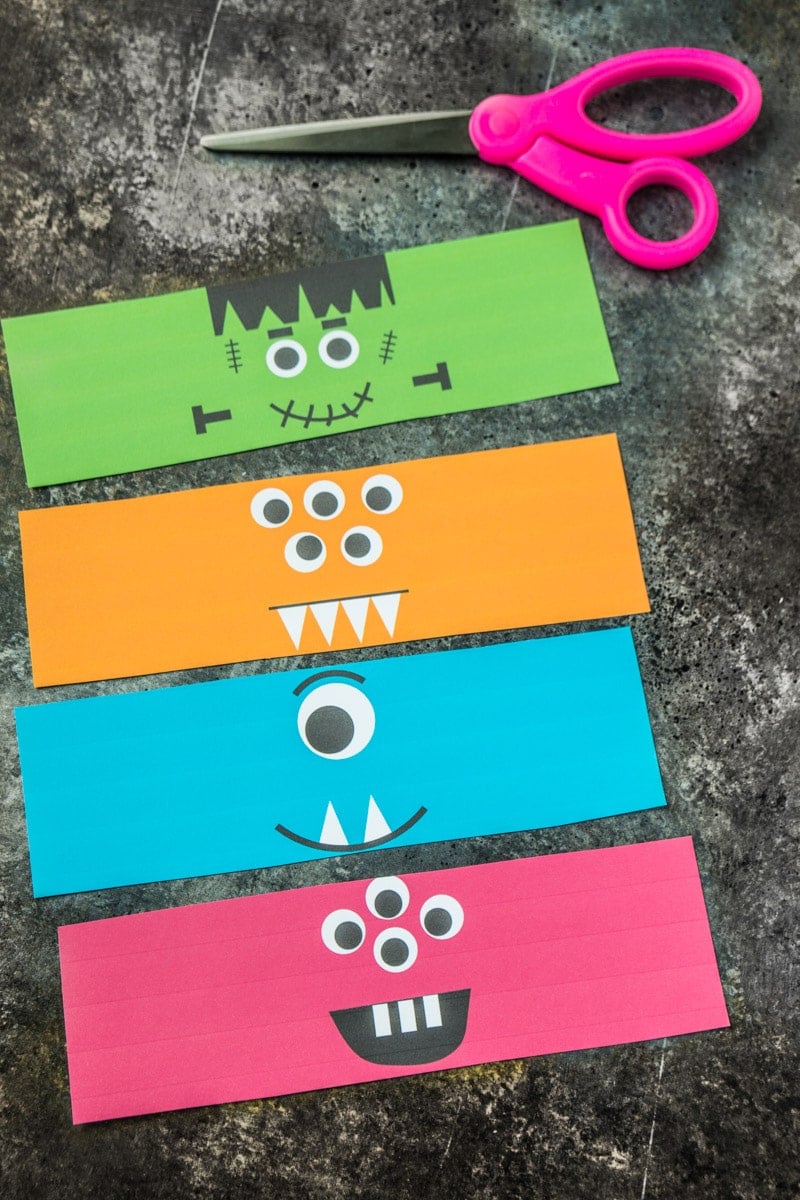
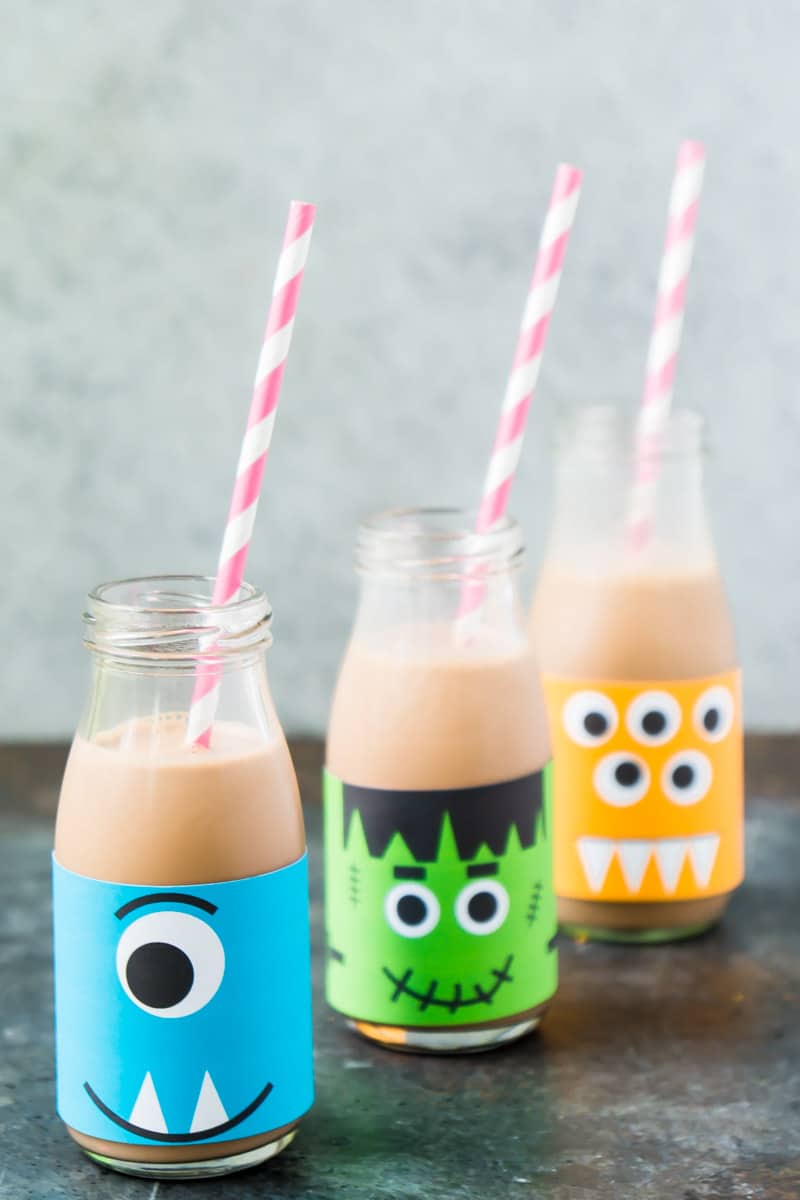
1 – Print out the monster labels on either full-sheet label paper or white card stock. Cut out the labels so there is no white showing on the labels.
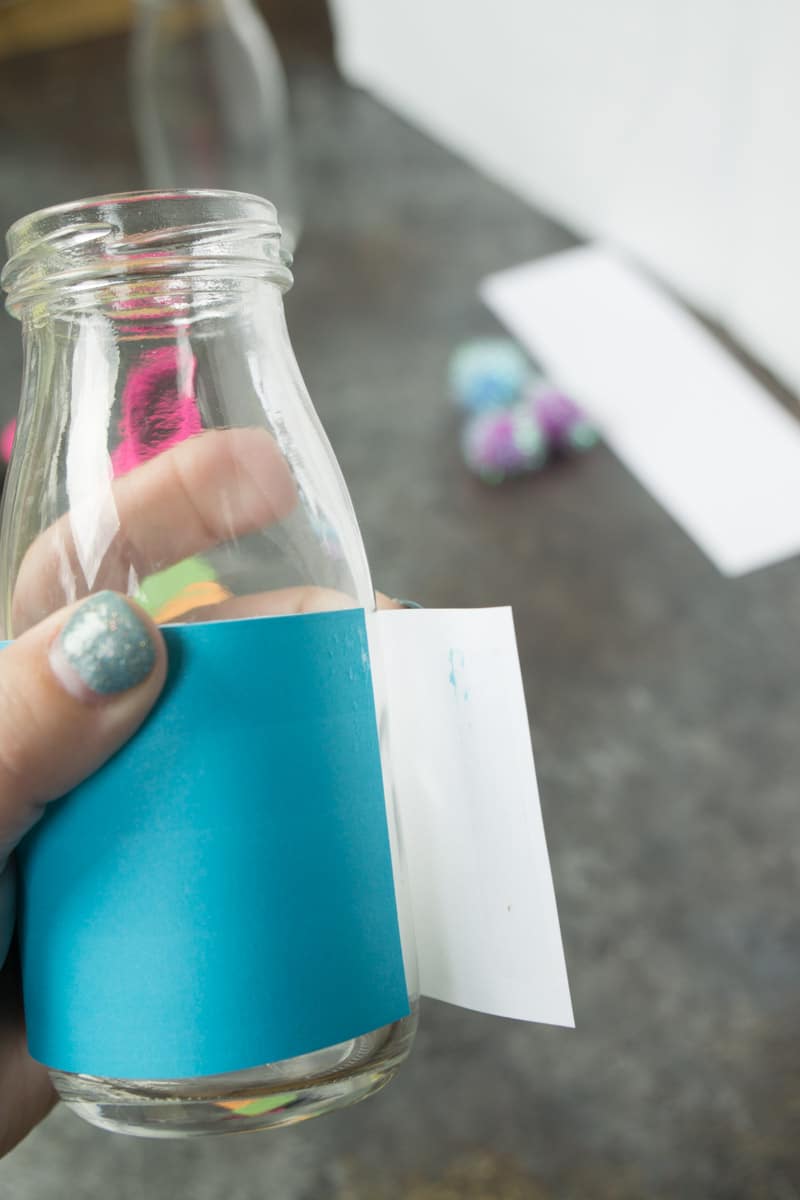
2 – Place a piece of double-sided tape on the inside end of each of the labels.
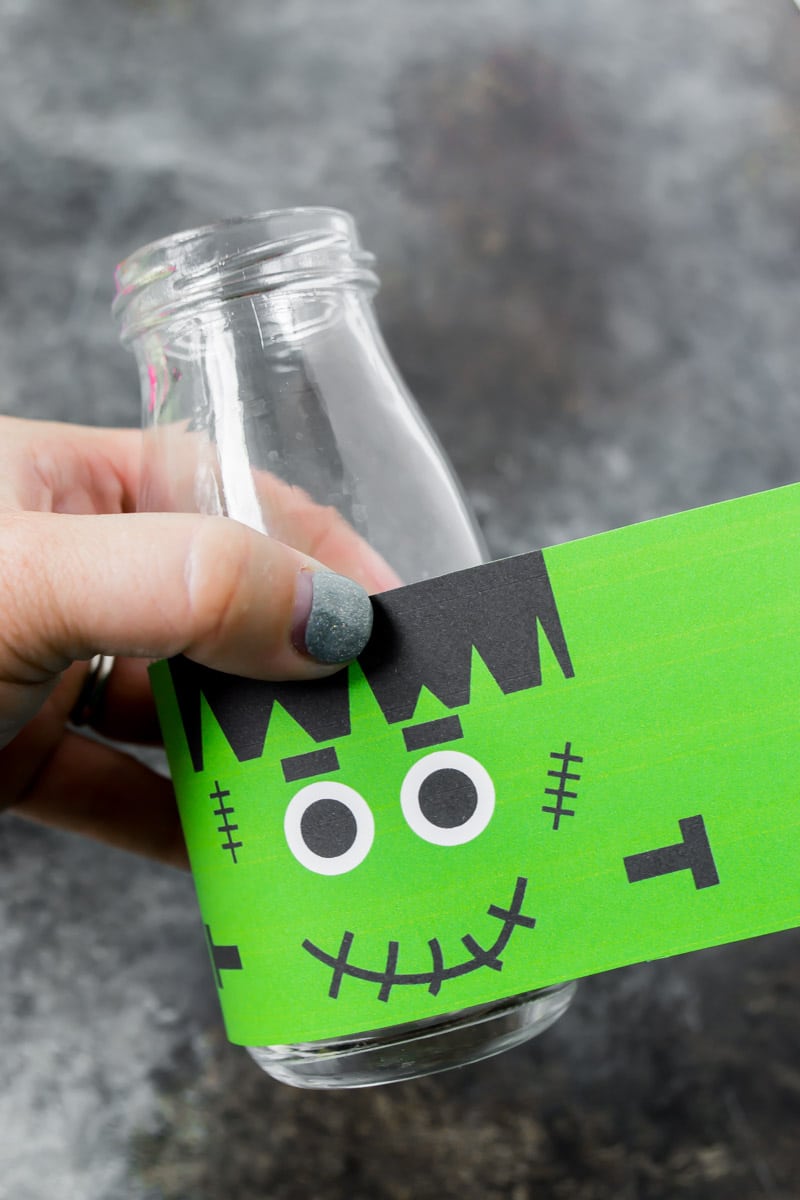
3 – Tape one side of the label onto the back of the bottle, wrap the label around the bottle, and secure by taping the other end on top of the label on the back.
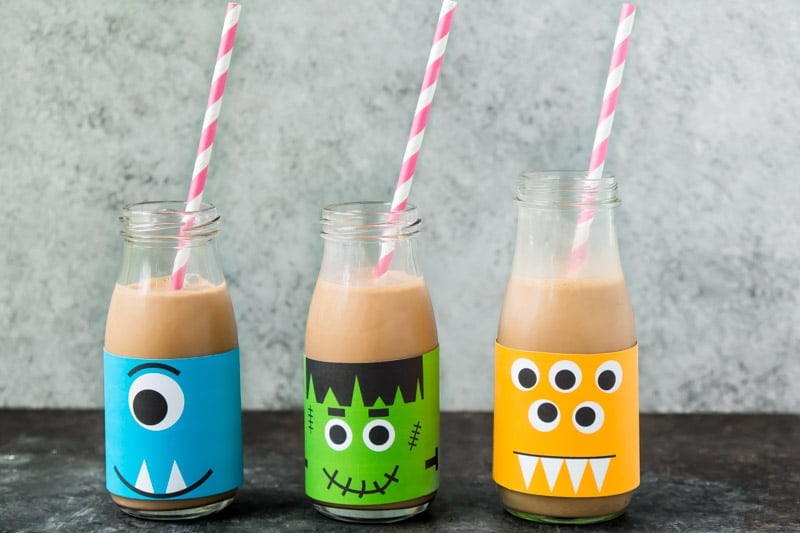
4 – Add chocolate milk, a striped straw, and some delicious monster cookies sandwiches!
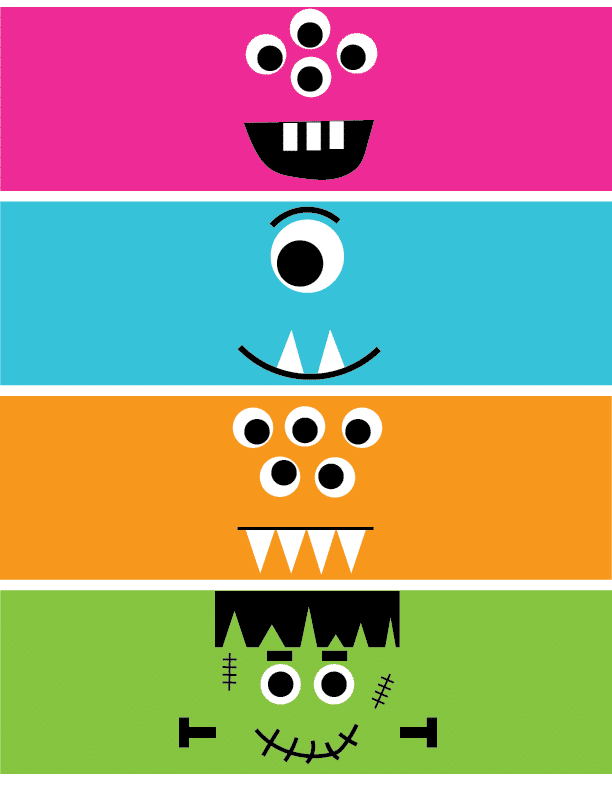
Print the Monster Bottle Labels
Click the button below to download the free monster bottle labels. If you don’t see the button, click here to download the PDF file.
Monster Cookie Sandwiches
I’ve seen tons of monster treats out there, but I thought monster cookies would be perfect for these cookie sandwiches because well monster cookies are I mean – they’re monsters.
There’s not really a recipe for these monster cookie sandwiches because the idea is for you to be as creative as possible. I actually recommend getting your kids involved and letting them put together their own! I’m going to do a walk-through of how I made them and some of my suggested toppings but have fun with it.
Make your own favorite Halloween monsters with your own favorite toppings and flavors!
These are the ingredients I used:
- Monster cookies
- Cream cheese frosting
- Peanut butter
- Chocolate frosting
- Food coloring (to make the white cream cheese frosting colored)
- Candy eyeballs
- Sprinkles of all kinds
- White chocolate chips & candy corn (for teeth)
1 – Bake your monster cookies. Make sure to use a 2 tablespoon cookie scoop to get cookies that are about the same size – essential for making cookie sandwiches!
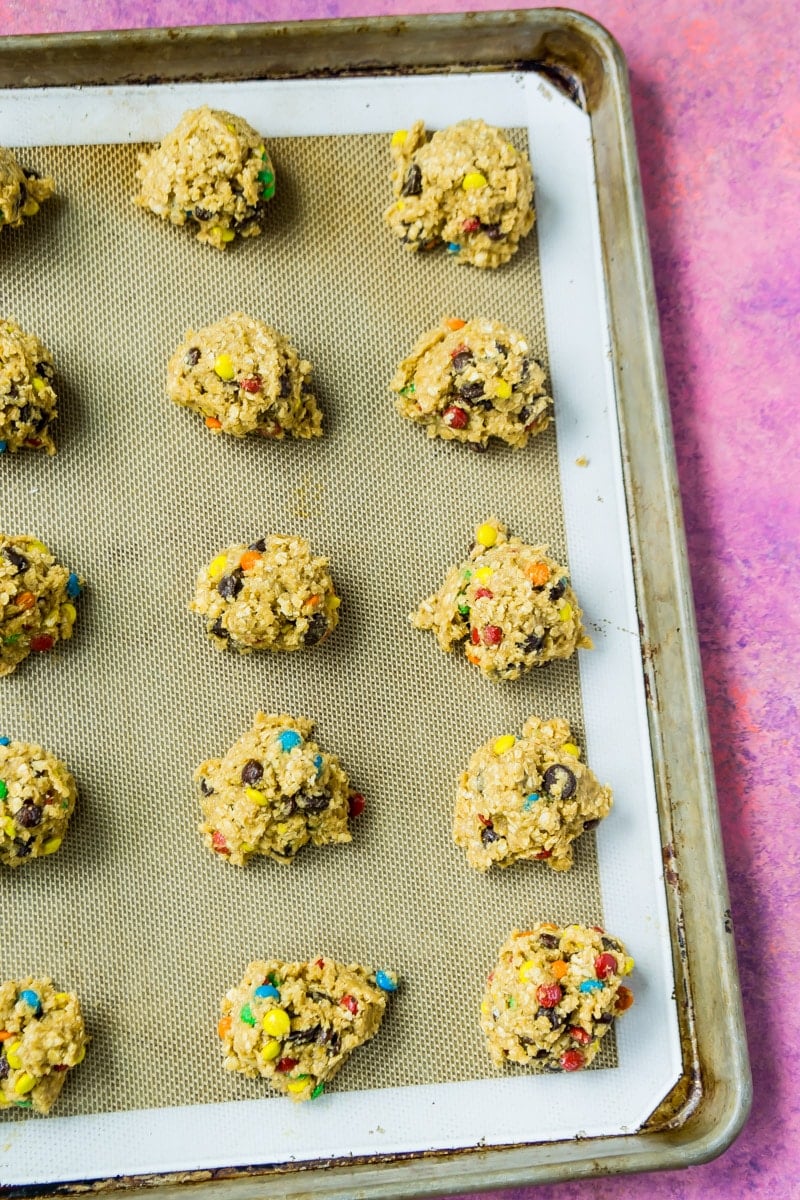
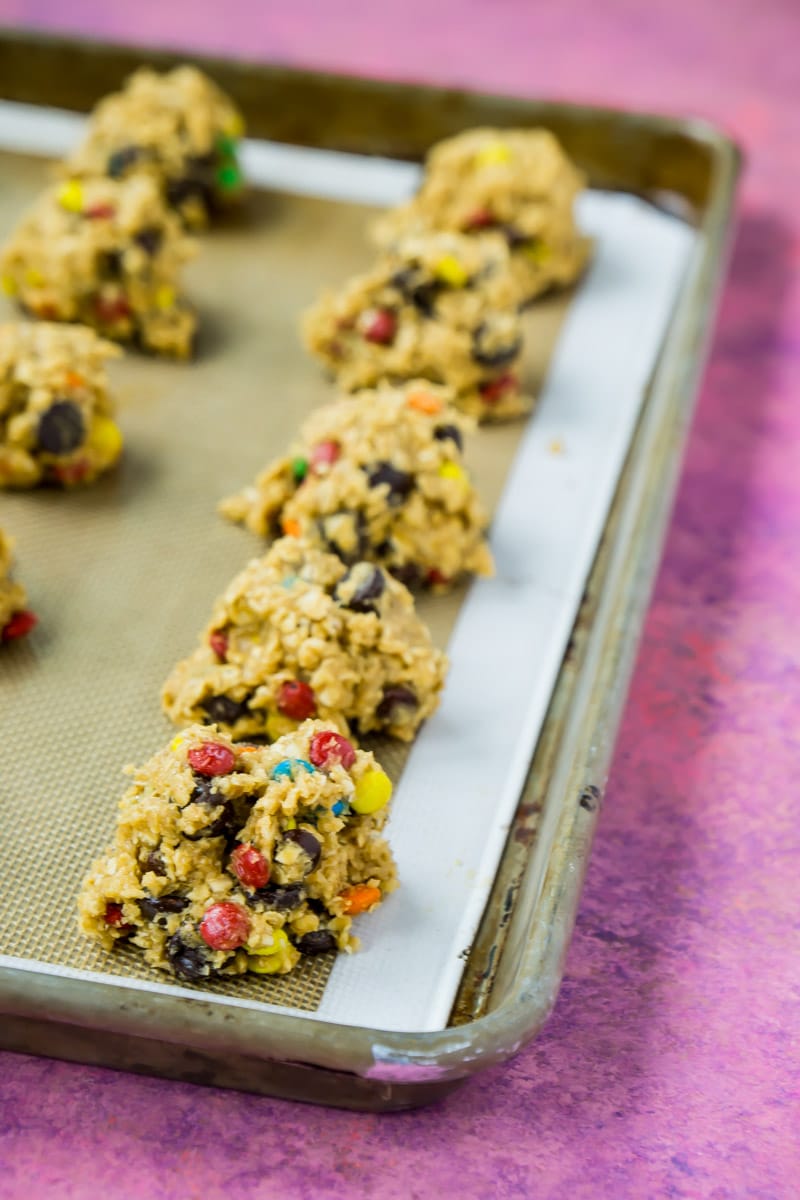
2- While your cookies are baking, put together your very own monster cookie sandwich bar with all of the ingredients for people to make their own monster. Kids especially will love getting to be creative with sprinkles, eyeballs, and teeth!
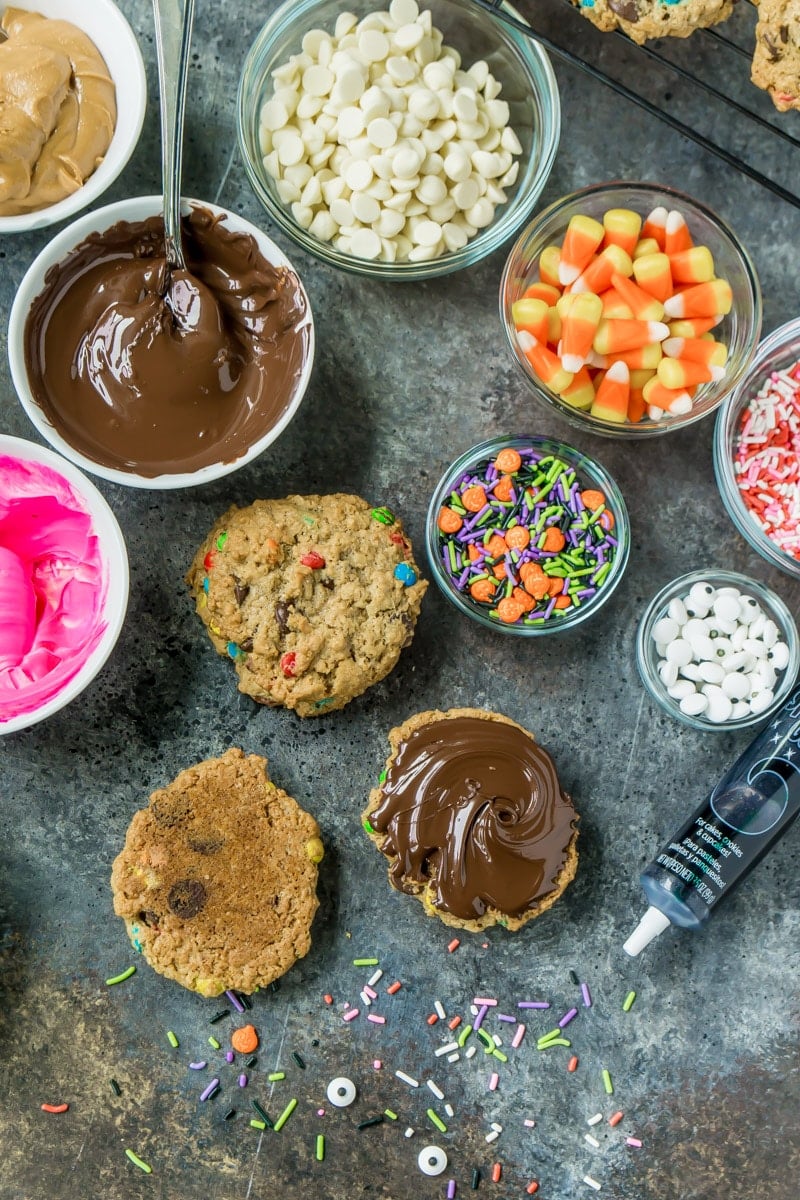
3 – To make the cookie sandwiches, simply place some filling in between two similar sized monster cookies and smoosh together to press the filling to the side.
Then dip the cookie sandwich in sprinkles and add monster eyes and other embellishments. Or do it in reverse – add eyes and embellishments first then add sprinkles.
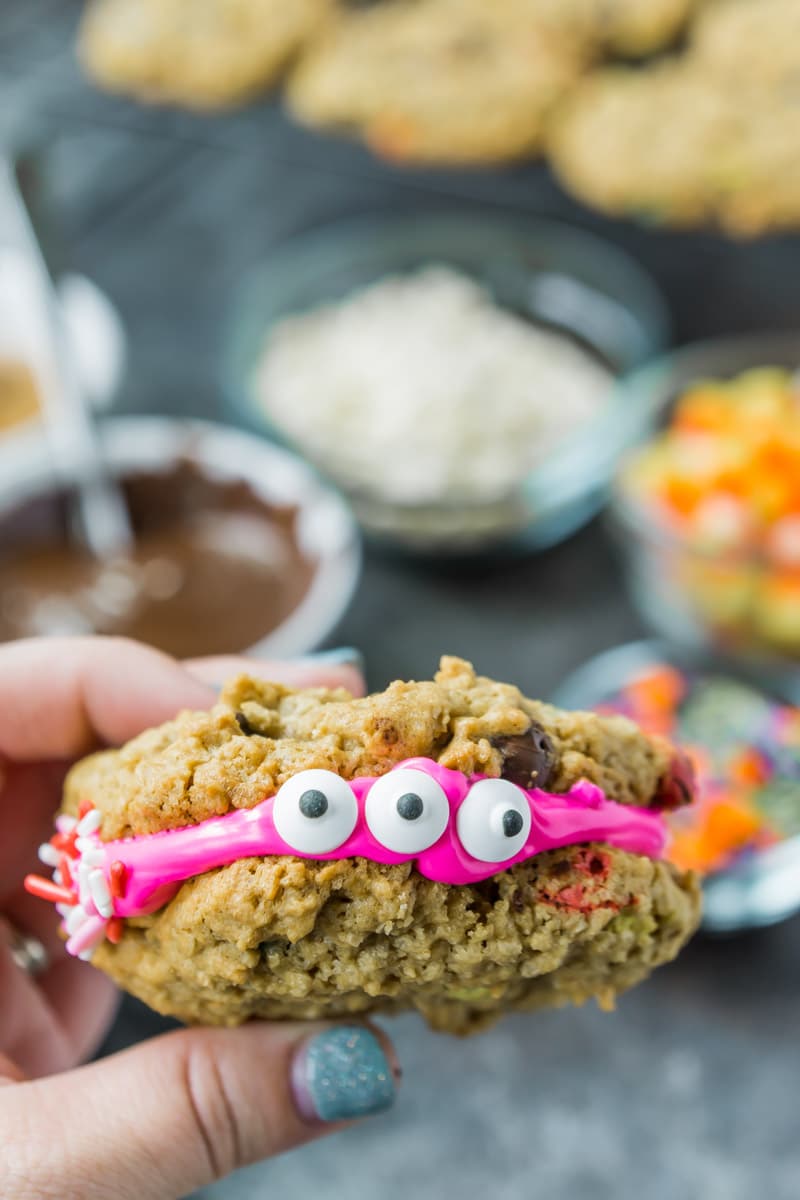
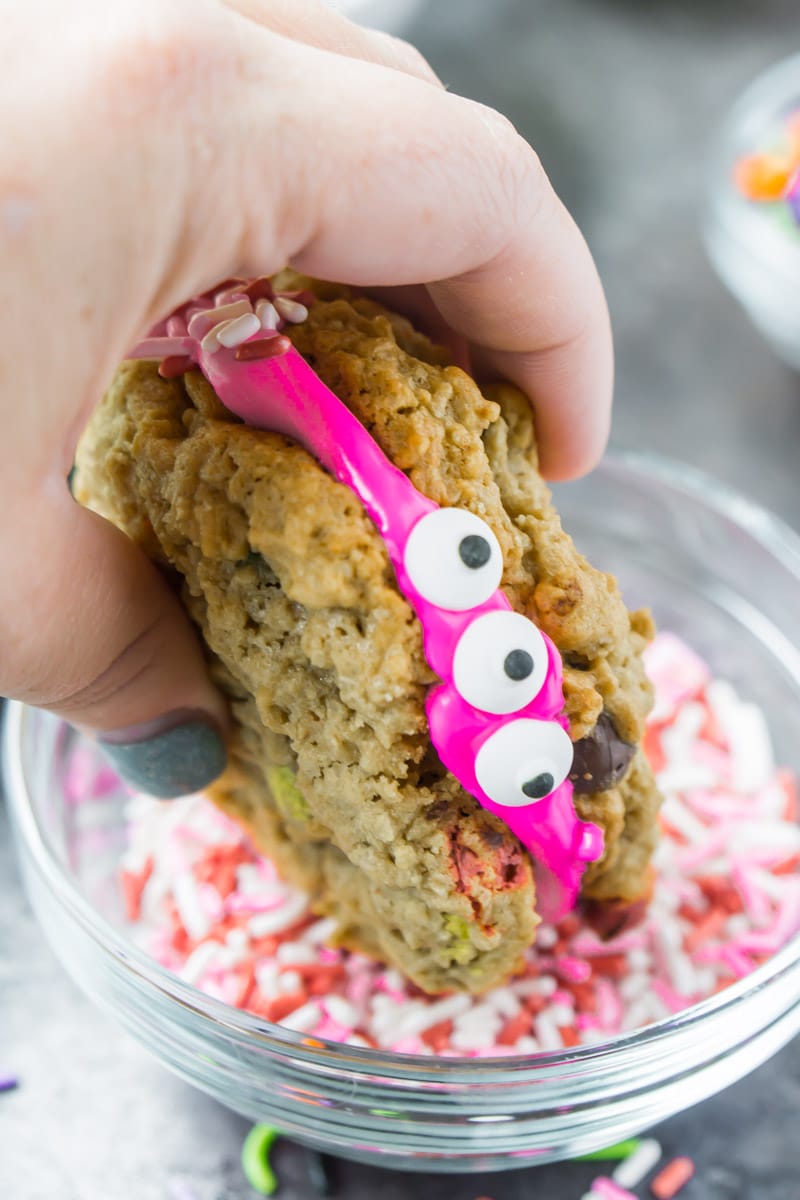
Enjoy with a cold glass of chocolate monster milk for one spooktacular treat! You could even make it into a competition, kind of like a gingerbread house making competition – see who can get the most creative with the supplies provided!
Want more Goodies?
Want more delicious recipes just like this one? Enter your first name and email address in the form below to join the Play Party Plan community! You’ll receive weekly recipes and party ideas directly to your inbox!

Monster Cookie Sandwiches
Ingredients
- 24 monster cookies your favorite recipe
- tub cream cheese frosting dyed with food coloring into different colors
- chocolate frosting
- peanut butter
- candy eyeballs
- sprinkles
- candy corn or white chocolate for teeth
Instructions
- Place filling of your choice between two similar sized monster cookies and smash together carefully.24 monster cookies, tub cream cheese frosting, chocolate frosting, peanut butter
- Dip edges of cookie into sprinkles or sprinkle sprinkles on all edges of cookie.sprinkles
- Add candy eyeballs, more sprinkles, and other candy or embellishments to make monsters.candy eyeballs, candy corn or white chocolate
- Enjoy with chocolate milk to wash them down!





Leave a Reply