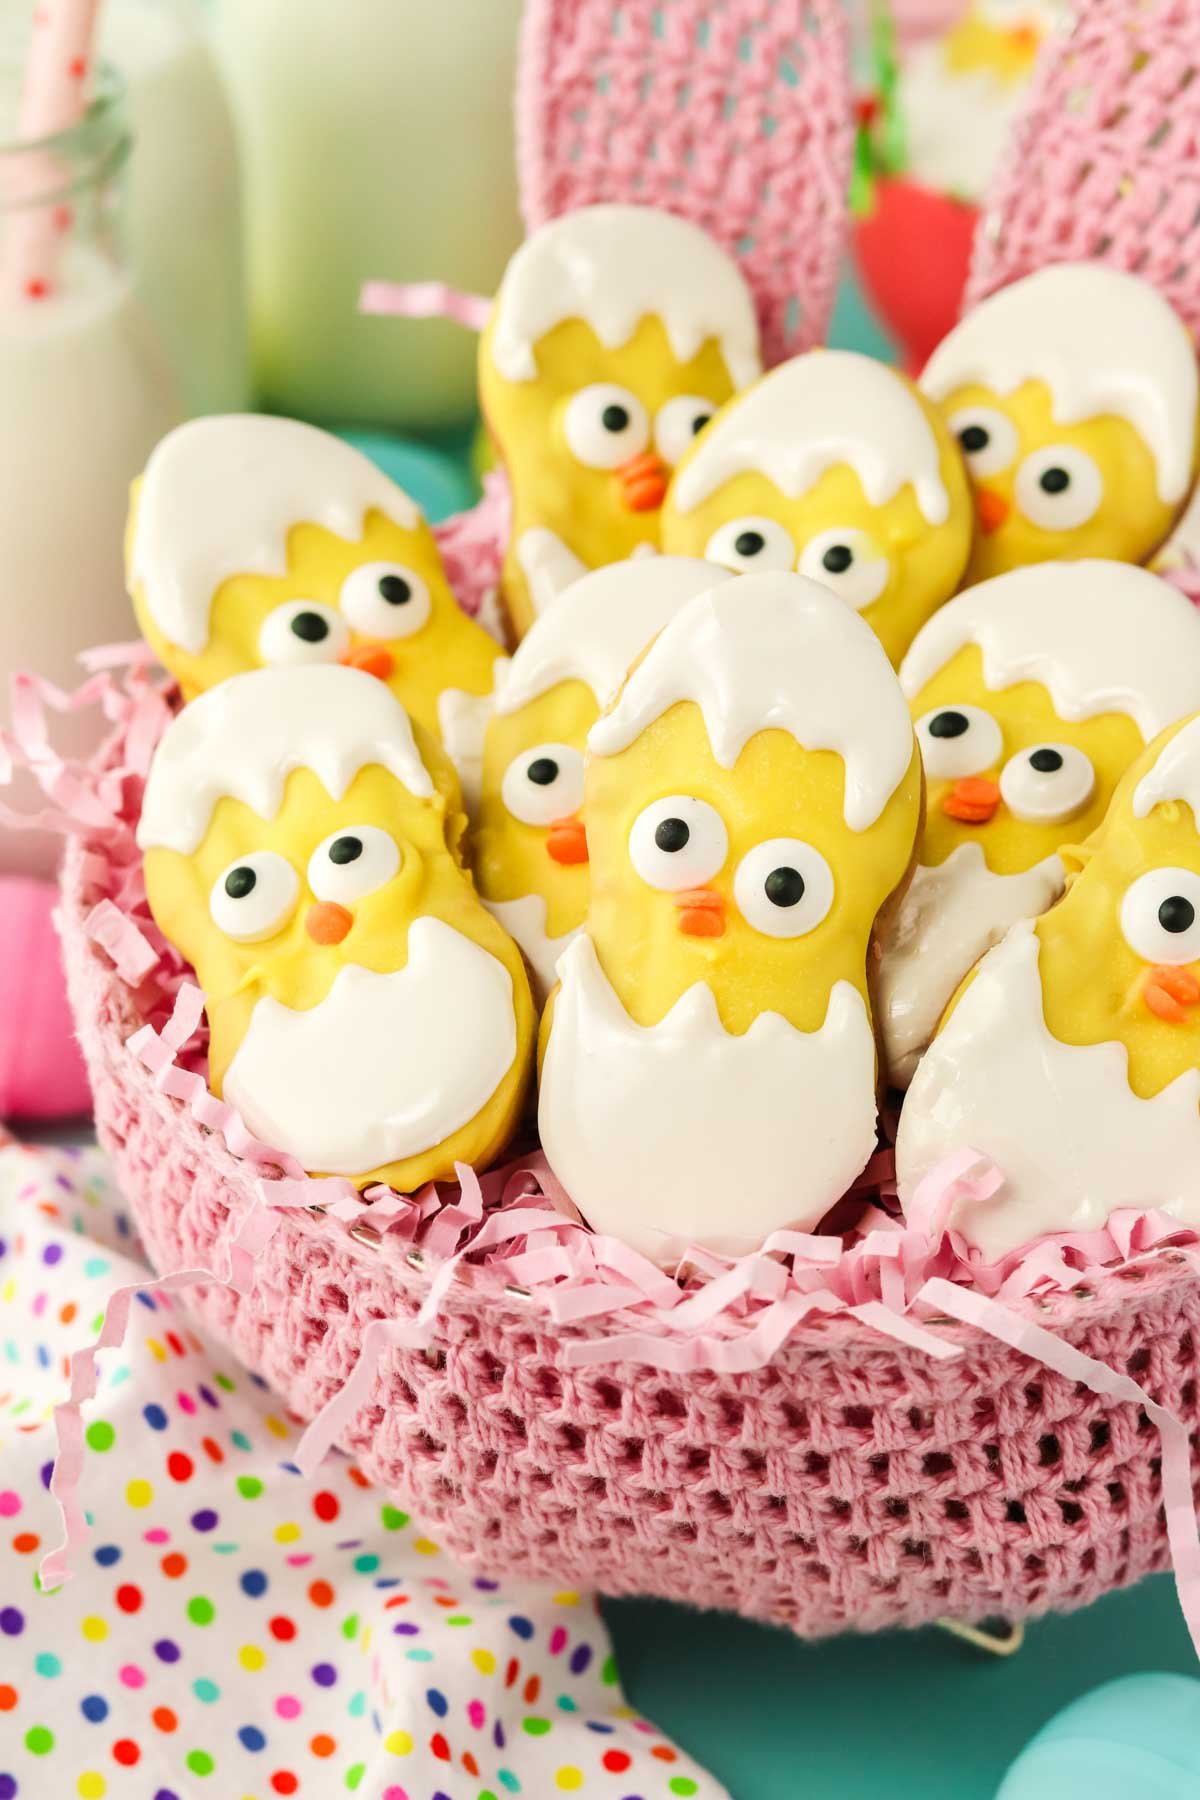
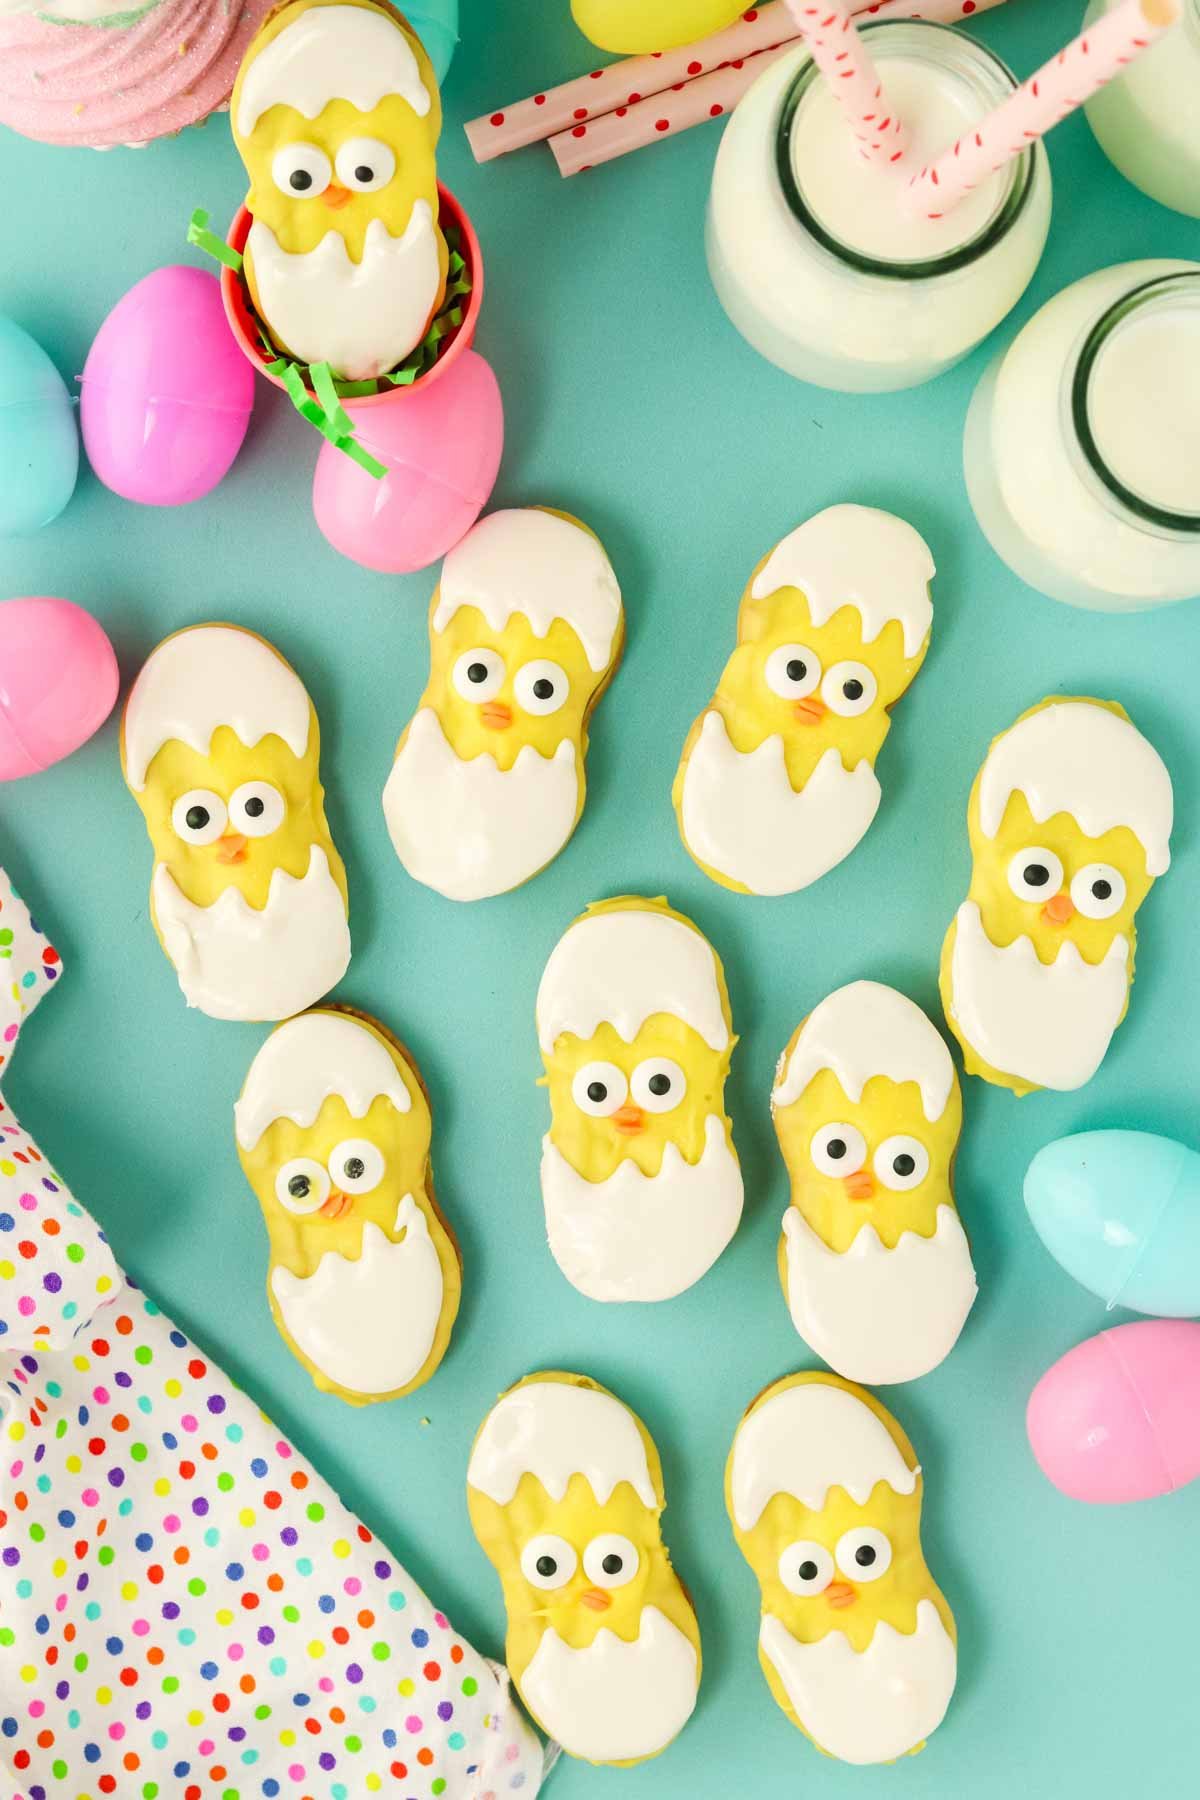
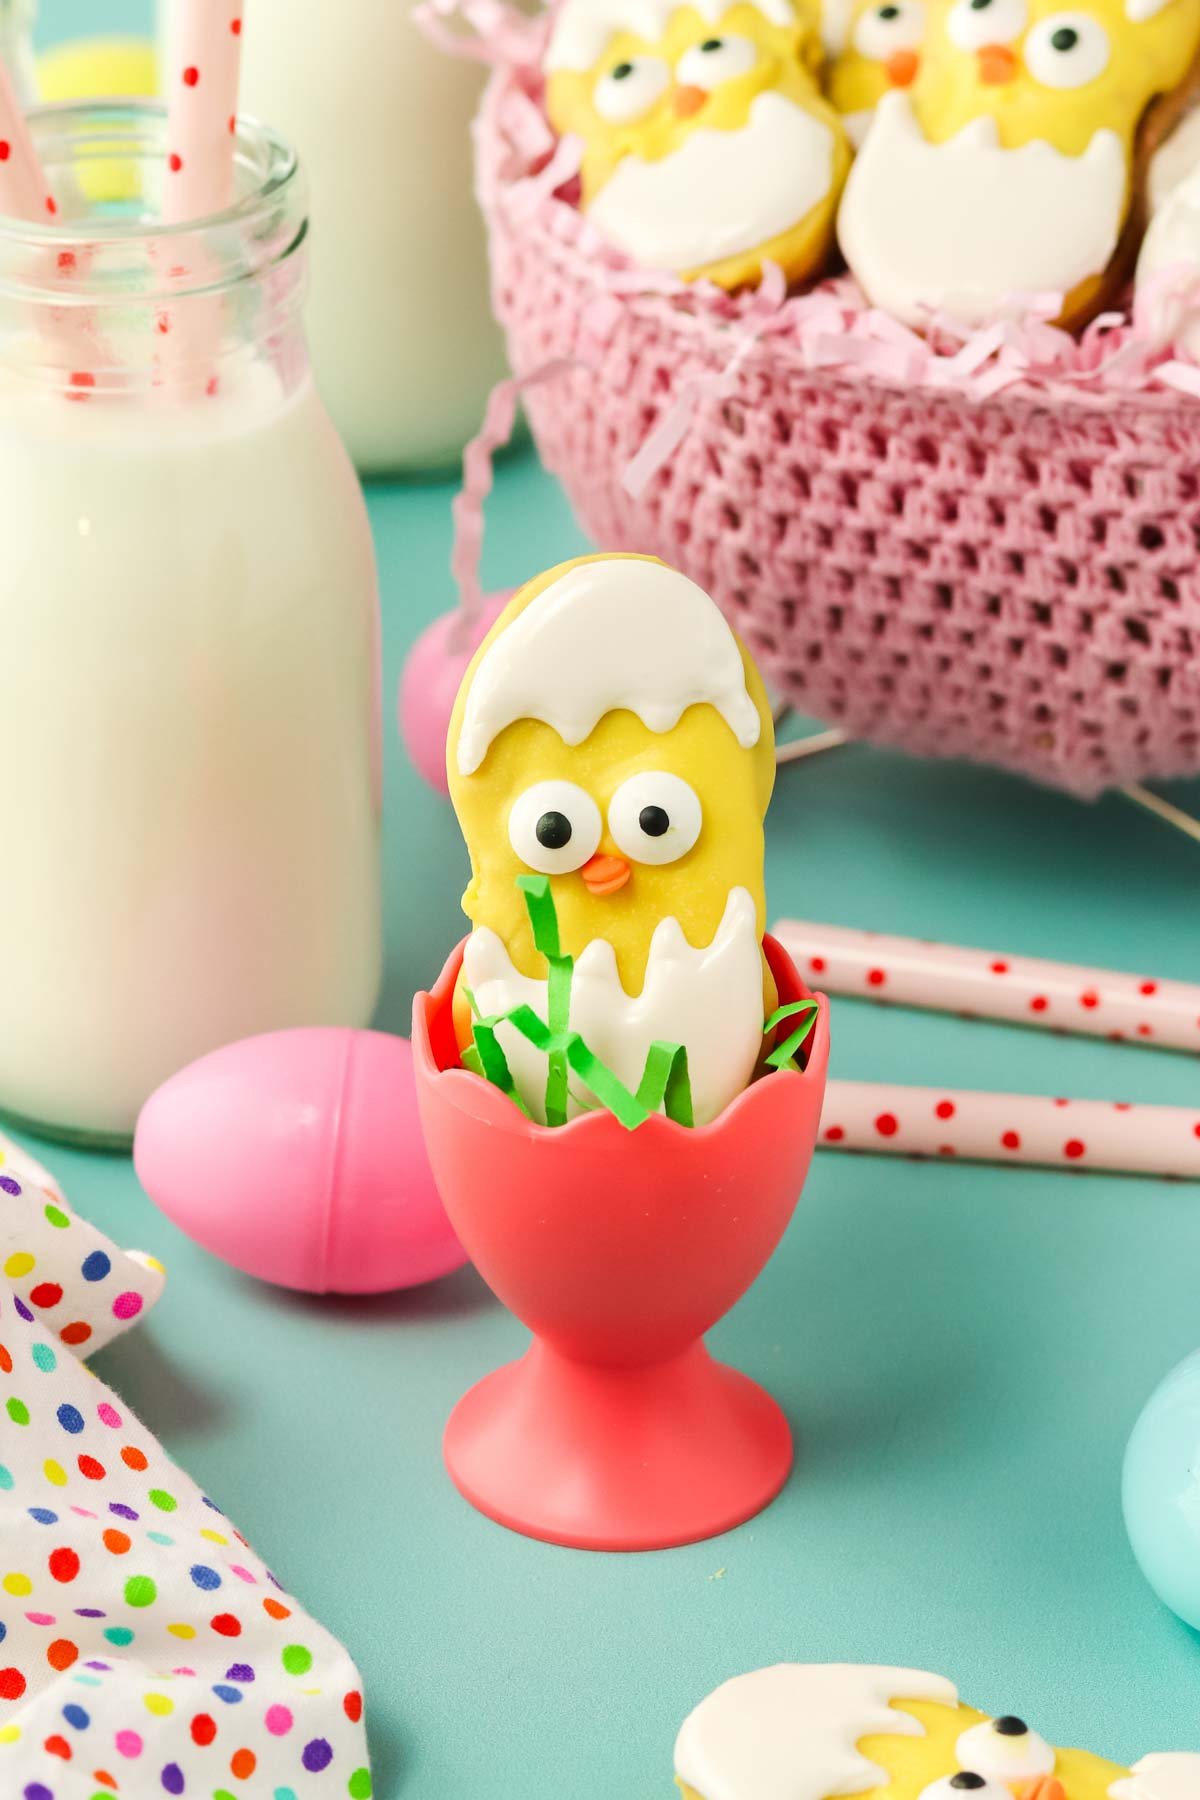
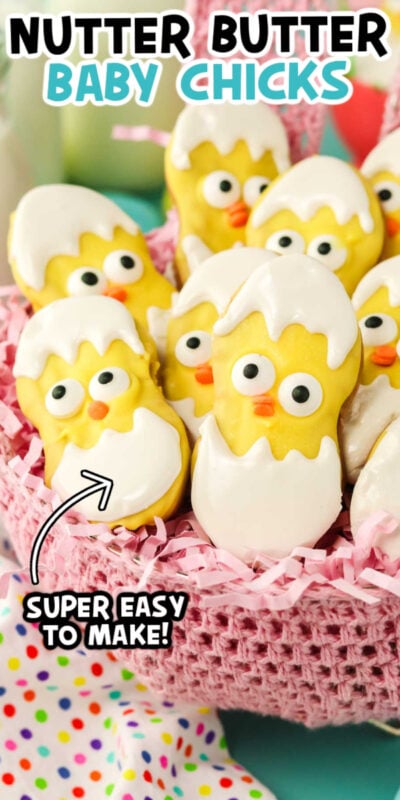
Nutter Butter Chicks are an adorably fun Easter treat and craft idea rolled into one! A fun activity for the entire family, these no-bake treats are made by dipping Nutter Butter cookies into yellow melting chocolate and then decorated to look like hatching chicks.
They’re not only delicious, they’re also an easy way to incorporate some Easter themes onto your cookie tray or Easter charcuterie board!
Want to save this recipe?
Enter your email below and we’ll send this idea straight to your inbox (plus you’ll receive fun weekly ideas from us too!)
No Bake Nutter Butter Hatching Chicks
Spruce up your Easter baskets this year with these adorable nutter butter chicks! They’re made by taking the classic peanut butter sandwich cookie, dipping them in bright yellow melting chocolate, and decorating them to look like baby chicks.
I have a great recipe for homemade nutter butters that I like to use to make nutter butter turkey cookies for Thanksgiving as well as these Easter nutter butter chicks, but if you’ve got a store-bought package ready to go, go ahead and use it.
The bright yellow body and adorable eyes and beak peeking through a hatched egg are just too cute! If you want to get fancy, you can use a bit of icing to make different facial expressions with the eyebrows.
These no-bake Easter treats are so easy to make with just a few simple ingredients. They’re a fun activity for the kids, stress-free for the parents, and a delicious cookie for everyone 😉
Why you’ll love this
- Easy – as far as no-bake Easter recipes go, this one checks all the boxes. They’re made with just five simple ingredients and the chocolate can be melted in the microwave.
- Fun and festive – there’s no mistaking this is a kid’s Easter recipe, but adults love them too! They’re bright and colorful, charming and adorable, and great for all your cookie trays and dessert tables.
- Freezer-friendly – made too many? Save some for later!
Ingredients in Easter Chicks
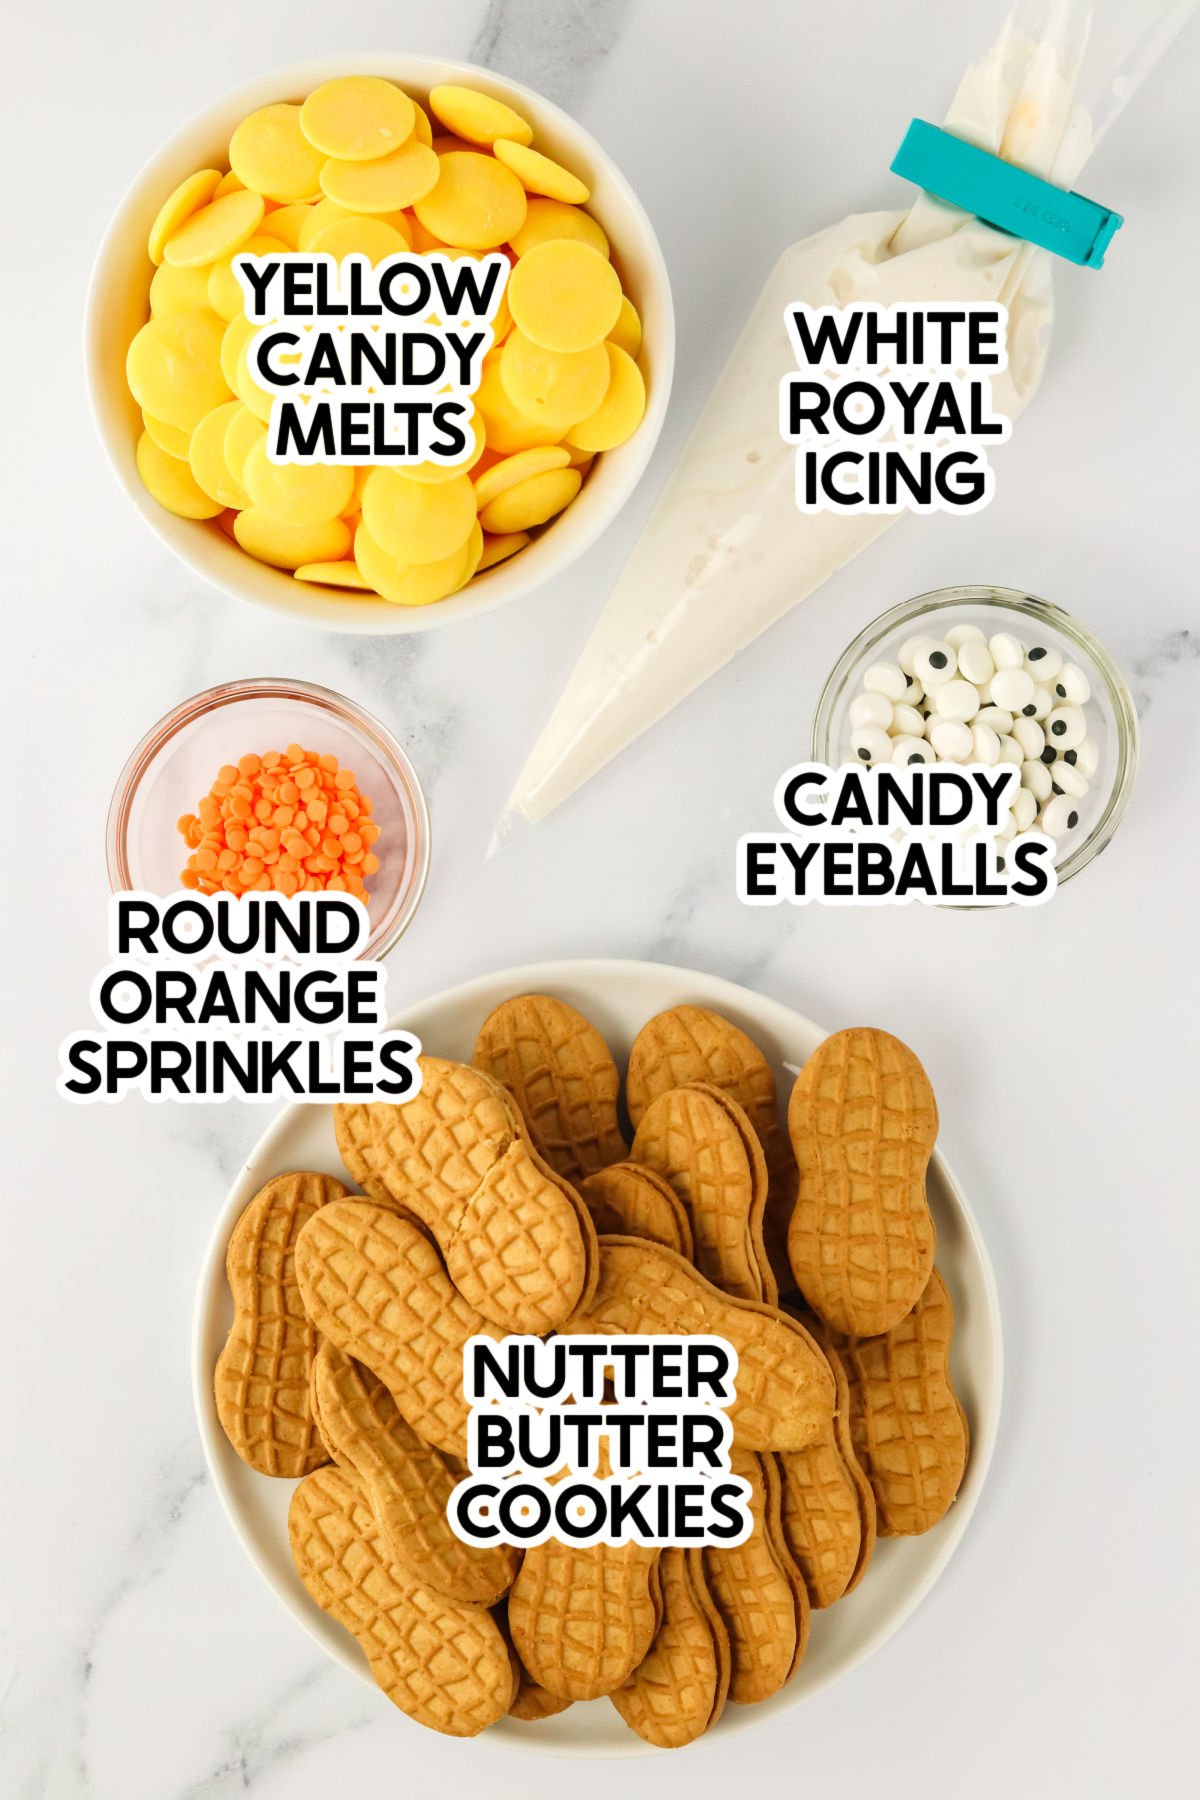
Ingredient Notes
- Nutter Butter cookies – this recipe yields 24 cookies, so pick up a 16oz, 453g, package.
- Yellow candy melts – I used yellow Wilton candy melts.
- Candy eyeballs – also used Wilton candy eyeballs. They can be bought at baking supply shops, Walmart, or on Amazon.
- Orange sprinkles – any round orange sprinkles work, but I used these confetti sprinkles!
- White royal icing – Use a piping tip if you want, but I just snipped the corner of the bag. You can also use a Ziploc bag if you don’t have a piping bag.
- You’ll also need – yellow candy melts, candy eyeballs, orange sprinkles, and white royal icing.
How to make Cute Easter Chicks
This cute Easter chick cookies are super simple to make! It’s as easy as melting the chocolate, dipping the cookies, then decorating them to look like cute little chicks!
1 – Dip the Cookies
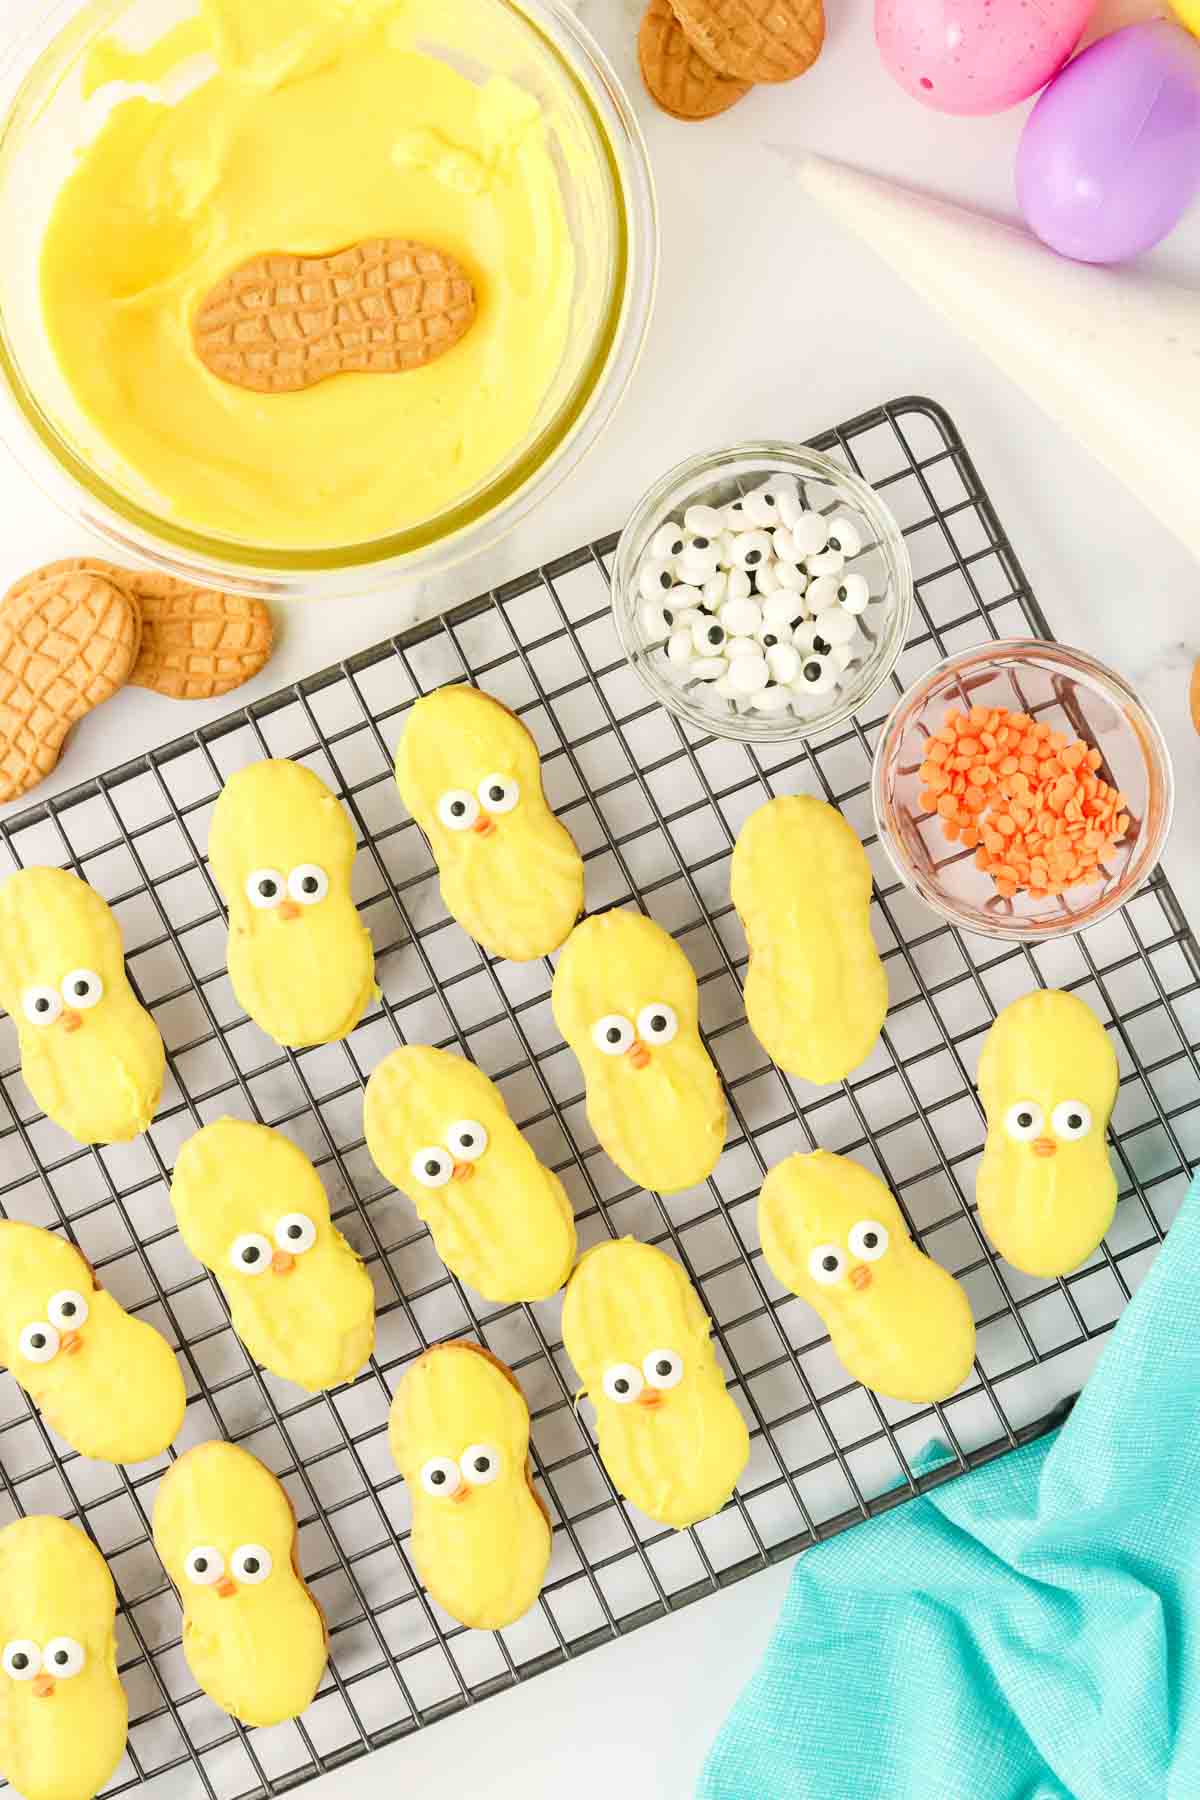
- Place the yellow melting candies in a microwave safe bowl and microwave for 30 seconds on high heat. Stir, then place back in the microwave and continue microwaving at 20 second intervals, stirring in between, until the candy is completely melted.
- Using a fork, dip a cookie into the yellow candy melts until it’s completely covered. Lightly tap the fork on the side of the bowl to remove any excess candy melts, then place on a cooling rack or piece of parchment paper.
- Immediately add two candy eyeballs and one round orange sprinkle toward the middle top of the Nutter Butter cookie, just like you see in the picture below.
- Repeat with all of the other cookies until you have dipped and decorated all of the Nutter Butters. Let them sit until the candy melts are completely set.
2 – Pipe on the Shells
- Put the royal icing in a piping bag with a small round tip or just a small opening. Use the piping bag to pipe an outline of a broken shell on the top and bottom of the cookie.
- Once you have the shell outlined, flood (aka fill) the outline of the shell fully with the icing and shake slightly to even it out.
How to Flood Icing
If you’ve never outlined and flooded icing before, here’s a great post on how to make royal icing and tips for flooding icing! It’s actually quite simple and effective for cookie decorating!
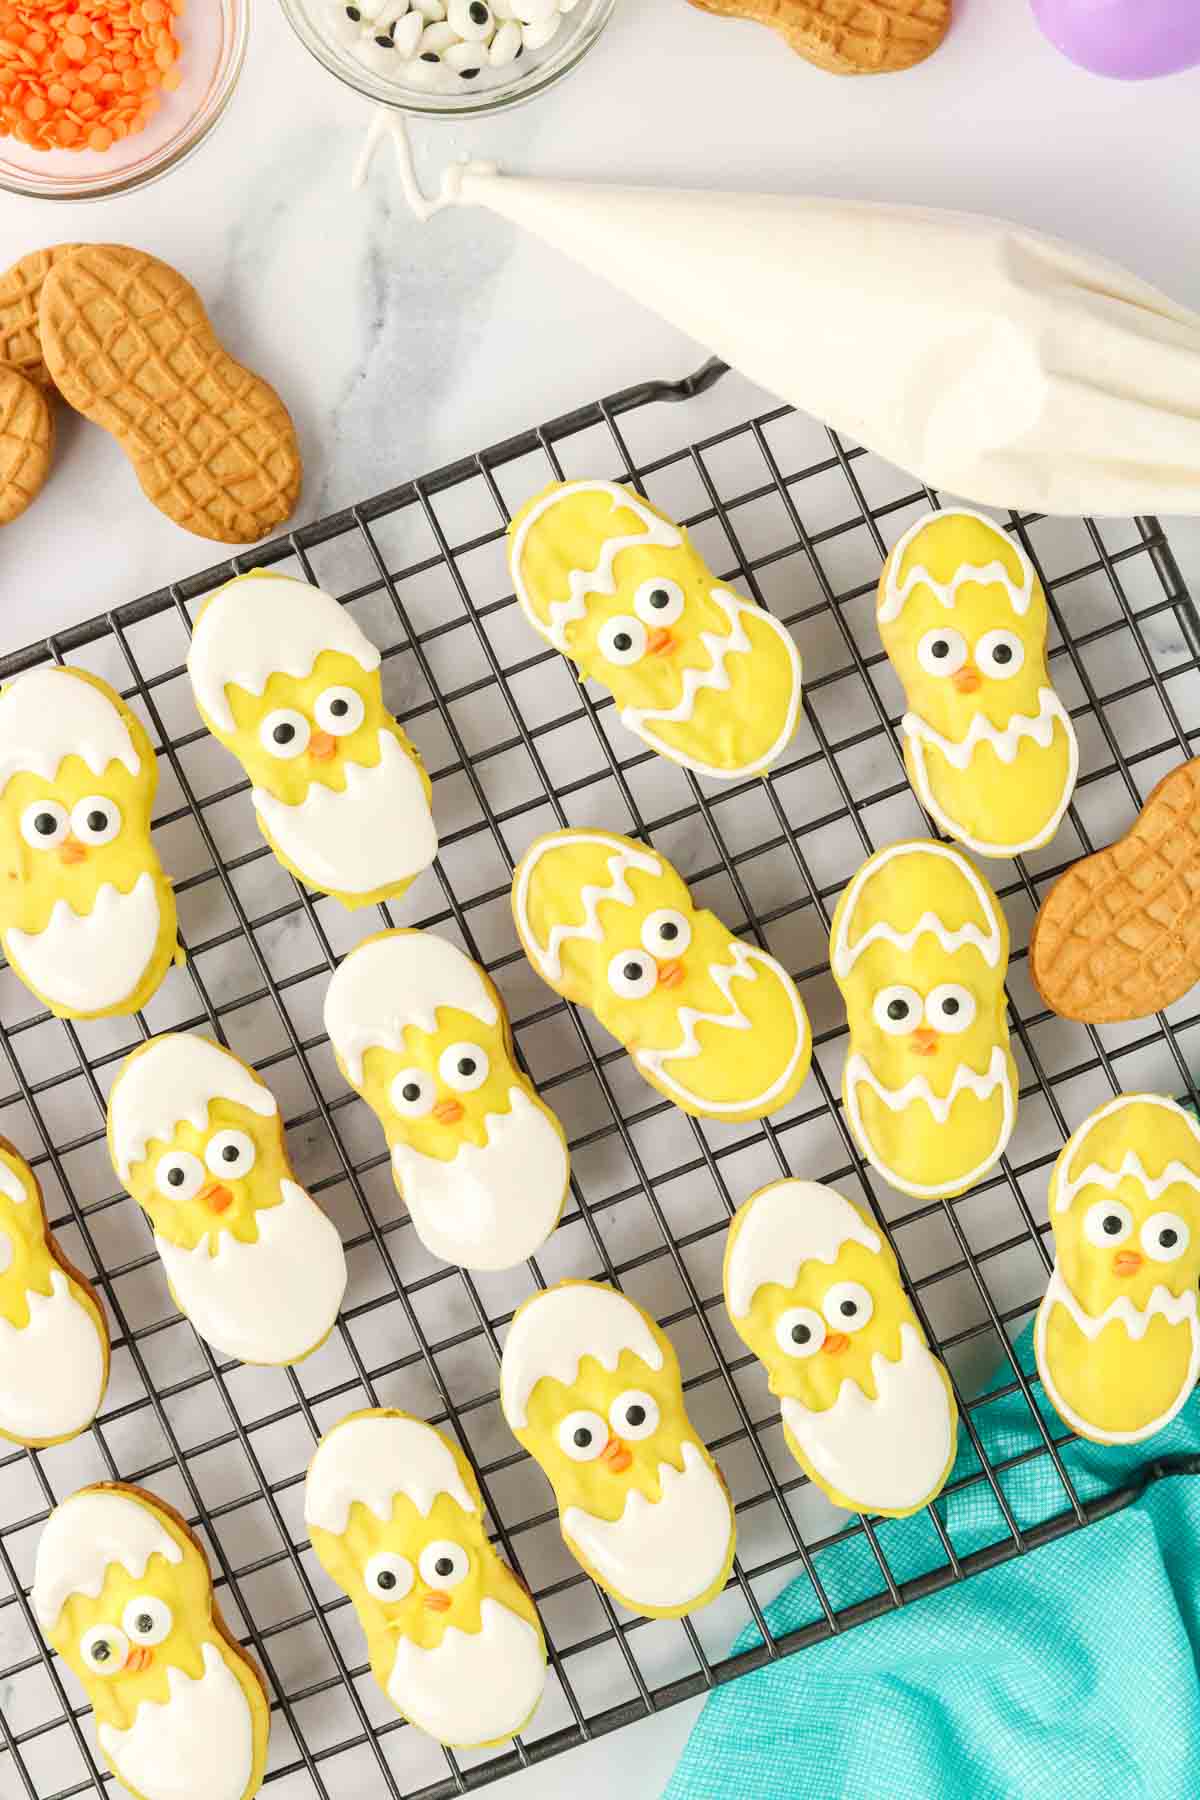
- Let the icing dry completely before serving. They’re ready to be eaten immediately or you can store them to enjoy later!
Wouldn’t these be so cute on an Easter dessert tray with these Easter Oreos and these chocolate covered peeps? Or put them in a bag and they’d be a great addition to any Easter baskets for toddlers!
Expert Tips & Storage Information
Keep leftovers covered or stored in a Ziploc bag on the counter for up to four days. No need to refrigerate them.
These cookies can be frozen, however just keep in mind, that the color of the sprinkles will bleed once thawed.
Make some simple swaps if you have a hard time finding some items. Chocolate chips and white icing for the eyes, orange royal icing for the beak, or add some fun eyebrows for expression!
Recipe FAQs
Can I use a different type of cookie?
Sure you can. I love the peanut shape of the nutter butter cookies as they make for great hatched eggs, but you can make hatched chicks using Oreos, wafers, or even your classic sugar cookies. This is great if you need to make them nut-free!
What if my candy melts start to harden before I’m done using it?
Slowly reheat them in the microwave at 10-second intervals. Do not overheat the candy melts. Once they harden and seize, there’s no turning back.
If an adult is present, you may decide to use a double boiler instead.
How fast do these nutter butter chicks set?
Pretty quickly! In about two-three minutes, so work fast. Have everything set and ready to go for a seamless process.
More Easter Treats
If you like Easter treats like these Nutter Butter chicks, make sure to check out these cute treats next! There’s everything from Easter eggs to bunnies!
- Easter Oreos – another fun chocolate-dipped cookie recipe perfect for decorating chicks, bunnies, eggs, you name it.
- Bunny cupcakes – soft and moist vanilla cupcakes topped with a luscious buttercream frosting and adorned with marshmallow bunny ears. So cute!
- Easter bark – slightly addicting, this Easter bark is super simple and super delicious. Graham crackers topped with a chocolate shell and sprinkled with all your favorite Easter candies.
- Peanut butter eggs – tasting just like the original Reese’s peanut butter cups, these homemade peanut butter eggs are nutty, chocolaty, and delicious!
- Easter haystacks – crunchy chow mein noodles coated in melted peanut butter and butterscotch chips and shaped into a bird’s nest to hold chocolate mini eggs are just about the cutest thing you’ve ever seen.
Want more Goodies?
Want more delicious recipes just like this one? Enter your first name and email address in the form below to join the Play Party Plan community! You’ll receive weekly recipes and party ideas directly to your inbox!

Nutter Butter Chicks
Ingredients
- 6 oz yellow candy melts about 1 cup
- 24 Nutter Butter cookies 1 family size package
- 48 candy eyeballs
- 48 round orange sprinkles
- 1 cup white royal icing about 8 ounces
Instructions
- Place the yellow melting candies in a microwave safe bowl and microwave for 30 seconds on high heat. Stir, then place back in the microwave and continue microwaving at 20 second intervals, stirring in between, until the candy is completely melted.6 oz yellow candy melts
- Using a fork, dip a cookie into the yellow candy melts until it’s completely covered. Lightly tap the fork on the side of the bowl to remove any excess candy melts, then place on a cooling rack or piece of parchment paper.24 Nutter Butter cookies
- Immediately add two candy eyeballs and two round orange sprinkles (like a beak) toward the middle top of the Nutter Butter cookie, just like you see in the picture below.48 candy eyeballs, 48 round orange sprinkles
- Repeat with all of the other cookies until you have dipped and decorated all of the Nutter Butters. Let them sit until the candy melts are completely set.
- Put the royal icing in a piping bag with a small round tip or just a small opening. Use the piping bag to pipe an outline of a broken shell on the top and bottom of the cookie.1 cup white royal icing
- Once you have the shell outlined, flood the outline of the shell fully with the icing and shake slightly to even it out.
- Let the icing dry completely before serving. They’re ready to be eaten immediately or you can store them to enjoy later!





Leave a Reply