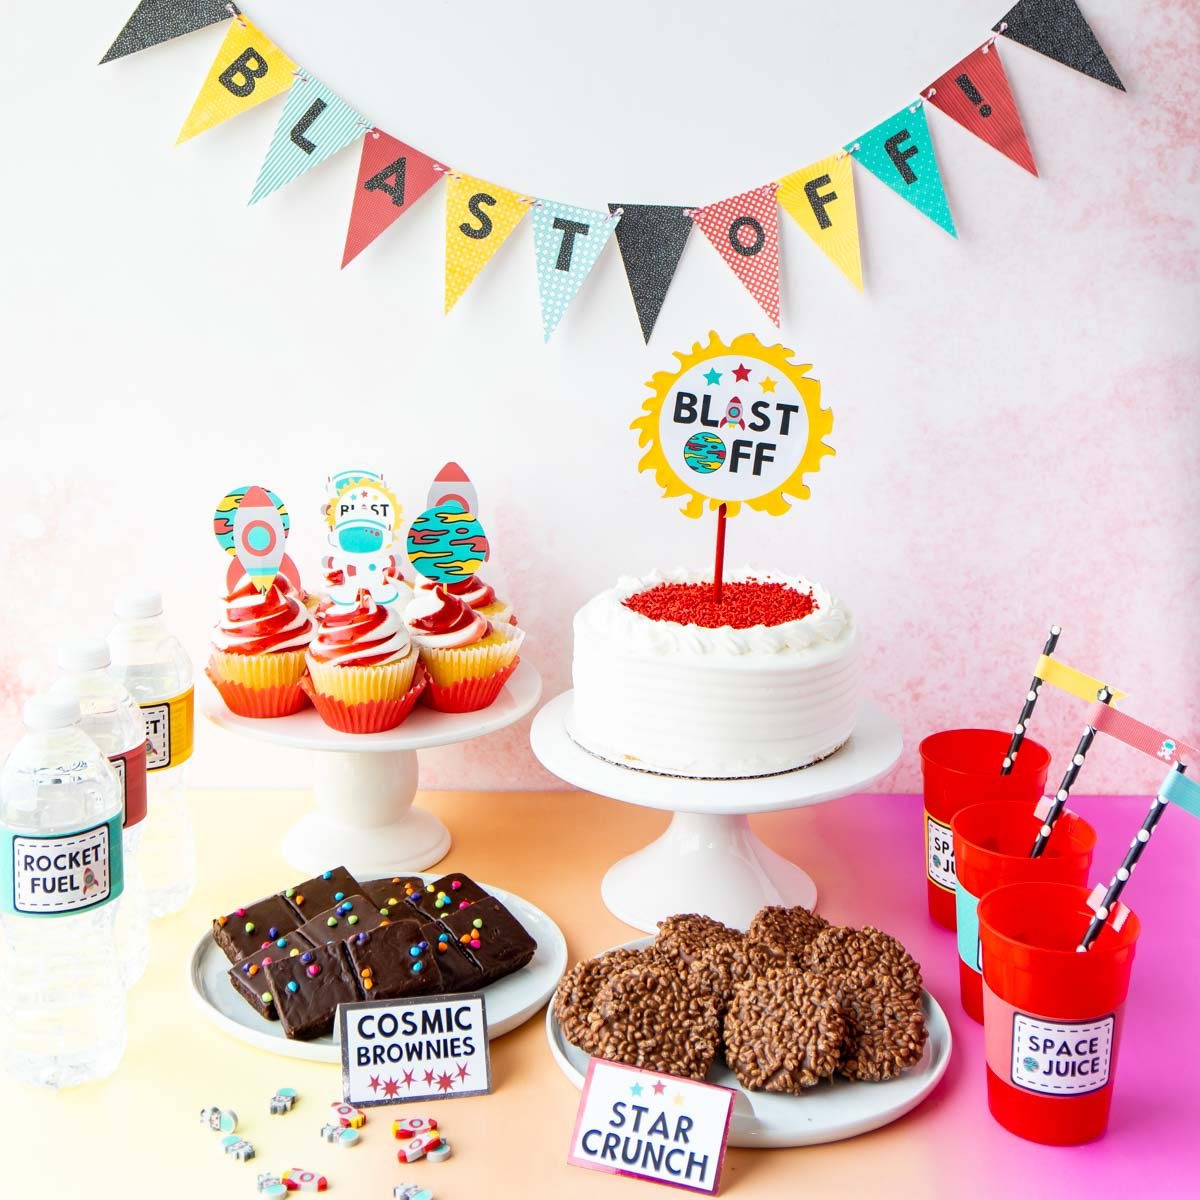
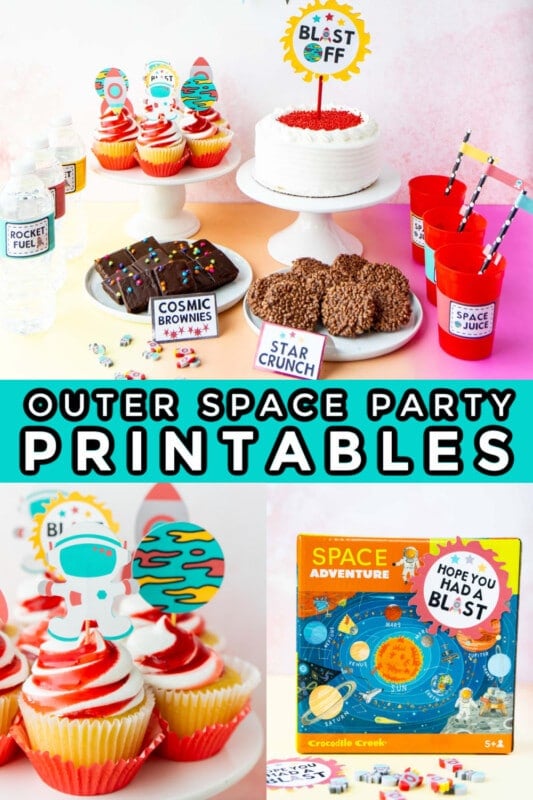
Planning an outer space party? Use this free set of print and cut outer space party decorations to setup an out of this world party in minutes! Everything you need for a space party including cupcake toppers, party favors, straw flags, and more!
Sponsored by: Cricut. All opinions are honest and my own.
Earlier this week I sent out a survey to my email subscribers and asked them what they are looking for this year.
One of the things that I heard a lot in the responses was themed days and one of those themes that came up a lot was outer space! I’ve been wanting to share some outer space party ideas ever since I made these DIY planets years ago.
So today I’m a sharing a set of print and cut outer space party decorations you can use to create your own blast off party at home!
Ways to use the printables
- Birthday party – the most obvious way to use these is for an outer space themed party!
- Baby shower – how about an over the moon for you or I love you to the moon and back shower? These printables work for any space themed shower!
- Graduation party – use these printables with a reach for the stars theme to encourage graduates to dream big!
- Family night – how about an out of this world themed family night complete with homemade moon pies, star shaped mini pizza pies, and some of the games from this outer space party!
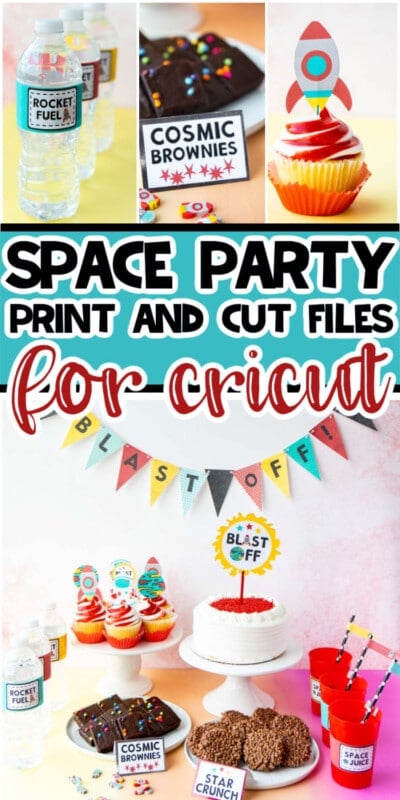
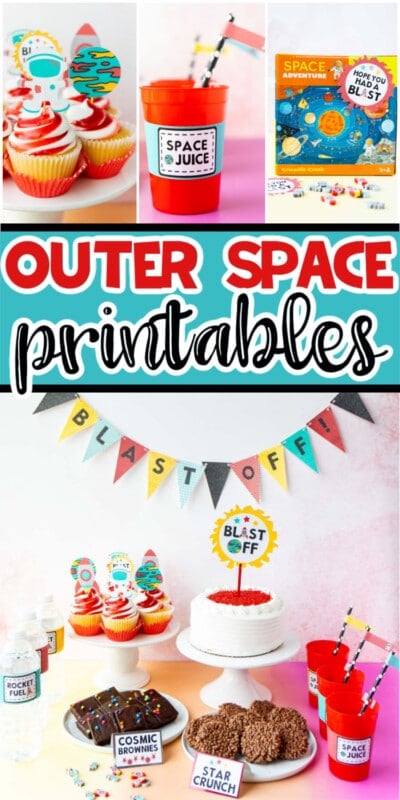
I’ve created the full set of printables you see in the image above – let’s talk about how to use them to setup your own outer space party!
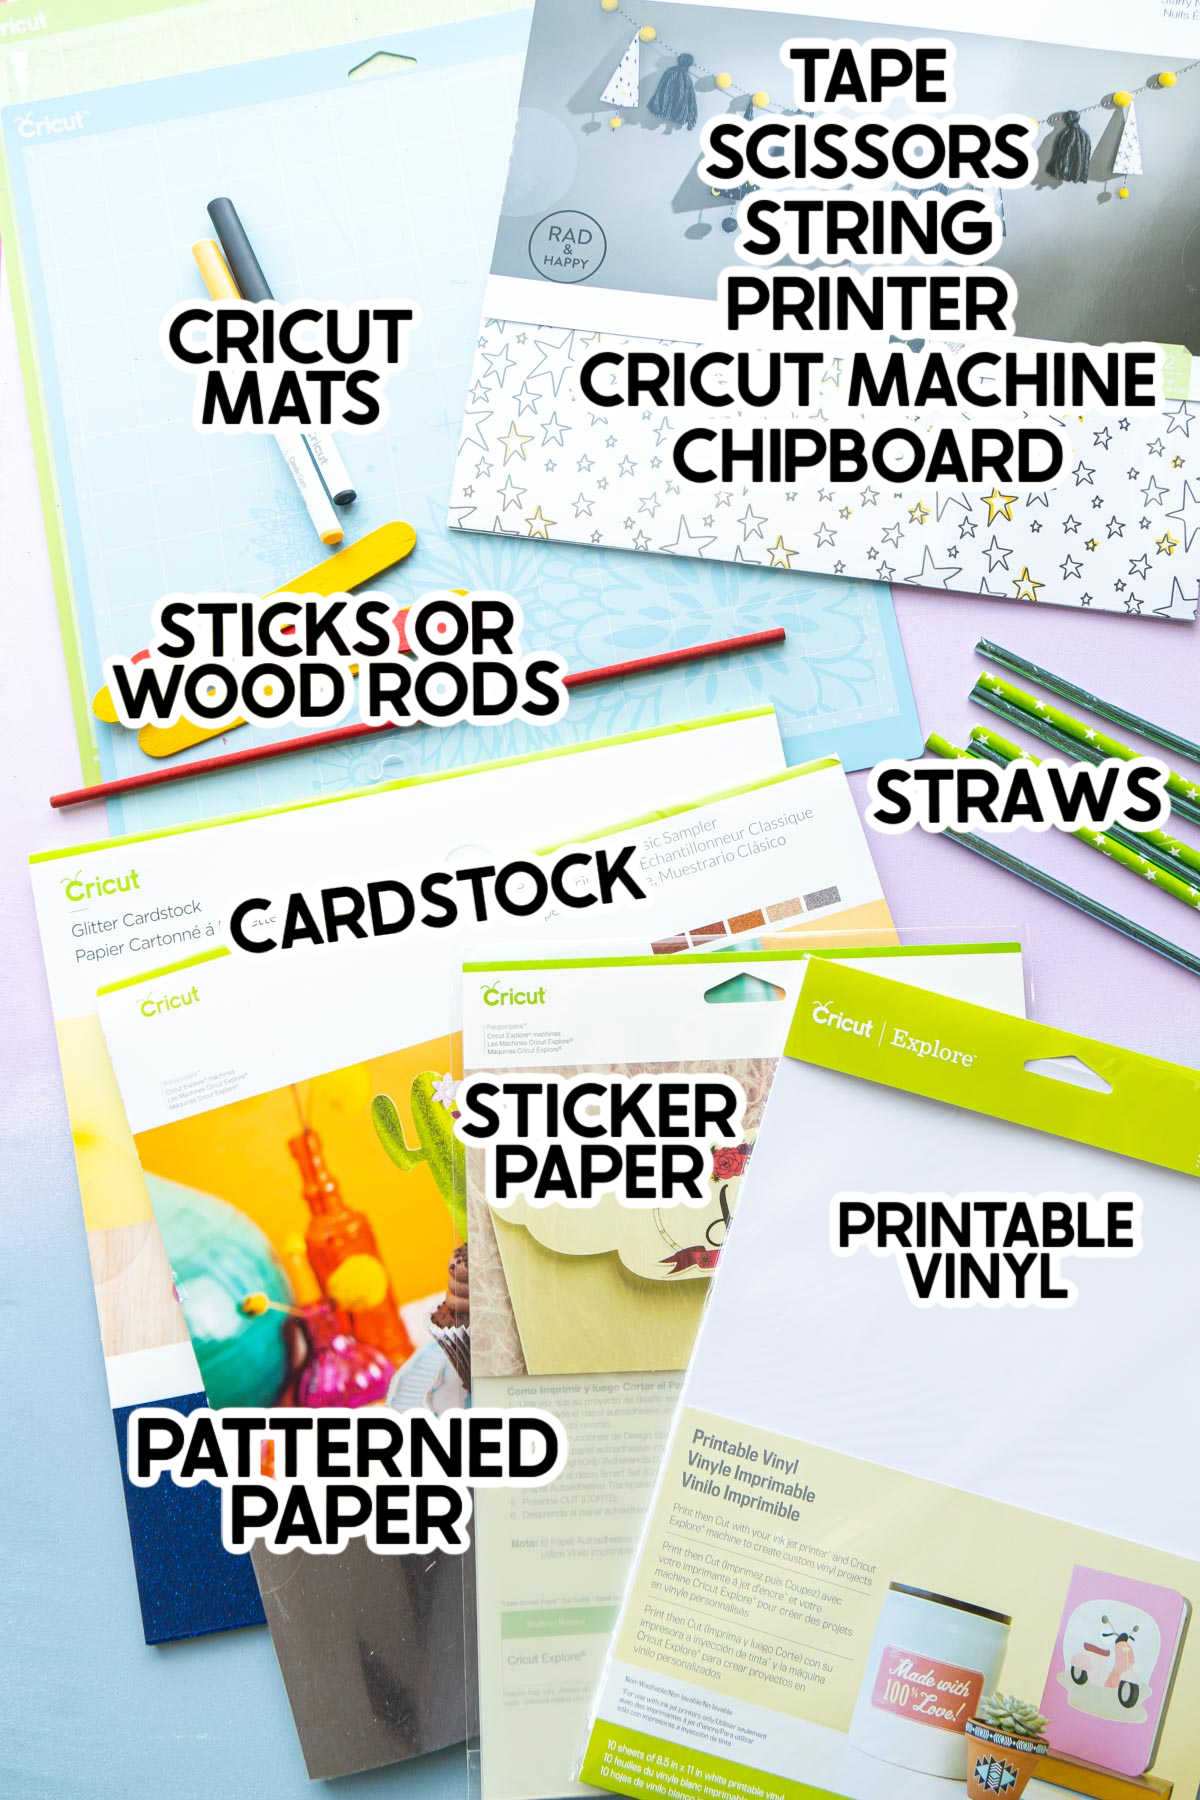
Supplies
Supply Notes
I know every party is a little different so you may choose to use different colors of paper, clear versus white sticker paper, or a different patterned paper than I did – but I’ve included links below to what I used to create the party setup in this post!
Plus, a couple of tips on why I chose what I did and what I personally recommend to make it easier for you!
- Cricut Mats – if you’re just cutting things out of cardstock, you’ll just need a StandardGrip mat. If you want to the chipboard cake topper as well, you’ll also need a StrongGrip mat. I just recommend getting a variety pack so you have all the options!
- Cricut Machine – you can make these projects with either a Cricut Maker (what I used) or machines from the Cricut Explore family (if not doing the chipboard cake topper). Some of the designs are too large for the Cricut Joy, otherwise you could use that as well.
- Cricut Chipboard – since I’ve mentioned it a couple of times already, I used this 1.5mm Cricut chipboard to create the cake topper seen in this post.
- Cricut Printable Vinyl – I used the vinyl to finish the cake topper because it’s a bit sturdier and longer lasting than the sticker paper. And I want to be able to use the cake topper again and again for any space themed activities I host in the future!
- Cardstock – since this project uses the print and cut feature, I recommend getting just regular 8.5×11 white cardstock. You can use Cricut cardstock but it only comes in 12×12 sheets, so you’ll need to cut it down to fit in your printer!
- Cricut Patterned Paper – Cricut has a huge selection of patterned paper that would be great behind the food labels. I liked the look of this sparkle paper so it’s what I used, but you could also use their glitter cardstock.
- Cricut Sticker Paper – Cricut has both a white backed printable sticker paper and a clear backed printable sticker paper. Use whichever one makes the most sense for what you’re sticking things to. I recommend the white backed for water bottle and juice box labels.
- Outer Space Party Decorations Set – you’ll need to open it in Cricut Design Space. All of the files are there, you’ll just need to unhide things to cut them out! Customize as you see fit or just print and cut just like they are now!
Other that those things, you just need things you should already have already your house – scissors, tape, toothpicks, and a wooden dowel or rod of some sort for the cake topper!
How to Make Space Party decorations
All of these decorations use the space party decorations set in Cricut Design Space. So the first thing you need to do for any of these decorations is open the file.
In order to keep the file from getting overwhelming, I’ve hid most of the items. Click the little eyes on each of the items in the toolbar on the right to find what you’re looking for. I recommend working on one project at a time to keep track of where you’re at!
There are seven different projects I made with these printables, and I’ve included instructions for each of these below. Feel free to make these exact projects or use the printables for your own creative ideas!
- Cake topper
- Cupcake/treat toppers
- Straw flags
- Party banner
- Water bottle/juice box labels
- Food labels
- Party favors
Get the file!
In case you missed it above, you can get all of these print and cut files for free in Cricut Design space here!
1 – Outer Space Cake Topper
I always like to put something big, colorful, and bold on top of the cake at a party. This cake topper is designed to be sturdier, thicker, and more durable than your typical cupcake topper.
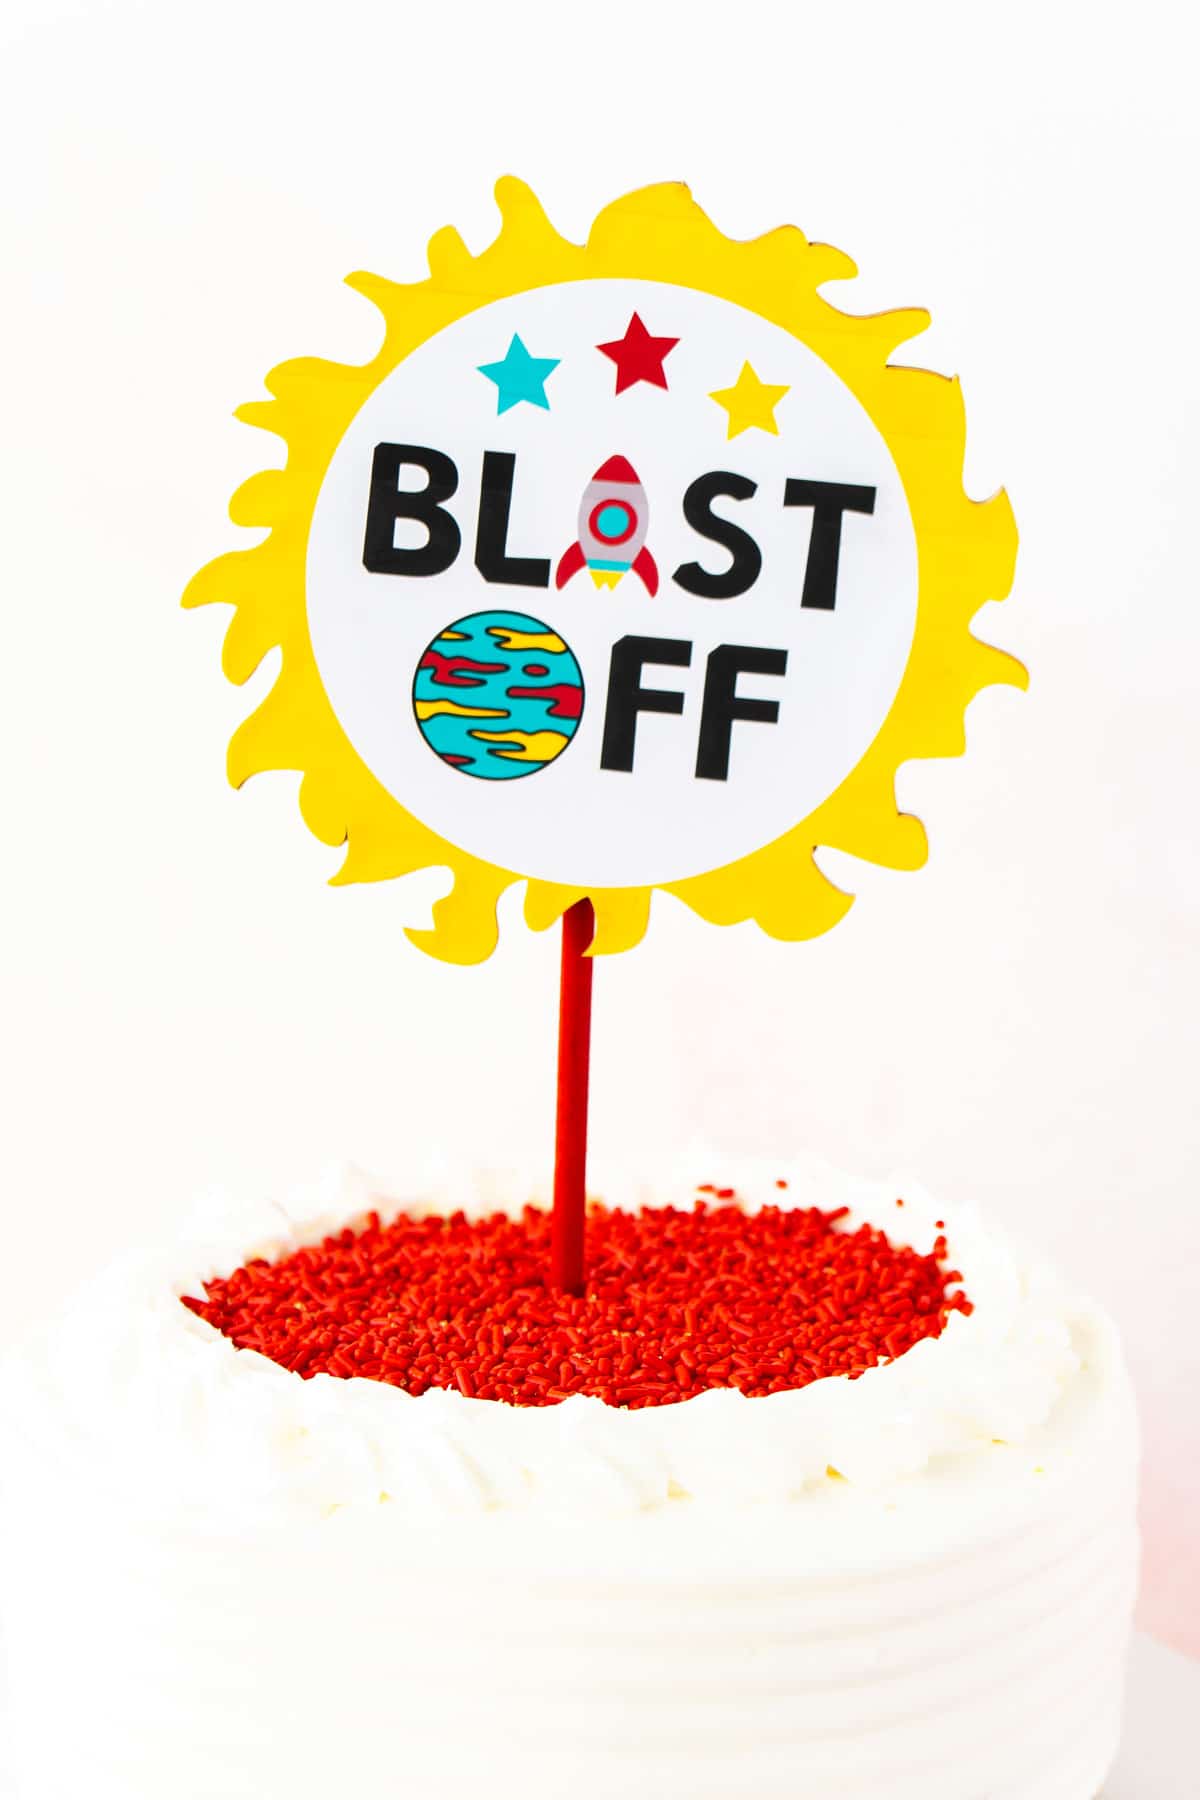
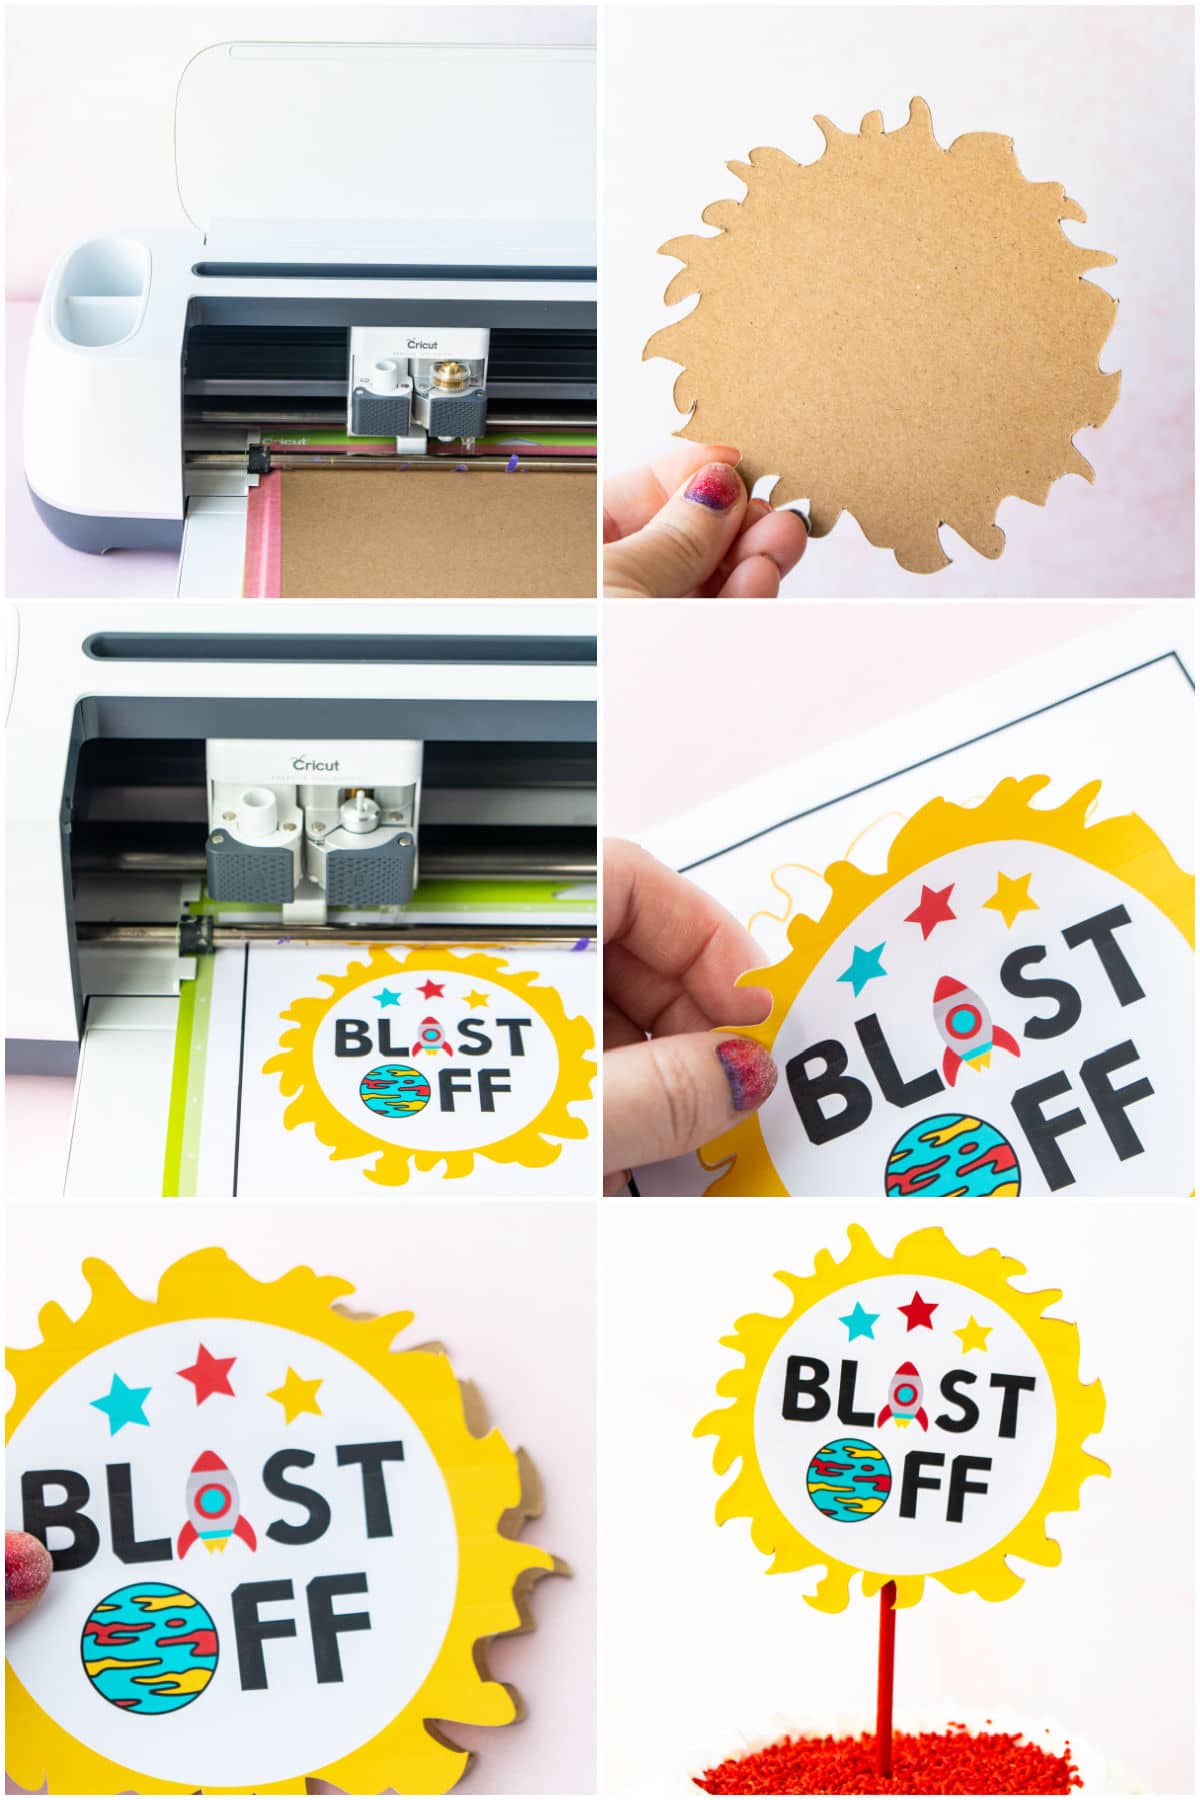
- Open the Design Space file and unhide the larger “blast off” cake topper image and the large yellow starburst image. Choose make it, make sure your Cricut Maker is connected, and follow the instructions to make the cake topper.
- Load the chipboard onto a StrongGrip mat (or StandardGrip should work IF you don’t have StrongGrip). Tape the sides all the way around with masking tape then load it into your Cricut Maker. Cut – this will likely take 10-15 minutes since it does 10+ rounds of cutting to make sure it cuts all the way through. Remove from the chipboard once cut
- Load printable vinyl into your printer, making sure to load it correctly based on your printer configurations so the design prints on the vinyl. Print on the vinyl.
- Load the printed vinyl onto a StandardGrip Cricut Mat, design face up. Load into your machine and cut.
- Peel the vinyl off and place it carefully on top of the chipboard design, making sure to line up the edges.
- Glue a wood dowel or rod to the back of the cake topper to finish the project!
2 – Outer Space Cupcake Toppers
Now let’s go a little smaller! One of the reasons I love Cricut’s print and cut feature so much is that it allows you to do heavy designs with more creative shapes – like rocket ships, astronauts, and little planets.
Cutting any of those by hand would take forever depending on how many treats you have!
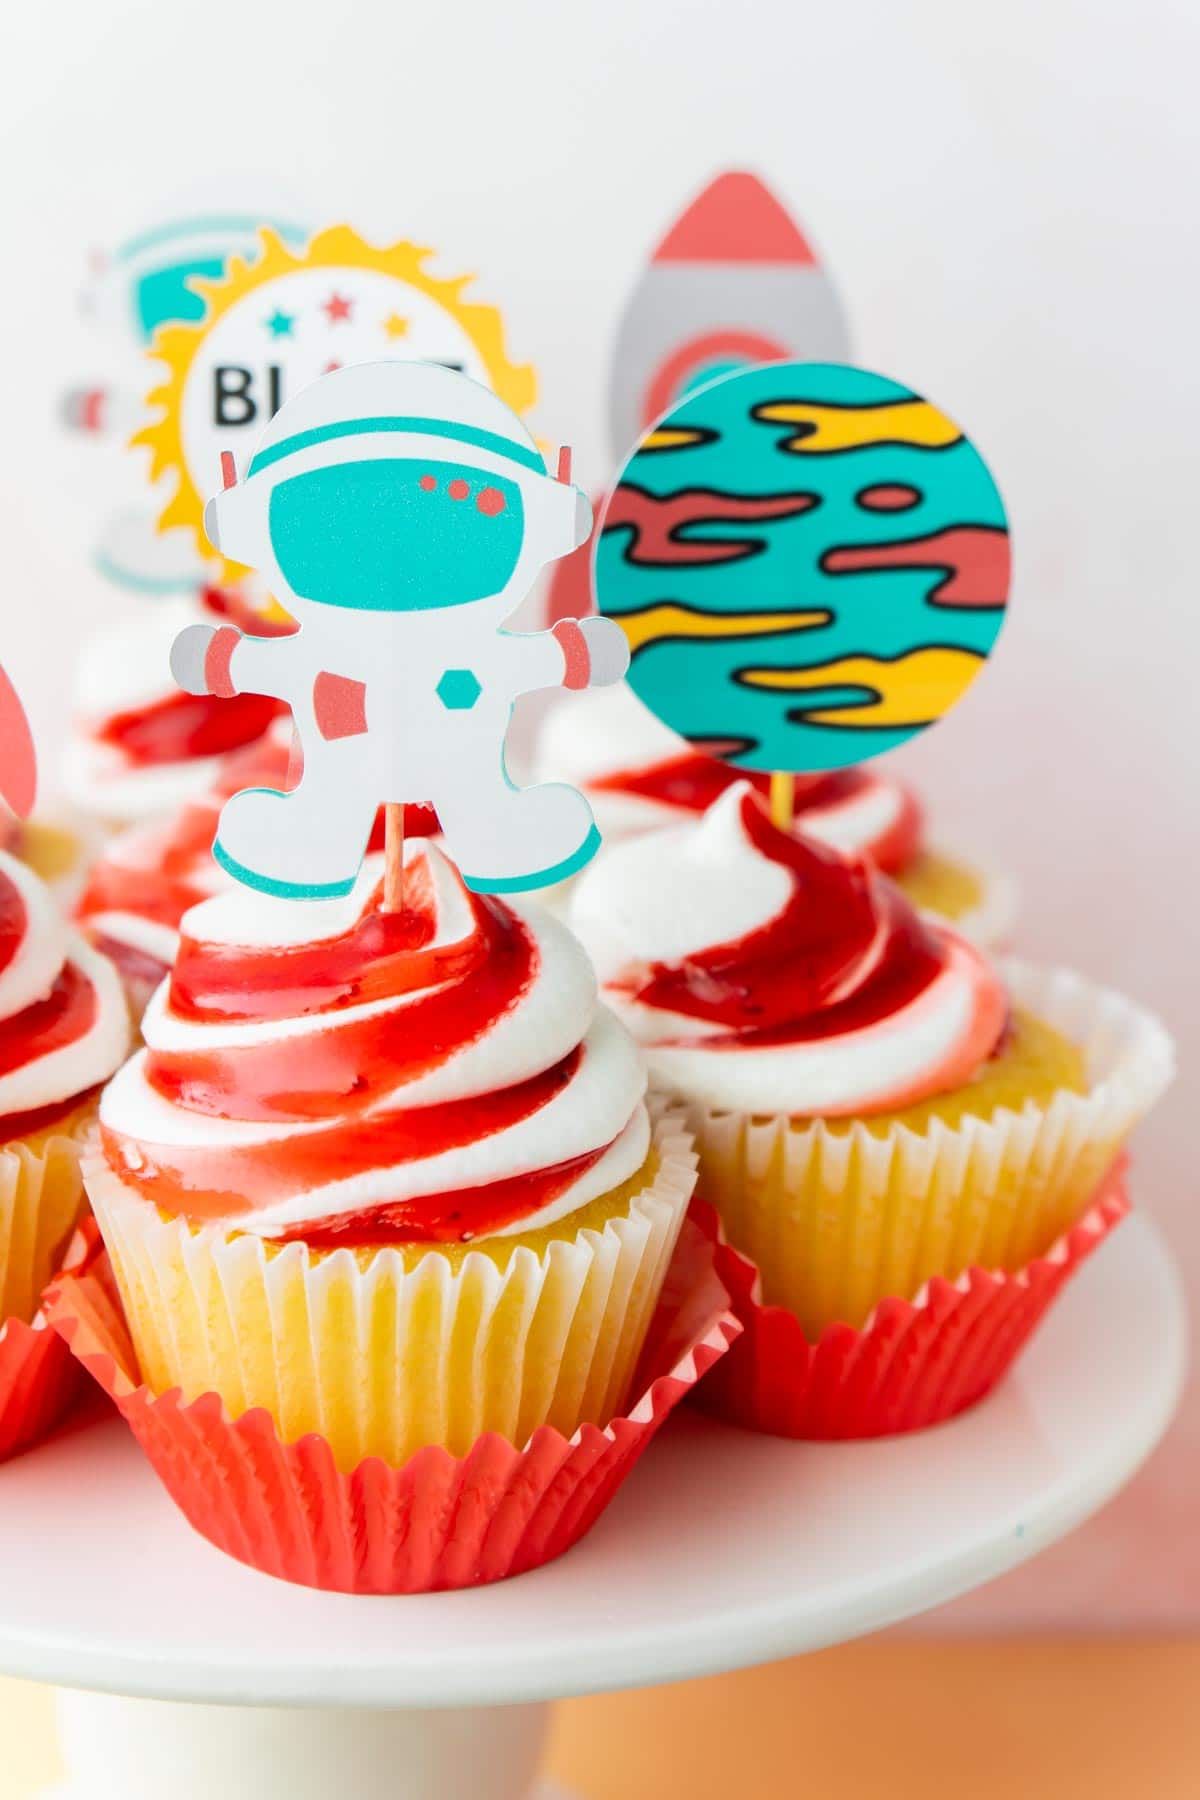
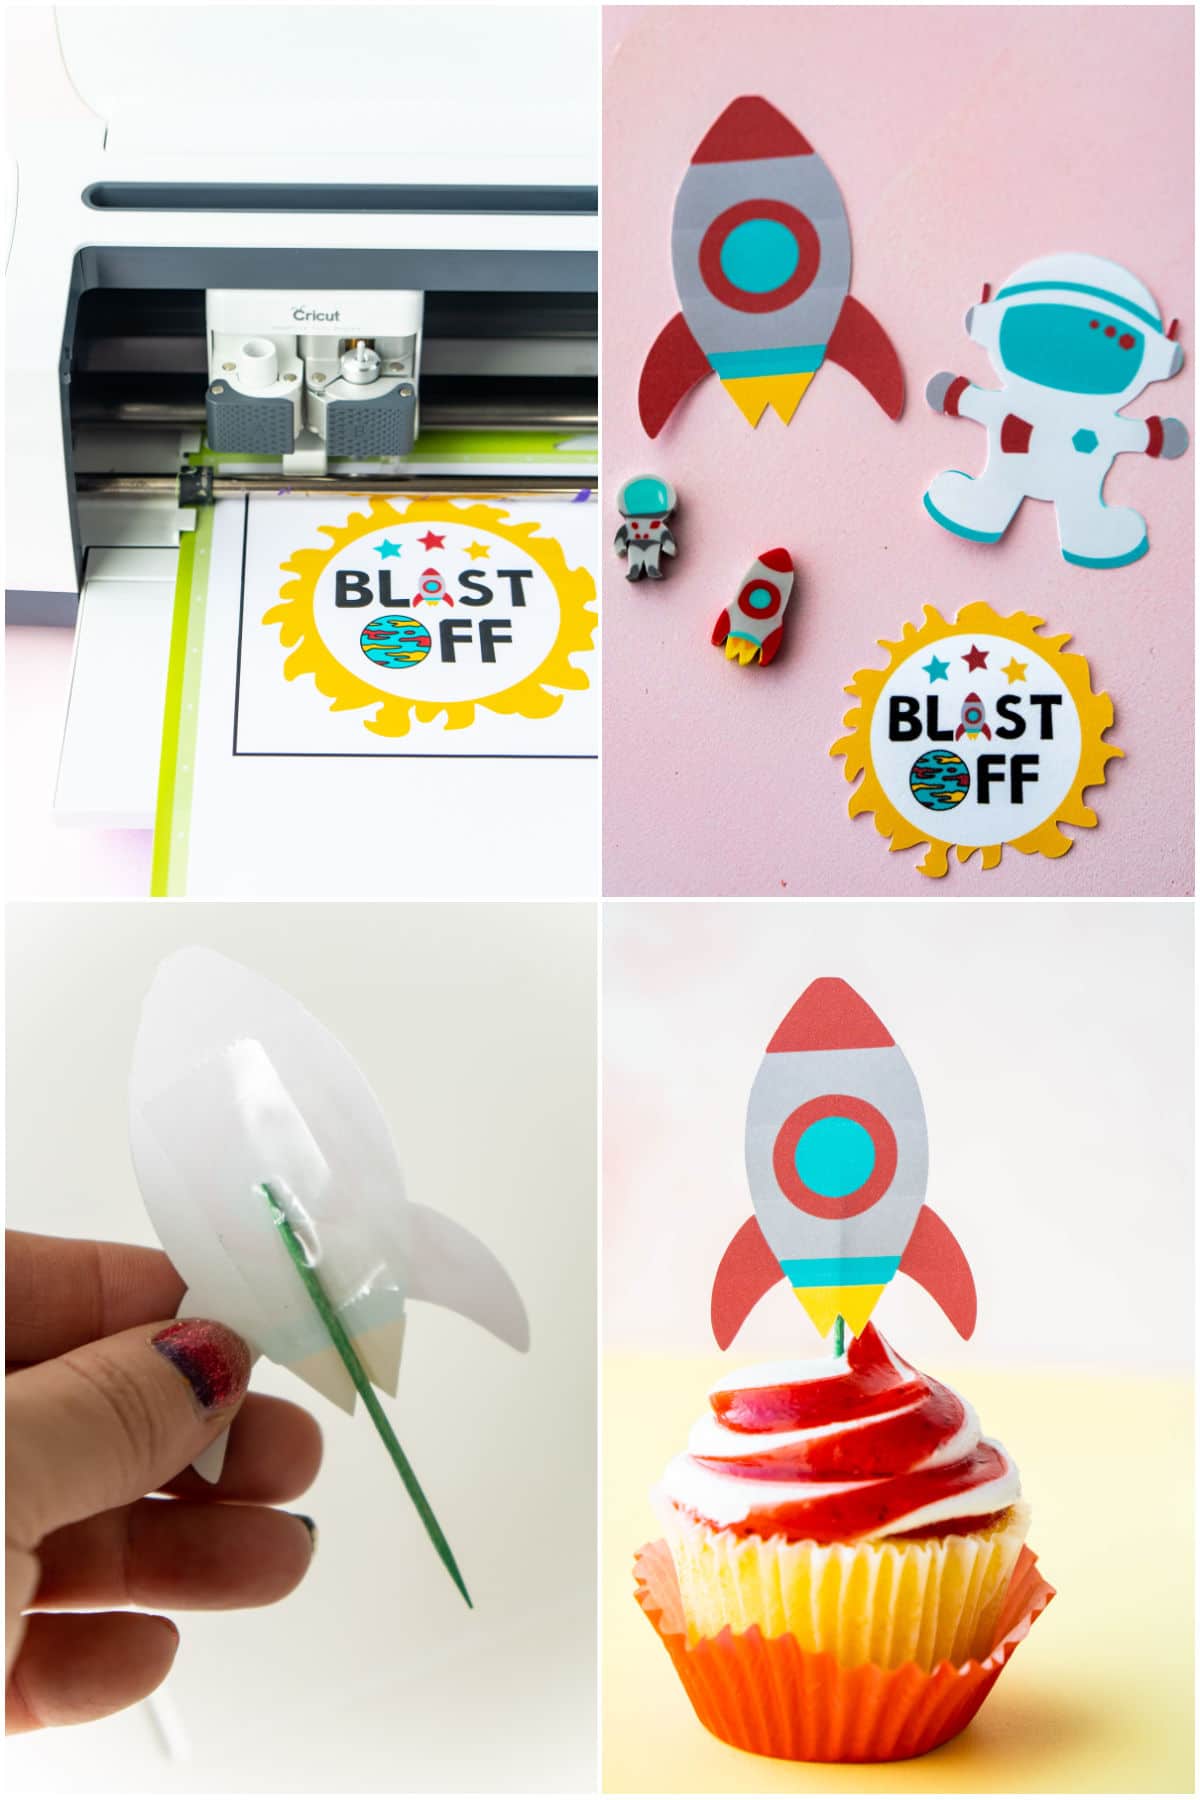
- Unhide the small blast off, planet, astronaut, and rocket ship in Cricut Design Space. Make as many copies as you need then select make it.
- Print a set of cupcake toppers – notice there are black lines all the way around the design, these help the Cricut machine know exactly where to cut!
- Place the printed out sheet on a StandardGrip mat and load it into the machine. Make sure your settings are set to cardstock then press the little flashing cricket button to tell it to cut.
- Tape a toothpick to the back of each of the individual cupcake toppers and place them in cupcakes!
3 – Space Party Straw Flags
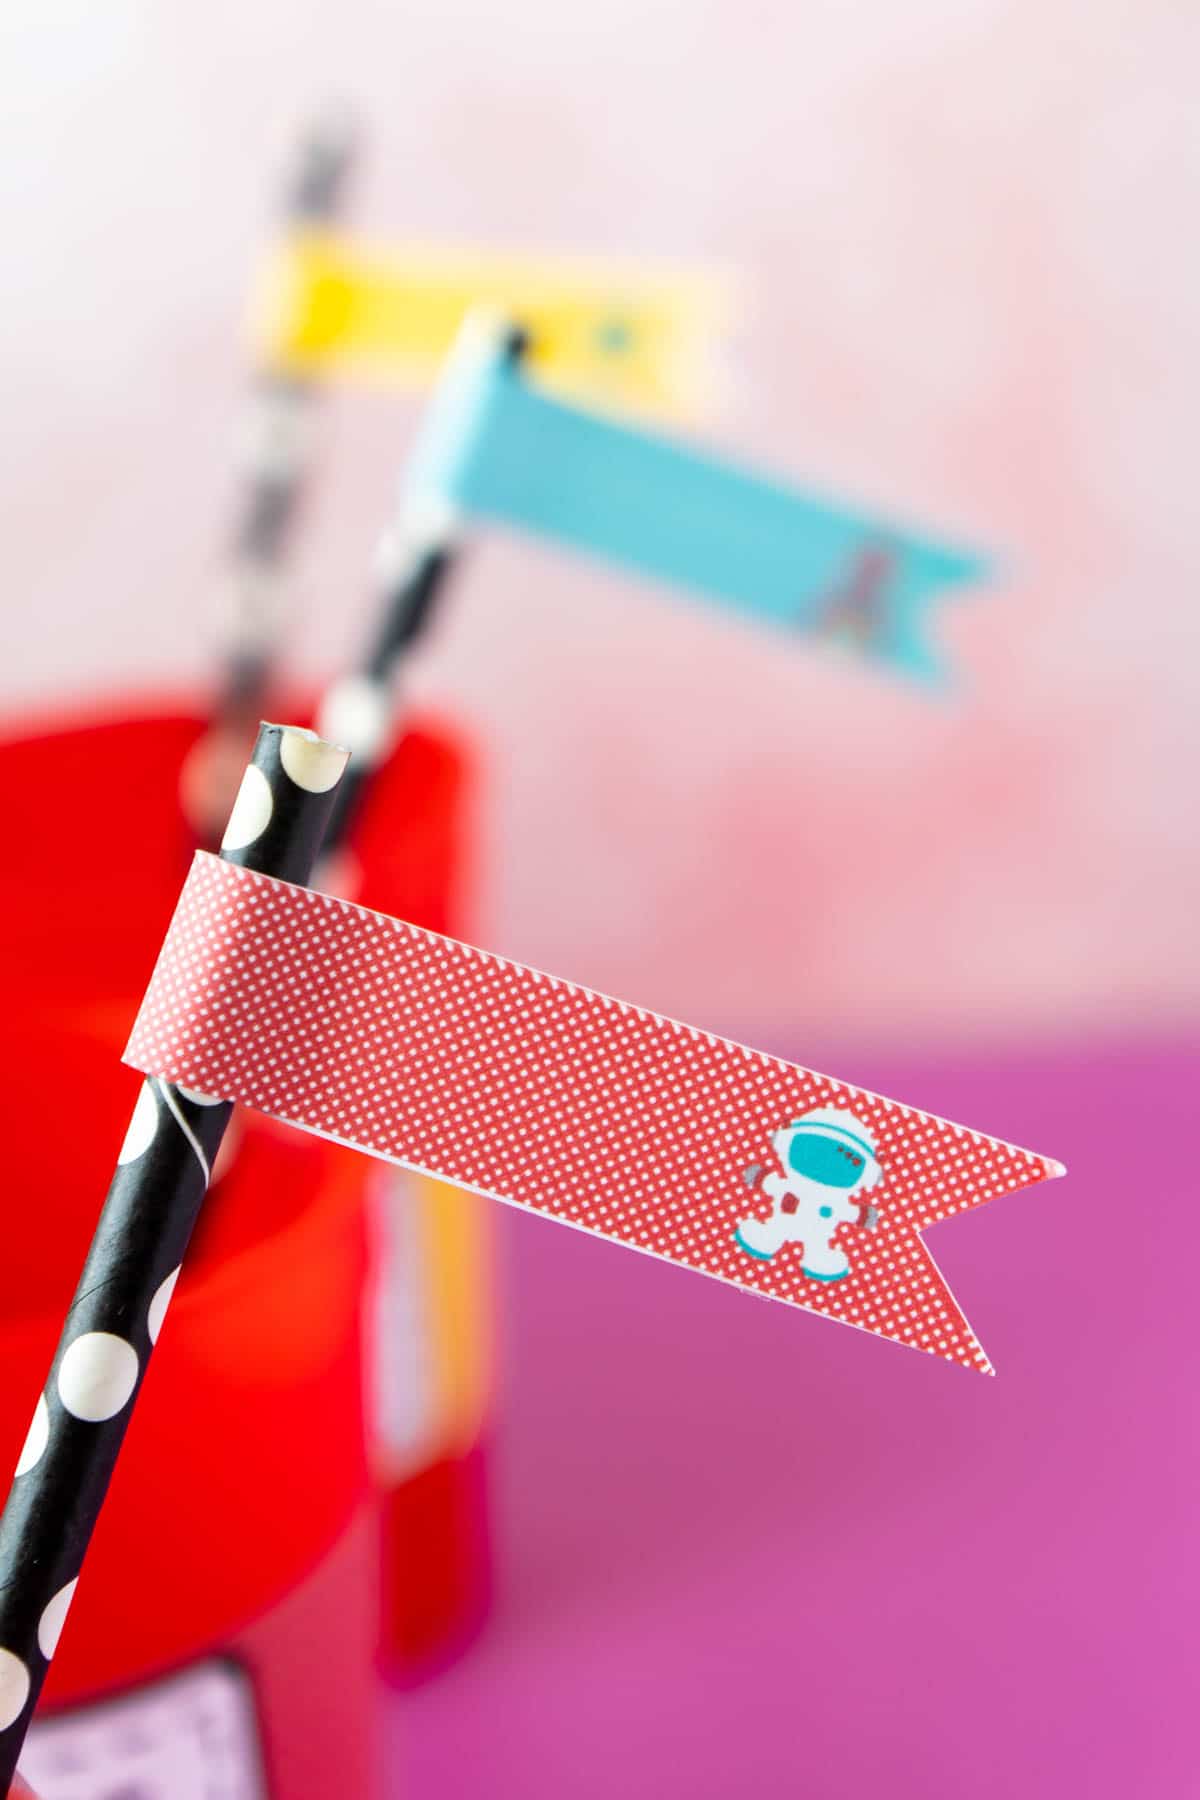
I always like to add straw flags simply because they’re cute and they’re an easy way to add color and patterns to a party. But I’ll never do them by hand again – having the Cricut machine cut out each of the individual flags is SO much easier!
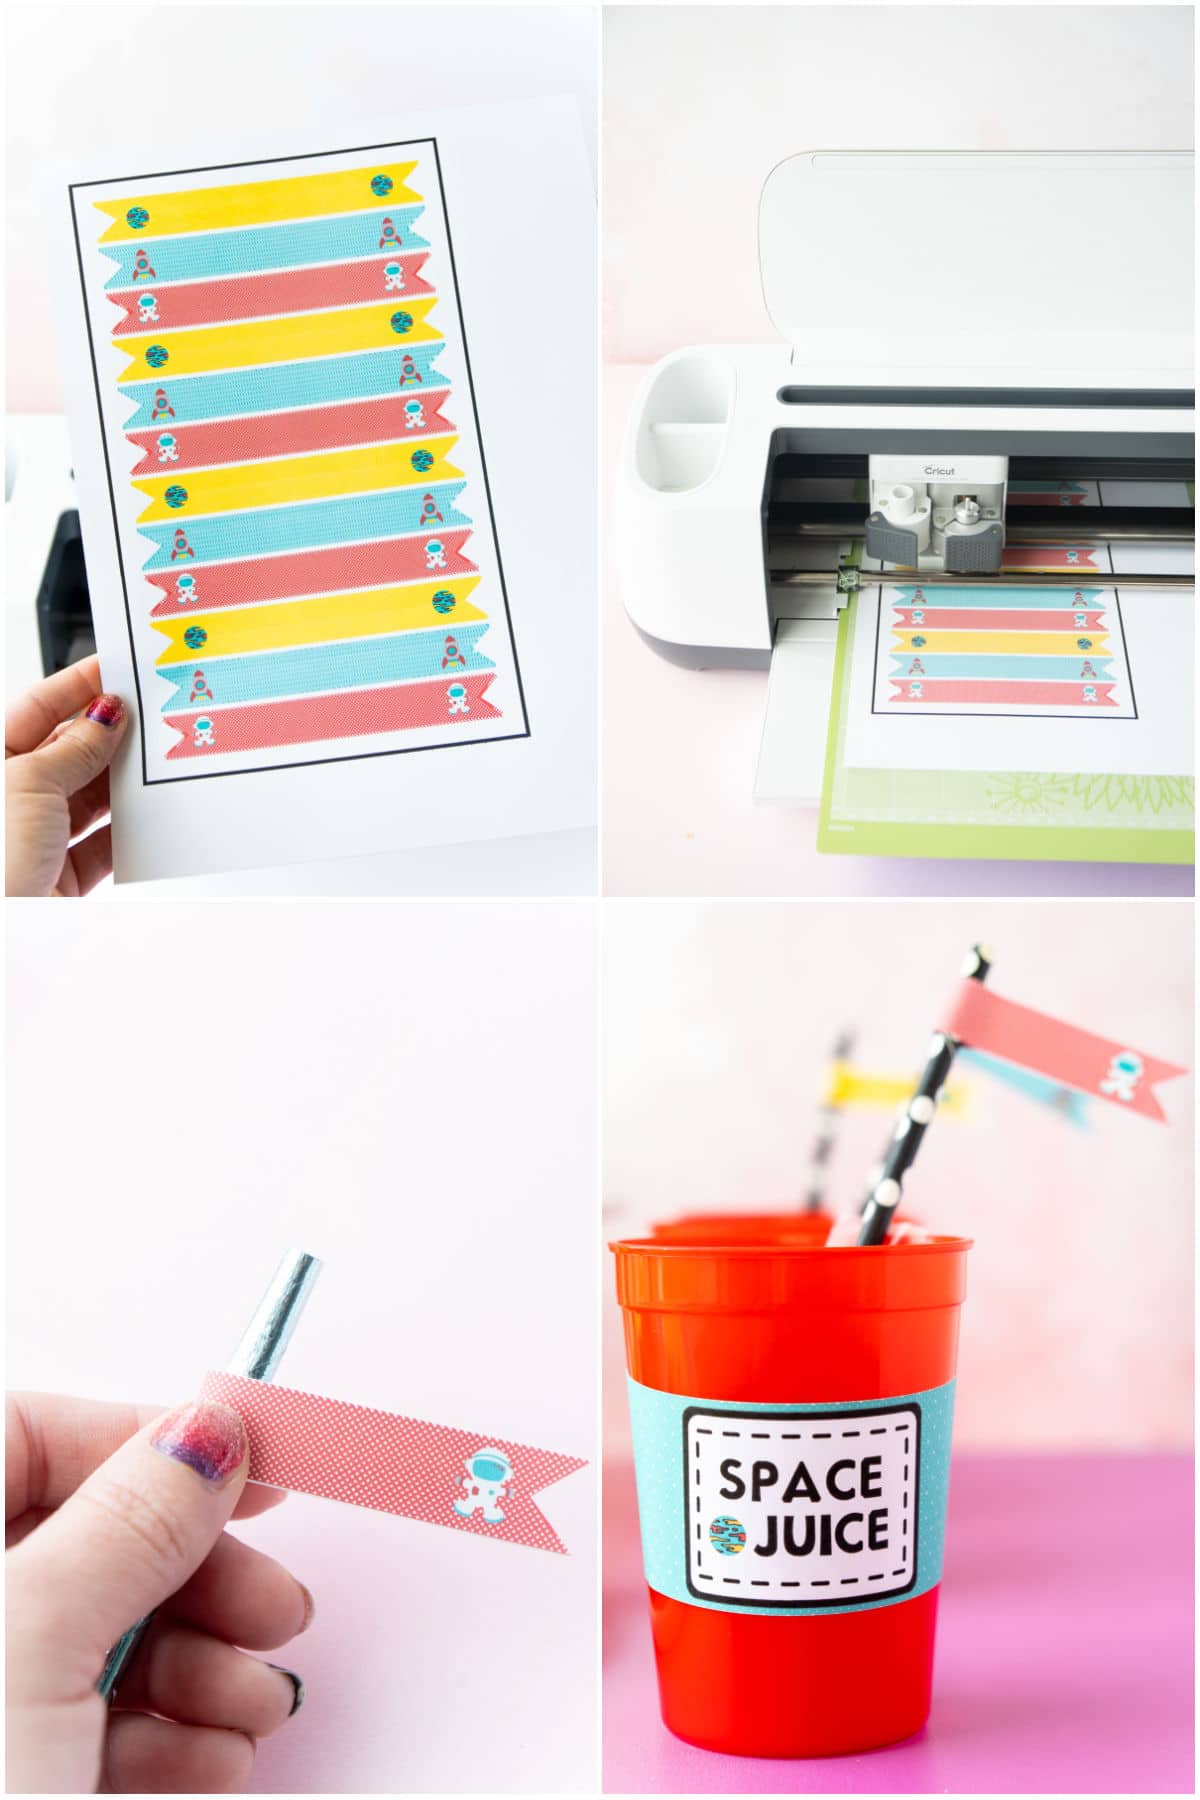
- Unhide the straw flag images from the file. Click make it.
- Send the straw flags to your printer. Load the printed page onto a StandardGrip mat then load it into the Cricut machine and cut.
- Place a piece of double-sided tape on one side of the straw flag, fold over a straw, and pinch closed to seal.
4 – Space Party Banner
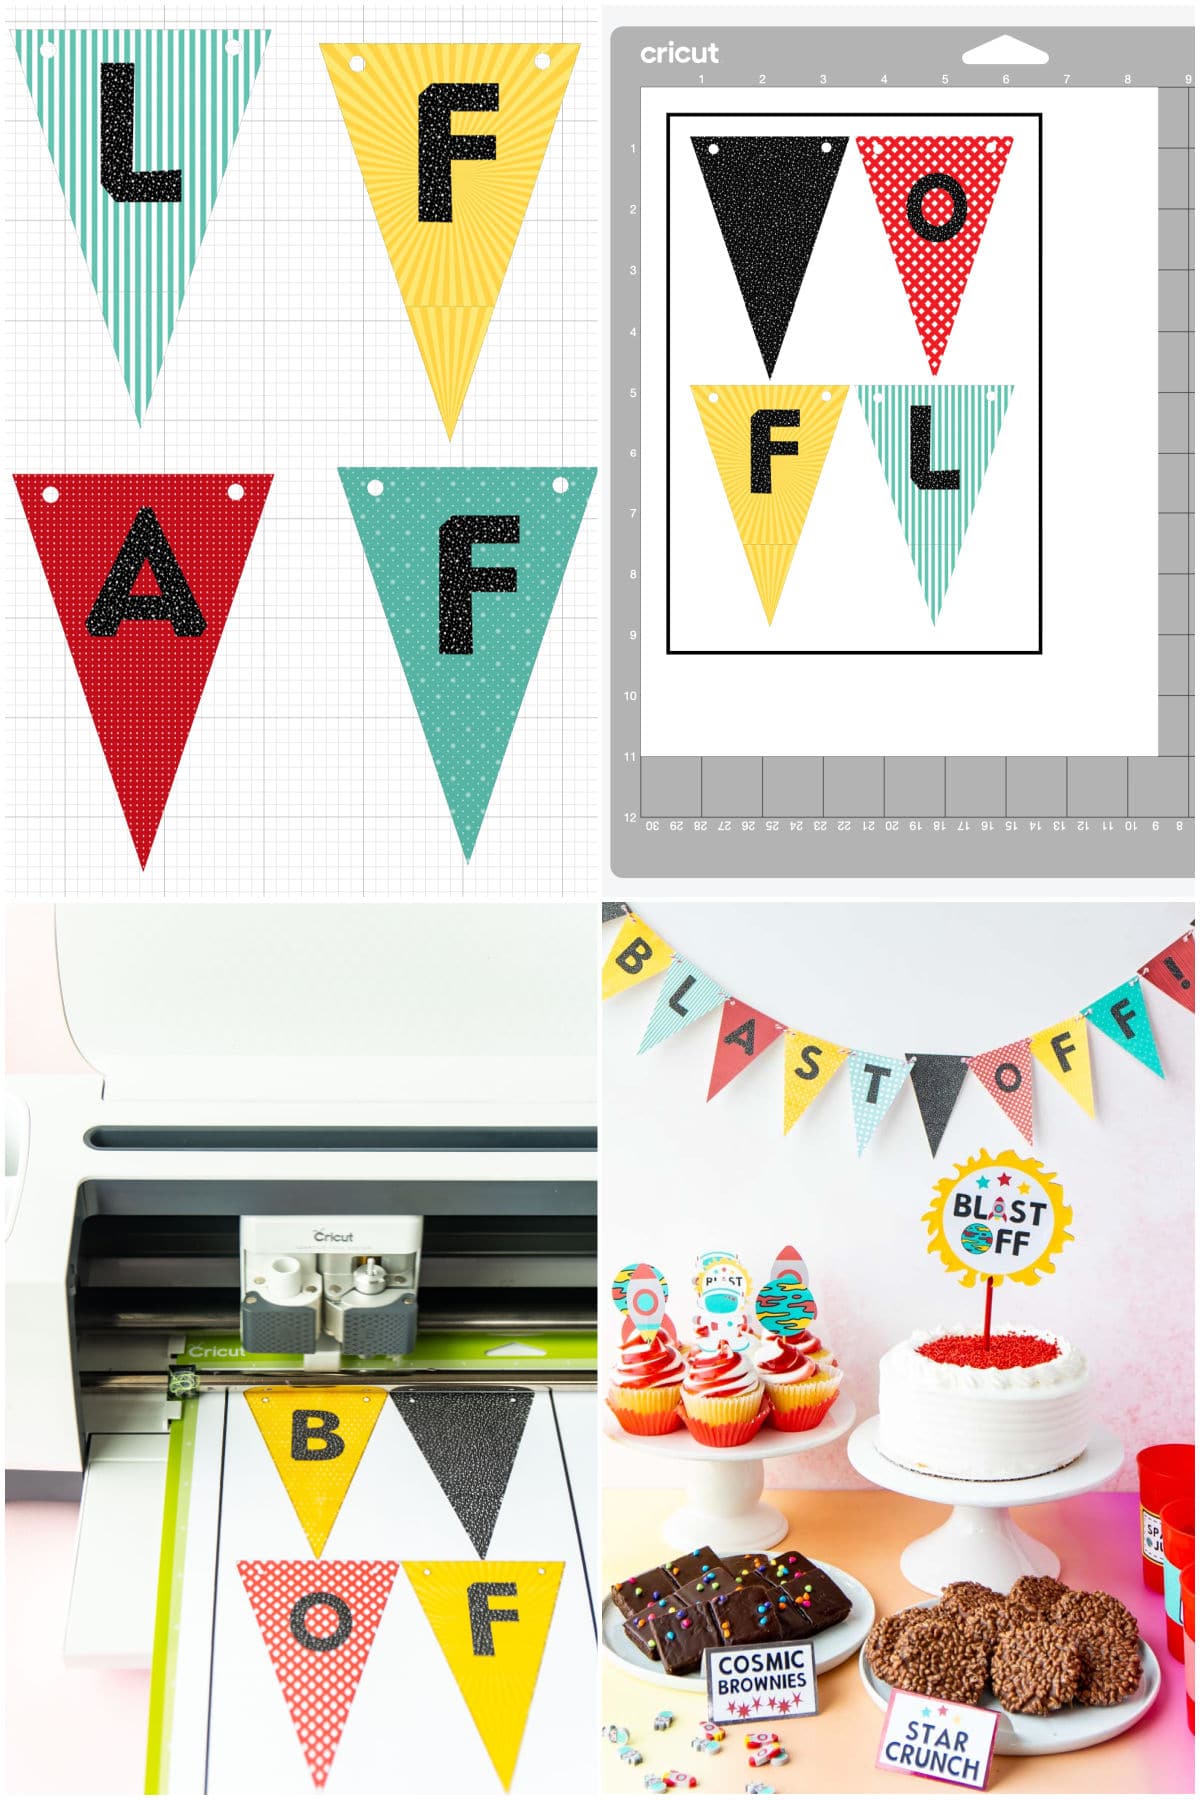
I made a small party banner that says “BLAST OFF” and matches the rest of the designs. And when I say small, it’s small – smaller than you’d want for a full-size party table but perfect for just snacks for a family night!
It’s a fun way to add a little design behind your table or in front of your table. Or you could use make it super small, hang it from two straws, and use it as a cake topper!
- Unhide all twelve of the triangles in the space party decorations cut file. Increase the size of the triangles if you need to then click Make It.
- Print, load the printed page onto a StandardGrip mat, and cut each individual page of triangles. It’ll cut out both the triangles and the little holes so you can string things through without having to hole punch them yourself!
- String baking twine, ribbon, colored string, or anything else through the holes and hang.
5 – Space Party Drink Labels
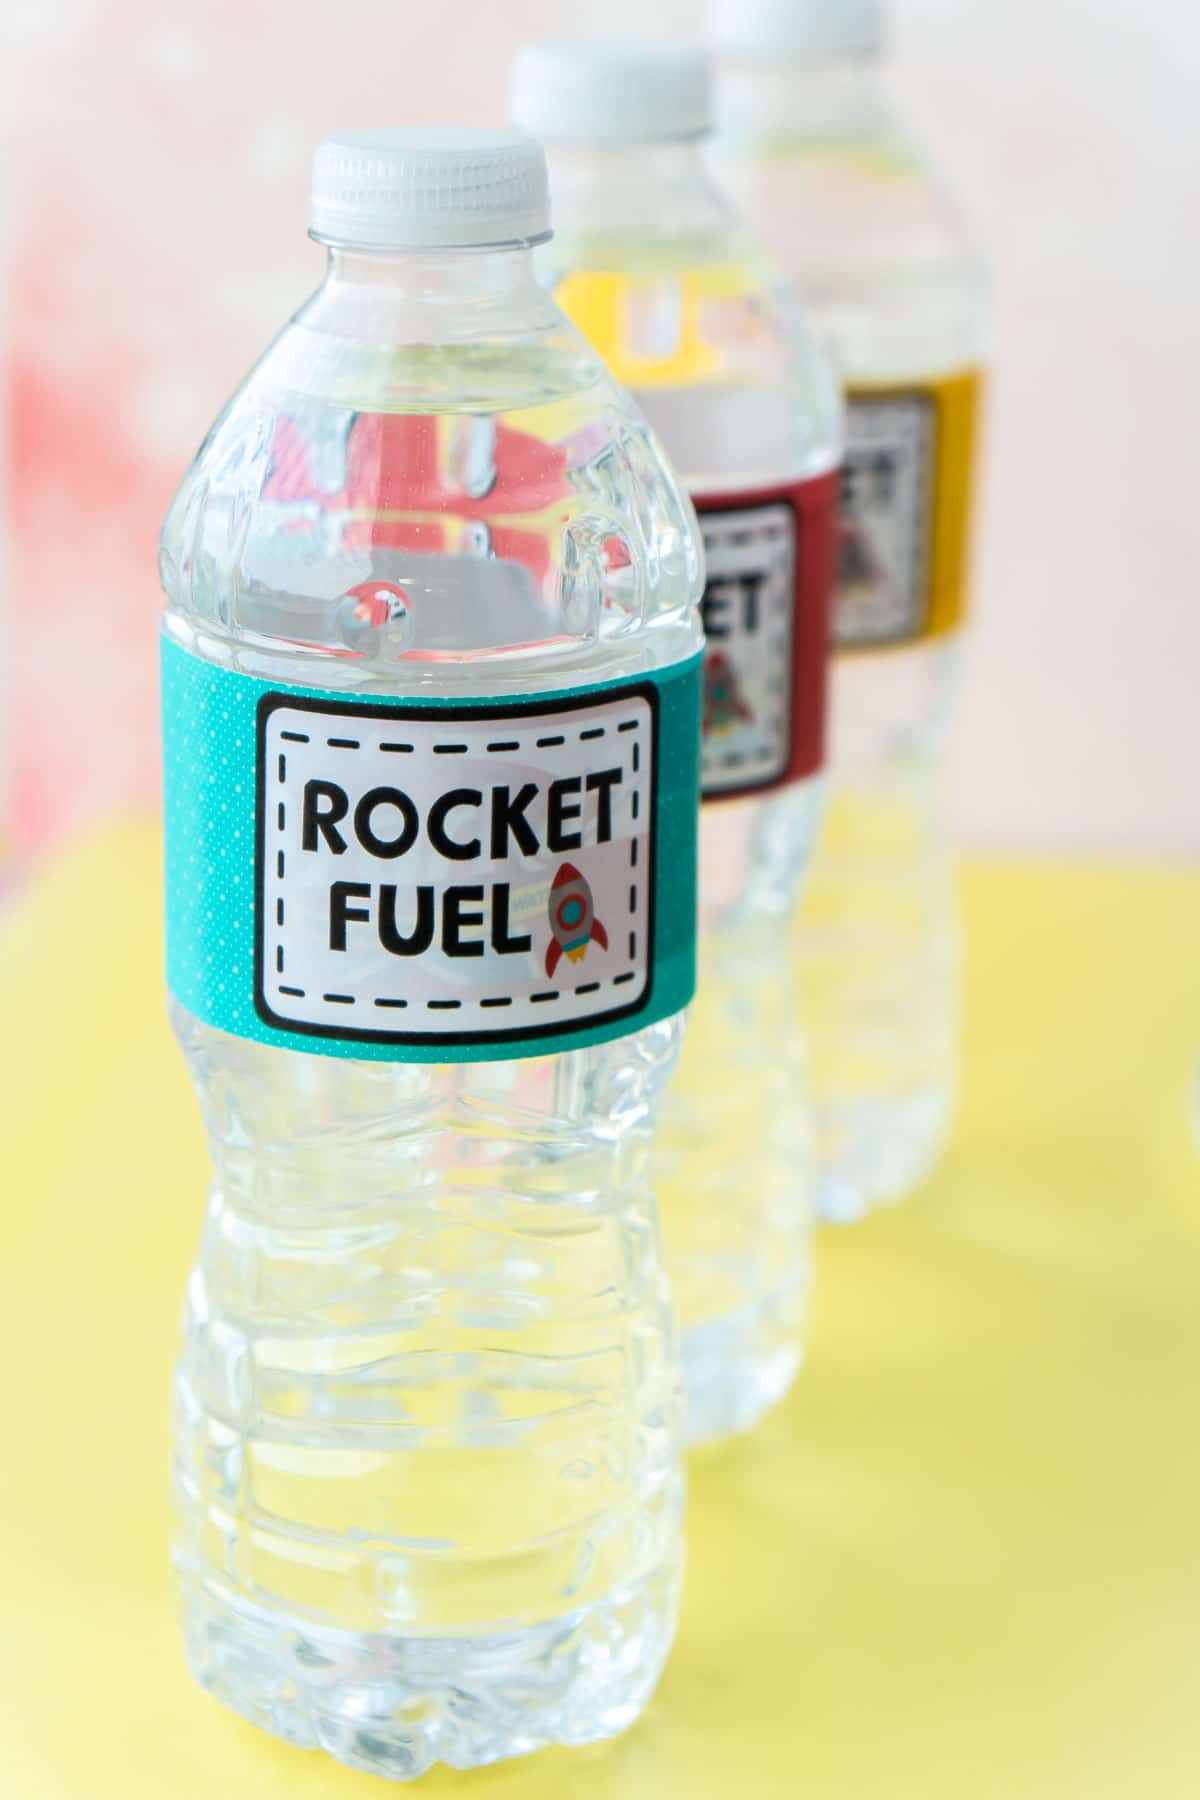
Adding drink labels is super easy to do and can turn otherwise non-matching drinks and quickly make them the perfect addition to your party! I have two different versions of the drink labels – rocket fuel and space juice – use one or both, whatever works best for you!
I did rocket fuel on water bottle sand space juice on cups of juice, it’d also work great on juice boxes!
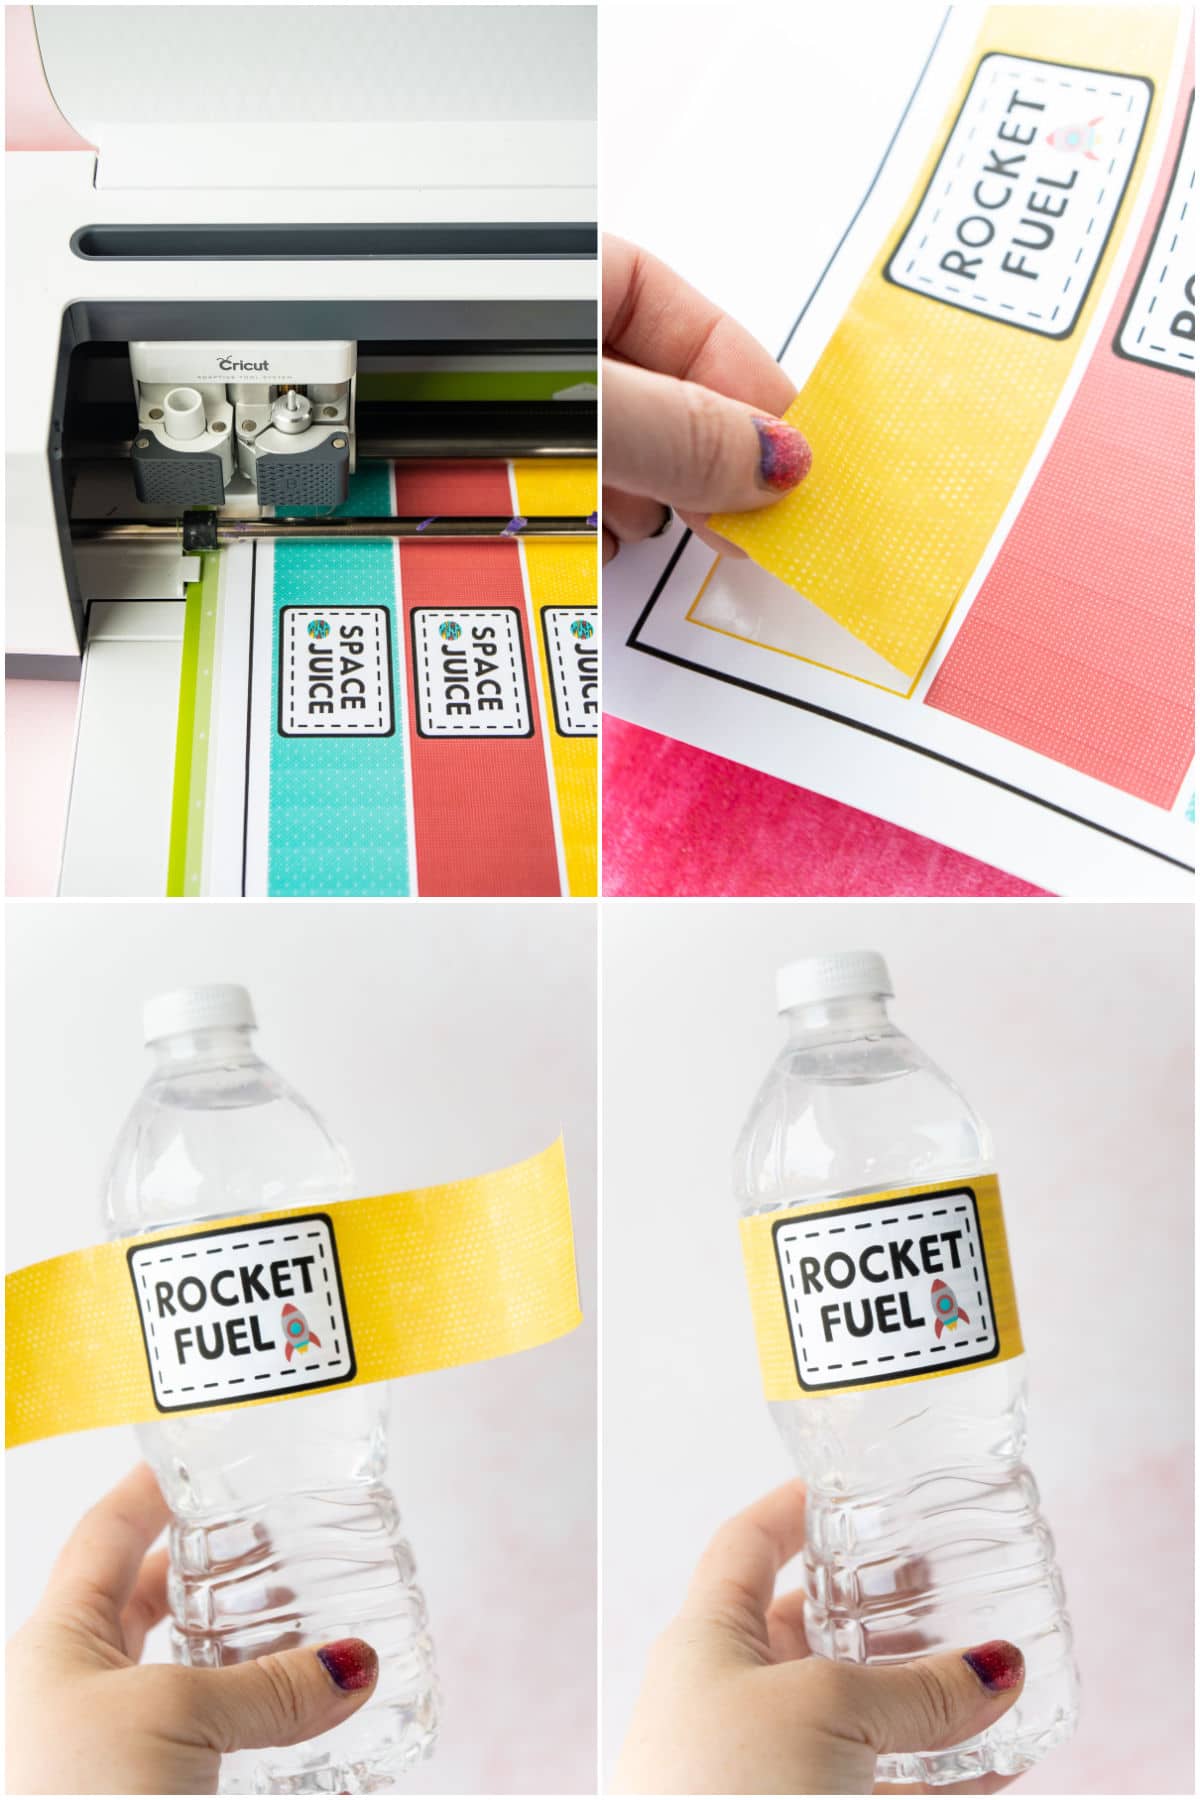
- Unhide the drink labels in the Design Space file.
- Copy as many as you need then click Make It. Print onto sticker paper (make sure the good side is set to print on!).
- Load the sticker paper onto a Cricut StandardGrip mat, design side facing up and load the mat into the Cricut machine.
- Make sure that your material type is set to sticker paper – this is super important because you want it to do a kiss cut (aka only cut part way though the material, not all the way through), then tell it to cut. It’ll cut like a sticker where the backing stays and the design comes up.
- Remove the labels from the backing and wrap around water bottles, juice boxes, soda bottles, or even cups!
6 – Space Party Food Labels
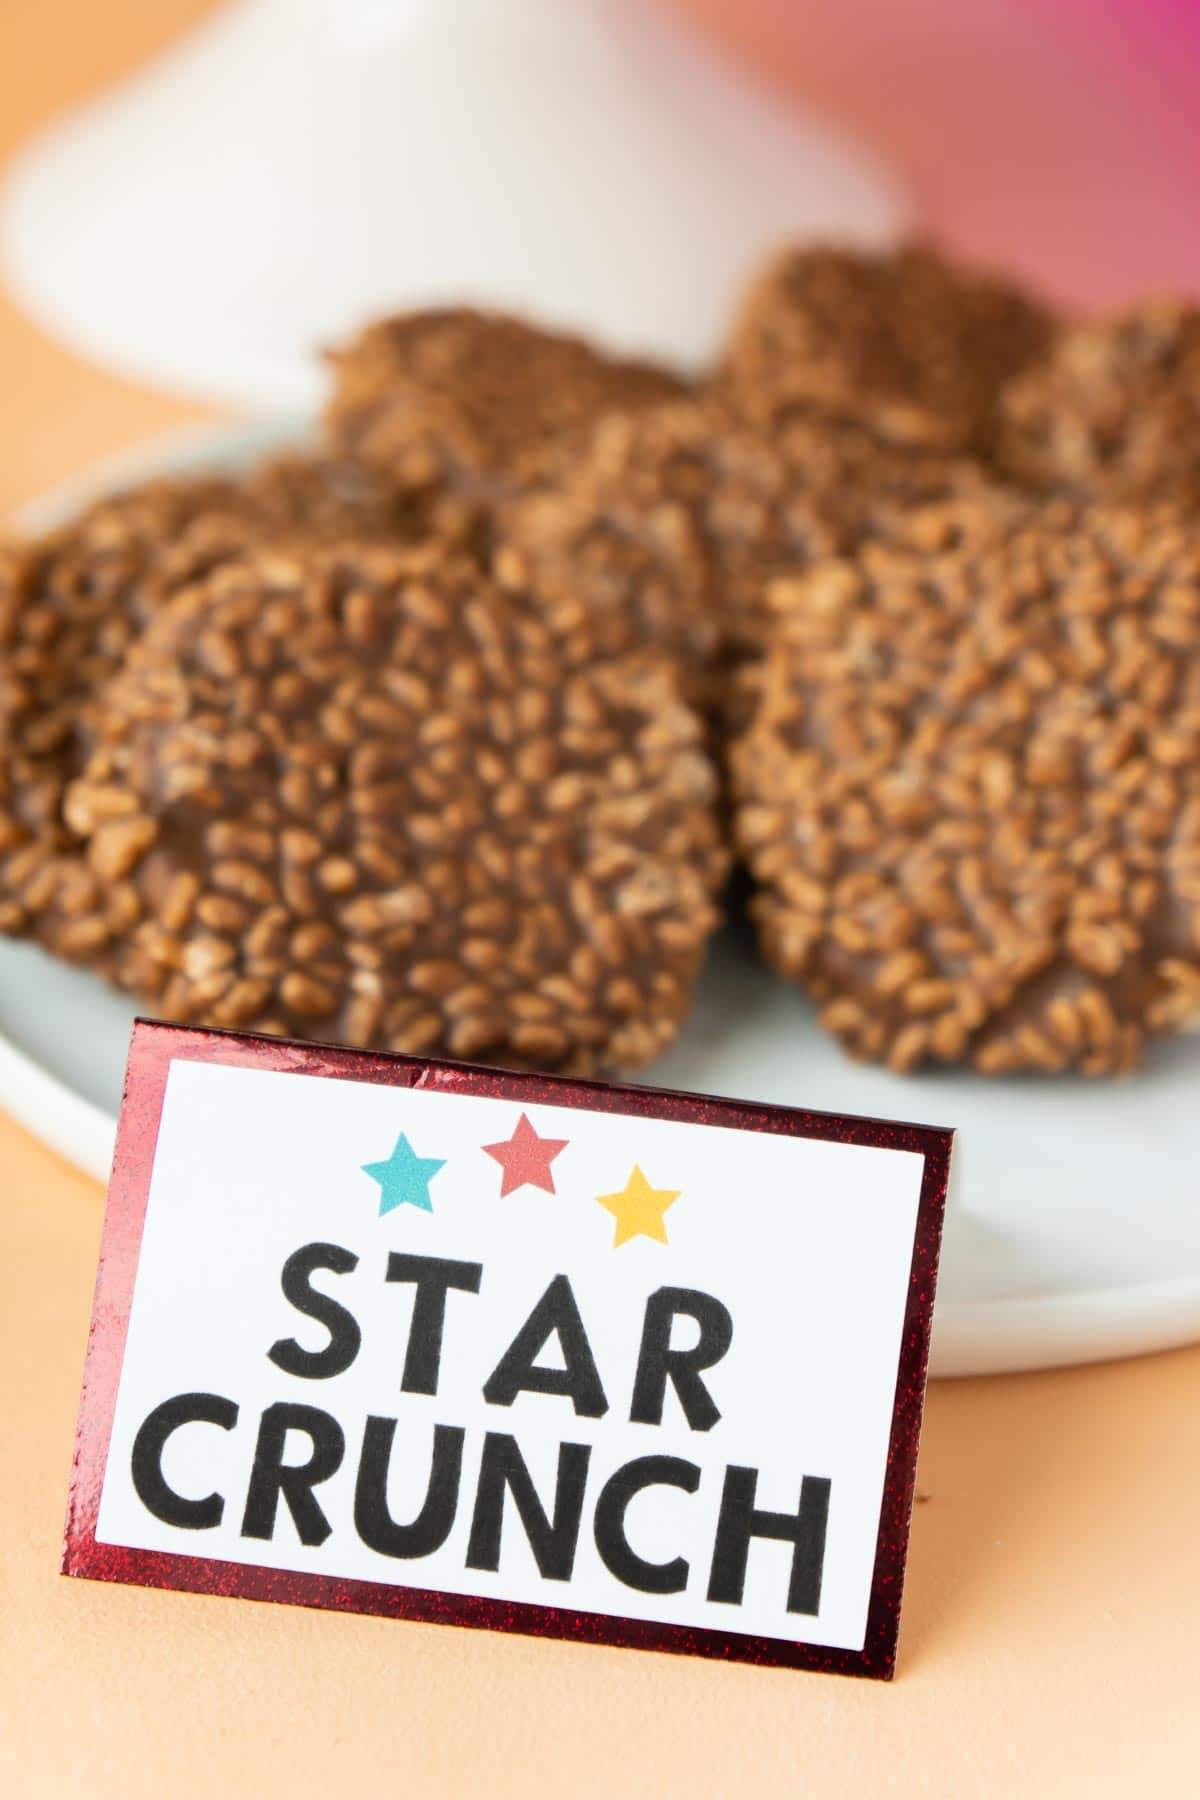
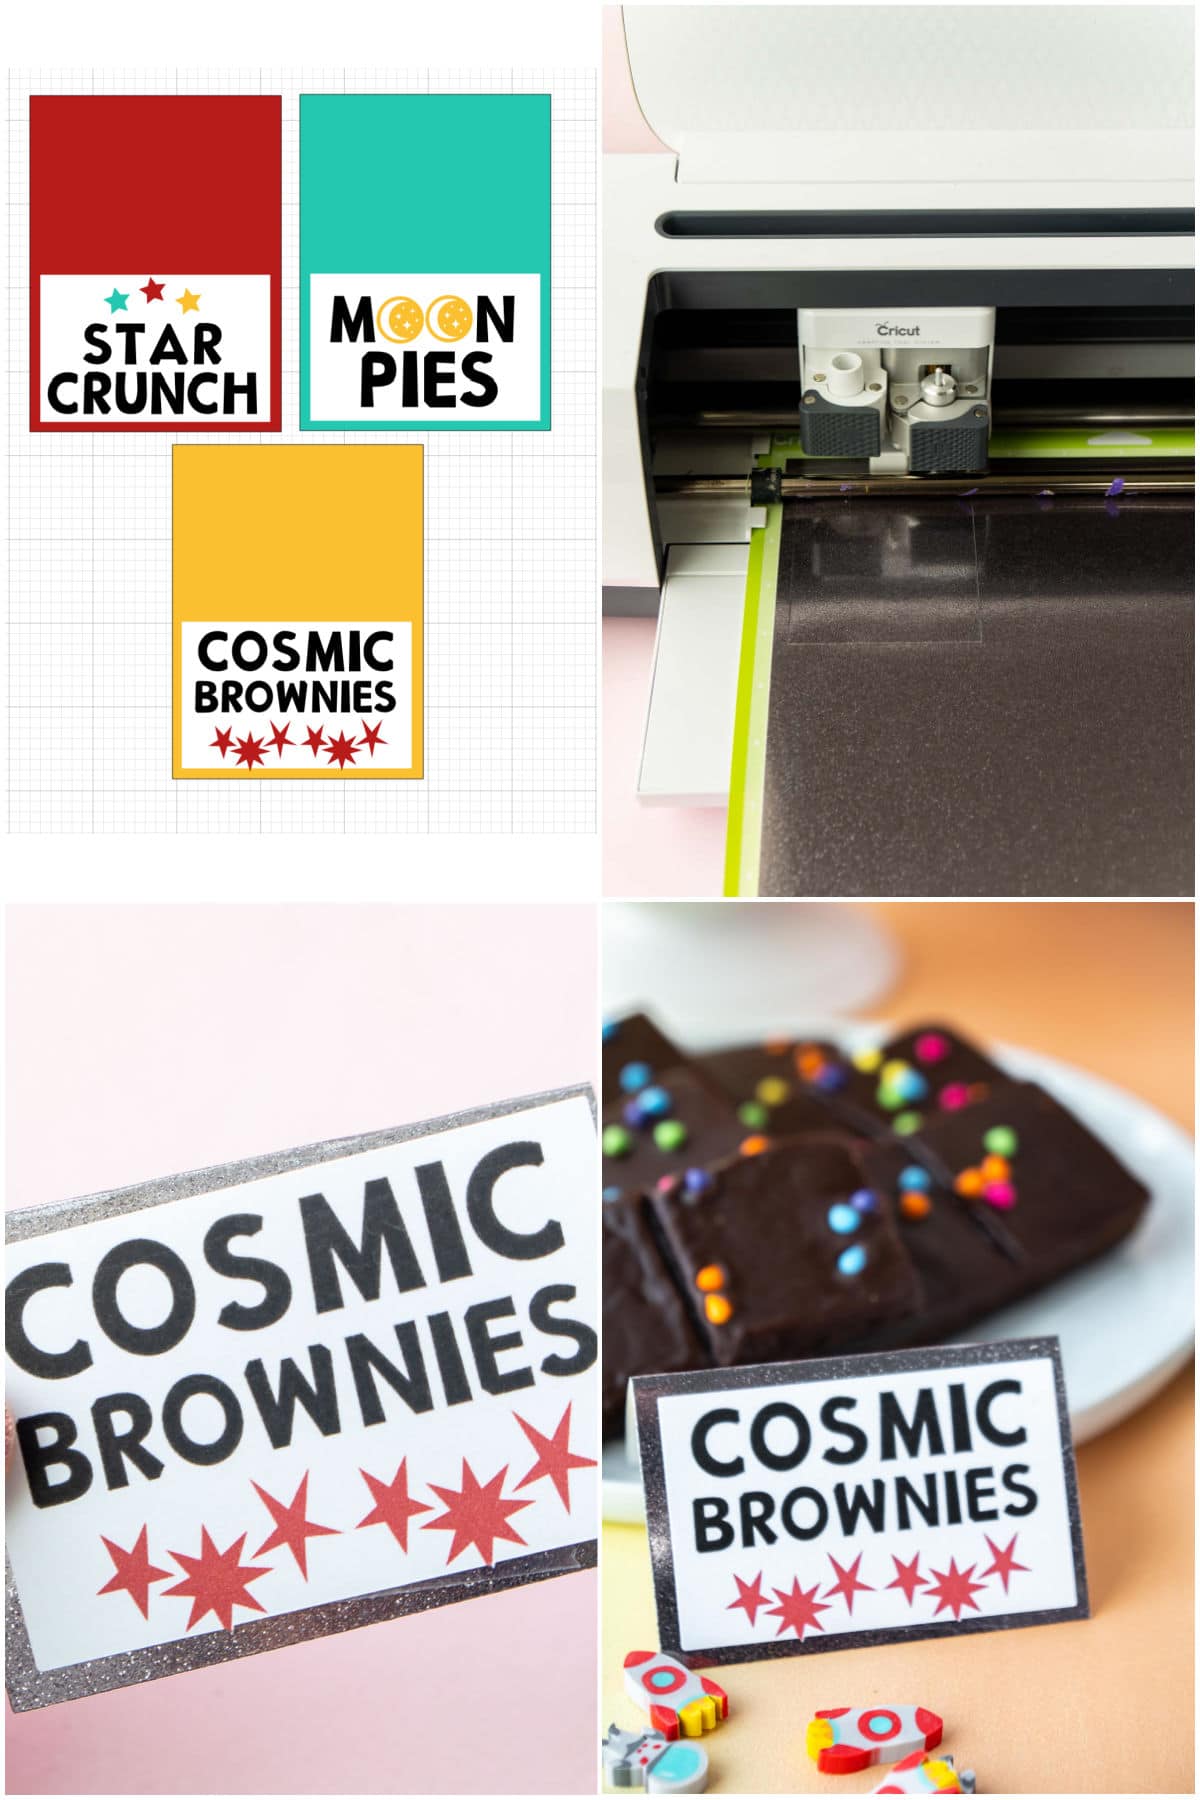
I included three pre-made food labels in the print and cut design file – moon pies, star crunch, and cosmic brownies. You can totally copy the ones I already made and make your own for any additional food!
Each of the food labels is designed to be printed out then taped onto a folded card to create a food tent. This is where you can get creative with the different materials you want to incorporate into your party – I used the sparkle paper I mentioned above!
- Unhide the food labels and the colored rectangles in the Cricut Design Space file. Add any additional food labels you might want and click Make It.
- Print out your food labels on white cardstock. Load onto a StandardGrip mat, make sure your paper is set to Heavy Cardstock, load the mat into the machine, and cut. It’s just cutting simple rectangles around the labels, so this should only take a minute at most.
- Once the labels are cut out, load your patterned paper onto the StandardGrip mat and load into your machine. Cut out rectangles from your patterned paper.
- Fold the rectangles in half then tape a food label to each folded tent.
7 – Space Party Favors
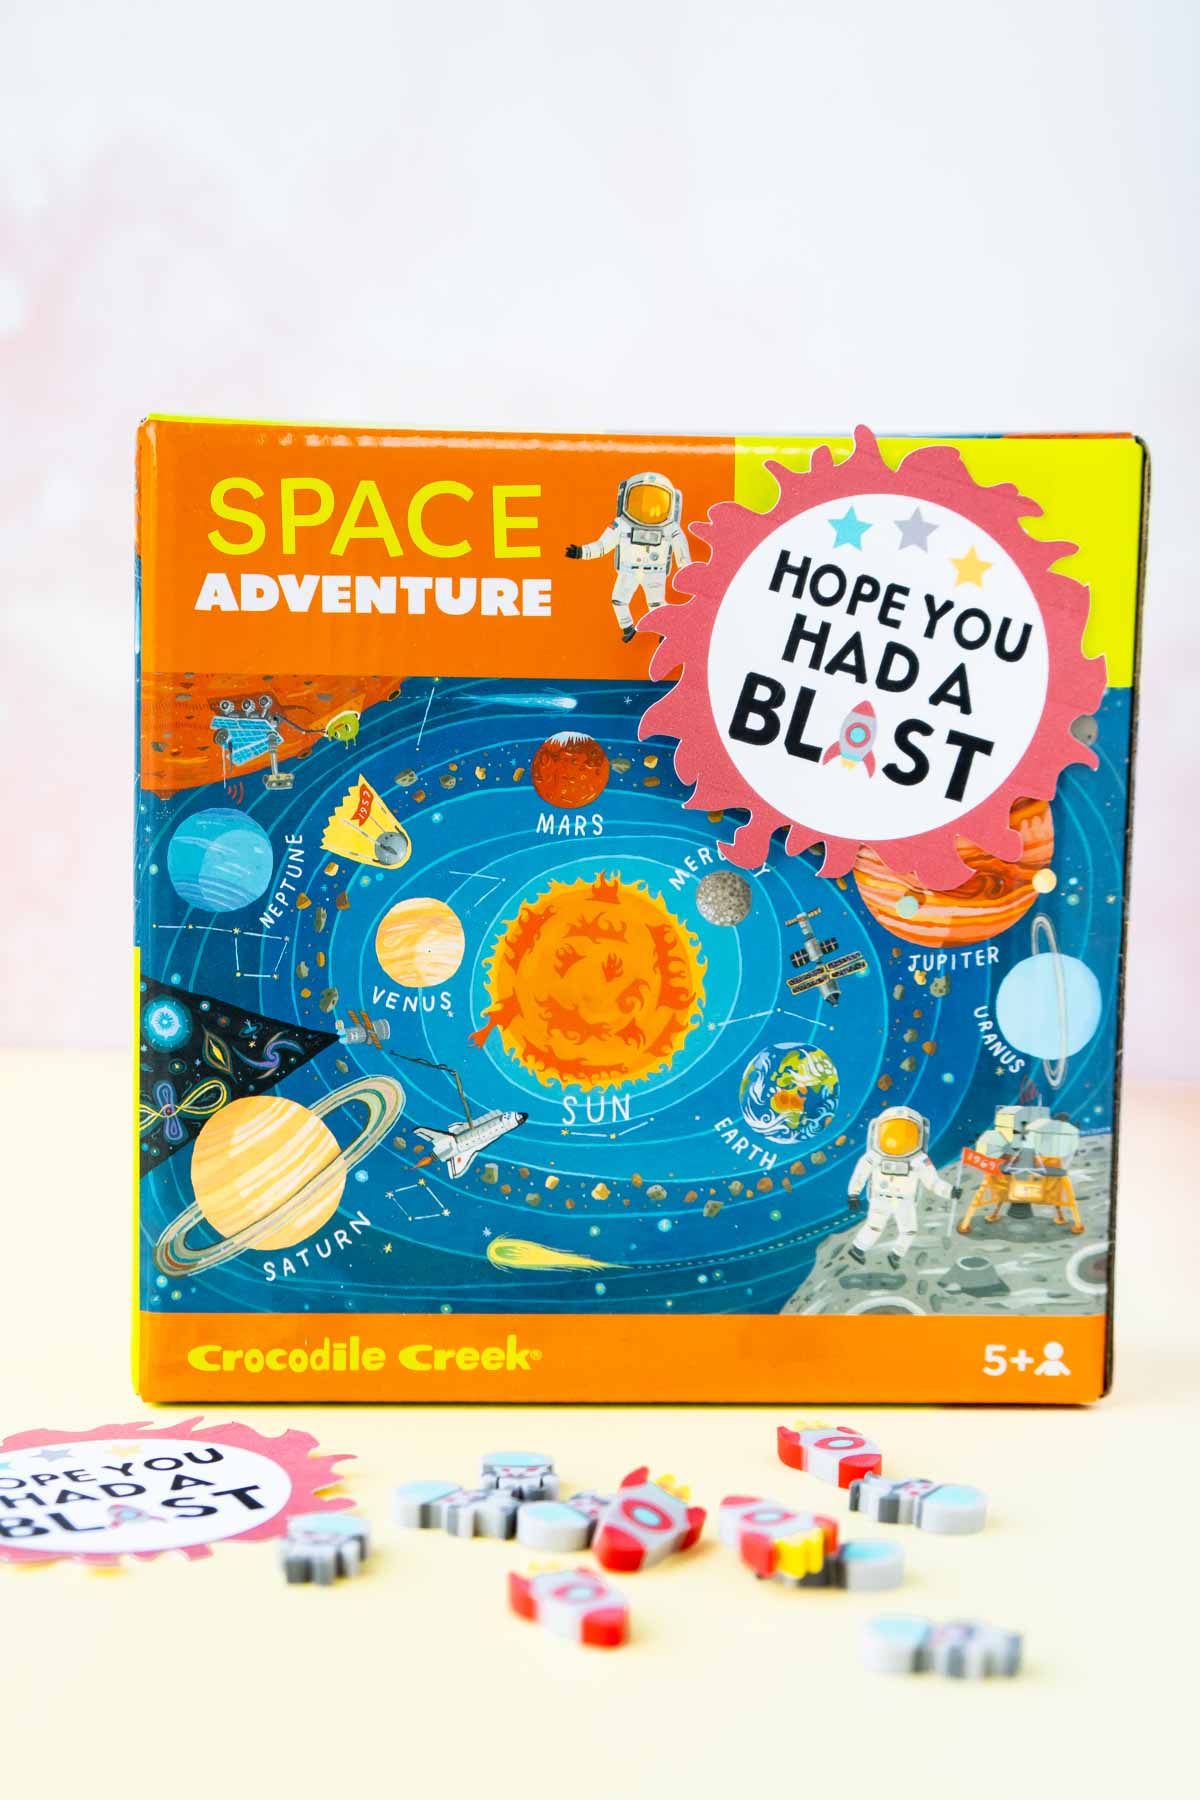
A party or any sort of celebration wouldn’t be the same without a party favor! I designed a little print and cut “hope you had a blast” favor tag that you could add to pretty much anything space related!
I put these last because they’re made the exact same way as the cupcake toppers above, except you”re not going to put them on a toothpick! Print, cut, and use with whatever favors you choose!
And that’s it – simply outer space party decorations you can make in minutes with a Cricut Maker! I had so much fun making these, I’m already thinking about what print and cut sets I can make next!
More Cricut Projects
Want more fun ways to use your Cricut? Check out all of these fun Cricut projects!
- DIY dice – these DIY dice are so simple to make and perfect to use with any of these dice games!
- DIY menu board – make your very own weekly menu board and never have to wonder what you’re having for dinner again!
- DIY puzzle – making a puzzle with a Cricut is so simple, you’ll want to make them over and over again!
- DIY superhero costumes – have kids that like to dress up? Make these fun superhero costumes in under 30 minutes!



Leave a Reply