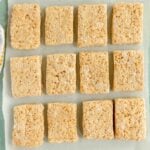
If you’re looking for the best rice krispy treats to turn into shapes, these are your best bet! It’s a variation on our super ooey gooey rice krispy treats (they are the absolute best!) that are a little less gooey so that they hold their shape better!
These shaped rice krispy treats are perfect for making things like Halloween rice krispy treats, Thanksgiving rice krispy treats and more! You can dip them, coat them, and even add things to them and they’ll turn out delicious every single time!

Want to save this recipe?
Enter your email below and we’ll send this idea straight to your inbox (plus you’ll receive fun weekly ideas from us too!)
The Best Recipe to Make Rice Krispy Treat Shapes
I love rice krispy treats, which means we make a lot of really fun themed rice krispy treats around here. We’ve made Valentine’s Day rice krispy treats that look like conversation hearts, 4th of July rice krispy treats with patriotic colors, and even Easter rice krispy treats that look like carrots!
Oh and fun rice krispy treats that look like paintbrushes for our art party a few years ago.
I mentioned this already but we used my family’s favorite rice krispy treats (there’s seriously no making any others after those ones) and just toned down the gooey a little bit so these rice krispy treats hold their shape a bit better than those ones!
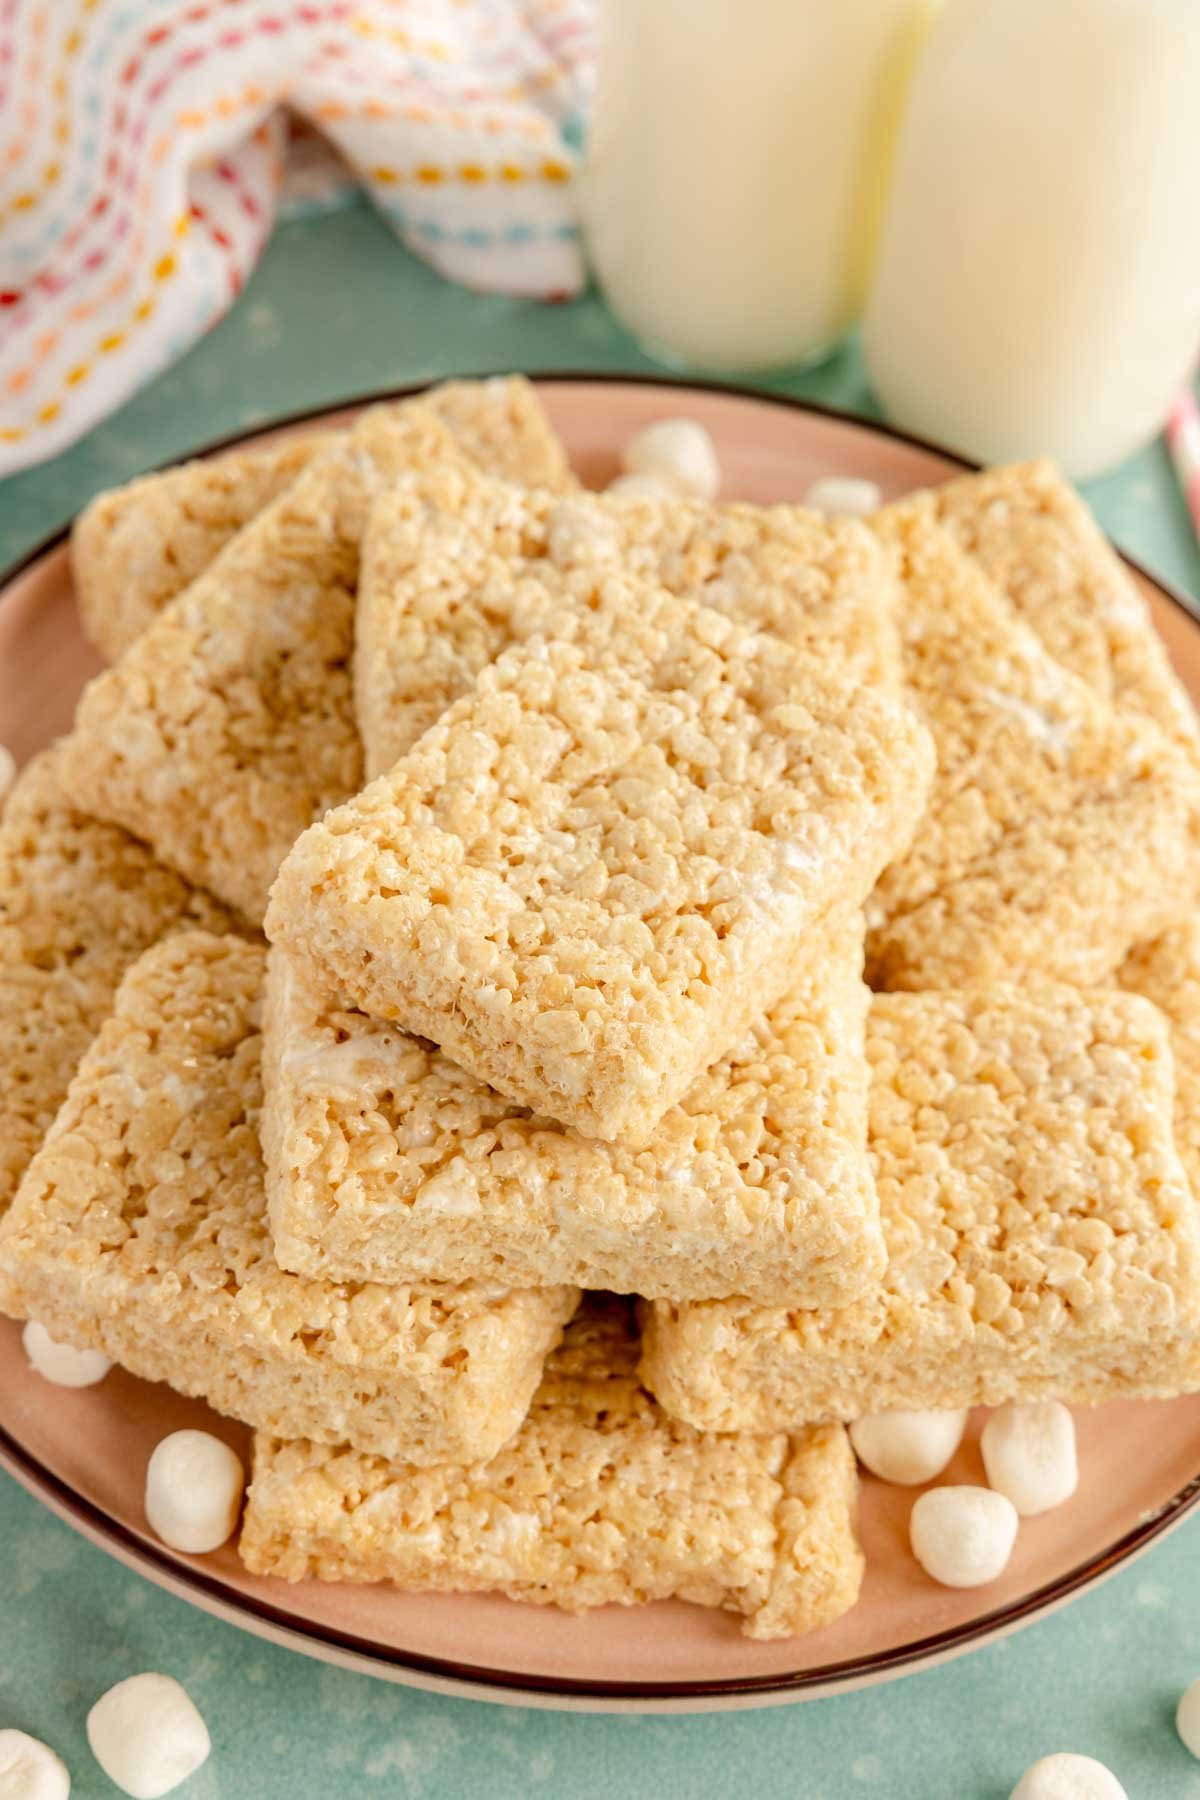
They’re still delicious AND you can really make them into anything you want – balls, squares, hearts, or even footballs!
Why you’ll love this Rice Krispy Treat Recipe
- Tastes as good as it looks – this is not your typical dry rice krispy treat that looks cute but it not fun to eat. It’s still gooey and delicious!
- Easy to work with – perfect for cookie cutters or molding by hand.
- Quick – make this in a matter of minutes so you can spend time decorating them as you want.
Ingredients
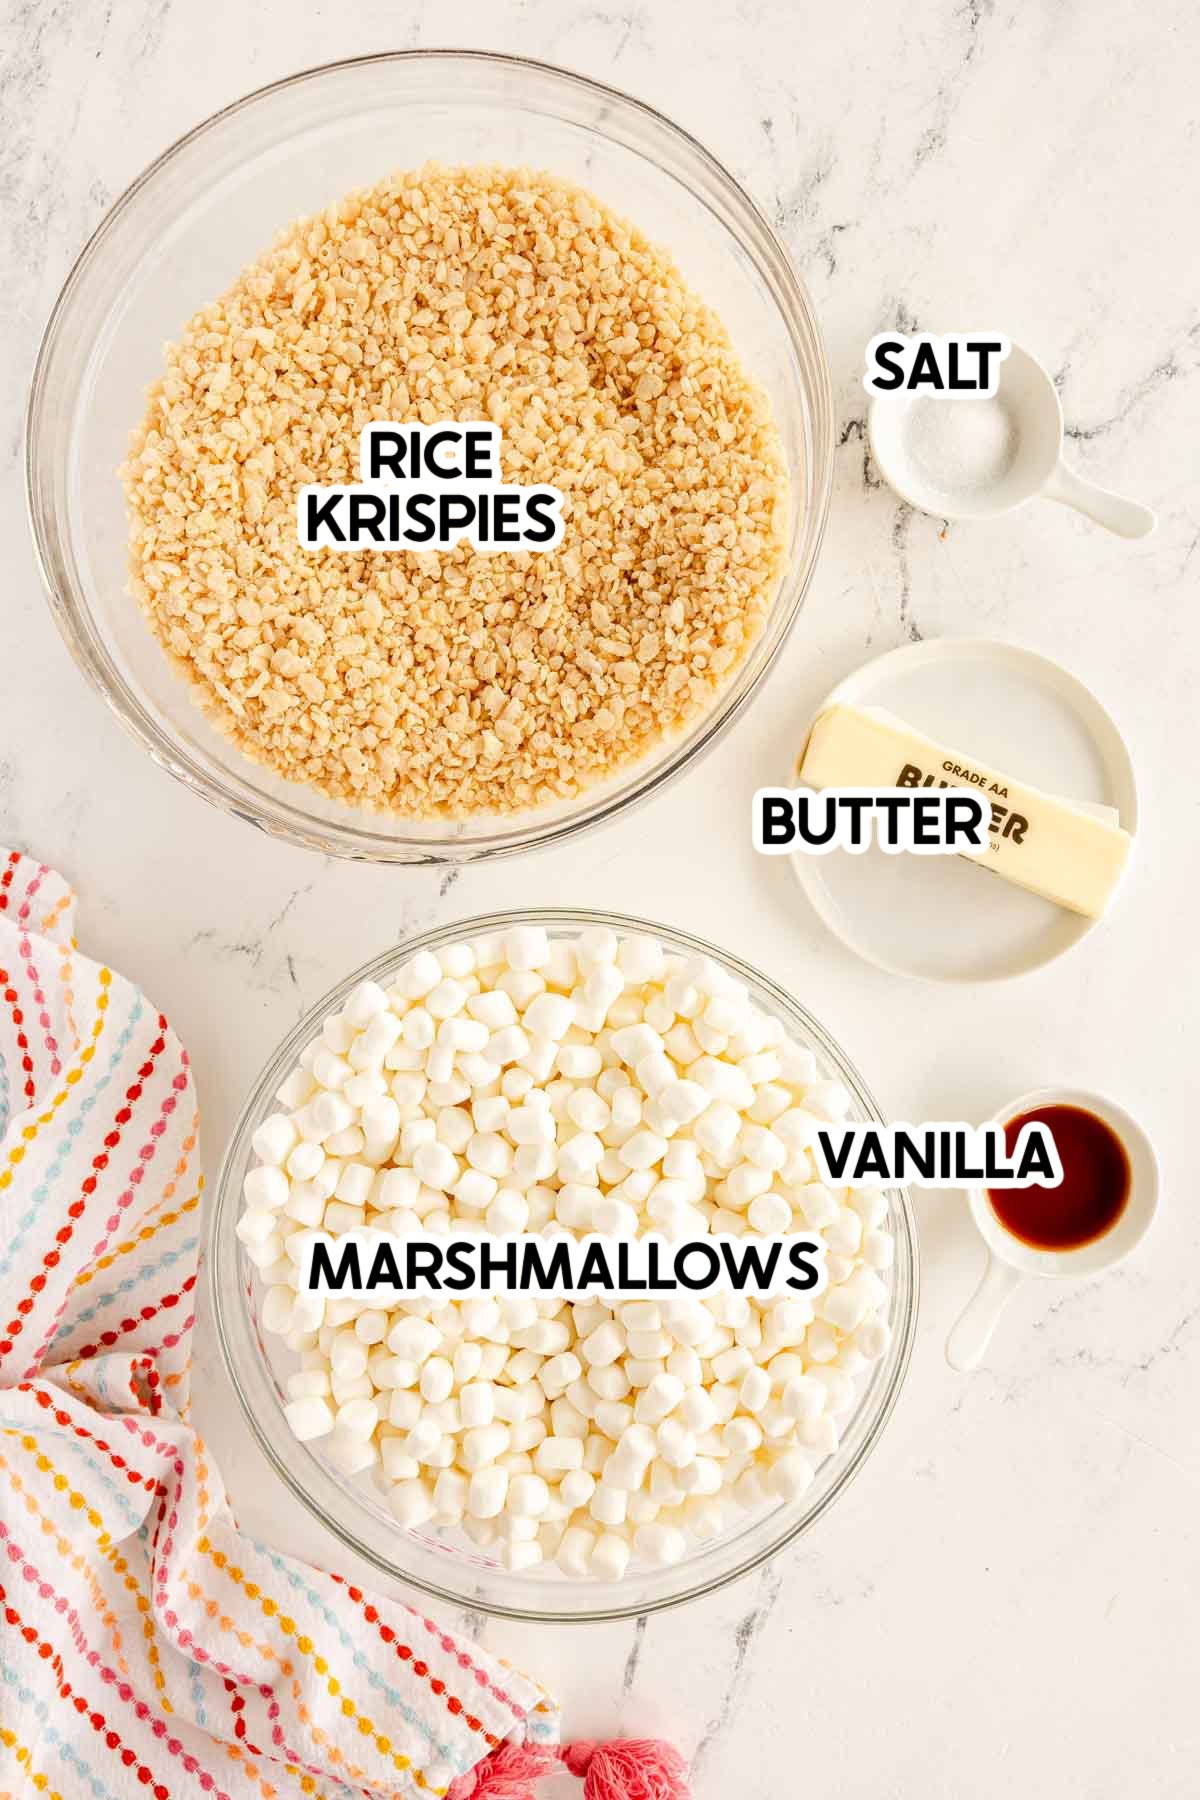
Ingredient Notes
This is a slightly less gooey version of the best rice krispy treats you will ever eat. The ingredients are still the same just a little less marshmallow so they shape better. Here’s everything you will need:
- Marshmallows – you can use large in a pinch, but minis really are the best for this.
- Butter – both salted and unsalted will yield same results, just depends on your preference.
- Rice Krispy cereal – name brand or not name brand will work for this.
- Vanilla – you can easily switch it out for another flavoring with just half the quantity so it’s not overpowering.
How to make Shaped Rice Krispie Treats
Now that you know everything you need and how these are the best shapeable rice krispy treats you can make, let’s get started!
1 – Make Rice Krispy Treat Base
Begin by melting butter in a large pot on medium-low heat. Once the butter is fully melted, you’ll add 1 1/2 bags of mini marshmallows into the pot and set the other marshmallows aside for later!
Mix the butter and marshmallows together with a rubber spatula, stirring continuously until the marshmallows have completely melted, making sure to keep the heat on low.
Once the marshmallow mixture is totally melted, remove the pot from the heat and stir in vanilla and salt.
Add roughly half of the rice krispy to the marshmallow mixture, making sure to scrape the bottom thoroughly to incorporate all the marshmallow mixture.
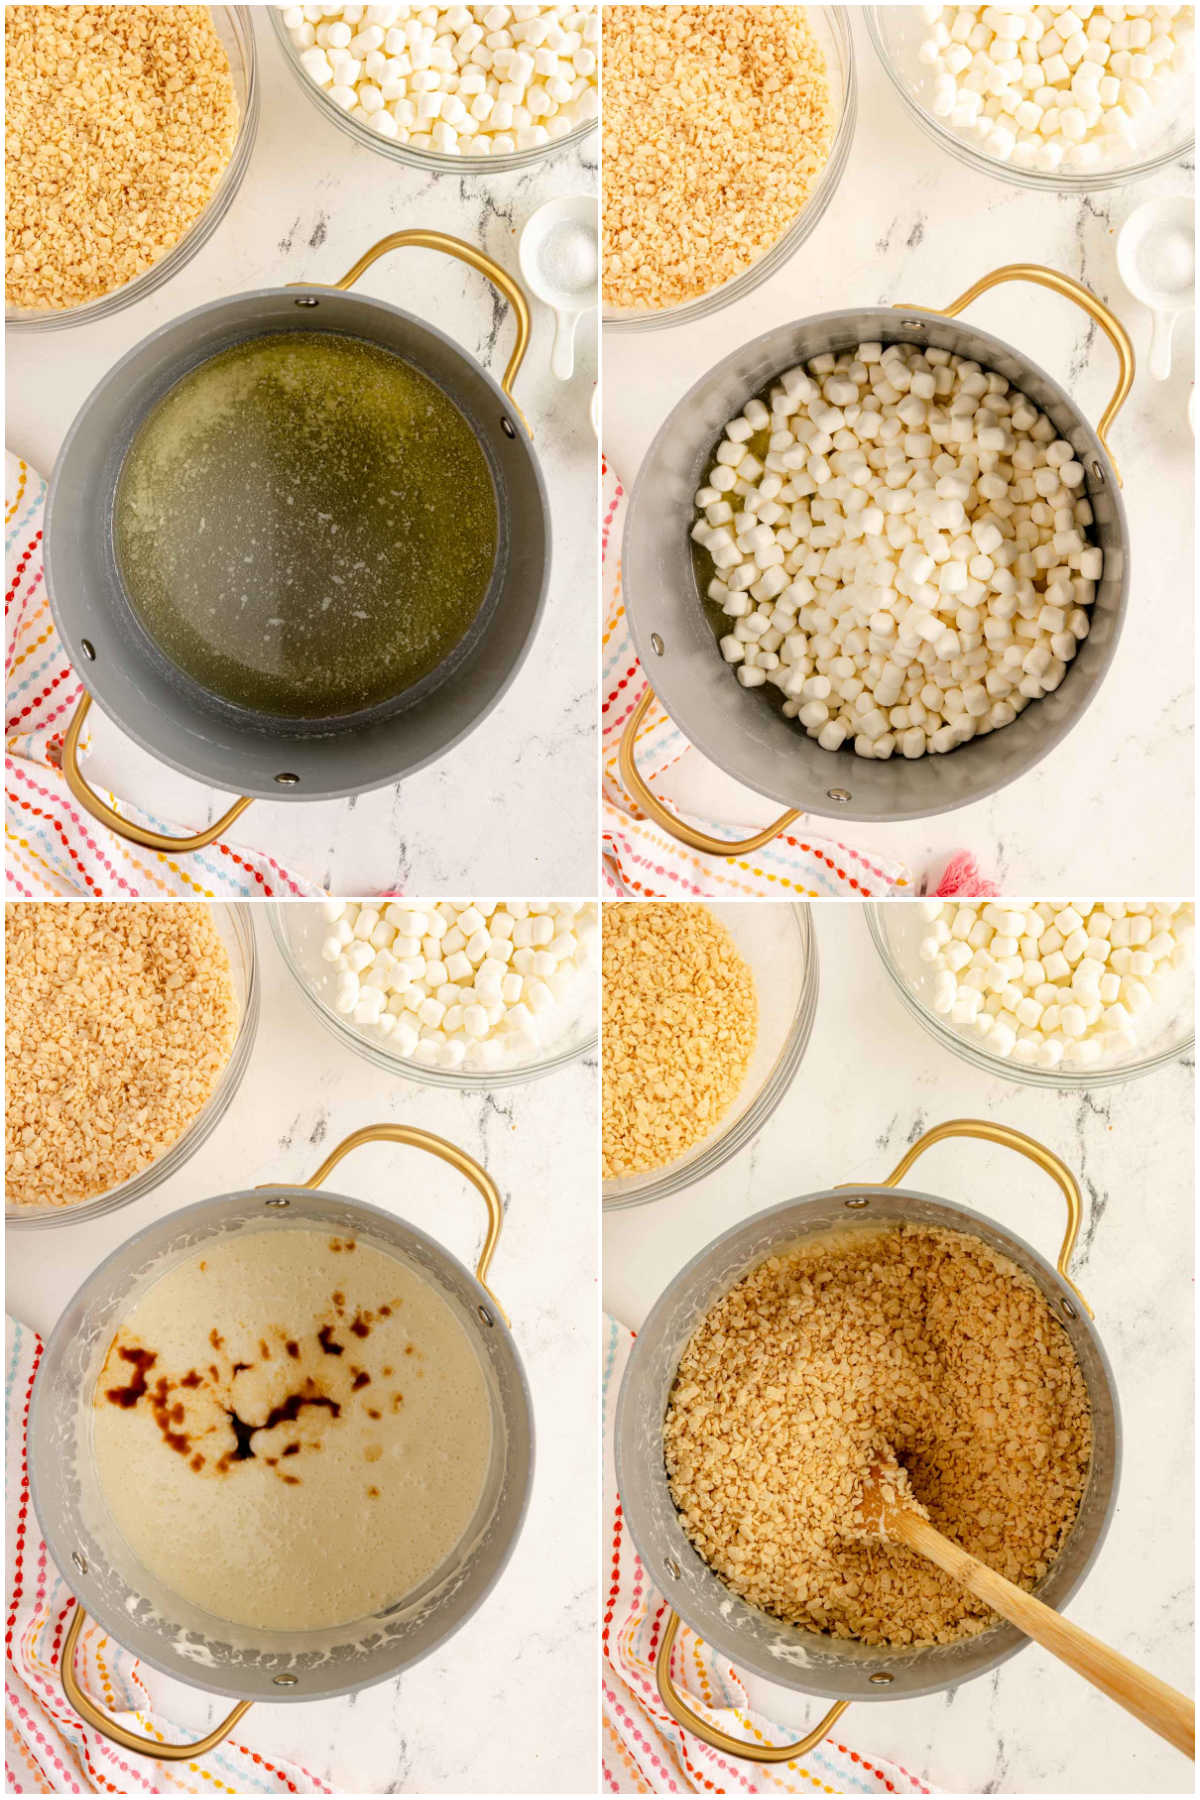
Once that’s all mixed together, add in the remaining marshmallows and rice cereal. Adding the rest of the cereal and marshmallows later is what makes these the best – those other marshmallows don’t totally melt, but they get soft and gooey!
Stir the additional cereal and marshmallows in gently so you don’t break all the cereal!
That’s the base of this recipe. If you want, you can just put them into a baking dish lined with parchment paper and enjoy like normal OR if you want to shape them, I’ve included two different ways to shape rice krispy treats below depending on what shape you’re looking for!

How to Shape Rice Krispy Treats
There are two different ways to shape rice krispy treats depending on what you’re going for – by hand or using a cookie cutter (or knife) to cut out your shapes! I’ve included instructions for making shaped rice krispy treats either way below!
How to Shape Rice Krispie Treats by Hand
For this process, I highly recommend using heat-resistant gloves like these. Otherwise, you will have to work quick enough when the mixture is cool enough for you to touch that you can shape them all before it cools and sets.
- Lightly grease hands with flavorless oil (like avocado oil) and grab a handful of the rice krispy treat mixture.
- Moving quickly, gently shape the chunk into the desired shape.
- Place gently on a parchment paper lined cookie sheet.
- Repeat the process until all shapes have been made.
- Decorate as desired.
How to Shape Rice Krispy treats using A Cookie Cutter
Once the rice krispy treat mixture is made, transfer them to a cookie sheet lined with parchment paper. You could also use wax paper, just something that won’t stick to the treats.
Using another sheet of parchment paper, gently press on the rice krispy treats to spread the mixture into the desired thickness. Check to see how thick your cookie cutter is and aim for slightly thinner than that so it can cut all the way through.
Allow the rice krispy treats to cool for 10 minutes to harden slightly. But don’t get distracted because you don’t want them to harden for too long or it’ll be more difficult to cut these out! Once they’ve rested for a few minutes, grab the ends of the parchment paper and pull them out of the tray for cutting.

Lightly spray the inside of your cookie cutter with a non-stick cooking spray, press it gently into the rice krispy treats, and press out the desired shape. Transfer the finished treat to another tray to allow it to set completely.
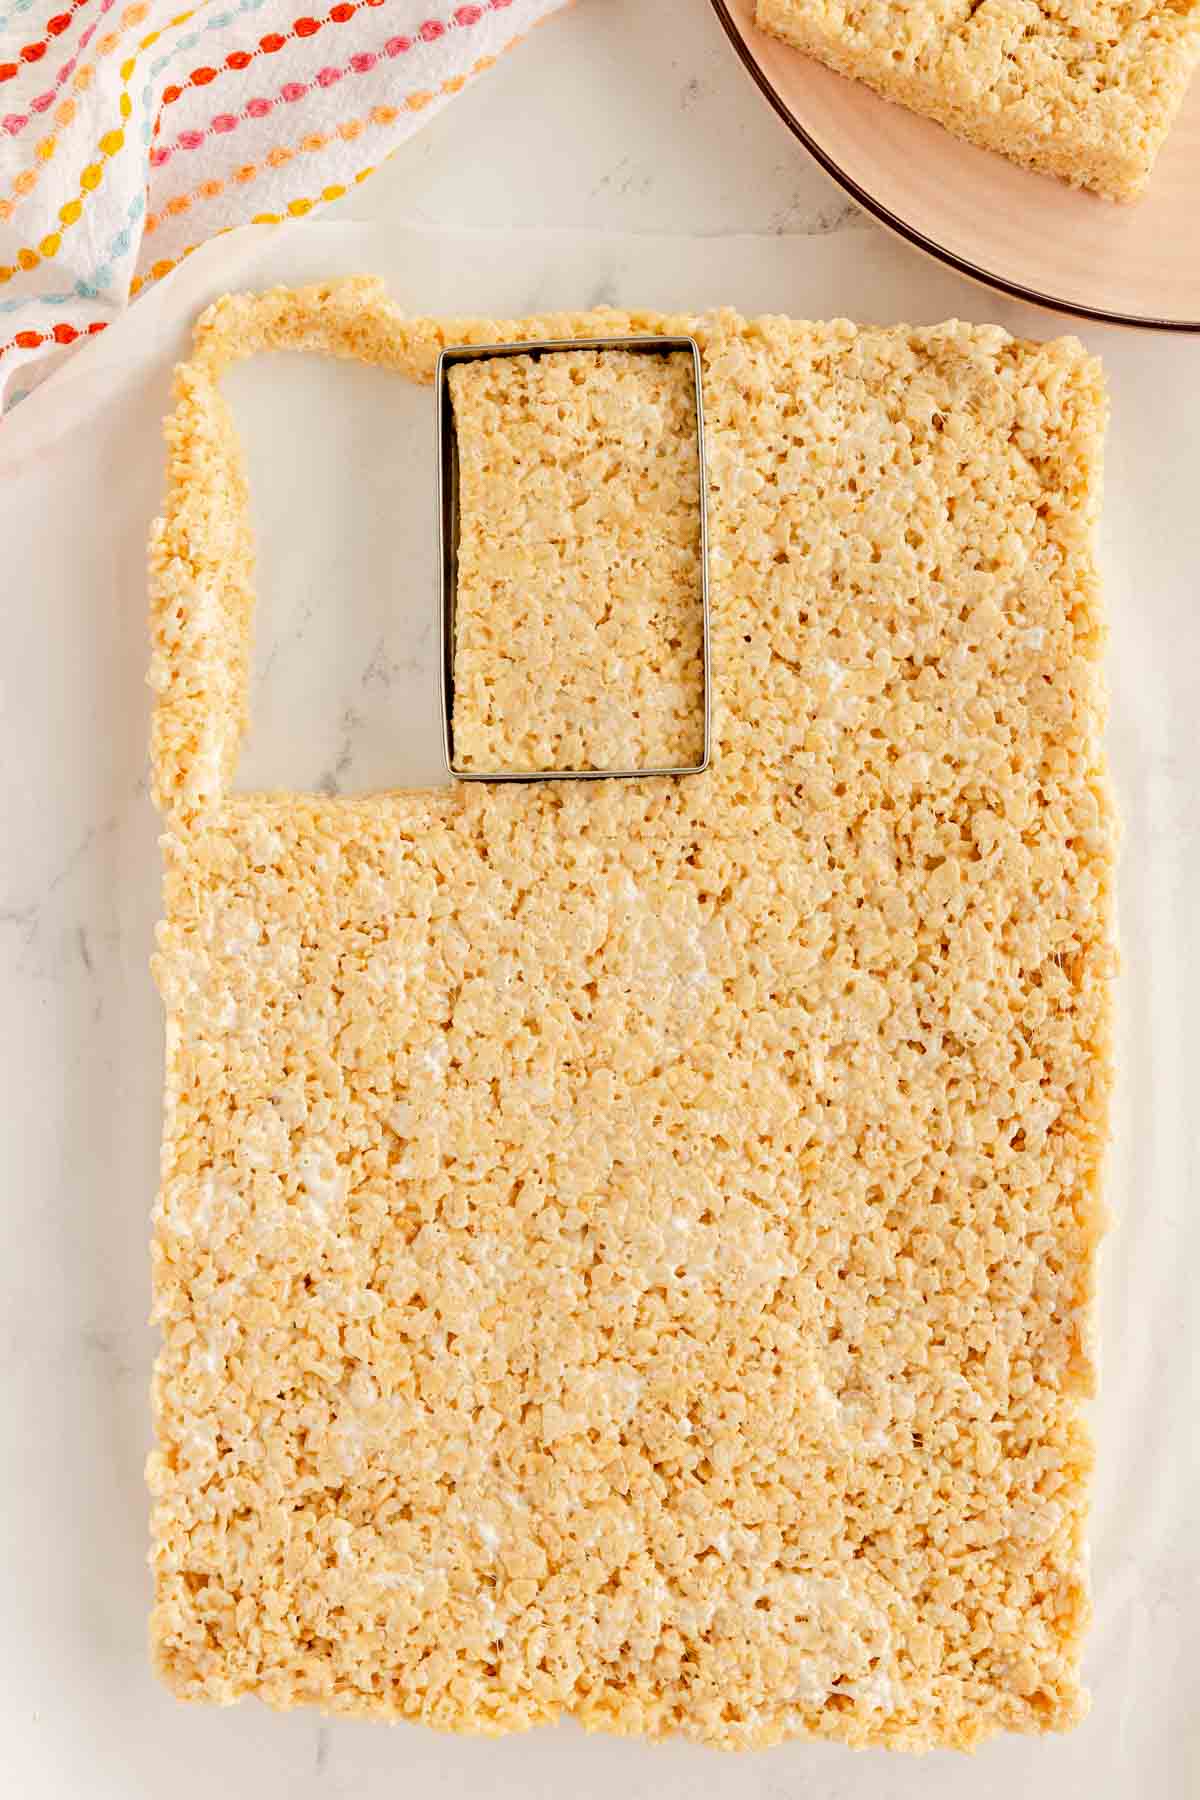
Repeat the process, reapplying the non-stick spray as necessary, until you run out of room. You can serve the rice krispy treats just like they are or decorate them for your theme!

Ideas for Decorating Shaped Rice Krispy Treats
Some of my favorite ways to decorate rice krispy treats include:
- Dip them in chocolate or colored candy melts
- Drizzle melted chocolate or melted candy melts over the top then add sprinkles
- Gently press candy or sprinkles directly into the top of the rice krispy treats
- Add food coloring at the same time you add the vanilla and salt to make different colors!
- Add a stick into the bottom to make them rice krispy treat pops
Expert Tips & Storage Information
If shaping with a cookie cutter, arrange your cookie cutter to get as many cutouts as possible. You will not be able to reform excess treats to get another cut like if you were making cut out sugar cookies.
To avoid treats setting before finishing shaping by hand I suggest having more than one person shaping at a time.
Make sure to be gentle, you don’t want to smash all the cereal pieces.
Avoid using detailed cookie cutters so the shapes come out. You can always add details back in with the decorations.
This recipe can also be shaped with a knife by letting it cool on a pan and then cutting out the desired shape.
Store in an airtight container for up to five days.

Recipe FAQs
How many rice krispy treats will this recipe make?
This is going to vary based on the shape you choose to make. If you are using a small cookie cutter you will get more than if you are using a large cookie cutter.
Do I have to shape these?
No, you can make them into squares. If you plan on making simple shapes like squares, I highly recommend using my recipe for best rice krispy treats instead.

More Easy Shapeable Treats
If you are looking for some more great treats that can also be shaped into fun shapes, try one of these recipes!
- Homemade brownies – this is the best brownie recipe, even better than box mix brownies!
- Brownie balls – we typically make these into balls but you could totally make them any shape you want – footballs would be great!
- Cream cheese sugar cookies – these are some of my favorite sugar cookies to turn into different shapes!
- Oreo truffles – we’ve made these into all sorts of things from Oreo acorns to Oreo apples!
- Blueberry hand pies – use a cookie cutter to make these into any shape you want! The blueberry ones are great or you could try these strawberry hand pies too!
Want more Goodies?
Want more delicious recipes just like this one? Enter your first name and email address in the form below to join the Play Party Plan community! You’ll receive weekly recipes and party ideas directly to your inbox!
Shaped Rice Krispy Treats
Ingredients
- 9 oz Rice Krispy cereal divided
- 20 oz mini marshmallows divided
- ½ c butter
- ½ teaspoon salt
- 2 teaspoons vanilla
Instructions
Make Rice Krispy Treat Base
- Begin by melting butter in a large pot.½ c butter
- Once fully melted add 15 ounces (roughly 1 1/2 bags) of mini marshmallows into the pot. Set remaining marshmallows to the side for later. Mix with rubber spatula. Stir continuously until the marshmallows have fully melted.20 oz mini marshmallows
- Remove from heat, then stir in vanilla and salt.2 teaspoons vanilla, ½ teaspoon salt
- Add roughly half of the rice cereal to the marshmallow mixture. Make sure to scrape the bottom thoroughly to incorporate all the marshmallow mixture.9 oz Rice Krispy cereal
- Once mixed, add in the remaining marshmallows and rice cereal. Stir gently until everything is combined. Then shape using one of the options below.
Shape the Rice Krispy Treats by Hand
- For this process, I highly recommend using heat-resistant gloves like these. Otherwise you will have to work quickly when the mixture is cool enough for you to touch before it cools and sets.
- Lightly grease hands with flavorless oil and grab a handful of the rice krispy treat mixture.
- Moving quickly and gently shape the chunk into the desired shape.
- Place on a parchment paper lined cookie sheet.
- Repeat the process until all shapes have been made.
- Decorate as desired.
Shape The Rice Krispy Treats Using A Cookie Cutter
- Once the rice krispy treats have been completed transfer them to a cookie sheet lined with parchment paper.
- Using another sheet of parchment paper gently spread the mixture into the desired thickness. Check to see how thick your cookie cutter is and aim for slightly thinner than that so it can cut all the way through.
- Allow to cool for 10 minutes to harden slightly.
- Lightly spray the inside of your cookie cutter and press out the desired shape. Transfer the finished treat to another tray to set it completely.
- Repeat the process, reapplying the non-stick spray as necessary, until you run out of room.
- Decorate as desired.





Leave a Reply