These simple strawberry no bake cake balls combine strawberry cake mix, cream cheese, and white chocolate for the perfect treat for Valentine’s Day, birthday parties, and more! It’s an easy recipe that will be a hit with both kids and adults!

Want to save this recipe?
Enter your email below and we’ll send this idea straight to your inbox (plus you’ll receive fun weekly ideas from us too!)
With Valentine’s Day just around the corner, I wanted to share a few more simple treats that are perfect for satisfying your sweet tooth on Valentine’s Day.
I’ve already shared no bake red velvet cake balls, brownie balls, and carrot cake balls so it only makes sense to share some pink strawberry cake balls!
And while I’m making these for Valentine’s Day treats for my kids, these would also be perfect for a birthday party (just use rainbow sprinkles), a little girl baby shower, or even a bridal shower with some pretty pink sprinkles on top!
If you’ve ever had cake pops or cake balls, you’ll love these ones that combine strawberry cake mix, cream cheese chips, and cream cheese in a flavorful and fun treat!
Why You’ll Love This Recipe
- 4-Ingredients – like many no bake desserts, these strawberry cake balls only require a few ingredients! You can also add a few more for decorating the cake balls but at the base, they only need cake mix, chips, cream cheese, and white chocolate for dipping!
- Easy – the best part about this recipe is how easy it is to make! If you can pour out cake mix and roll dough into a ball, you can make these!
- Huge hit with any age – these small balls are always good for little kids but even teens and adults like them! We just made these for my tween niece, and they were her favorite part of the entire cookie plate!
Ingredients
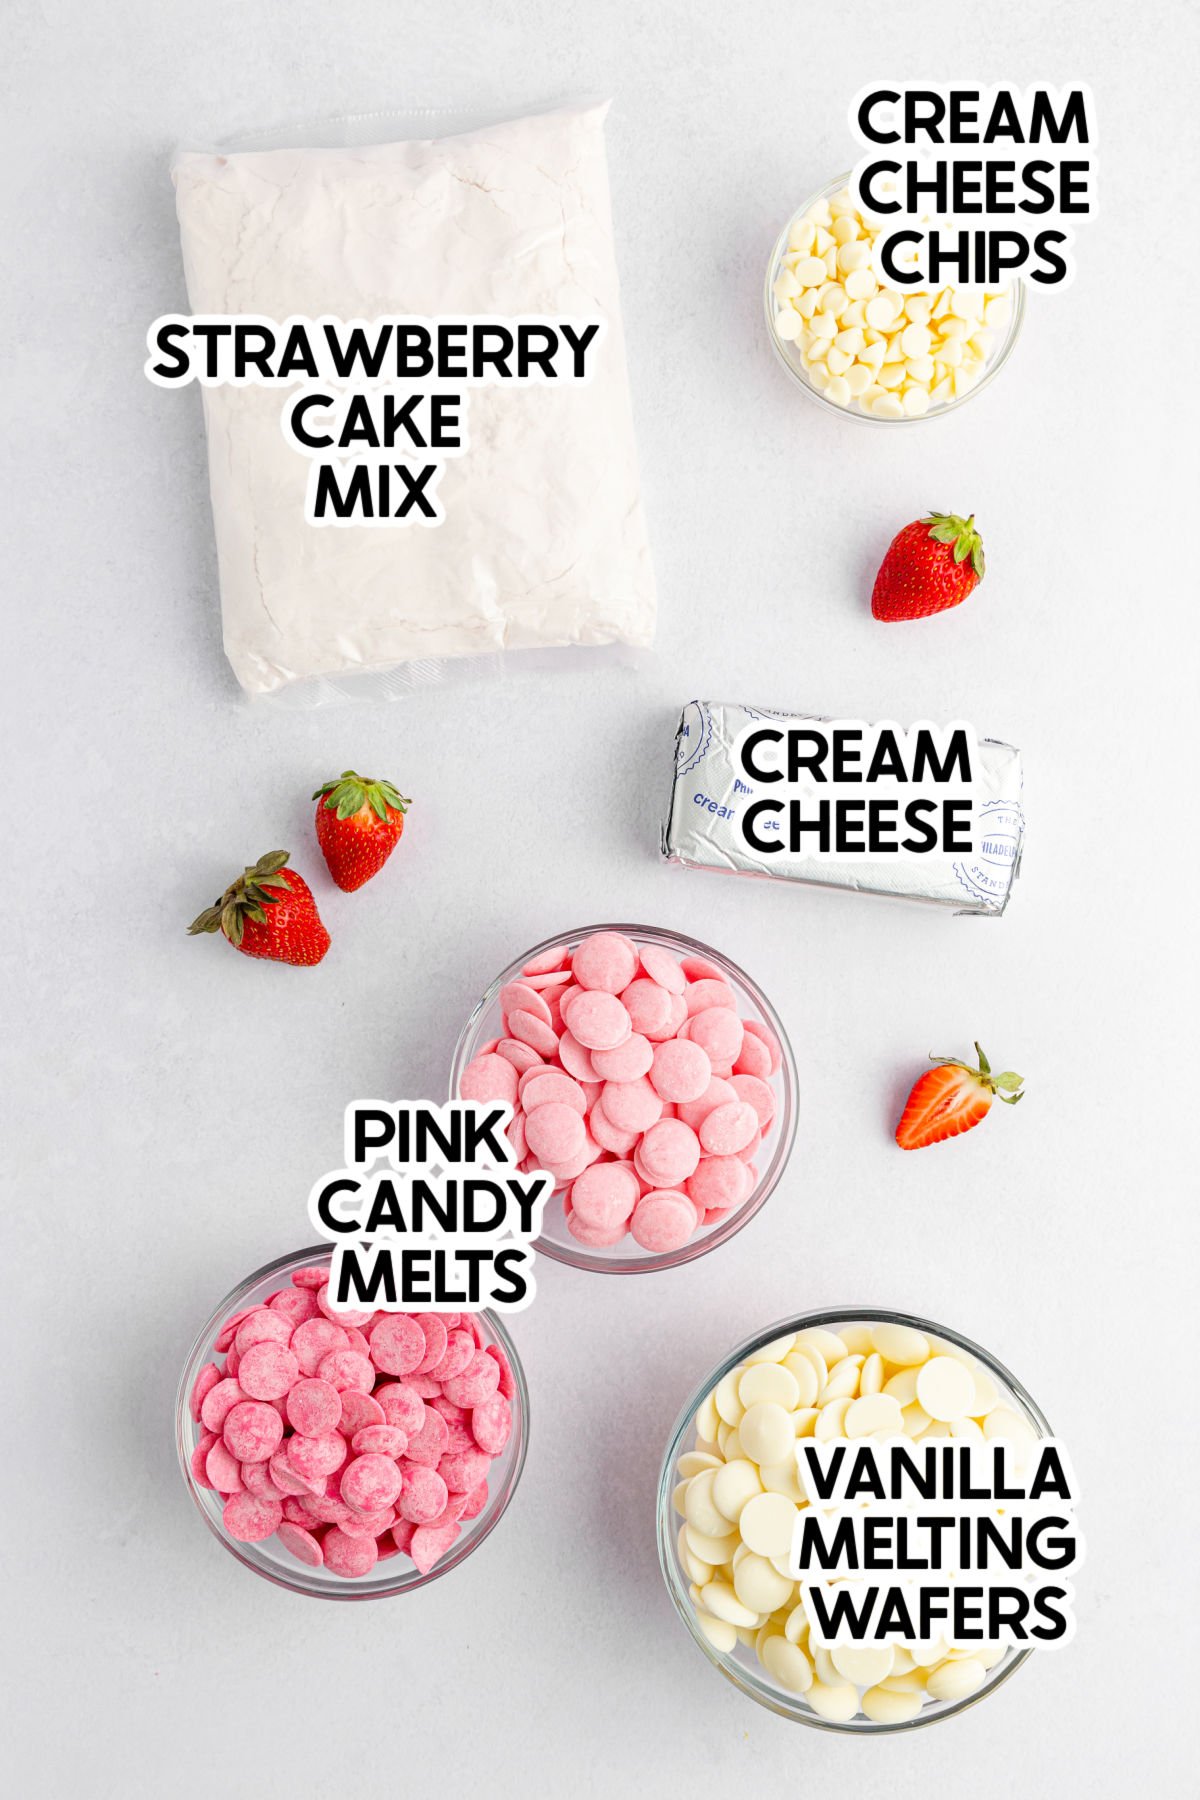
Ingredient Notes
- Strawberry cake mix – you can really use any cake mix you want, but I used Betty Crocker for mine. You can’t use homemade since you’re just using the dry cake mix but any brand you can buy at the regular grocery store should work fine.
- Cream cheese chips – I like the flavor of the cream cheese chips in these but if you can’t find those, white chocolate chips work as well. Or you can skip the chips completely if you’d prefer, I just like the addition!
- Cream cheese – I recommend using full fat cream cheese and making sure it’s softened to room tempearture before you try to mix it with the cake mix.
- Vanilla melting wafers – I love using Ghirardelli melting wafers for these because it just melts the best and then still hardens quickly. If you don’t want to use melting wafers, you can also use high-quality white chocolate chips, or vanilla almond bark. You just need to end up with melted white chocolate for dipping.
- Candy melts – I used two colors of pink candy melts to decorate with drizzled candy melts on mine for Valentine’s Day. Really you just need to make the base of this recipe and then you can decorate them however you want. Valentine’s Day sprinkles, rainbow sprinkles for a birthday party, you name it.
How to make no bake cake balls
These cake balls are pretty simple to make – just mix, roll, dip!
1 – Heat Treat the Cake Mix
The first thing you need to is heat treat the cake mix to get rid of any possible bacteria in the raw flour used in the dry ingredients of the cake.
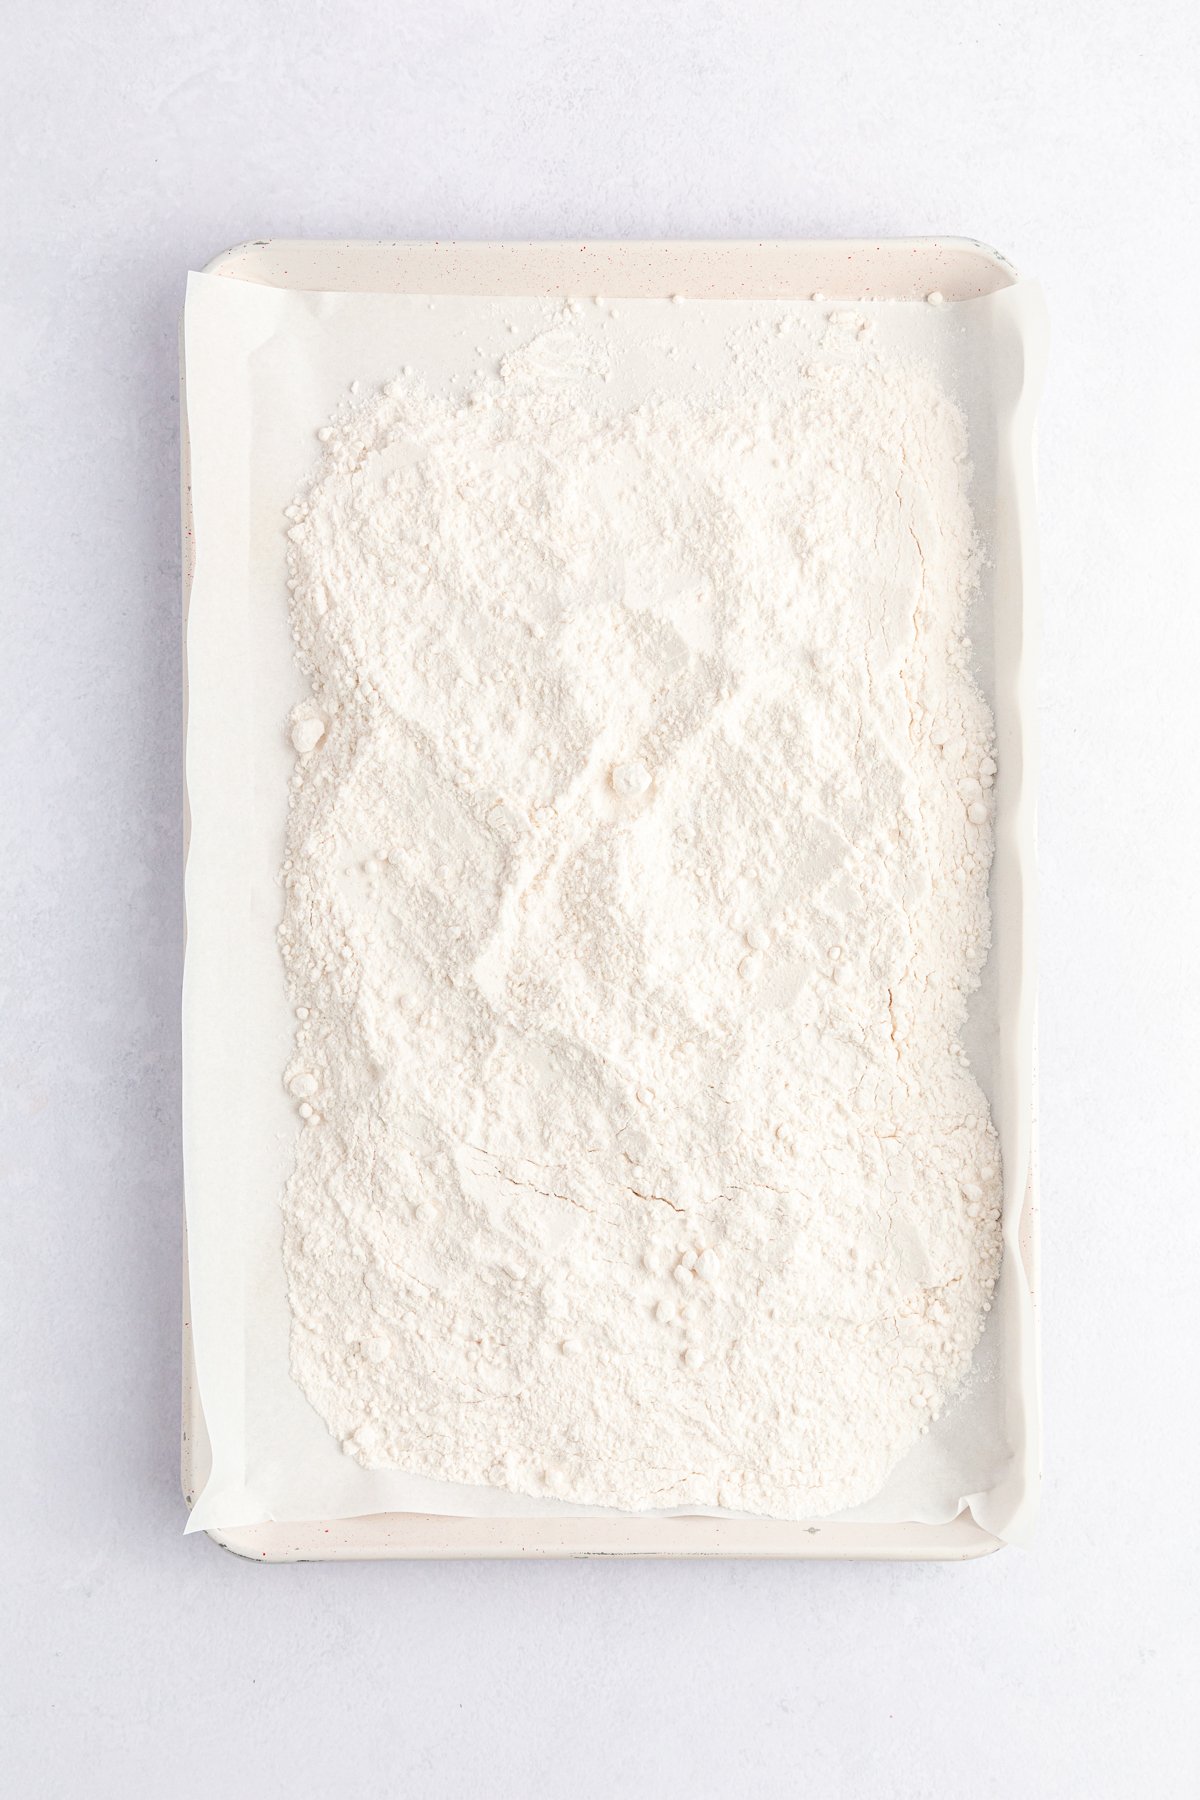
Start by preheating the oven to 350 degrees. Then line a baking sheet with parchment paper.
Lay the cake mix out onto the parchment lined baking sheet and bake the dry cake mix until it reaches 165 degrees, typically about five minutes. Once the cake mix has reached the safe temperate, remove from the oven and allow it to cool completely before adding to the cream cheese.
Microwave alternative!
I prefer to heat treat in the oven to avoid any uneven heating but if you’d prefer to use the microwave, place the cake mix in a bowl and microwave for 2-3 minutes, stirring every 30 seconds to avoid any hot spots and make sure all of it is heated. Once it’s reached the safe 165 degrees, remove from the microwave and allow to cool. If it still hasn’t reached 165 degrees after 3 minutes, continue heating for 30 second intervals until it’s heated.
2 – Make the Cake Ball Dough
After the cake mix has cooled, put it into a medium sized bowl.
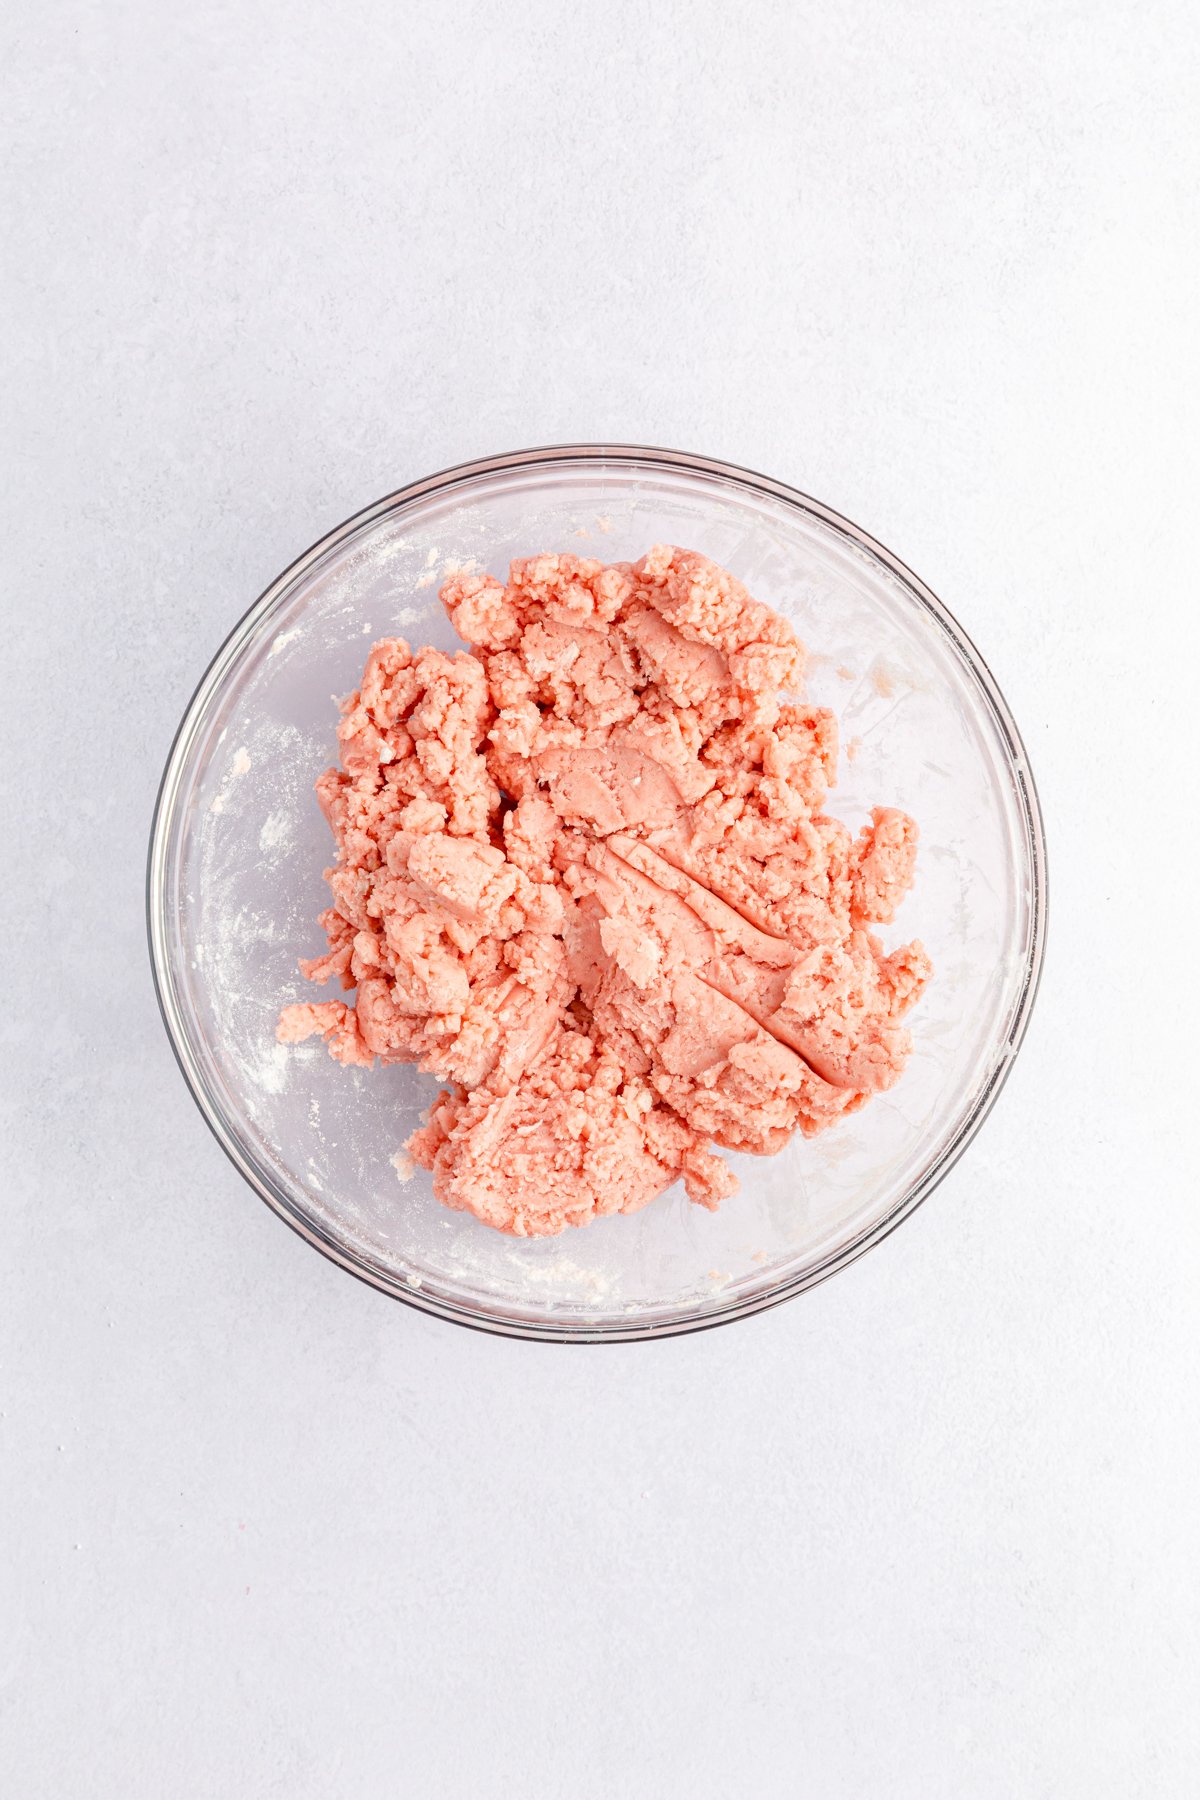
Add the softened cream cheese and mix together the cream cheese and cake mix on medium high with a hand mixer (or electric mixer is fine too) until light and creamy. Continue mixing until the two come together and a dough forms.
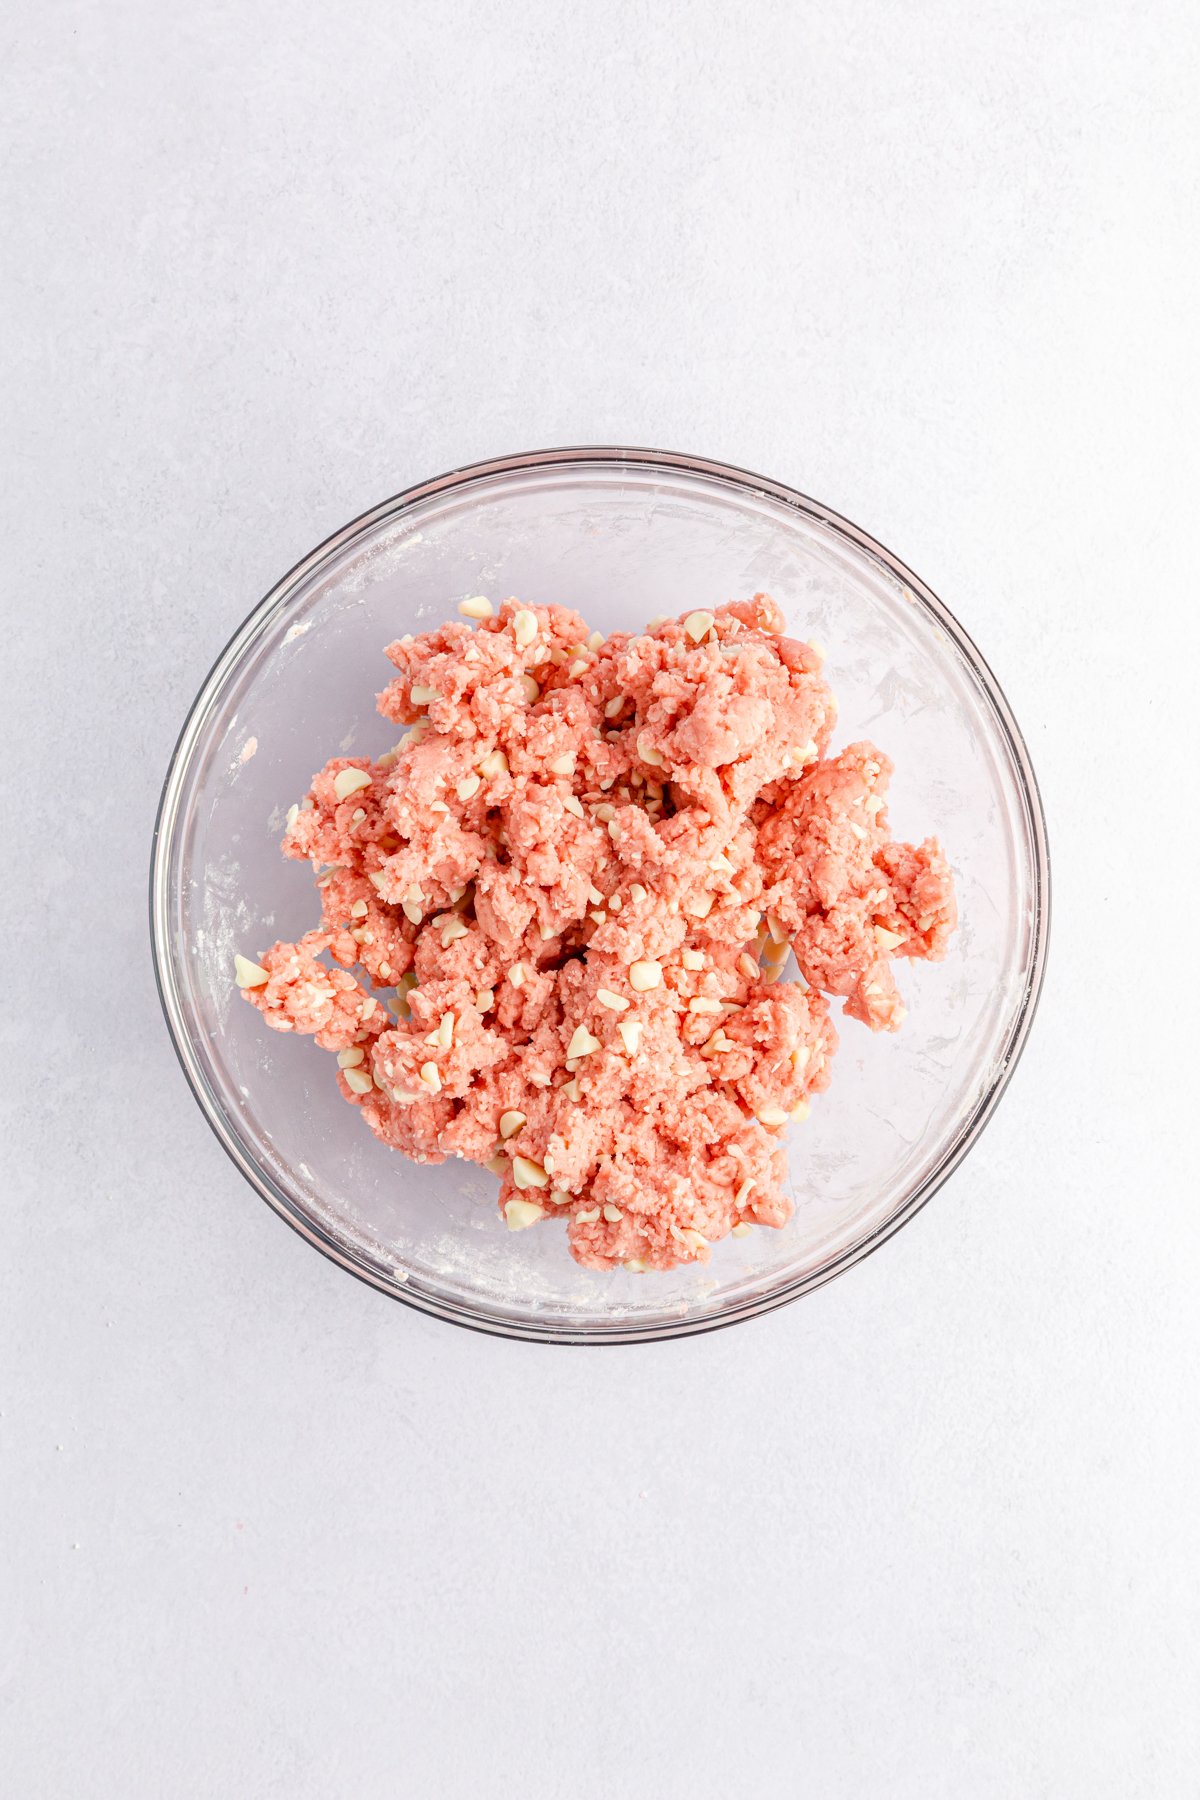
Now that the cream cheese is fully whipped gently fold in the cream cheese chips until they are evenly distributed throughout the cream cheese. A rubber spatula would work the best for this step so you don’t end up breaking up the chips into the dough.
Cover the bowl and refrigerate the cream cheese mixture for 2 hours.
3 – Roll the Cake Batter Balls
When the two hours is up and the cream cheese mixture has chilled, prepare two baking sheets by lining them with parchment paper or wax paper.
Using a 1 1/2 tablespoon cookie scoop, scoop the dough onto the prepared baking sheets. After each ball has been placed on to the baking sheets, roll each one into an even ball with your hands.
Let the dough sit out on the counter for about 15 minutes before moving on to prevent any cracking later on. This will allow the balls to come back to room temperature and expand so that they don’t expand later (after dipped) and crack the white chocolate coating on the outside.
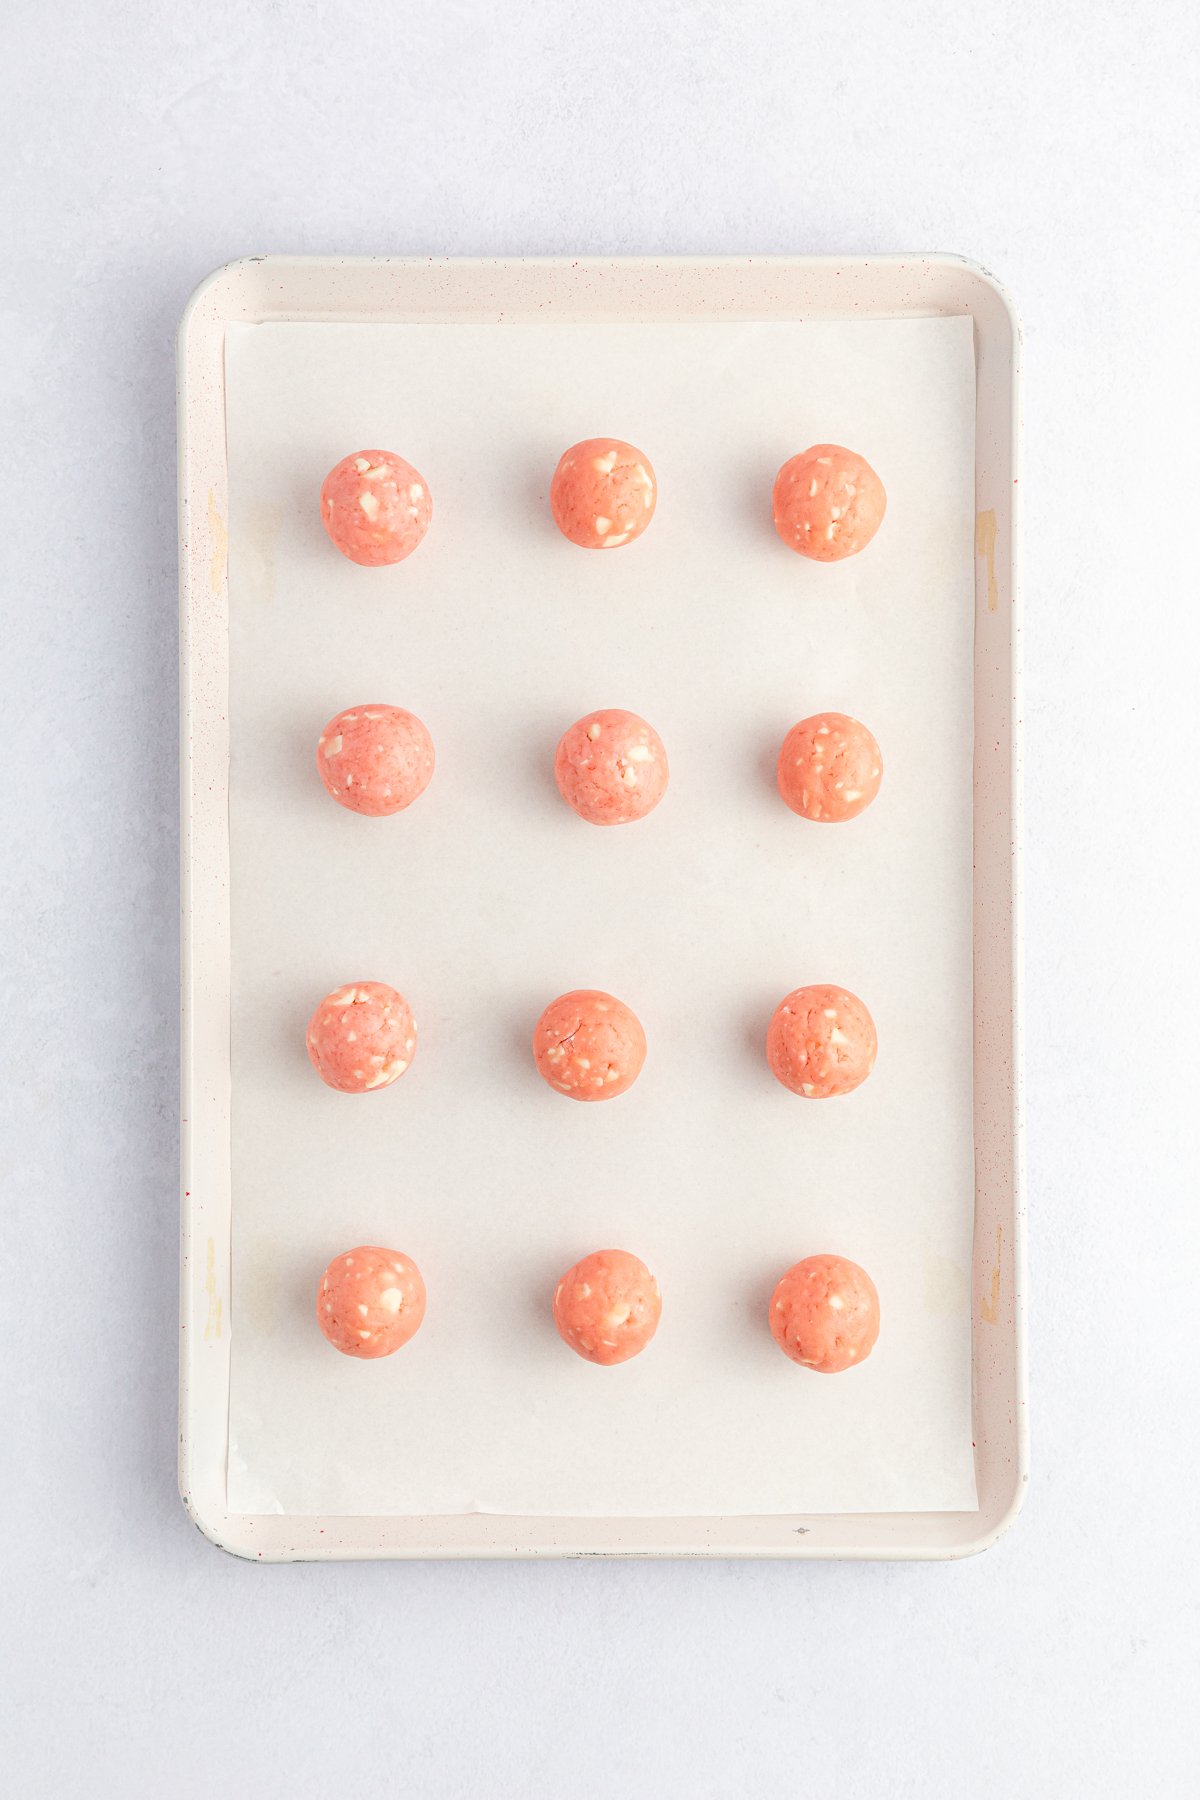
4 – Dip the Cake Balls
For this next step you can use a double boiler or you can use a microwave safe bowl and melt the vanilla melting wafers. To microwave, place the vanilla melting wafers in a microwave safe bowl and microwave in 30 second increments, stirring between each increment, until the wafers are completely melted.
Cake Pop Option!
If you want to make these sweet treats into cake pops instead of balls, insert a lollipop stick into the cake balls before you dip them so that the white chocolate coating also coats the base of the stick. If you try to add it after they’ve been dipped, you’ll end up with a broken chocolate base.
Once the chocolate is melted, dip each ball of dough into the melted chocolate. The easiest way to do this is to place each ball of dough on a fork then dip the fork all the way into the chocolate until it is fully coated, tap the fork on the edge of the bowl to remove any excess chocolate.
Once you’ve dipped one of the balls, place it back on the cookie sheet to allow the coating to harden. If you’re going to decorate with sprinkles, add them now before the chocolate hardens.
If you’re planning to just add more colored candy melts on top, you can go through and finish dipping all of the balls.
Melt the candy melts in the same method as you did above with the vanilla melting wafers. Once melted, you can either use a spoon to drizzle the candy melts on top of the white chocolate cake balls or you can add it to a piping bag and use a piping bag to drizzle for cleaner lines.
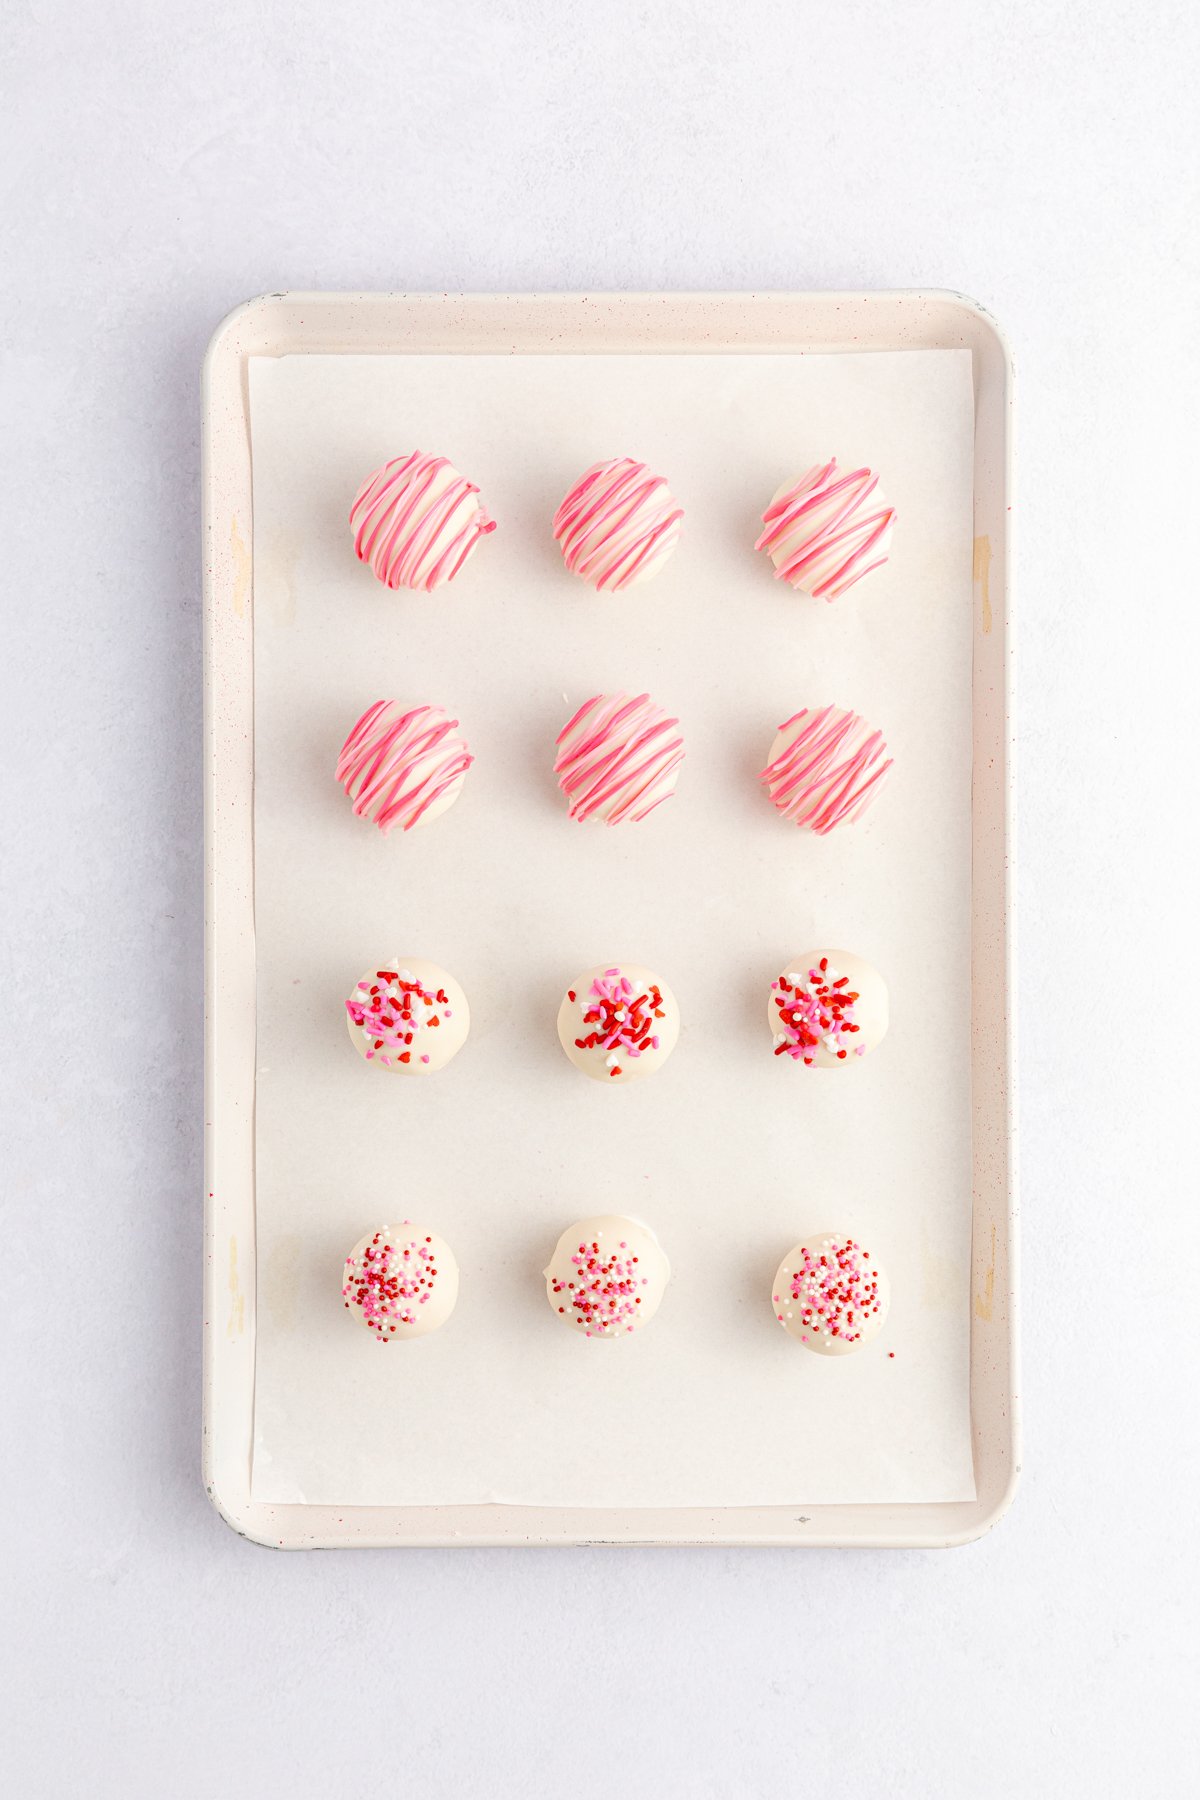
After all the cake balls are decorated, let them sit for until the chocolate and candy melts on the outside have completely hardened and then serve!

Expert Tips
Make sure to add the sprinkles before the white chocolate coating hardens or the sprinkles won’t stick. I typically like to dip one ball, add the sprinkles, then move onto the next. Or the perfect way to do this is actually with a partner (my kids love to help) – you dip while the kiddos add sprinkles on top!
Store in an airtight container in the refrigerator for up to five days since these have raw cream cheese mixed into the balls! If you’d prefer that they be served at room temperate (and not chilled), take them out about 15 minutes before serving to allow them to thaw a bit before serving.
Recipe FAQs
How do you keep cake balls from falling apart?
Chilling the dough before you dip the cake balls will help them from falling apart when you do the actual dipping.
What can I use instead of candy melts for cake balls?
You can use almond bark, chocolate melting wafers, or chocolate chips instead of the candy melts for coating these. Or if you don’t want to use candy melts at all on the outside, you can just decorate with sprinkles or just leave plain.
How long do cake pops last in the fridge?
Cake pops or cake balls last for up to five days stored in the fridge. Make sure to keep these no bake cake balls refrigerated since they do have raw cream cheese in them, which always needs to be refrigerated.

More Fun Desserts for Valentine’s day
These delicious desserts are perfect for Valentine’s Day (or any other day of the year).
- Nutella dip – this delicious chocolate and hazelnut fruit dip is the perfect additional to any Valentine’s Day spread!
- Chocolate truffles recipe – these special treats are rich, decadent, and great for giving to your sweetheart!
- Valentine’s Day rice krispy treats – these fun conversation heart inspired treats are perfect for any age! Or try these rice krispies dipped in white chocolate instead!
- Raspberry jello poke cake – this pink cake is perfect for Valentine’s Day when topped with homemade whipped cream and fresh raspberries!
- Cream cheese sugar cookies – use this delicious recipe to make heart shaped cookies for family and friends!
Want more Goodies?
Want more delicious recipes just like this one? Enter your first name and email address in the form below to join the Play Party Plan community! You’ll receive weekly recipes and party ideas directly to your inbox!

Strawberry Cake Mix Balls
Ingredients
- 15.25 oz strawberry cake mix
- 8 oz block cream cheese softened
- ⅓ cup cream cheese chips roughly chopped
- 20 oz Ghirardelli vanilla melting wafers
- sprinkles of your choice optional
- ½ cup wilton pink candy melts optional
- ½ cup wilton bright pink candy melts optional
Instructions
- Start by preheating the oven to 350 degrees. Then line a baking sheet with parchment paper.
- Lay the cake mix out onto the parchment lined baking sheet and bake the dry cake mix until it reaches 165 degrees, typically about five minutes. Once the cake mix has reached the safe temperate, remove from the oven and allow it to cool completely before adding to the cream cheese.15.25 oz strawberry cake mix
- After the cake mix has cooled put it into a medium sized bowl. Then add the softened cream cheese and mix together the cream cheese and cake mix on medium high with a hand mixer until light and creamy.8 oz block cream cheese
- Now that the cream cheese is fully whipped gently fold in the cream cheese chips with a rubber spatula until they are evenly distributed throughout the cream cheese.1/3 cup cream cheese chips
- Cover the bowl and refrigerate the cream cheese mixture for 2 hours.
- When the two hours is up and the cream cheese mixture has chilled, prepare two baking sheets by lining them with parchment paper or wax paper. Using a 1 1/2 tablespoon cookie scoop, scoop the dough onto the prepared baking sheets. After each ball has been placed on to the baking sheets, roll each one into an even ball with your hands.
- Let the balls sit on the baking sheet for about 15 minutes to expand slightly and prevent cracking later on.
- Place the vanilla melting wafers in a microwave safe bowl and microwave in 30 second increments, stirring between each increment, until the wafers are completely melted.20 oz Ghirardelli vanilla melting wafers
- Once the chocolate is melted, dip each ball of dough into the melted chocolate and place back onto the parchment lined baking sheet. If you’re adding sprinkles, add them now before the chocolate hardens.sprinkles of your choice
- Melt the candy melts in the same method as you did above with the vanilla melting wafers. Once melted, you can either use a spoon to drizzle the candy melts on top of the white chocolate cake balls or you can add it to a piping bag and use a piping bag to drizzle for cleaner lines.1/2 cup wilton pink candy melts, 1/2 cup wilton bright pink candy melts
- Once melted, you can either use a spoon to drizzle the candy melts on top of the white chocolate cake balls or you can add it to a piping bag and use a piping bag to drizzle for cleaner lines.
- After all the cake balls are decorated, let them sit for until the chocolate and candy melts on the outside have completely hardened and then serve!





Leave a Reply